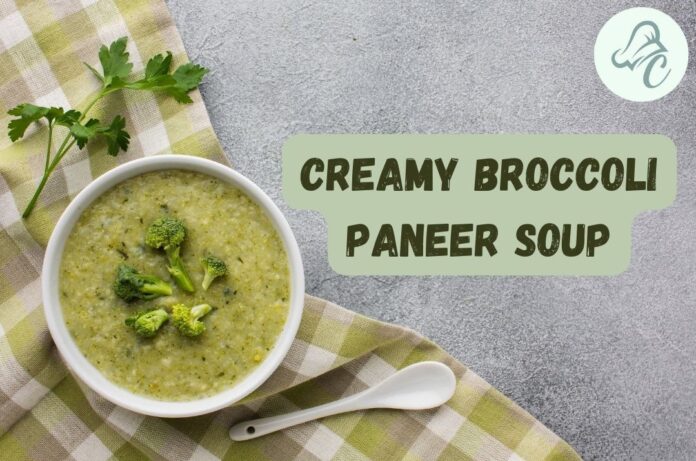
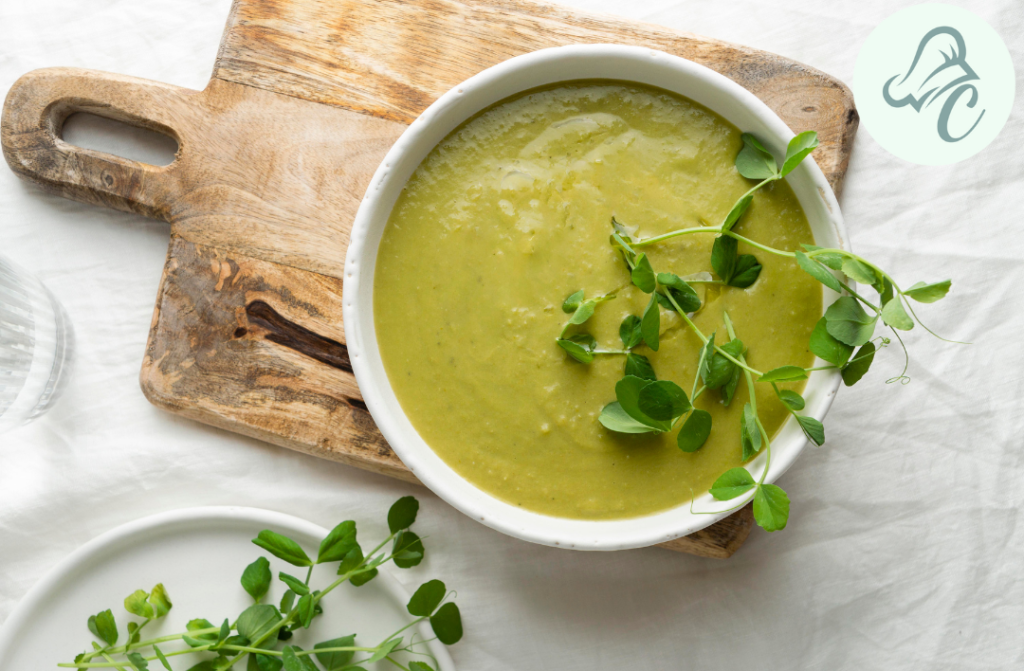
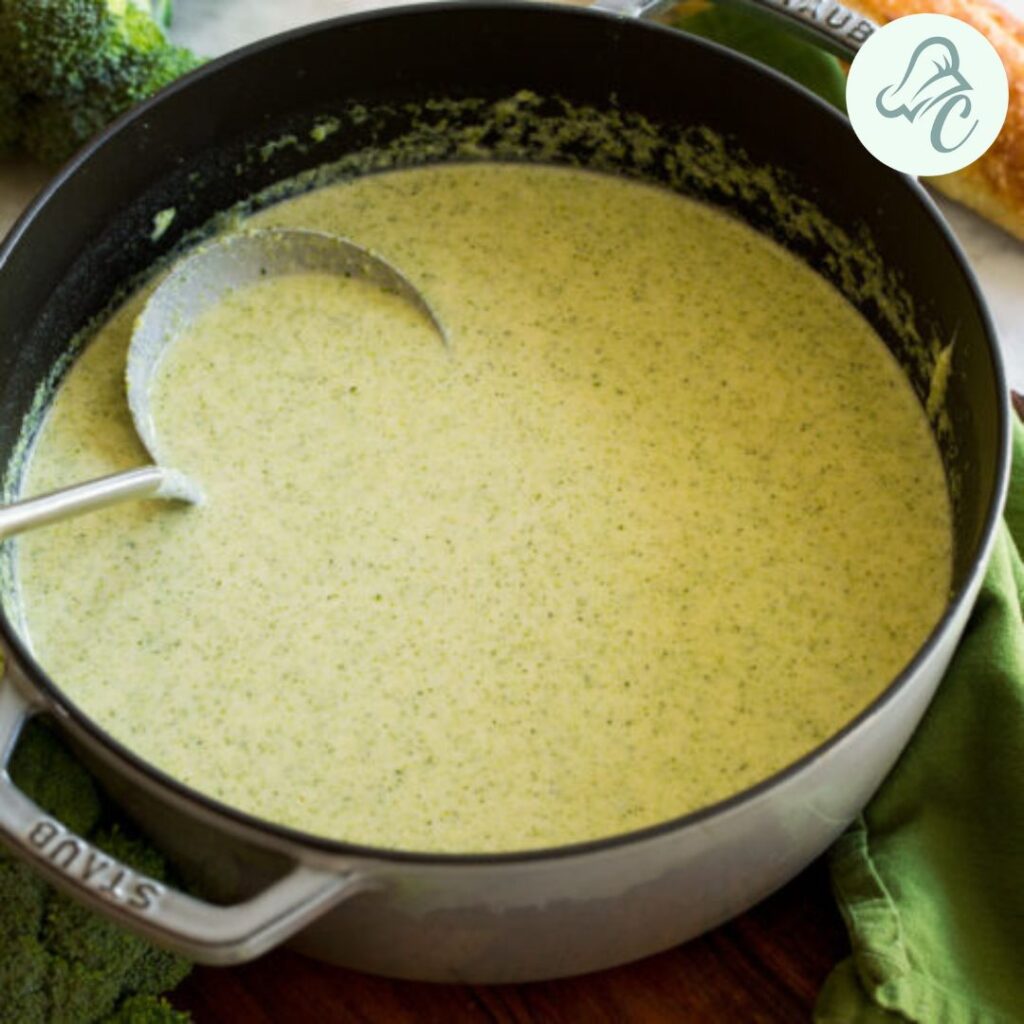
In the realm of soups, few recipes offer a delightful combination of flavor and health benefits like a paneer soup recipe. Our Nourishing Creamy Broccoli Paneer Soup is not only a comforting bowl of warmth but also a nutrient-rich meal that boosts your health with every sip. This broccoli and cream soup is perfect for those seeking a delicious way to incorporate more greens and proteins into their diet. Let’s dive into this broccoli soup recipe easy enough for any home cook.
Table of Contents
About Creamy Broccoli Paneer Soup Recipe
This soup using broccoli and paneer brings together the creamy texture of blended broccoli with the richness of paneer, resulting in a satisfying and wholesome dish. Ideal for both lunch and dinner, it’s a versatile recipe that caters to various dietary preferences. The subtle flavors of broccoli pair beautifully with the creamy texture, making this soup not only a delight for your taste buds but also a powerhouse of nutrients.
Paneer, a fresh cheese commonly used in Indian cuisine, is packed with protein and calcium, making it an excellent addition to your diet. Broccoli, on the other hand, is rich in vitamins K and C, fiber, and various antioxidants, which contribute to overall health and well-being. The combination of these ingredients ensures that each bowl of this soup is a step towards a healthier lifestyle.
Wash and Chop: Rinse the broccoli florets thoroughly and chop them into small pieces.
Cube the Paneer: Cut the paneer into small cubes.
Step 2: Cooking the Broccoli
Sauté: Heat olive oil in a large pot over medium heat. Add the chopped onion and garlic, sauté until translucent.
Add Broccoli: Stir in the broccoli florets and cook for about 5 minutes until they are tender.
Step 3: Blending
Blend: Add the cooked broccoli mixture to a blender along with the broth. Blend until smooth and creamy.
Step 4: Combining Ingredients
Return to Pot: Pour the blended broccoli mixture back into the pot. Add the heavy cream, salt, pepper, and oregano.
Add Paneer: Gently stir in the paneer cubes and let the soup simmer for 10 minutes, allowing the flavors to meld together.
Step 5: Final Touch
Garnish: Serve hot, garnished with fresh parsley.
Tips
Consistency: Adjust the consistency by adding more broth if the soup is too thick.
Flavor Boost: Add a pinch of nutmeg for an extra layer of flavor.
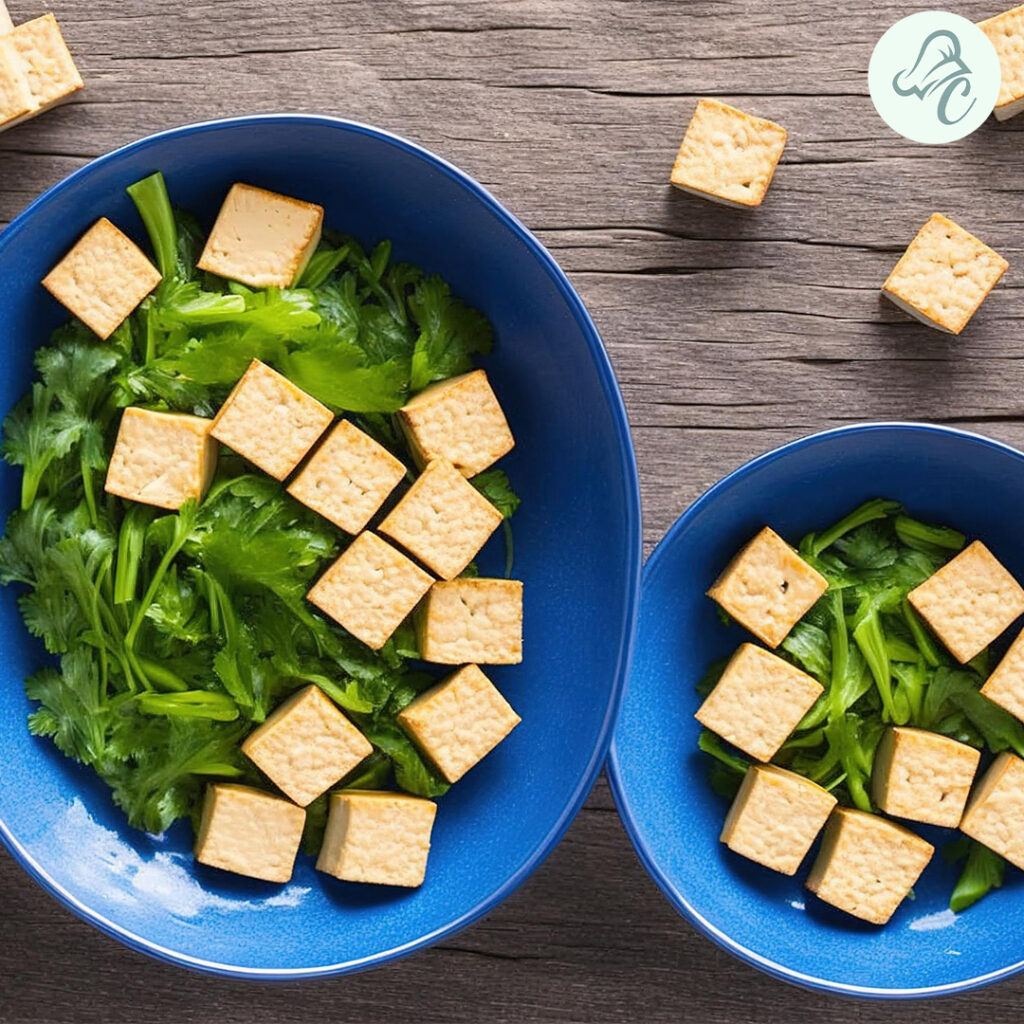
Vegan Option: Substitute paneer with tofu and use coconut cream instead of heavy cream.
Health Benefits
This broccoli soup recipe easy is not just delicious but packed with health benefits:
Broccoli: Rich in vitamins K and C, fiber, and antioxidants.
Paneer: A great source of protein and calcium.
Garlic and Onion: Known for their anti-inflammatory and immune-boosting properties.
Variations
Spicy Kick: Add a chopped green chili for a spicy version.
Cheesy Delight: Stir in a handful of grated cheddar cheese for extra creaminess.
Additional Steps
Roasting Broccoli: For a deeper flavor, roast the broccoli florets in the oven with a drizzle of olive oil before blending.
Herbs and Spices: Experiment with herbs like thyme or basil for different flavor profiles.
Serving Suggestions
Serve this paneer soup recipe with a side of crusty bread or a fresh garden salad for a complete meal. This soup can also be a great starter for a multi-course meal, setting a nutritious and delicious tone for the rest of your dining experience.
Presentation Tips
Garnish: Top with a swirl of cream and a sprinkle of fresh herbs.
Soup Bowls: Use rustic soup bowls for a cozy presentation.
Cooking Techniques
Blending: Ensure the broccoli is well-blended for a smooth texture.
Simmering: Allow the soup to simmer to enhance the flavors.
FAQs
1. Can I freeze this soup?
Yes, this soup freezes well. Store in an airtight container for up to 3 months.
2. How can I make this soup vegan?
Use tofu instead of paneer and coconut cream instead of heavy cream.
3. What can I use instead of heavy cream?
You can use milk or a dairy-free alternative like almond milk.
Nutritional Value
Calories:
250 per serving
Protein:
10g
Fat:
18g
Carbohydrates:
12g
Fiber:
4g
Conclusion
Our Nourishing Creamy Broccoli Paneer Soup is a delightful addition to your meal plan, offering a perfect blend of taste and health. The creamy texture of this broccoli and cream soup, combined with the nutrient-rich benefits of broccoli and paneer, makes it a must-try for anyone looking to enjoy a wholesome meal. Whether you’re looking for a quick lunch or a hearty dinner, this soup is sure to become a favorite.
For more delicious soup recipes, explore our collection at Chef’s Home Around. Feel free to interlink this recipe with others like our Chicken Egg Drop Soup Recipe, Creamy Potato Soup Recipe, and Instant Spicy Carrot Soup to give your readers more options to explore. By trying different recipes, you can create a variety of nutritious and delicious meals that cater to all tastes and preferences. Enjoy the warmth and health benefits of this soup, and share it with your loved ones to spread the joy of good food!
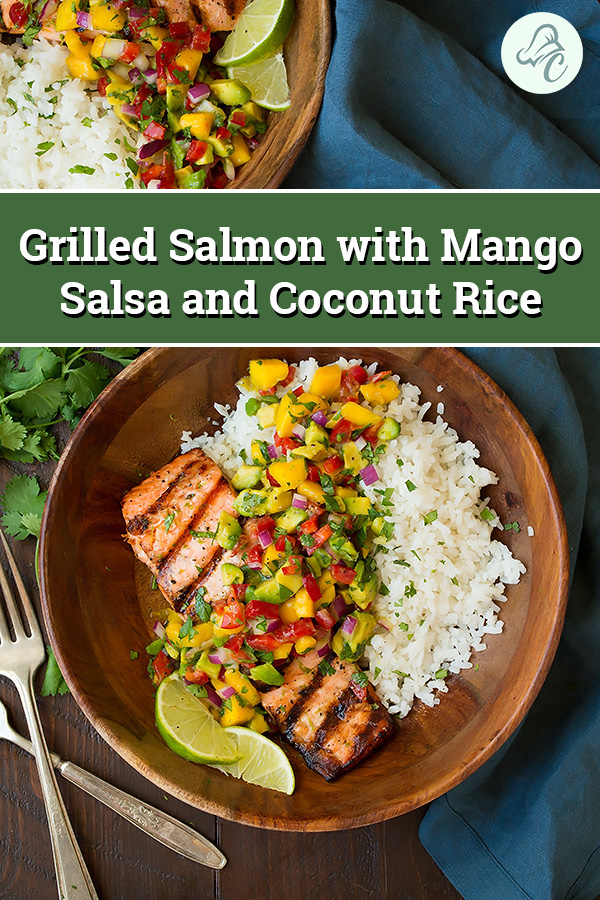
When it comes to capturing the essence of tropical flavors in a single meal, Grilled Lime Salmon with Mango Salsa and Coconut Rice stands out as a true culinary gem. This vibrant dish combines the zesty tang of lime-infused salmon, the sweet and spicy notes of mango salsa, and the creamy richness of coconut rice. It’s a perfect choice for a refreshing summer dinner or a special occasion meal. In this blog, we’ll guide you through everything you need to know to create this delightful dish at home.
Table of Contents
About This Recipe
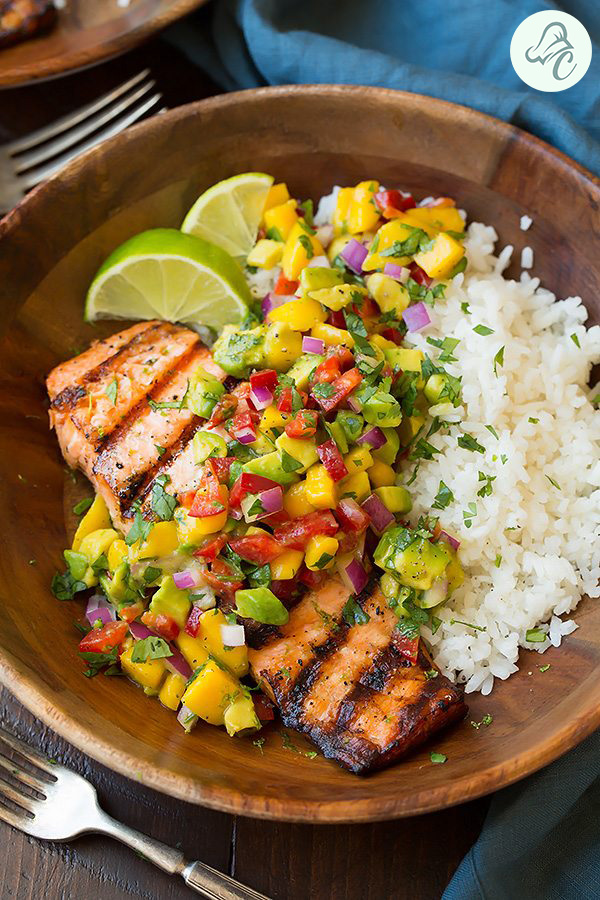
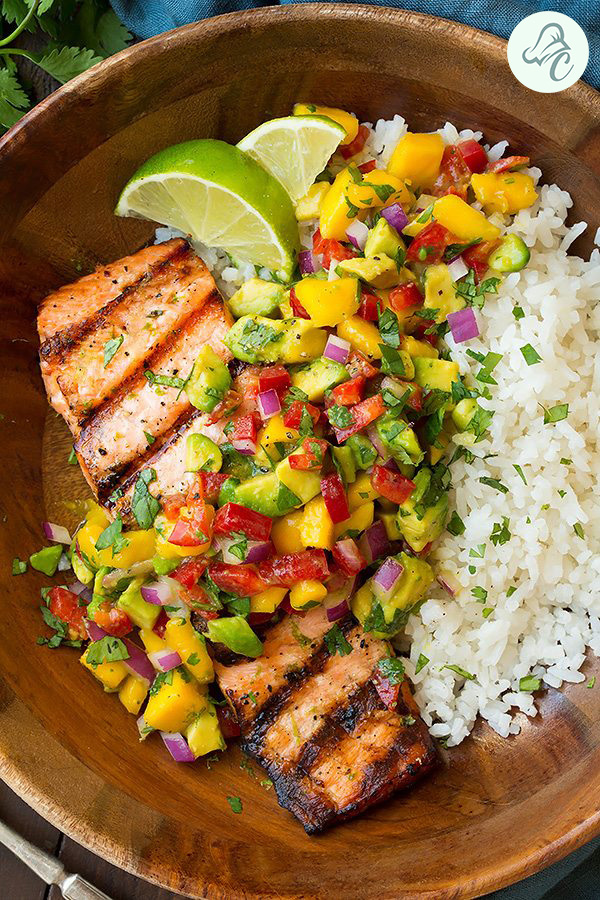
Grilled lime salmon with mango salsa and coconut rice is more than just a meal; it’s an experience. The salmon is marinated in a blend of lime juice, olive oil, and garlic, then grilled to perfection. The mango salsa adds a burst of color and flavor with its combination of ripe mangoes, red bell pepper, red onion, and jalapeño. The coconut rice recipe provides a creamy, slightly sweet base that ties all the flavors together beautifully.
This dish is perfect for those looking to enjoy a healthy, delicious meal that’s easy to prepare. Whether you’re cooking for family, entertaining guests, or simply treating yourself, this recipe is sure to impress.
In a small bowl, combine the olive oil, lime juice, lime zest, minced garlic, salt, and pepper.
Place the salmon fillets in a shallow dish and pour the marinade over them, ensuring they are well-coated.
Cover and refrigerate for at least 30 minutes, allowing the flavors to penetrate the fish.
Step 2: Make the Mango Salsa
In a medium bowl, combine the diced mangoes, red bell pepper, red onion, jalapeño, and fresh cilantro.
Squeeze the juice of one lime over the mixture and add salt to taste.
Toss gently to combine and set aside. The mango salsa can be made ahead of time and stored in the fridge for up to a day.
Step 3: Cook the Coconut Rice
Rinse the jasmine rice under cold water until the water runs clear. This helps remove excess starch and prevents the rice from becoming too sticky.
In a medium saucepan, combine the rice, coconut milk, water, sugar, and salt.
Bring to a boil over medium-high heat, then reduce the heat to low, cover, and simmer for 18-20 minutes, or until the rice is tender and the liquid is absorbed.
Remove from heat and let it sit, covered, for 5 minutes before fluffing with a fork. This step is crucial for achieving perfectly cooked rice.
Step 4: Grill the Salmon
Preheat your grill to medium-high heat.
Remove the salmon from the marinade and place it on the grill, skin-side down.
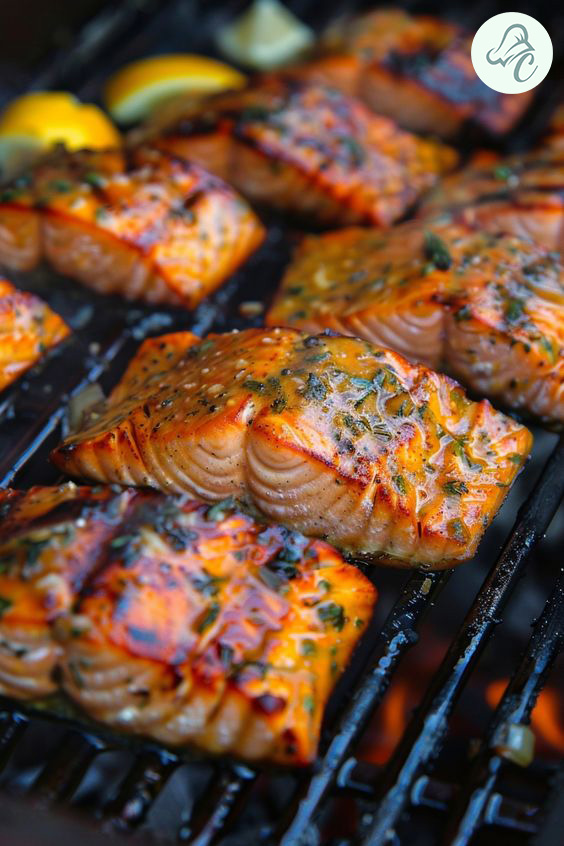
Grill for about 4-6 minutes per side, or until the salmon is cooked through and has nice grill marks. Be careful not to overcook the salmon, as it can become dry.
Remove from the grill and let it rest for a few minutes. Resting allows the juices to redistribute throughout the fish, making it more flavorful and tender.
Step 5: Assemble the Dish
Place a generous scoop of coconut rice on each plate.
Top with a grilled salmon fillet.
Spoon the mango salsa over the salmon.
Garnish with fresh cilantro and serve immediately.
Tips
Use Fresh Ingredients: Fresh lime juice and zest, ripe mangoes, and fresh cilantro will elevate the flavors of this dish. Quality ingredients make a significant difference in the final taste.
Marinate the Salmon: Letting the salmon marinate for at least 30 minutes ensures it absorbs the lime and garlic flavors. For a more intense flavor, you can marinate the salmon for up to 2 hours.
Adjust the Spice: If you prefer a milder salsa, remove the seeds from the jalapeño or omit it entirely. Alternatively, for extra heat, add an extra jalapeño or some red pepper flakes.
Health Benefits
This tropical dish is not only delicious but also packed with nutrients. Salmon is rich in omega-3 fatty acids, which are beneficial for heart health and brain function. Mangoes provide vitamins A and C, which are important for immune function and skin health. Coconut rice offers a source of healthy fats and adds a creamy texture without the need for dairy. This combination of ingredients makes for a balanced meal that is both satisfying and nutritious.
Variations
Alternate Fish: If you’re not a fan of salmon, you can substitute it with other types of fish like mahi-mahi, tilapia, or even shrimp.
Different Salsas: Try using a pineapple or papaya salsa for a different tropical twist. Each fruit brings its own unique flavor and texture to the dish.
Vegetarian Option: Replace the salmon with grilled tofu or portobello mushrooms for a vegetarian version of this dish. These alternatives still provide a satisfying, protein-rich component.
FAQs
Q: Can I make the coconut rice recipe ahead of time?
A: Yes, you can prepare the coconut rice a day in advance. Just reheat it gently before serving to maintain its creamy texture.
Q: How long does the mango salsa last in the fridge?
A: Mango salsa can be stored in an airtight container in the refrigerator for up to 2 days. It’s best enjoyed fresh but can still taste great the next day.
Q: What can I serve with this dish?
A: This dish pairs well with a side of steamed vegetables, a fresh green salad, or even some grilled pineapple for an extra tropical touch.
Q: Can I bake the salmon instead of grilling it?
A: Absolutely! If you don’t have a grill, you can bake the salmon in a preheated oven at 400°F (200°C) for 12-15 minutes, or until it flakes easily with a fork.
Q: What type of coconut milk should I use?
A: Use full-fat coconut milk for the richest flavor and creamiest texture in your rice. Light coconut milk can be used if you’re looking to reduce calories, but the result will be less creamy.
Nutritional Value (per serving)
Calories:
520
Protein:
35g
Carbohydrates:
45g
Fat:
22g
Fiber:
4g
Sugar:
12g
Conclusion
Grilled lime salmon with mango salsa and coconut rice is a delightful combination of flavors and textures that will transport your taste buds to a tropical paradise. This dish is a testament to how simple ingredients can come together to create something truly special. Whether you’re looking for a healthy dinner option or a dish to impress your guests, this recipe is sure to be a hit.
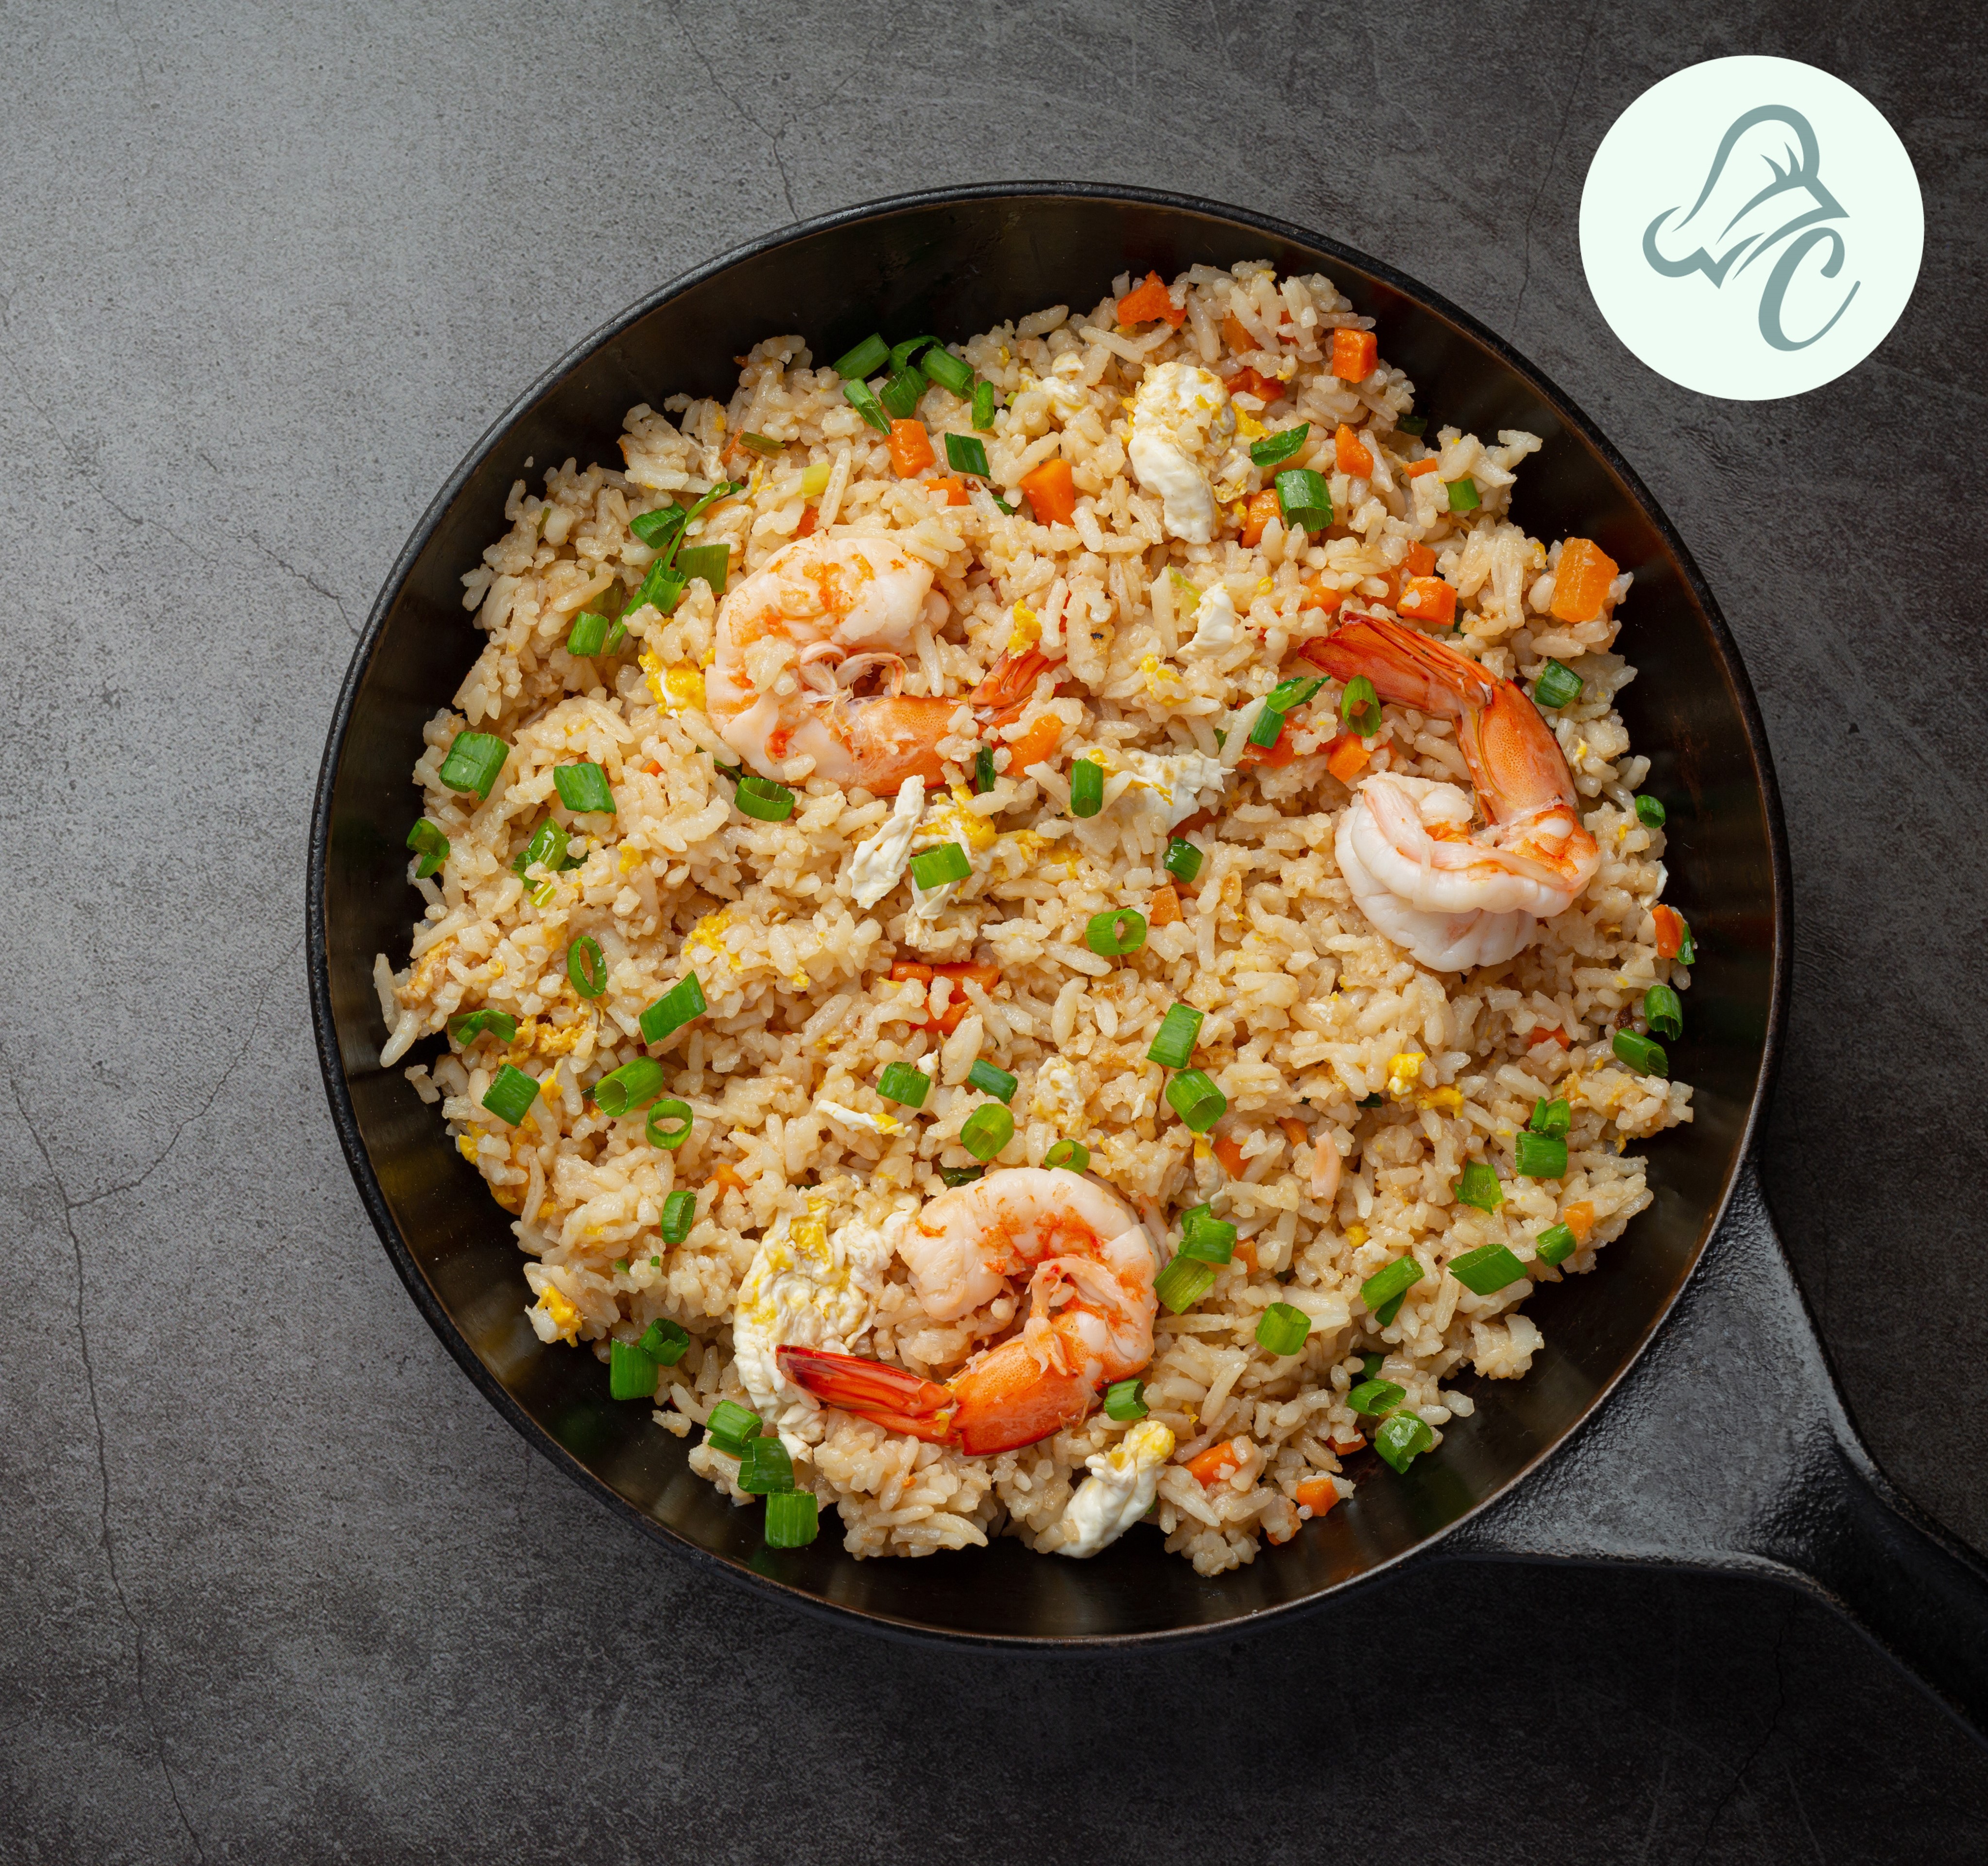
Today, we’re diving into a delectable dish that brings the essence of coastal cuisine to your kitchen: An authentic Shrimp Rice recipe. This blog will guide you through a flavorful journey, making sure you have a perfect dish for dinner or any occasion.
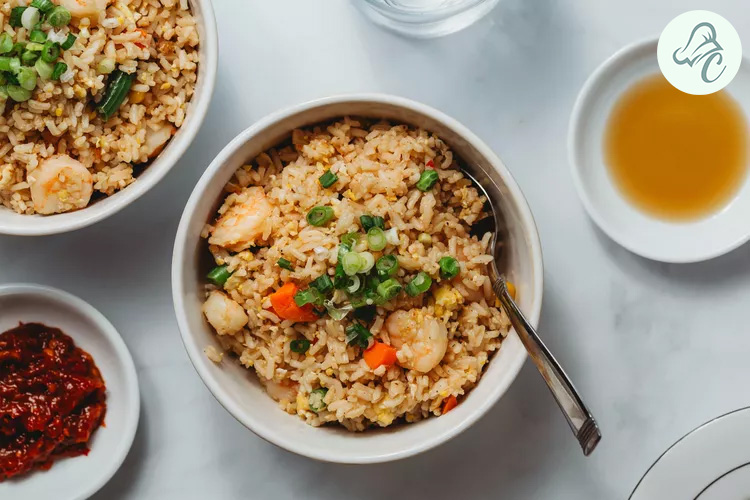
If you’re a fan of seafood and looking for a dish that’s both delicious and easy to make, then shrimp rice recipes are a perfect choice. Whether you’re seeking shrimp rice recipes for dinner or want to explore our shrimp rice recipe Indian style, this blog has you covered. Get ready to tantalize your taste buds with this mouth-watering shrimp rice bowl recipe!
Table of Contents
About the Shrimp Rice Recipe
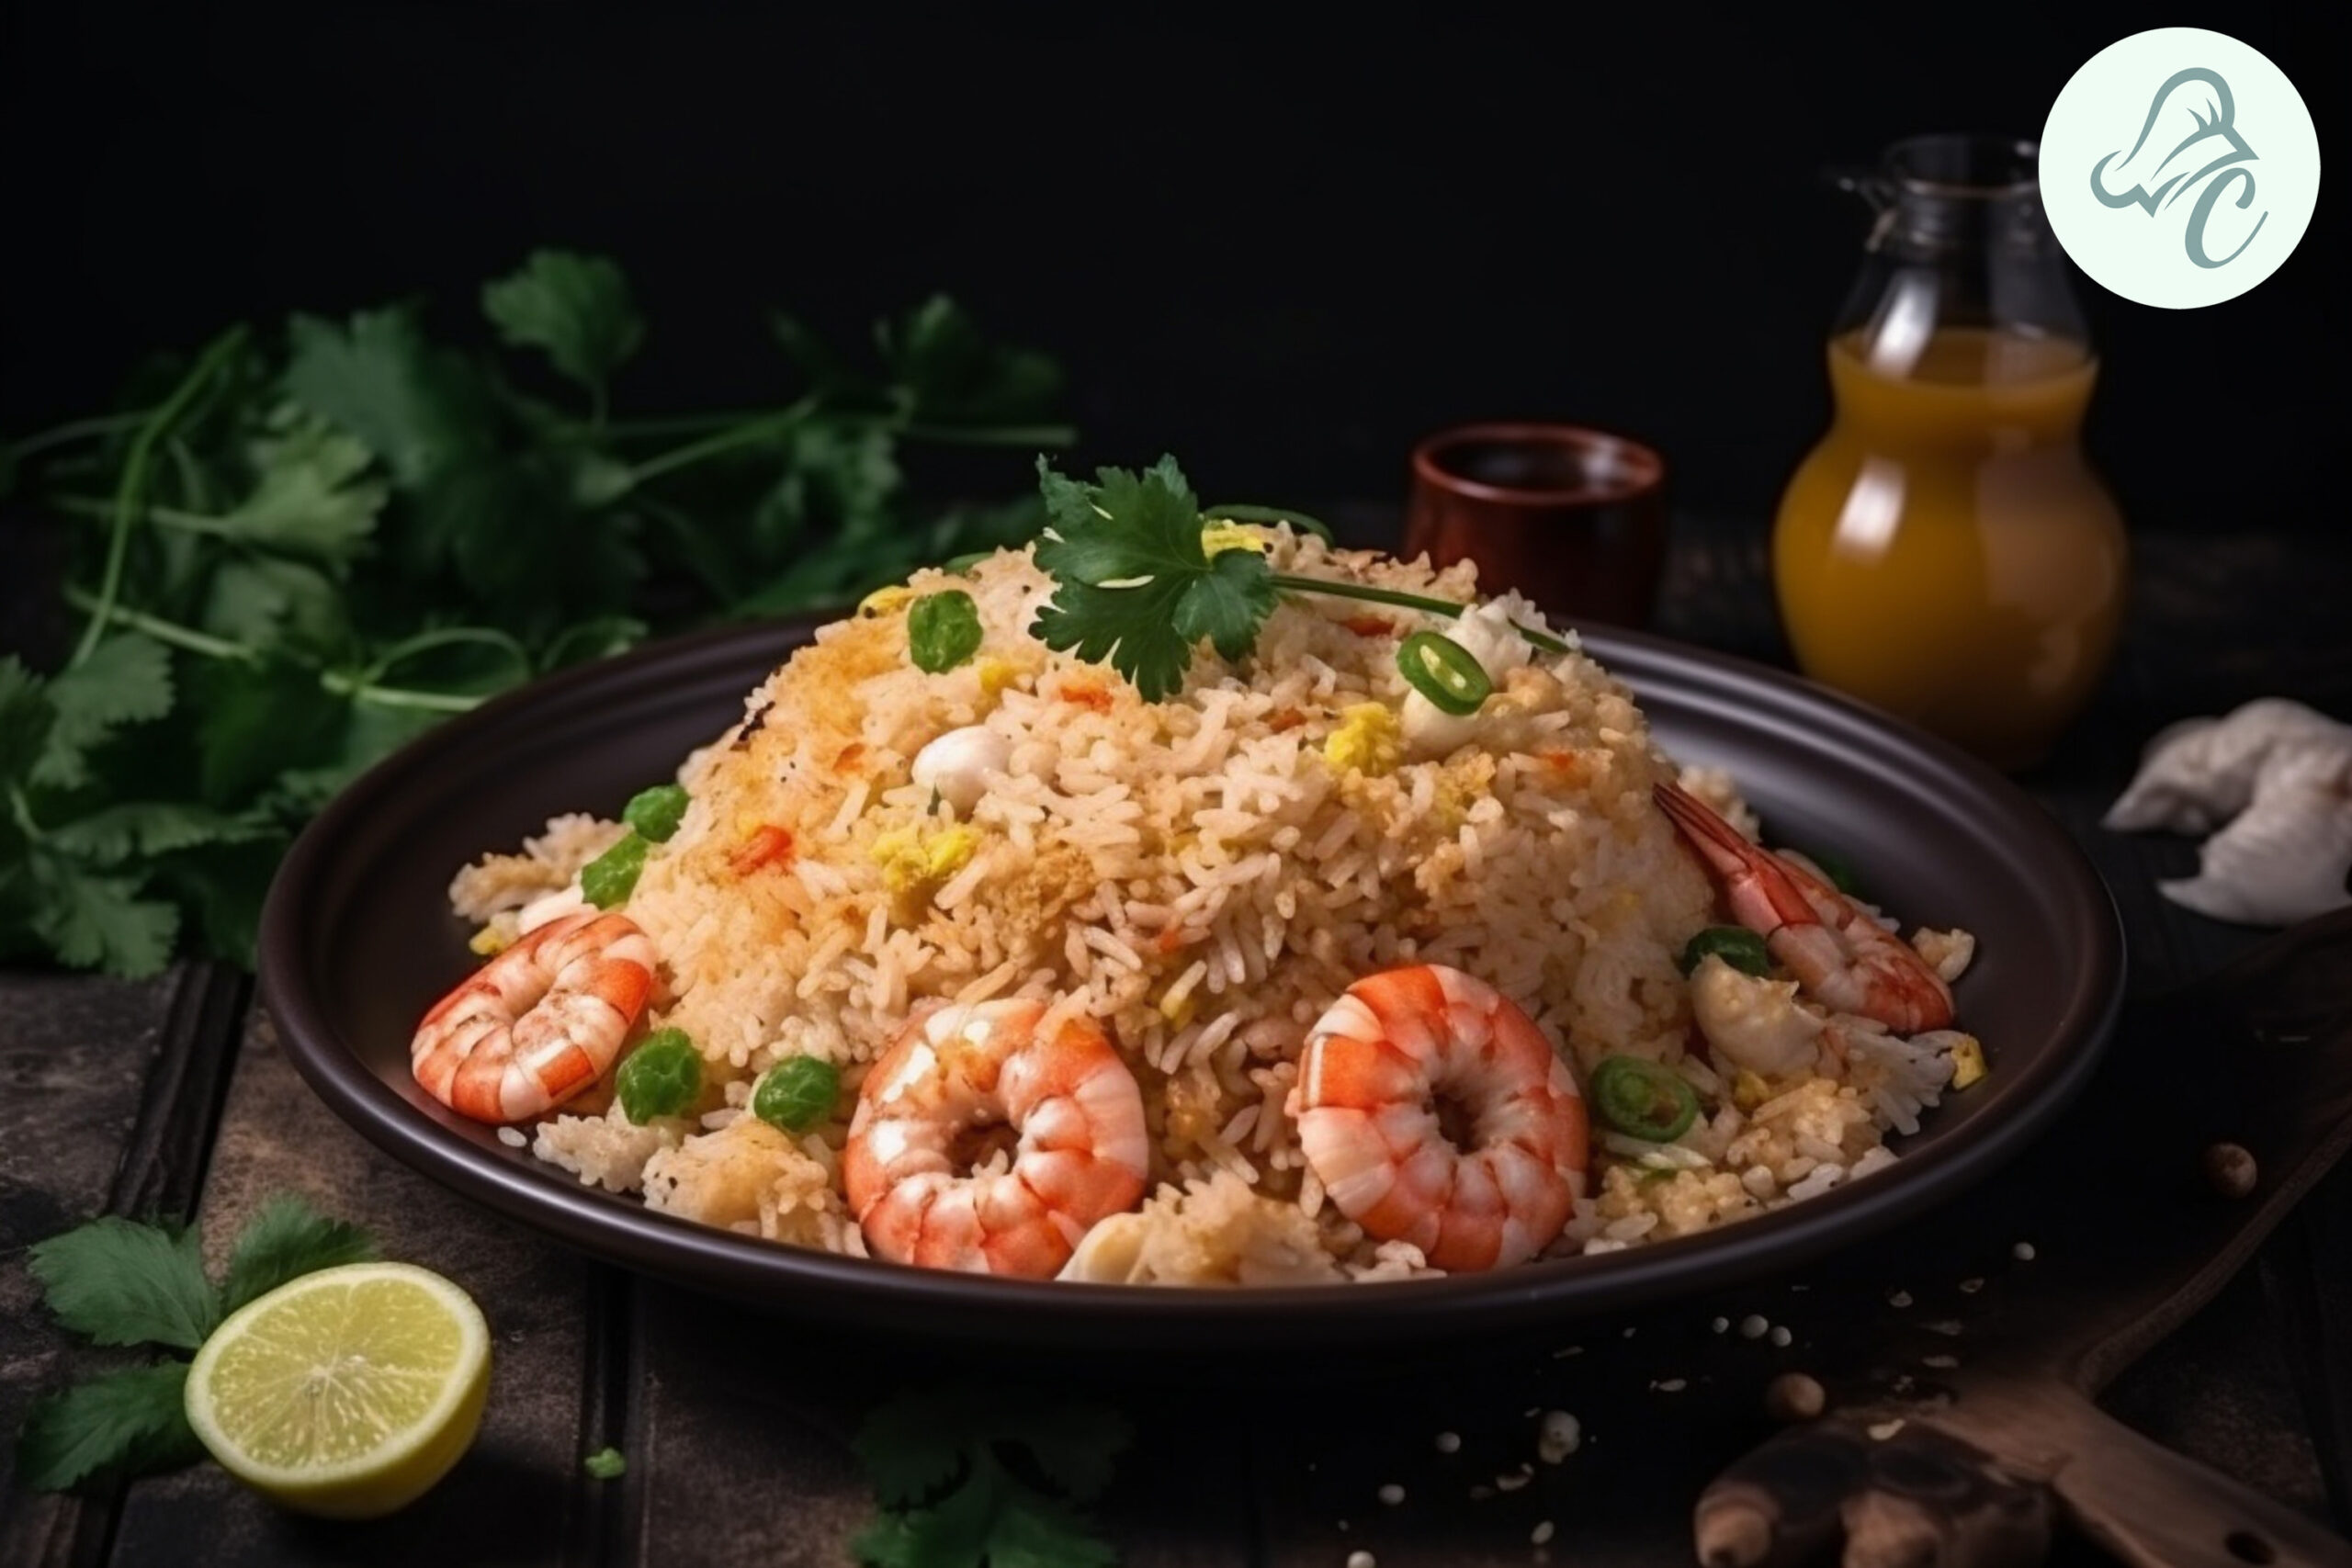
Shrimp rice is a versatile dish that can be prepared in various styles. The recipe we’re sharing today blends traditional flavors with a touch of coastal cuisine. Perfect for dinner, it’s a delightful mix of succulent shrimp, fragrant spices, and perfectly cooked rice. Whether you’re a beginner or an experienced cook, this shrimp rice recipe will become a staple in your kitchen.
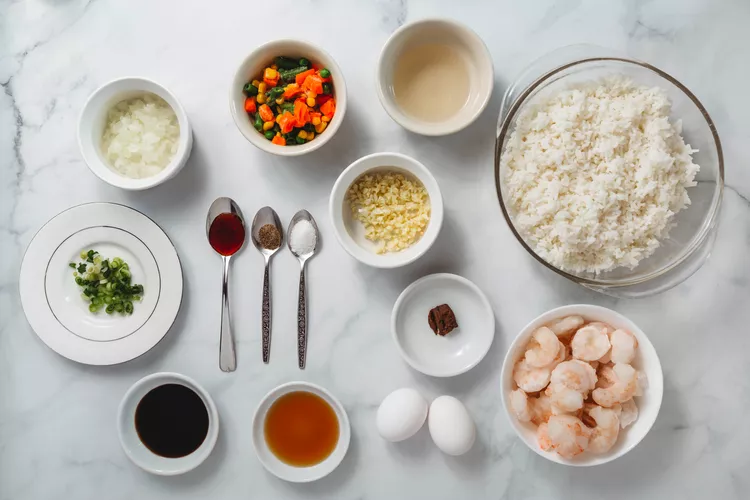
Ingredients
Here’s what you’ll need to create this authentic dish:
Prepare the Rice: Rinse the basmati rice under cold water until the water runs clear. Soak the rice in water for 30 minutes, then drain.
Cook the Rice: In a large pot, bring 4 cups of water to a boil. Add the drained rice and a pinch of salt. Cook until the rice is 80% done, then drain and set aside.
Marinate the Shrimp: In a bowl, mix the shrimp with turmeric powder, red chili powder, and a pinch of salt. Let it marinate for 15 minutes.
Sauté the Shrimp: Heat 2 tablespoons of oil in a large pan over medium heat. Add the shrimp and cook until they turn pink. Remove the shrimp from the pan and set aside.
Prepare the Masala: In the same pan, add the remaining oil. Add cumin seeds and bay leaves. Once they splutter, add the chopped onions and sauté until golden brown. Add the ginger-garlic paste and cook until the raw smell disappears.
Add Tomatoes and Spices: Add the chopped tomatoes, turmeric powder, red chili powder, and salt. Cook until the tomatoes are soft and the oil starts to separate. Stir in the garam masala.
Combine Everything: Add the sautéed shrimp to the masala and mix well. Gently fold in the partially cooked rice. Cover the pan and let it cook on low heat for 10-15 minutes, allowing the flavors to meld together.
Garnish and Serve: Garnish with fresh cilantro and serve with lemon wedges.
Tips
Fresh Shrimp: Always use fresh shrimp for the best flavor.
Rice Texture: Be careful not to overcook the rice in the initial boiling stage to avoid a mushy texture.
Spice Level: Adjust the chili powder according to your spice preference.
Health Benefits
This Shrimp rice recipe offers a balanced meal with lean protein from the shrimp and complex carbohydrates from the rice. Shrimp is low in calories and rich in essential nutrients like iodine, selenium, and vitamin B12. Combined with the antioxidants and vitamins from the spices and vegetables, this dish is as nutritious as it is delicious.
Variations
Shrimp Rice Recipe Indian Style: Add a dash of coconut milk and curry leaves for a South Indian twist.
Spicy Shrimp Rice Bowl Recipe: Incorporate extra chilies and a splash of lime juice for a zesty kick.
Vegetable Shrimp Rice: Add your favorite veggies like bell peppers, peas, or carrots for added color and nutrition.
FAQs
Q: Can I use frozen shrimp? A: Yes, but ensure they are thawed and well-drained before cooking.
Q: How do I store leftovers? A: Store in an airtight container in the fridge for up to 2 days. Reheat gently to avoid overcooking the shrimp.
Q: Can I make this dish in advance? A: Yes, you can prepare the masala and shrimp ahead of time. Cook the rice fresh for the best texture.
Nutritional Value
Calories:
350
Protein:
25g
Fat:
10g
Carbohydrates:
45g
Fiber:
3g
Additional Steps
Making it a One-Pot Meal: After sautéing the shrimp, set them aside and use the same pot for the rice and masala. This not only saves on cleanup but also infuses the rice with even more flavor from the shrimp.
Infused Water: When boiling the rice, add a few whole spices like cloves, cardamom, and a cinnamon stick to the water for extra fragrance.
Butter or Ghee: For a richer taste, replace vegetable oil with butter or ghee while sautéing the onions and spices.
Serving Suggestions
With Raita: Serve the shrimp rice with a side of cucumber raita to balance the spice with cool, creamy yogurt.
Salad: A fresh salad with a tangy vinaigrette pairs wonderfully with the rich flavors of the shrimp rice.
Bread: Warm naan or paratha can complement the dish and make the meal even more satisfying.
Presentation Tips
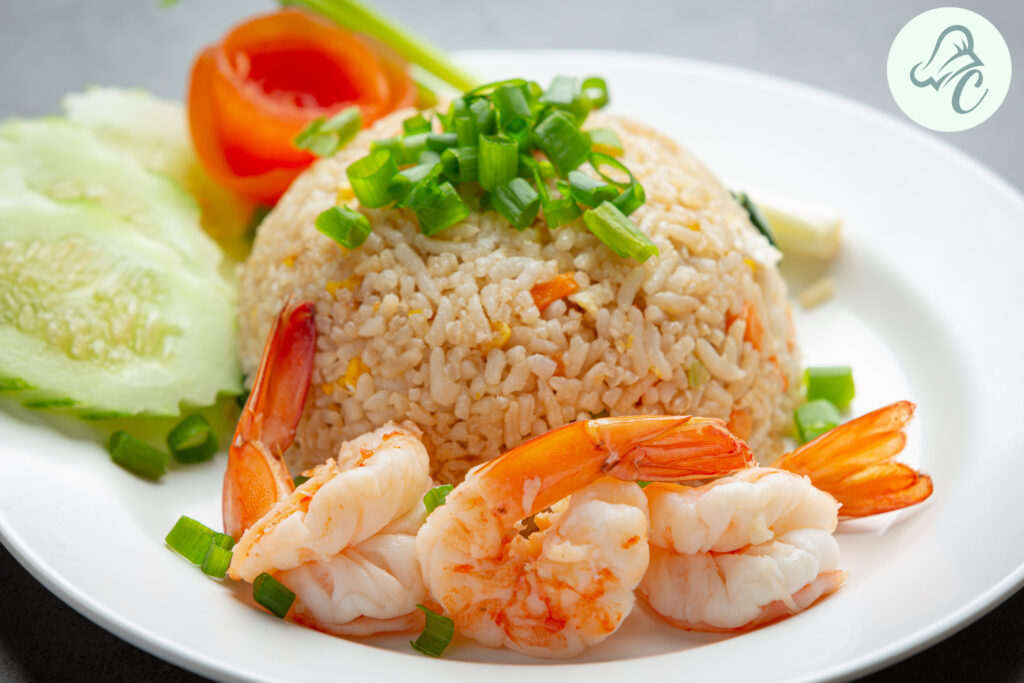
Layering: When serving, layer the rice and shrimp masala beautifully to showcase the vibrant colors.
Garnishing: Garnish with freshly chopped cilantro and a sprinkle of fried onions for a professional touch.
Serving Dish: Use a traditional serving dish or bowl to enhance the aesthetic appeal of your shrimp rice bowl recipe.
Cooking Techniques
Deglazing: After sautéing the onions and spices, deglaze the pan with a splash of water or broth to lift all the flavorful bits from the bottom.
Slow Cooking: If time permits, cook the shrimp rice on low heat for an extended period to allow the flavors to meld deeply.
Conclusion
Authentic Shrimp Rice recipe is a dish that brings the flavors of the coast right to your dinner table. Perfect for any occasion, this recipe is easy to follow and guaranteed to impress. Whether you’re looking for shrimp rice recipes, shrimp rice recipes for dinner, or a flavorful shrimp rice bowl recipe, this dish is sure to become a favorite. Enjoy the rich, aromatic flavors and the satisfaction of a well-made meal. Happy cooking!
Indulging in decadent dessert bars while maintaining a keto lifestyle or exploring decadent dessert recipes that are also decadent low-calorie desserts can be a delightful journey into the world of guilt-free indulgence. In this guide, we explore how to satisfy your sweet cravings with keto-friendly twists on classic treats. From creamy cheesecake bars to rich chocolate truffles and almond joy bars, these recipes are designed to keep you on track with your dietary goals while enjoying every bite.
Table of Contents
About Keto-Friendly Diet Recipes
Keto-friendly desserts are a delicious solution for those craving something sweet without the guilt. By using ingredients like almond flour, coconut oil, and sugar substitutes such as erythritol or stevia, these desserts are not only decadent low-calorie desserts but also support a healthy lifestyle. Whether you’re new to keto or a seasoned enthusiast, these recipes offer a variety of flavors and textures to satisfy your cravings.
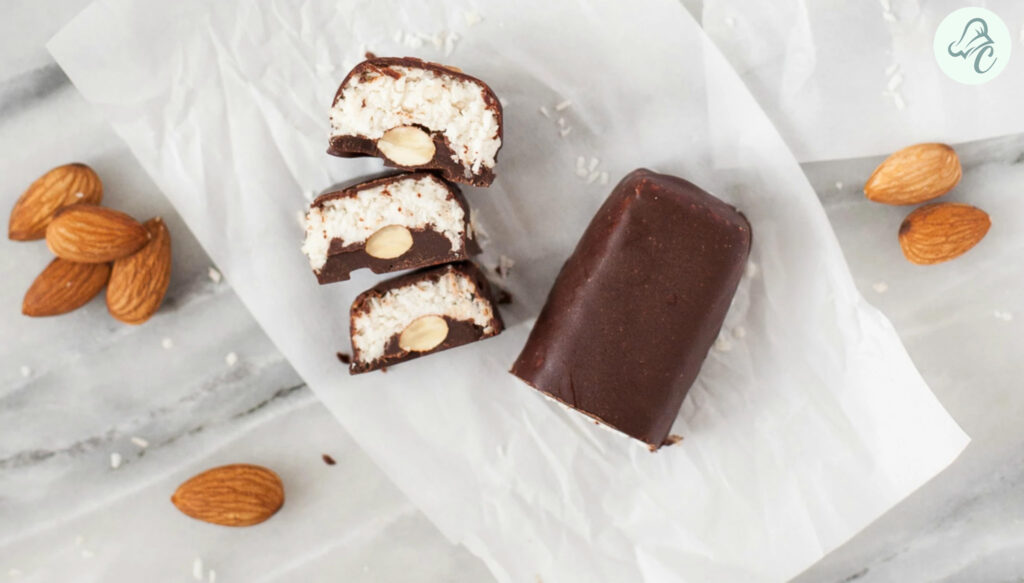
In a mixing bowl, combine the shredded coconut, melted coconut oil, powdered sweetener, and vanilla extract.
Mix well until all the ingredients are thoroughly combined.
Form the Bars:
Line a baking sheet with parchment paper.
Scoop out about 1 tablespoon of the coconut mixture and shape it into a small bar. Repeat this process until all the mixture is used.
Place one almond on top of each bar, pressing it slightly into the coconut mixture.
Chill the Bars:
Place the bars in the freezer for about 30 minutes or until they are firm.
Prepare the Chocolate Coating:
In a microwave-safe bowl, combine the sugar-free dark chocolate chips and heavy cream.
Microwave in 20-second intervals, stirring in between, until the chocolate is completely melted and smooth.
Coat the Bars:
Remove the coconut bars from the freezer.
Dip each bar into the melted chocolate, ensuring it is fully coated. Use a fork to lift the bar out of the chocolate, allowing any excess to drip off.
Place the coated bars back onto the parchment-lined baking sheet.
Set the Chocolate:
Return the bars to the freezer for another 15 minutes or until the chocolate coating is set.
Serve:
Enjoy the bars chilled or at room temperature. Store any leftovers in an airtight container in the refrigerator.
Tips for this Decadent Dessert Recipes
Use quality ingredients for the best flavor.
Adjust sweetness to taste with your preferred keto-friendly sweetener.
Chill desserts thoroughly for optimal texture.
Health Benefits
Low in carbs, suitable for ketogenic diets.
Rich in healthy fats from almond flour, butter, and cream cheese.
Free from refined sugars, supporting stable blood sugar levels.
Variations of a Keto-Friendly Desserts
Customize flavors with different extracts like almond or mint.
Experiment with toppings like berries or sugar-free caramel drizzle.
Substitute the almonds with other nuts like pecans or walnuts in the Keto Almond Joy Bars.
Add a few drops of almond extract to the coconut mixture for an extra nutty flavor in the Keto Almond Joy Bars.
FAQs
Q: Can I freeze these desserts?
Yes, most keto desserts freeze well. Store in airtight containers for up to a month.
Q: Can I substitute almond flour with coconut flour?
Yes, but adjust quantities as coconut flour absorbs more liquid.
Nutritional Value (per serving)
Keto Cheesecake Bars:
Calories 220, Fat 20g, Carbs 4g, Protein 5g
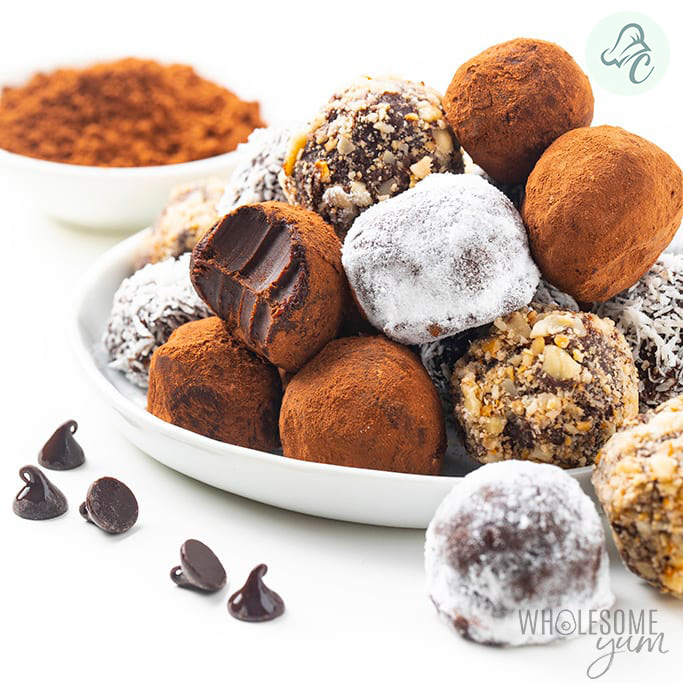
Keto Chocolate Truffles:
Calories 120, Fat 10g, Carbs 3g, Protein 2g
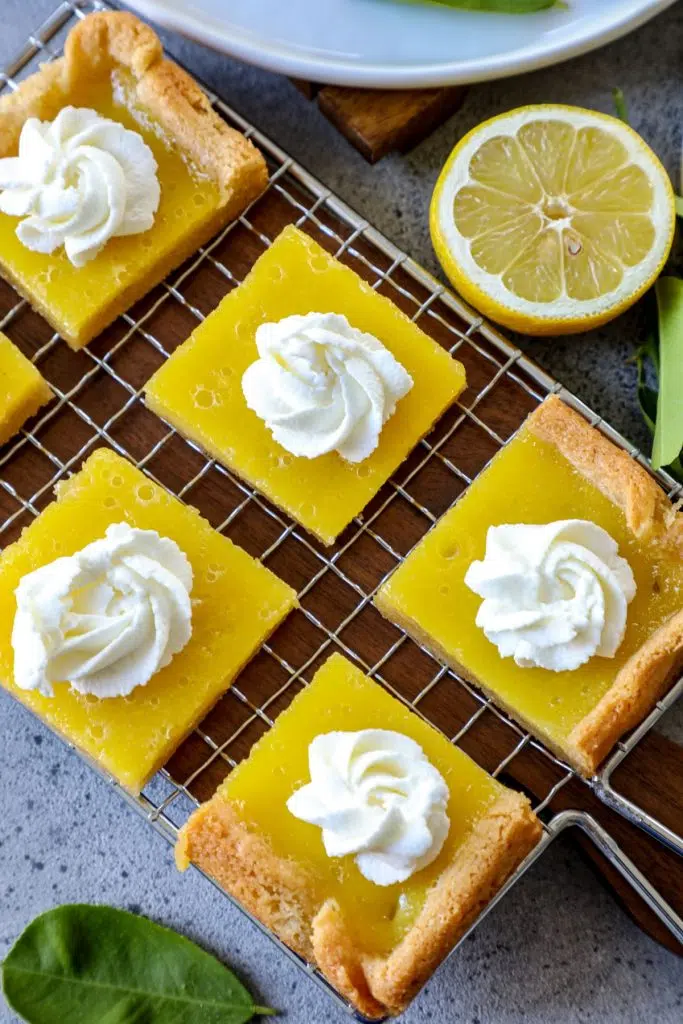
Keto Lemon Bars:
Calories 180, Fat 15g, Carbs 5g, Protein 4g
Keto Almond Joy Bars:
Calories 180, Fat 15g, Carbs 5g, Protein 3g
Conclusion
Indulge in these decadent low-calorie desserts guilt-free. Whether you crave creamy cheesecake, rich chocolate truffles, tangy lemon bars, or delightful almond joy bars, these decadent dessert recipes offer a delicious twist to traditional desserts while supporting your keto lifestyle. Explore more keto-friendly and decadent dessert pastry options to satisfy your sweet cravings with Chef’s Home Around. For more delicious recipes, check out our Delicious Apple Crumble Recipe, Cinnamon Bites Recipe, and Light & Fluffy Waffles Recipe.
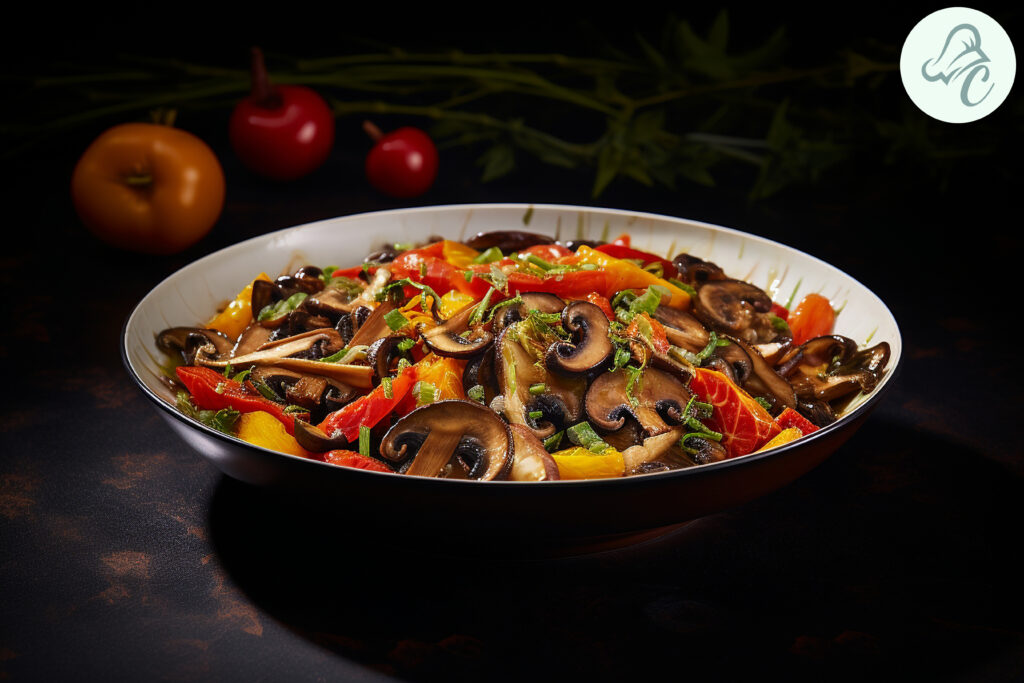
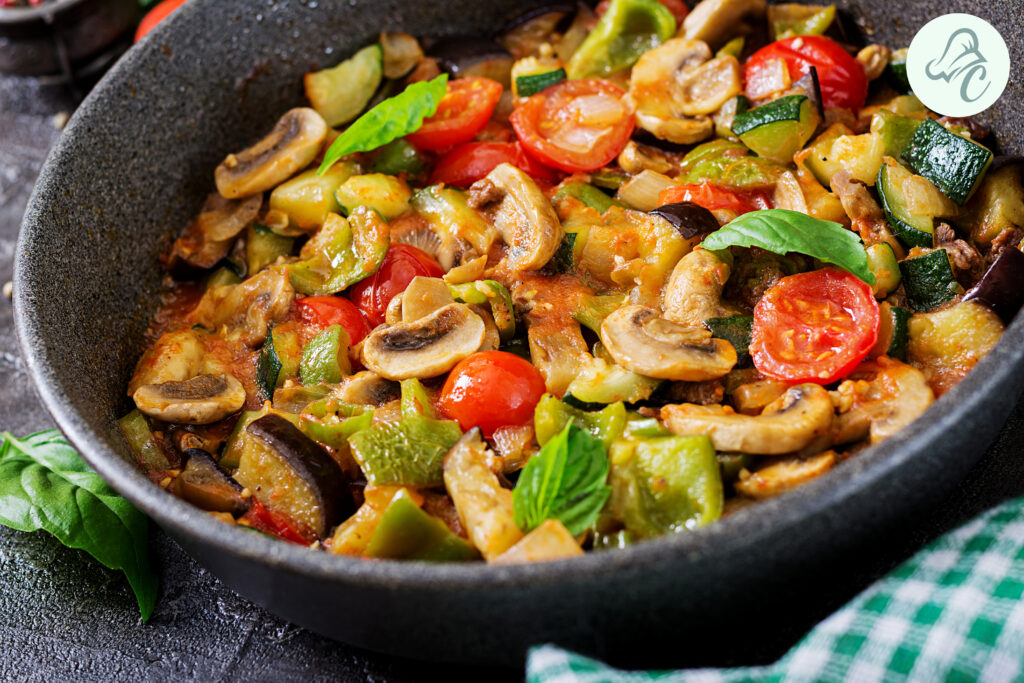
Incorporating a balanced diet is crucial in the quest for a healthier lifestyle. One of the best ways to achieve this is by embracing a vegetable diet plan for weight loss. Today, we bring you an enticing recipe: Mushroom with Sautéed Veggies. This dish not only bursts with flavors but also aligns perfectly with your veggie weight loss plan. Let’s dive into this nutritious and delicious journey.
Table of Contents
About Mushroom with Sautéed Veggies
I think that mushrooms can be added to any meal they are very delicious. They are calorie-limited and stand as a gourmet source of nutrition, thus making it easier for anybody on the veggie meal plan the lose excess weight. When served with sautéed vegetables this meal is a perfect source of all the vitamins, minerals, and antioxidant substances. Through sautéing, the nutrients contained in the vegetables are preserved and it is quite satisfying to the palate.
Finally, mushrooms are an excellent source of B vitamins, specifically, riboflavin, niacin, and pantothenic to list but a few, which are very vital in the metabolism and proper functioning of the human brain. It also contains selenium which is the antioxidant that seeks to protect cells from damage. Also, vitamin D and dietary fiber r sourced from mushrooms assist in digestion and have health benefits for the colon.
Indeed, when preparing virtually any sautéed veggies, there are numerous varieties that you can choose from. Among the vegetables that can prepared for the recipe include; bell peppers, zucchini, broccoli, carrots, and many others. Bell pepper plays a role in getting the body’s Vitamin C reserve which improves the immune system and skin. This vegetable has even fewer calories and possesses high amounts of antioxidants that are useful when it comes to increasing the health status of a person. Includes vitamins K and C, folate, and fiber which are beneficial to the heart and digestion process. Carrots contain a hormone essential in the vision of the eyes; the food also helps boost the body’s immunity.
Preparation: The vegetables used should be washed and chopped with the mushrooms also being washed and sliced if they are not pre-sliced. In case you are using chicken or tofu scramble them by dicing or cubing them.
Sautéing: Warm ½ cup of olive oil on a big pan and sit a medium heat on it. Sauté minced garlic and chopped onion till they become slightly golden brown, usually 1-2 minutes. Continue frying until the onion is almost turning into a different color, a more transparent one.
Adding Veggies: Place the bell peppers, zucchini, broccoli, and carrots in. Saute for roughly 5-7 minutes or whatever time will make the vegetables still slightly firm to the bite.
Adding Mushrooms: Turn chopped mushrooms into the pan. Cook for an additional five minutes or until the mushrooms are tender mainly because the rawness of the mushrooms is obvious from the appearance of the dish.
Seasoning: Cook until the aroma is given off, and follow by adding sweet soy sauce, salt, and black pepper. Stir well to combine.
Finishing Touch: Finally add the lemon juice over the veggies and garnish with some pepper.
Serving: It is best eaten hot; it can be served as a one-pot dish or as an accompaniment.
Non-Vegetarian Variation:
Cooking Chicken: In the second pan, heat one tablespoon of olive oil, the extra virgin olive oil. Place chicken breast in the pan dice it into small pieces and let it simmer until fully cooked.
Combining: Toss the cooked chicken with the sautéed veggies and mushrooms. Serve hot.
Vegetarian Variation:
Cooking Tofu: In another pan sauté one tablespoon of olive oil. Place the cubed tofu into the pan and fry until it turns golden brown on both sides.
Combining: Stir the tofu with the vegetables and mushrooms which have been sautéed. Serve hot.
Tips for Stir fried veggies with mushroom
Better prepare this using fresh vegetables because it will improve the taste and of course, health benefits that you can get.
Season high-quality salt and high-quality pepper or as you want.
For that extra flavor, wash and soak some red chili flakes and pound with a mortar and pestle before adding to the preparation of the dish.
They mostly accompany it with quinoa or brown rice to make it complete.
When sautéing the mushrooms do not overcrowd them to enhance their cook up to the required feel.
Sprinkle the dish with balsamic vinegar after mixing it, if you desire your food to be sour.
Indeed, for the creaminess, you may incorporate a tablespoon of Greek Yogurt or sour cream before serving the soup.
Health Benefits
It is a healthy recipe and will help the consumer who is aiming to have a flat belly due to containing nutritive values that aid in weight loss. Mushrooms are popular for having high immunity-boosting substances and can be taken in large proportions without the individual gaining weight. The assorted vegetables offer the body fiber, vitamins, and minerals and help in the digestion of foods also helps one to have less appetite. This circumstance makes it a proper selection for people who prefer a veggie diet meal plan.
Variations
Spicy Kick: However, to make it even spicier, you can include some finely chopped jalapenos or even red pepper flakes.
Herb Infusion: It is also in your interest to add some more seasons to the dish including parsley, basil, or thyme for short flavors.
Asian Twist: For the Asian type of smoothie bowl add about a tablespoon of ginger and 5-7 drops of rice vinegar.
Mediterranean Flair: A few shavings of sun-dried tomatoes, and olives; a handful of feta cheese will heighten the Mediterranean feel of the dish.
Creamy Delight: Pour coconut milk or almond milk for the soup to be thicker in texture than most normal soups.
Nuts and Seeds: Sprinkle toasted nuts, like almonds or sesames, or seeds into the mixture, just a handful to have the crunch factor in the food.
FAQs
1. Can I use other vegetables in this recipe?
Absolutely! Feel free to use any vegetables you prefer or have on hand. Spinach, kale, or green beans would be great additions.
2. How can I store leftovers?
Store any leftovers in an airtight container in the refrigerator for up to 3 days. Reheat in a pan over medium heat until warmed through.
3. Is this recipe suitable for meal prep?
Yes, it’s perfect for meal prep. Prepare a larger batch and store it in portioned containers for easy grab-and-go meals throughout the week.
4. Can I make this recipe vegan?
Yes, by using tofu and ensuring that the soy sauce is vegan, this recipe can easily be made vegan.
5. What can I serve with this dish?
This dish pairs well with quinoa, brown rice, or a fresh green salad. You can also serve it with a side of whole-grain bread.
Nutritional Value of Veggie Weight Loss Plan
Nutrient
Amount per Serving
Calories
150 kcal
Protein
5g
Carbohydrates
18g
Dietary Fiber
6g
Sugars
7g
Fat
7g
Saturated Fat
1g
Sodium
600mg
Potassium
700mg
Conclusion
This Mushroom with Sautéed Veggies recipe is quite tasty and nutritious, so, including it in the list of meals selected for weight loss will be perfect. This delicious dish can be taken by vegetarians and non-vegetarians alike thus making it to the list of rotational meals. Bear in mind that one of the significant forms of healthy living is a healthy diet. Check more recipes at Chef’s Home and move to the next step of your healthy diet.
Check out other delicious recipes like Lemon Chicken Salad and Egg Salad on our website for more healthy meal options.
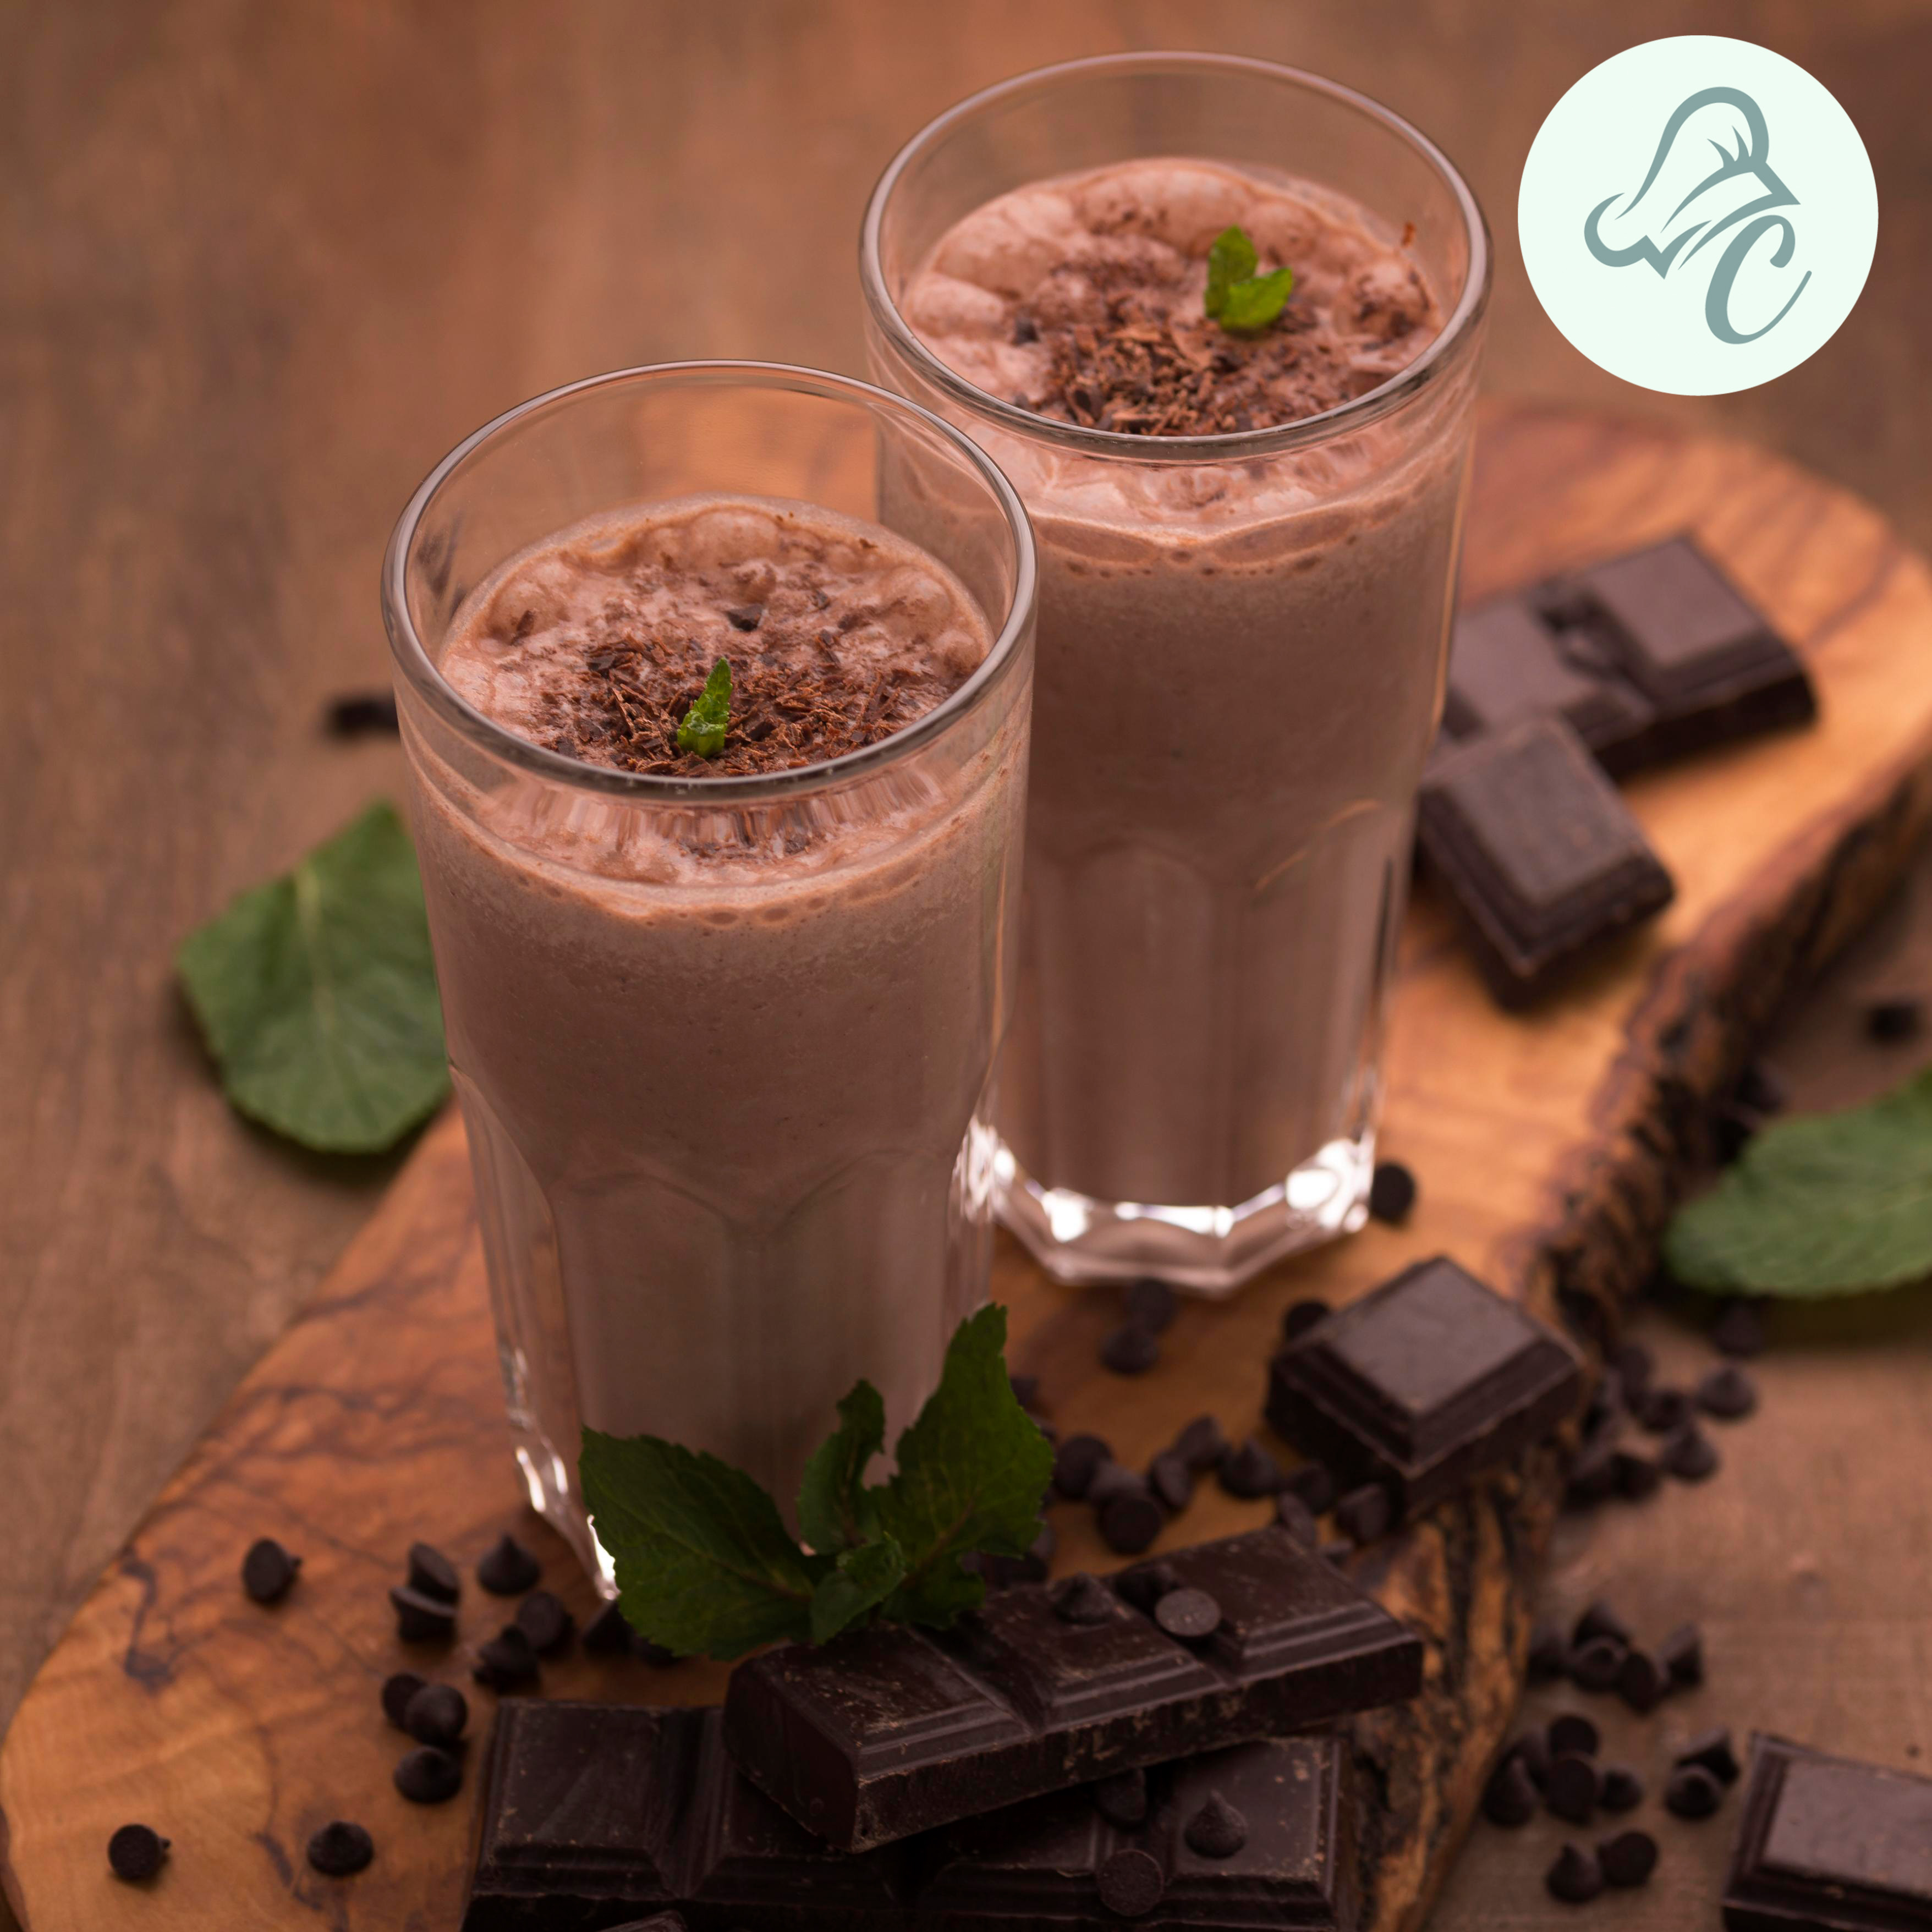
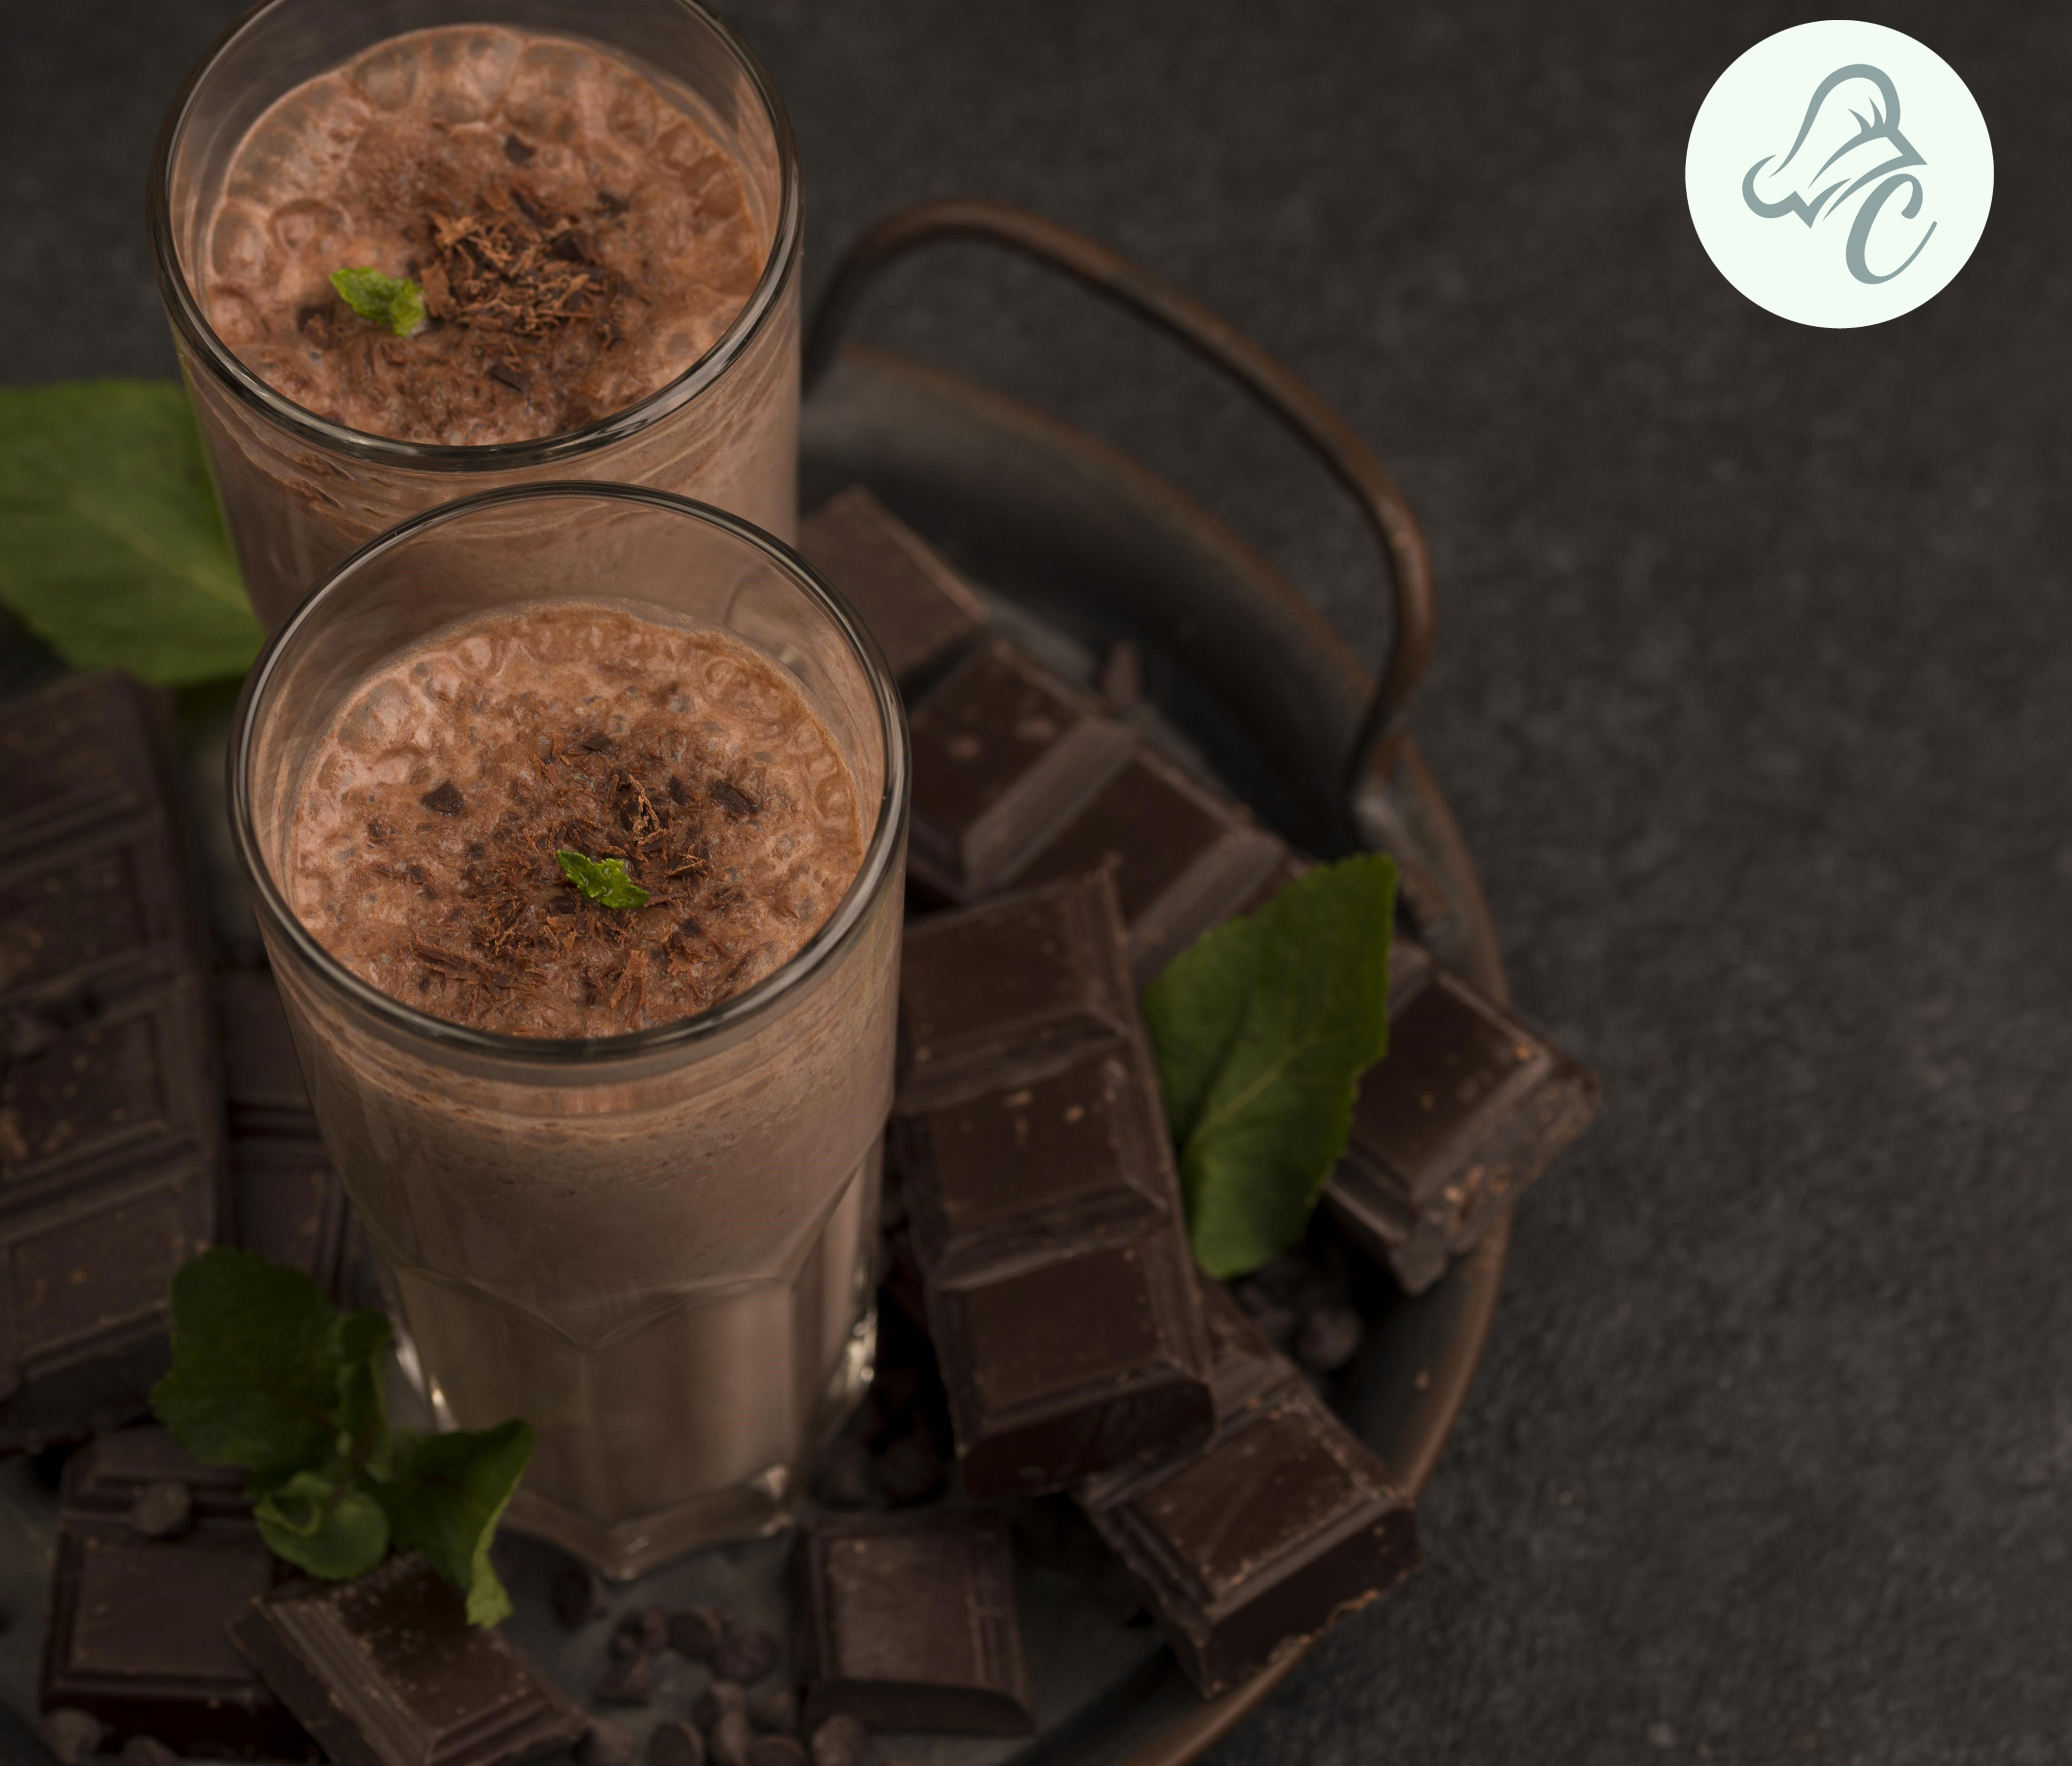
Chocolate is a favorite all around the world. However, it comes with feelings of guilt often due to its high sugar and calorie content. What if you could have a sumptuous chocolate drink that tastes great and is nutritious too? This is where the healthy chocolate smoothie recipe comes in – a perfect answer for guilt-free indulgence. It is a smoothie designed to satisfy your craving for sweets while providing numerous health benefits. Whether you want something to refuel you after exercise, a filling breakfast, or even just an after-dinner treat then this cocoa smoothie will be your go-to choice. This blog will take you through creating a healthy chocolate shake that’s as good tasting as it is nourishing and can be made using simple ingredients found in your home cupboard.
Table of Contents
About Chocolate Smoothie
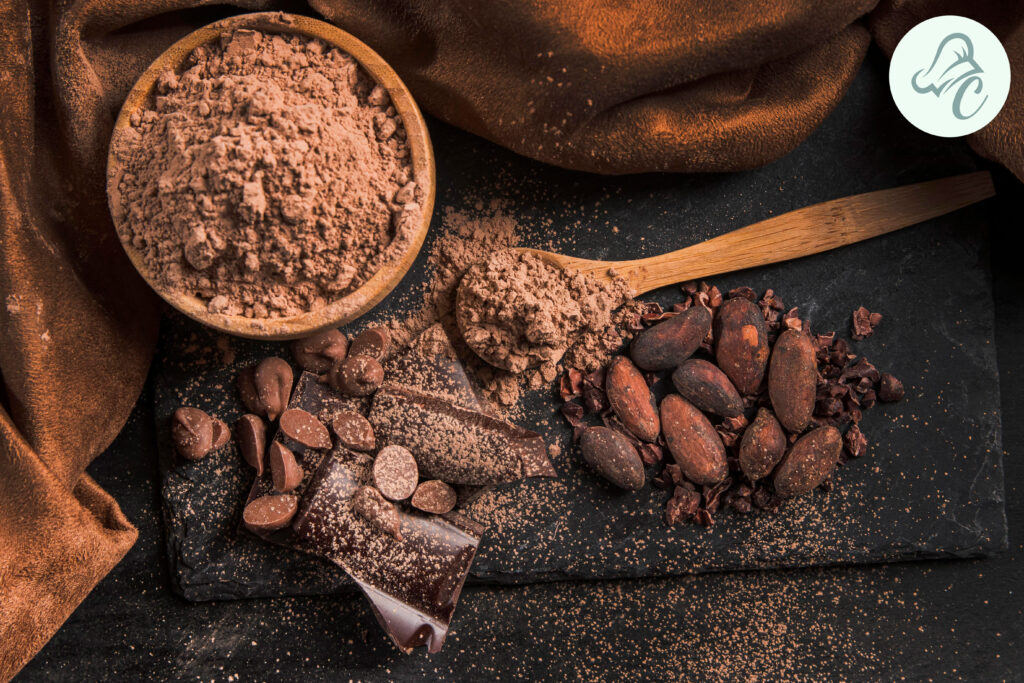
A chocolate smoothie is a combination of several components that are put together to form a delicious creamy drink with a chocolate taste. Unlike the commercial chocolate product known as Shake which is filled with sugar and milk, the healthy chocolate smoothie is made from whole foods. The main ingredient ‘cocoa powder ‘used in the preparation of the cake adds a special taste to chocolate and at the same time has health benefits. Together with elements such as almond milk, bananas, and nut butter, you can achieve a toothsome and healthy beverage labeled as a smoothie. This cocoa smoothie is designed for everybody who wants to have chock latency healthily. It is very flexible, and simple to prepare and it can be modified to suit various special needs and diet preferences.
Ingredients
To make a rich and healthy chocolate smoothie recipe, you’ll need the following ingredients:
1 ripe banana (frozen for a creamier texture)
1 cup unsweetened almond milk (or any milk of your choice)
1 tablespoon honey or maple syrup (optional, for added sweetness)
1/2 teaspoon vanilla extract
A pinch of sea salt
Ice cubes (optional, for a thicker consistency)
Instructions
Prepare Ingredients: Prepare all the materials described in the recipes, the list of which is given below: However, for those who would like to enjoy a thick consistent smoothie, it is recommended that one freeze the banana before blending.
Blend: Add the banana, almond milk, cocoa, almond nut butter, chia seeds, honey/check maple syrup if using, vanilla essence and pinch of sea salt into a blending machine.
Mix: Beat on high till the batter is smooth and of thick consistency, this should take 2 minutes or less. In case the mixture is too thick, then almond milk can also be used to thin it down after experimentation. In case the texture is not desirable, that is, if it is a little too smooth, some ice pieces should be incorporated and the contents of the blender should move one more time.
Serve: Mix, and then, carefully pour the smoothie into a glass. Extra chia seeds are also advisable, a pinch of cocoa powder or even a few pieces of bananas can also be added on.
Enjoy: Here is your healthy chocolate smoothie recipe filled with fruits and nuts
Tips for the Perfect Chocolate Smoothie
Freeze Bananas: Especially when using frozen bananas for a richer pudding consistency, it’s best to use small ramekins. Thick layers are attained and it also has a natural element of sweetness which is desirable in some dishes.
Adjust Sweetness: If you feel it is too sweet you can reduce the honey or maple syrup used in the recipe, or you can increase it if you want a sweeter taste.
Protein Boost: Stir in a scoop of your favorite protein powder for added nutritional value especially if you are having it after a workout.
Nut Butter: You vary the nut butter used for example cashew butter or hazelnut butter to vary the flavor.
Superfood Additions: Grow it in a handful of spinach or kale to incorporate more nutritional value than changing the taste.
Health Benefits
Healthy smoothies with cocoa powder offer numerous health benefits:
Rich in Antioxidants: Cocoa powder is packed with antioxidants, which help combat free radicals and reduce inflammation.
Heart Health: The flavonoids in cocoa powder support cardiovascular health by improving blood flow and lowering blood pressure.
Energy Boost: Bananas and almond butter provide a steady release of energy, making this smoothie a great option before or after a workout.
Nutrient-Dense: Chia seeds and almond milk add essential nutrients like omega-3 fatty acids, calcium, and fiber to your diet.
Variations
Peanut Butter Chocolate Smoothie: Swap almond butter for peanut butter for a classic flavor combination.
Berry Chocolate Smoothie: Add a handful of frozen berries like strawberries or blueberries for a fruity twist.
Mocha Smoothie: Add a teaspoon of instant coffee granules to create a mocha flavor.
Mint Chocolate Smoothie: Add a few fresh mint leaves or a drop of peppermint extract for a refreshing minty taste.
FAQs
Q1: Can I use a different milk alternative?
Yes, you can choose any other milk alternatives like soy milk, coconut milk or oat according to your preference.
Q2: How do I make this smoothie vegan?
Ensure that all ingredients such as almond butter and sweetener are vegan. Honey should be replaced by maple syrup.
Q3: Can I prepare this smoothie in advance?
It’s better consumed when fresh but if sealed can last up to one day in a refrigerator. Shake well before drinking.
Q4: What can I use instead of bananas?
You may opt for avocadoes or silken tofu if you want an aversion without bananas yet still having a creamy texture in it instead of non-banana-based juice.
Nutritional Value
Here’s an approximate nutritional breakdown per serving:
Calories:
250
Protein
6g
Carbohydrates:
34g
Dietary Fiber:
8g
Sugars:
16g
Fat:
11g
Saturated Fat:
2g
Sodium:
150mg
Potassium:
450mg
How to Store Your Chocolate Smoothie
If you need to store your healthy chocolate smoothie recipe, here are a few tips:
Refrigerate: It should be put in the refrigerator in a closed jar or bowl and the smoothie is good for up to a day, but it’s better if it is consumed within the day. Shake well before drinking.
Freeze: To prolong the storage of the smoothie you can freeze them in ice cube trays. When the smoothie cubes have completely frozen, then pour a small amount of milk and blend it until a smooth paste is obtained.
Pairing Suggestions
A healthy chocolate shake pairs wonderfully with a variety of snacks and meals:
Breakfast: Better have it with oatmeal though, fresh fruits shall be regarded as a delightful addition.
Post-Workout: It is best taken with a few nuts or a bar of protein of your preferred nature for the best post-workout bite.
Dessert: To be best enjoyed; should be taken together with a low-calorie dessert like a fruit salad or a serving of 2-3 dark chocolate.
Environmental Impact of Cocoa Production
When enjoying your healthy smoothies with cocoa powder, it’s important to consider the environmental impact of cocoa production: However, breast cancer patients have appreciated their healthy smoothies with cocoa powder. While taking them it is advisable to consider the following:
Sustainable Sourcing: In detail, it is suggested to purchase cocoa powder containing organic or fairly traded sources. Such certifications assist in ensuring that cocoa is grown under proper standards concerning sustainability as well as business practices.
Eco-Friendly Brands: Choose those brands, which support the proper approaches to farming and raise the quality of life of cocoa growers.
Conclusion
Having a healthy chocolate smoothie recipe is the best way to enjoy a sweet treat without feeling guilty. Bursting with flavors and full of nutrients, this can quickly become your everyday blend. Try different recipes and embrace healthy cocoa smoothies into your daily routine together with their health benefits. For more delicious recipes, check out our other smoothie recipes like the Mango Sago Recipe and Shamrock Shake Recipe on Chef’s Home. Embrace the richness of chocolate while nourishing your body, and make this healthy chocolate shake a part of your regular culinary repertoire.
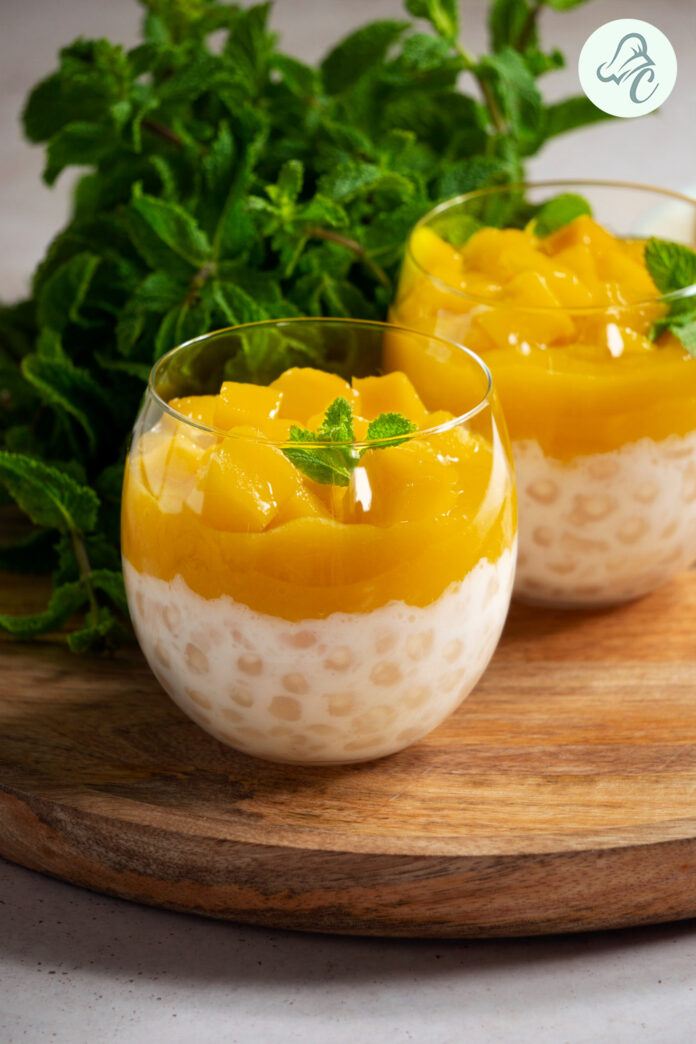
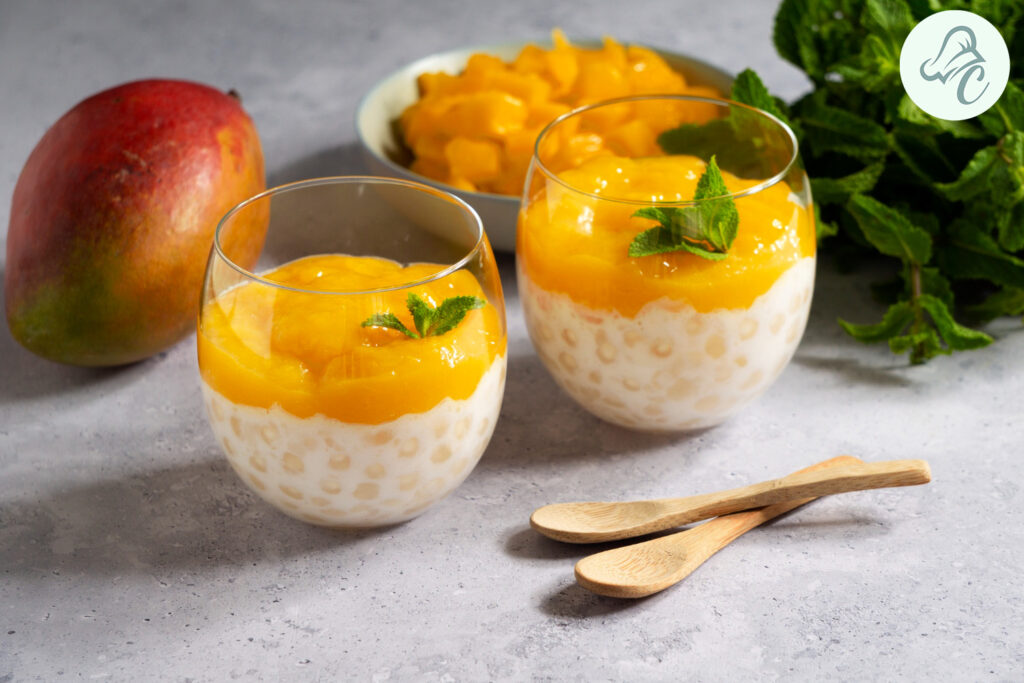
Mango Sago Recipe or Mango Tapioca is a delicious and refreshing treat that will cool you off during the summer. This amazing dessert combines the tropical sweetness of mangoes with the gummy consistency of sago pearls to make a perfect delicacy that is filling and refreshing. Regardless of whether you are throwing a summer bash or just needing something cold for supper, this mango sago mix recipe will blow them away.
Without a doubt, Mango Sago is one of Asia’s best desserts especially in Hong Kong, Taiwan, and the Philippines among others. Ripe mangoes’ juicy taste alongside sago pearls which are chewable and wrapped in thick coconut milk makes it an ideal treat for anybody at any time. Mango Sago isn’t just a dessert; it’s like a burst of sunshine on your tongue.
Table of Contents
About the Mango Tapioca Recipe
Mango Sago is a popular dessert not only in several Asian countries but also all over the world. It includes ripe mangoes, tapioca pearls (sago), and a creamy coconut milk base. The combination of these ingredients results in a visually appealing dessert with vibrant colors and a mouthwatering taste.
This mango sago recipe can be tailored to fit whatever style pleases you most effectively. When making this dish, there are two options: either make it thicker like pudding or go for a lighter more gelatinous version thus playing around with ingredients accordingly becomes a very simple process on an individual basis. Besides, its richness comes from coconut cream while condensed milk adds the right degree of sweetness. Its ice cubes can be used to cool down hot summer days when one needs an appropriate sweet course.
In a pot heat water to boiling point. Stir in the tapioca pearls and cook for approximately 10-15 and continue stirring to soften and the pearls change their color to translucent.
After the tapioca has been cooked, turn it over drain the water well, and rinse it under cold water to remove the excess starchy coating.
Prepare the Mangoes:
When the pearls are boiling, prepare the mango by peeled and cut into cubes. Also, set apart a part or a quarter for the garnishing.
Make the Coconut Milk Base:
If using fresh coconut, prepare the coconut milk and in another pot add the coconut milk, condensed milk, some water, sugar, and salt. Heat it over the stove until the mixture comes to a trifling boil and stir until the sugar has dissolved. Turn the heat off when the soup is ready and let it cool down.
Combine Ingredients:
In a large mixing bowl, combine the cooked tapioca pearls, diced mangoes, and the coconut milk mixture. Mix well.
Chill and Serve:
Chill the mixture in the refrigerator for at least an hour. Serve the mango sago pudding cold, optionally with ice cubes for extra refreshment. Garnish with reserved mango pieces before serving.
Tips for Mango Sago Recipe
Choosing Mangoes: Use ripe, sweet mangoes for the best flavor. Varieties like Alphonso or Ataulfo work particularly well.
Tapioca Pearls: Make sure to cook the tapioca pearls until fully translucent to achieve the right chewy texture.
Sweetness: Adjust the sugar according to your taste and the sweetness of the mangoes.
Health Benefits of Mango Sago
Vitamin-Rich: They are good sources of vitamins A and C – these vitamins help boost immune system activities as well as maintain healthy skin.
Fiber Richness: Mangoes contain dietary fiber common to both them and tapioca pearls which aids digestion while reducing health complications related to gut problems.
Hydration: This dessert is a good source of hydration because it contains coconut milk and mango juices that are rich in water content to make your days cooler when the sun is at its peak.
Serving Suggestions
Mango Sago Pudding as a Dessert: Serve this refreshing after-dinner dessert.
Mango Sago Pudding for Fasting: It can be served during fasting times such as Ramzan, offering light and nourishing melt-in-your-mouth moments.
Party Treats: Make colorful and tasty desserts like this one for your friends when the summer comes around or parties.
Variations
Add Boba to Mango Sago: boba is added to create an extra popping chewy sensation.
Use Coconut Cream: Instead of Coconut Milk in the Mango Coconut Sago Recipe to Get an Even Richer Taste
Puree Mangoes with Coconut Milk and Sago Pearls to Make a Mango Sago Smoothie
FAQs
Q: What is Sago?
A: Sago is such food material that is procured from the stems of a tropical palm. It is applied in many Asian dessert dishes due to its rather gelatinous texture.
Q: If I have frozen mangoes, Can I use the same in this preparation?
A: Of course, you can, but it’s ideal to use fresh mangoes if they can be acquired, unlike the frozen ones. Thaw them before use.
Q: How Long Can I Store Mango Sago?
A: You can store mango sago pudding in the refrigerator for up to 2 days. Stir well before serving.
Nutritional Value
Calories:
Approximately 250 per serving
Carbohydrates:
45g
Protein:
2g
Fat:
8g
Fiber:
2g
Vitamin A:
25% of the daily value
Vitamin C:
35% of the daily value
Conclusion
This mango sago recipe is ideal for those who are into food with exotic tastes. This is very simple to prepare, it is also light and ideal for hot weather, and best of all there is a host of vitamins and minerals in it. The colors of the dessert are so bright and the texture so wonderful that this dish will certainly not leave a client indifferent. From the perfect mango sago recipe to a mouth-watering treat to be added to your list for the next party, getting this recipe is worth the effort.
This is why at Chef’s Home we celebrate the tastes of mangoes most fittingly. Moving from the spicy and sour Mango Salsa Recipe to the sweet and rich Mango Cheesecake Delight Recipe, everyone will find what they want in our mango recipes. All the recipes featured below are prepared with much attention and are meant to enhance the flavors of this rather universal fruit. Do not miss more mango recipes that are available on Chefs Home such as Mango Banana Smoothie Recipe, Mango Oats Chia Pudding Recipe for Breakfast among others for more Mango wonderful taste.
It is referred to as fox nuts or lotus seeds – makhana is undoubtedly a spritely nutrient-dense ingredient that is part of Indian grandmother’s compendium of edible delights. This food is commonly used in culinary practices due to its reliability as a superfood that has been embraced in both old and new-generation kitchens. It can be eaten as a sweet dish makhana kheer or served as a savory dish makhana ka sabzi. In this blog, we will tell you six simple recipes for makhana that not only will have yummy flavors but will also help in getting healthy bones and joints. As such, we have a wide collection of makhana chaat recipes for those on a diet, and just flavored makhana recipes for those who want to snack. Moreover, for all travelers who adhere to fasting, there will be suggested materials for substitutions so that a meal can be tasty for everyone.
Table of Contents
About Makhana Recipes
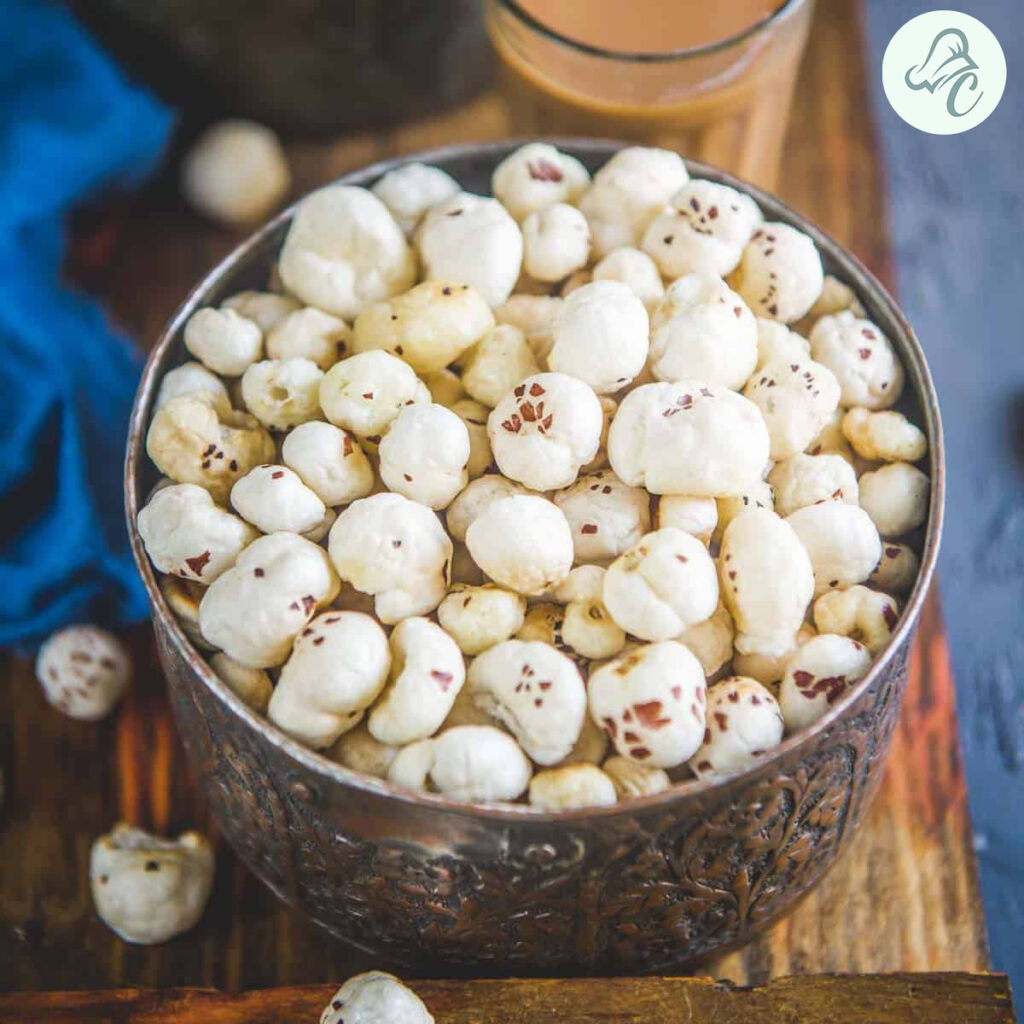
Makhana or fox nuts are obtained from the seeds of the Euryale Fox plant and they are chiefly procured from India. These seeds are very special and their texture was quite crunchy while the taste was just a bit bland making them very suitable for any dish. Fasting usually involves the consumption of low-calorie foods, and being a low-calorie food, makhana is often enjoyed during such periods as a snack. It is incorporated in preparing phool makhana curry and makhana ki kheer to provide not only the taste of the dishes but also the nutrients you need. There are so many reasons why people consider ordering makhana, one of which is because of its nutritional value. It is a good source of protein and dietary fiber, and there is calcium and magnesium which are important for bone development. This makes it suitable for those who are observing their weight given the fact that it has limited calories in one serving. When you want it spicy, there is the peri-peri makhana and when you want the plains, simple ghee makhana is also available.
6 Types of Makhana Recipes:
1. Makhane ki Kheer
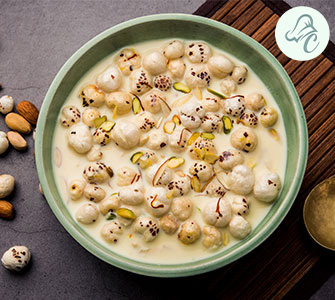
Makhana Kheer is made out of cream and milk and provides a delicious taste making it quite suitable for occasions such as celebrations. So this makhana kheer recipe, as the name suggests, doubles up as not just a delicious dessert but also for your health, especially for bones and joints that are rich in calcium and proteins. The nuts add extra value in terms of vitamins and other healthy nutrients and also the satisfying textures of the nuts.
Heat ghee in a pan and roast the makhana until crispy.
Crush the roasted makhana slightly.
In a pot, boil the milk and add the crushed makhana.
Cook until the makhana softens and the milk thickens.
Add sugar, chopped nuts, and cardamom powder.
Cook for another 5 minutes and serve warm.
Alternative Tip for Fasting:
Replace sugar with jaggery and use rock salt (sendha namak) instead of regular salt.
2. Makhana Raita recipe
The Makhana Raita is a delicious, light and healthy side dish that can be eaten with any type of food. This is one of the most healthy recipes of makhana where you add yogurt to it which increases its digestion quality and then roast the makhana for extra crunch.
Ingredients:
1 cup yogurt
1/2 cup roasted makhana
1/2 teaspoon cumin powder
Salt to taste
Chopped coriander for garnish
Instructions:
Whisk the yogurt until smooth.
Add the roasted makhana, cumin powder, and salt.
Mix well and garnish with chopped coriander.
Serve chilled.
Alternative Tip for Fasting:
Use rock salt (sendha namak) and add grated cucumber or boiled potatoes for a more filling raita.
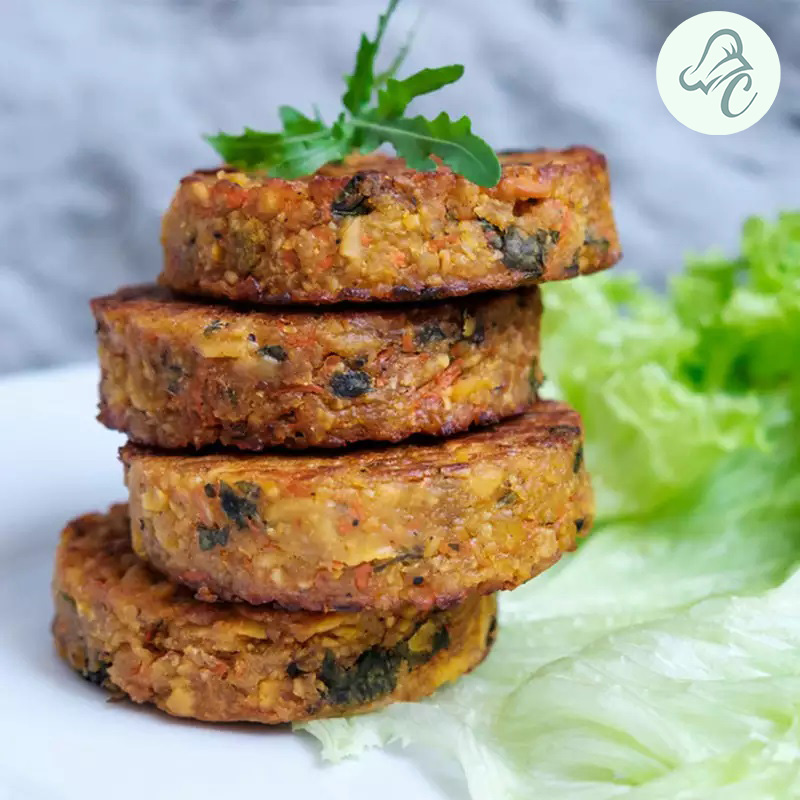
3. Makhana Aloo Tikki
Makhana Aloo Tikki is a lovely food that involves the use of makhana and potatoes as the main ingredients. Here’s a healthy recipe of makhana that you can eat as an appetizer or enjoy during tea time and helps satisfy the crunch quotient and gives a burst of flavor. It is also helpful in adding makhana to your diet in an enjoyable and delicious form consumed in the form of this snack.
Ingredients:
1 cup makhana
2 boiled potatoes
1/2 teaspoon cumin powder
1/2 teaspoon red chili powder
Salt to taste
Oil for frying
Instructions:
Grind the makhana into a coarse powder.
Mash the boiled potatoes and mix with the makhana powder.
Add cumin powder, red chili powder, and salt.
Shape the mixture into tikki’s and shallow fry until golden brown.
Serve hot with mint chutney.
Alternative Tip for Fasting:
Use rock salt (sendha namak) and replace chili powder with black pepper.
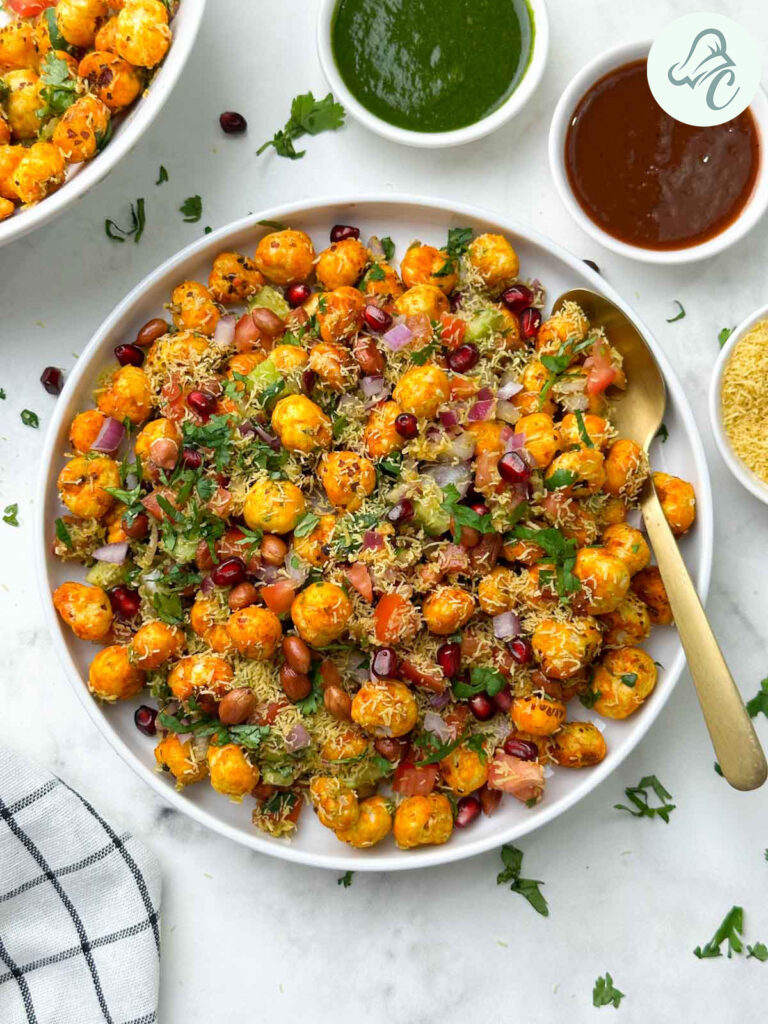
4. Makhana Chaat Recipe for weight loss
Makhana Chaat is a unique dish that can be classified as a snack since it comes with low-calorie content to give a lean body physique to those wanting to eat lighter food. This makhana chaat is a scrumptious snack that is healthy and does not make you feel guilty no matter at what time of the day you have it. This one is well suited for taking a nutritive bite in between meals and is easy to prepare as well.
Ingredients:
1 cup roasted makhana
1 chopped cucumber
1 chopped tomato
1 chopped onion
1 teaspoon chaat masala
Lemon juice
Salt to taste
Instructions:
In a bowl, mix roasted makhana with chopped cucumber, tomato, and onion.
Add chaat masala, lemon juice, and salt.
Toss well and serve immediately.
Alternative Tip for Fasting:
Use rock salt (sendha namak) and skip the onions if preferred.
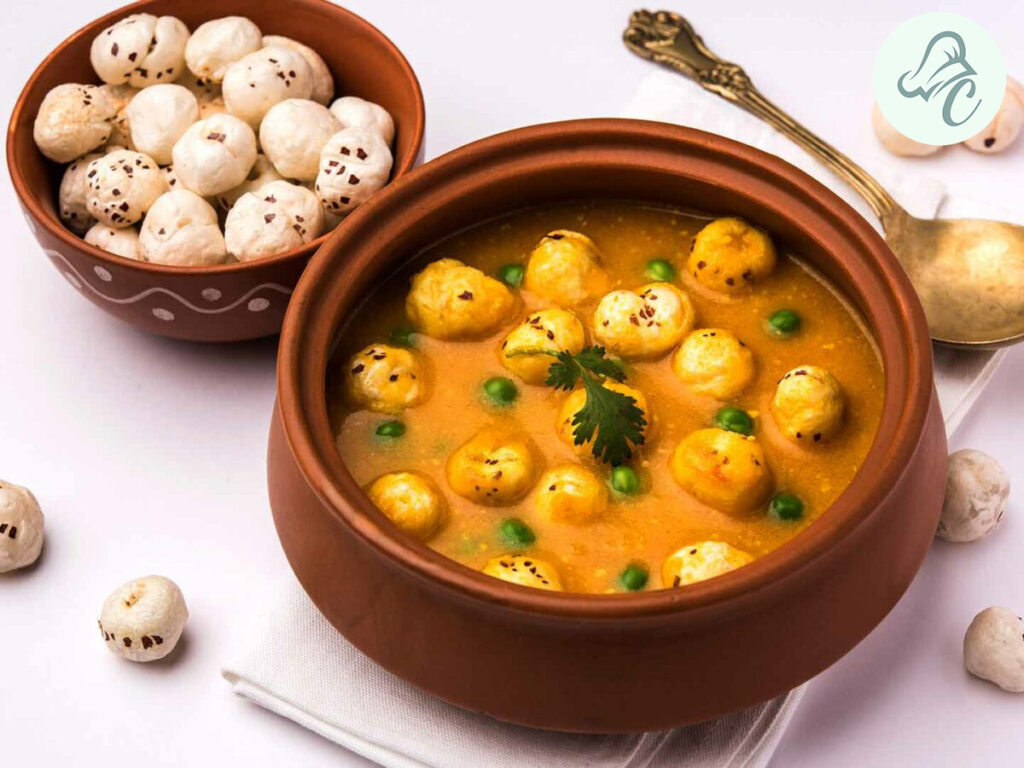
5. Makhana Curry
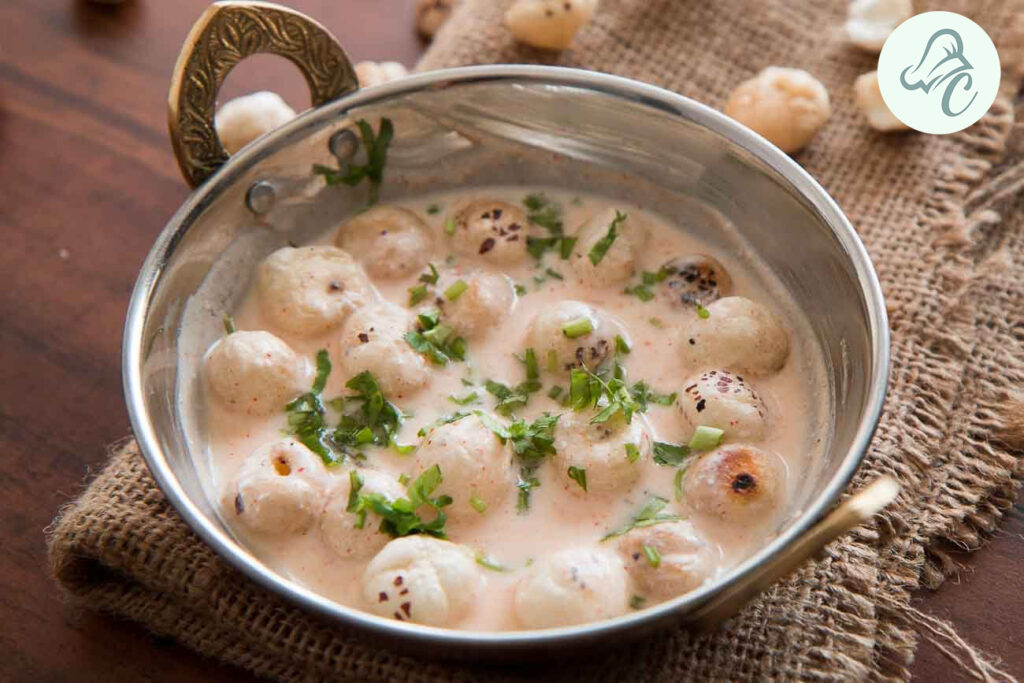
Makhana curry, also known as makhana ka sabzi, is a mouth-watering recipe that can be served with rice or roti. Phool makhana, rich in proteins and vitamins, is cooked with tomatoes, giving the makhana curry a creamy touch that comforts the taste buds. That is the best way to have a delicious but healthy curry that will full fill your stomach.
Ingredients:
1 cup makhana
1 cup tomato puree
1/2 cup yogurt
1 teaspoon cumin seeds
1/2 teaspoon turmeric powder
1 teaspoon coriander powder
1/2 teaspoon garam masala
Salt to taste
2 tablespoons oil
Instructions:
Heat oil in a pan and add cumin seeds.
Once they splutter, add tomato puree and cook until oil separates.
Add turmeric, coriander powder, and salt.
Add yogurt and cook for another 5 minutes.
Add the makhana and garam masala.
Cook for 10 minutes and serve hot with rice or roti.
Alternative Tip for Fasting:
Use rock salt (sendha namak) and replace regular oil with peanut oil.
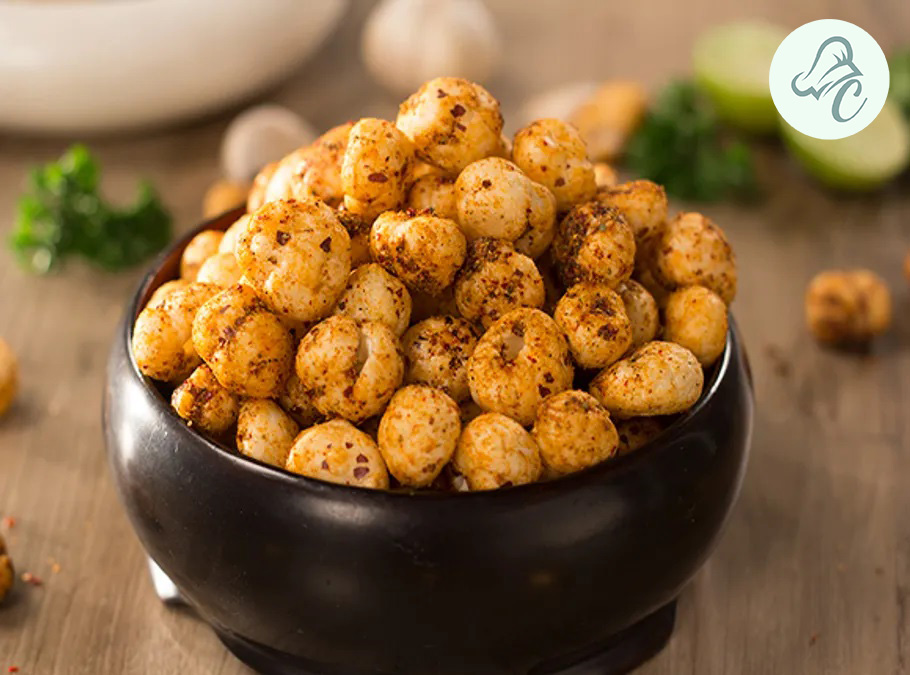
6. Roasted Makhana
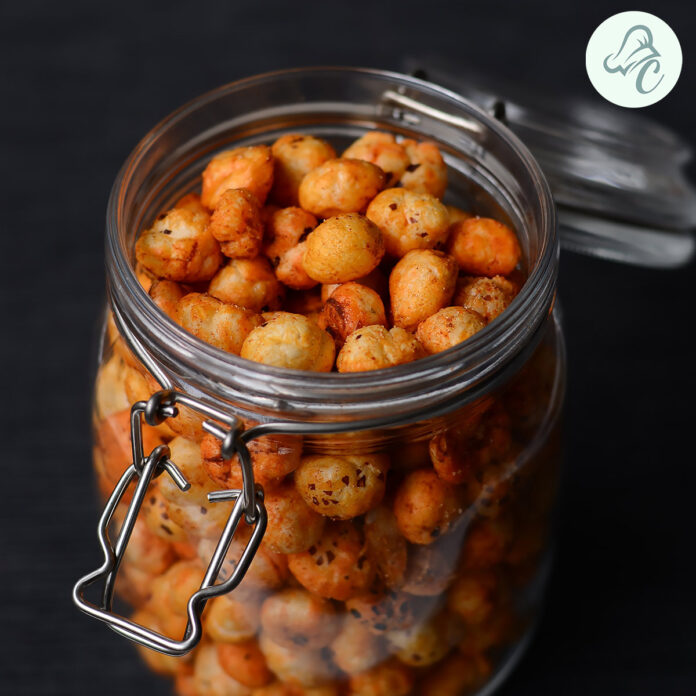
Roasted Makhana is a simple yet delicious snack that is perfect for any time of the day. This recipe can be customized with different seasonings like peri-peri makhana for a spicy kick or ghee makhana for a traditional flavor. You can also make air-fry makhana for a healthier version. It’s a great alternative to regular chips and snacks.
Ingredients:
2 cups makhana
1 tablespoon ghee
1 teaspoon peri-peri seasoning (optional)
Salt to taste
Instructions:
Heat ghee in a pan and roast the makhana until crispy.
Add peri-peri seasoning and salt.
Toss well and serve as a snack.
Alternative Tip for Fasting:
Use rock salt (sendha namak) and plain ghee without any additional seasonings.
Health Benefits of Makhana
Rich in Calcium: For bones, it is important to maintain calcium levels and this helps to possibly avoid the occurrence of osteoporosis.
High in Protein: They provide support to muscles with regard to repair and even muscle growth.
Low in Calories: For use in weight loss programs Suitable for: Ideal for weight loss.
Antioxidant Properties: Some of its benefits include aiding in countering inflammation as well as oxidative stress.
Digestive Health: It is effective based on the high fiber content that helps in digestion.
Serving and Nutritional Value
These recipes yield 2-4 servings per dish, thus ideal for family or home dishes and other small intimate events. undefined
Calcium: It aids in strengthening bones and it does not let joint problems occur.
Protein: Essential for muscle synthesis and remodeling.
Fiber: It helps to compliment food and also has a way of helping digestion as it is used in handling digestion and in managing extra weight.
Antioxidants: Reduce the amount of stress exerted by the body that can be caused by free radical attack and consequently lower the inflammation of the body and enhance the health status of the body.
For example, These are perfect for anyone watching their calorie intake because they are low in calories but they have portions that can help you avoid hunger pains.
Some Tips while making Makhana
The last but not the least point one needs to bear in mind is that makhana must be packed tightly with no air arriving at the makhana so that it will maintain crispness.
Regarding the spicing of your fancy makhana foods do not hesitate to use different spices and herbs.
If you do not want to take a chance with the deep fryer, you can opt for an air fryer as it gives less oil and fat in food.
FAQs
1. Can I eat makhana every day?
Yes, makhana can be included in the daily diet plan if consumed in moderate amounts as they contain very little calorie content.
2. Does makhana help in weight loss?
Yes, makhana consists of very lesser calories but contains rich fiber content which makes it perfect for weight reduction.
3. How should I store makhana?
Place the makhana in an airtight container and store the product away from heat, and moisture, or else it would lose its crispy texture.
4. Is there any kind of side effects while consuming makhana?
To their extent, Makhana is a safe food that should be taken in moderation for it can cause stomach upsets such as bloating or even constipation.
5. Can I eat makhana during fasting?
Yes, makhana is a popular fasting food in India. Just ensure to use fasting-compliant ingredients like rock salt and avoid certain spices.
Conclusion
The consumption of makhana as a food addiction is a delicious course to improve the general well-being most importantly bones and joints. Being packed with nutrition and used in both savory and sweet recipes, makhana is used in a hundred ways starting from makhana kheer recipes to makhana ka sabzi. These simple makhana recipes will work for all the different palate preferences and it is especially good for those who are fasting. In case you are looking for a makhana chaat recipe for weight loss you will find it here or looking for a simple snack such as peri-peri makhana or ghee makhana, you will find it here as well.
More tasty and nutritious recipes can be found on Lemon Rice Recipe While the guide to Top 6 Healthy Winter Foods That Keep Your Body Warm tells more about the joys of eating seasonal food. Augment the goodness of makhana and savor these healthy recipes together with more scrumptious delicacies using recipes from Chef’s Home Around.
Preparing a great and wholesome lunch field for children isn’t always an easy attempt for parents and guardians to undertake. The purpose is to put together meals that will help satisfy their starvation. It should meet their dietary necessities. Make the children satisfied. Lunch is the important meal of the day. A proper and balanced meal will make sure that kids remain active all through the day. So right here in this blog, we are going to present some easy creative and healthy lunchbox ideas for kids. These ideas are for children with the intention of making your baby happy at lunchtime.
Table of Contents
About Lunchbox for Kids
As parents, we’ve grown to be privy to the reality that it’s crucial to take care of what our kids consume as far as food is involved. It is quite understandable that it’s far more convenient to prepare and convey ingredients that can be without difficulty organized along with noodles or pasta because they are easy to pack, but such ingredients lack sufficient vitamins that children want as they develop. Thus, instead of offer bad snacks which can be calorie-dense but nutrient-poor, we choose to present foods that are tasty and full of vitamins, minerals and protein. Here are extra wholesome lunch box ideas that will excite your kids but additionally will make them stay up for their tiffin box.
Add water little by little Knead into soft dough. Divide the dough into small balls. Roll out into thin parathas.
Cook on hot griddle with a little ghee or oil. Cook until golden brown on both sides. Spread some yogurt or chutney on paratha. Roll it up. Pack in lunchbox.
Benefits: This roll is rich in fiber, vitamins, and minerals, making it a balanced meal.
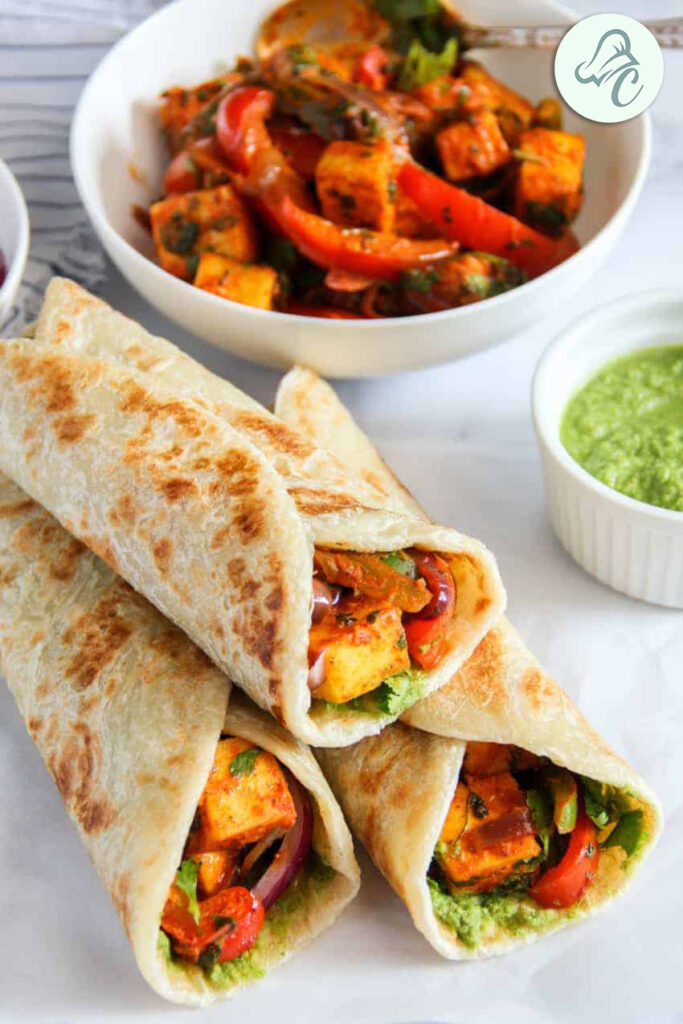
5. Paneer Tikka Wrap
Ingredients for how to make paneer tikka wrap:
1 cup paneer cubes
1/2 cup yogurt
1 tsp garam masala
1/2 tsp turmeric powder
1/2 tsp chili powder
Salt to taste
Whole wheat tortillas
Sliced vegetables (cucumber, tomato, lettuce)
Instructions:
Paneer cubes can be marinated with yogurt and some spices such as garam masala, turmeric, chili powder and salt.
This paneer needs to be boiled, or perhaps grilled or sauté in a pan until cooked.
This is put in a tortilla and pack them ready to be placed in the lunch box: put ¼ p paneer, sliced vegetables to roll the tortilla and pack in the lunch box.
Benefits: High in protein and calcium, this wrap is perfect for growing kids.
Perfect Pairings: Healthy Sides for Lunchbox Ideas for Kids
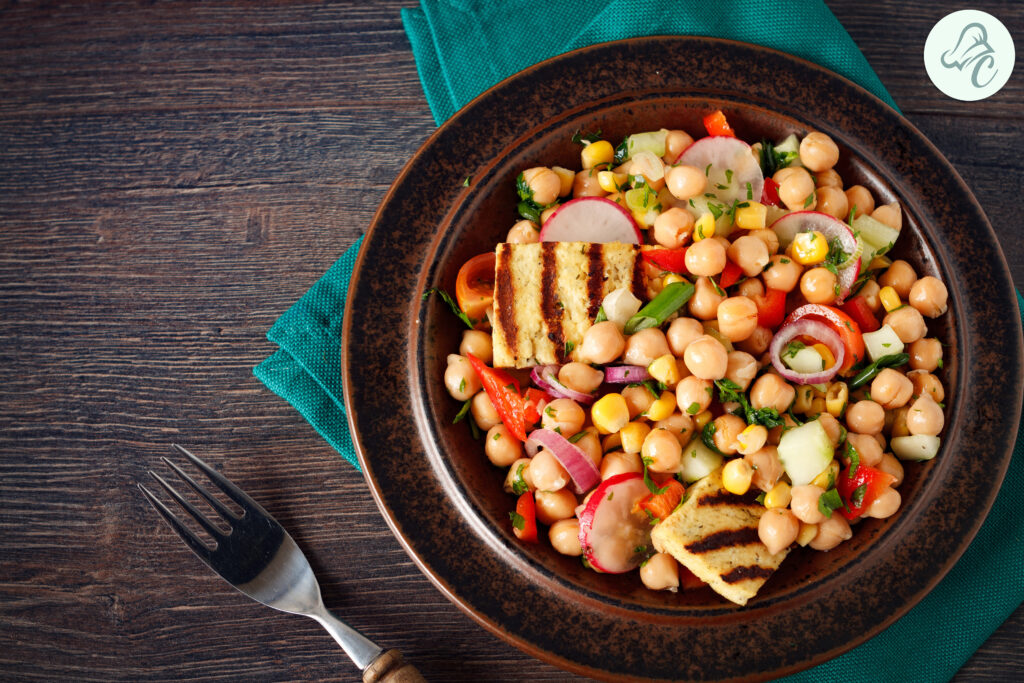
Chickpea Salad
Ingredients for the chickpea salad recipe:
1 cup boiled chickpeas
1/2 cup chopped cucumber
1/2 cup chopped tomatoes
1/4 cup chopped bell peppers
Lemon juice
Salt and chaat masala to taste
Instructions:
Mix boiled chickpeas with chopped vegetables.
Add lemon juice, salt, and chaat masala.
Pack in a small container.
Benefits: A protein-packed side dish that’s also rich in fiber.
Fruit and Nut Yogurt
Ingredients fruit and nut yogurt recipe:
1 cup plain yogurt
1/4 cup mixed fruits (apple, banana, berries)
2 tbsp chopped nuts (almonds, walnuts)
1 tsp honey
Instructions:
Mix yogurt with chopped fruits and nuts.
Drizzle with honey.
Pack in a small container.
Benefits: Provides probiotics, vitamins, and healthy fats.
Creative Fruit Cuts
Ingredients:
Watermelon
Pineapple
Kiwi
Instructions:
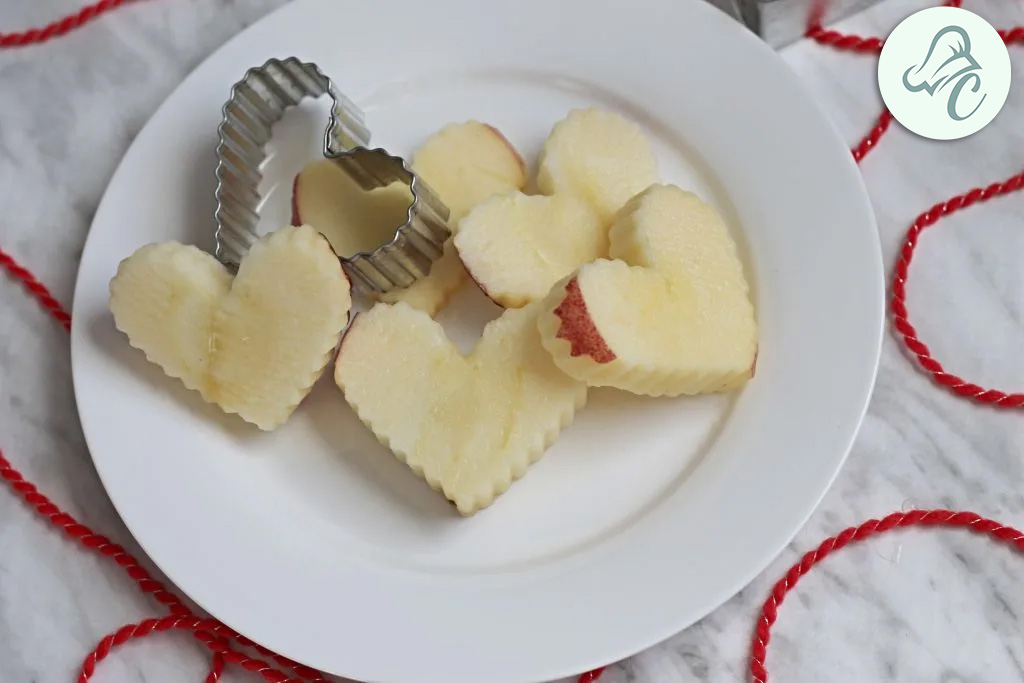
Cut fruits into fun shapes using small cookie cutters.
Arrange them in a section of the lunchbox.
Benefits: A fun and colorful way to ensure kids get their daily dose of vitamins and minerals.
Tips for Packing a Healthy Lunchbox
Balance: Packing lunch should include proteins, carbohydrates, and fats and also fruits and vegetables for each lunch box.
Variety: Use different colours and food materials to make foods attractive and appealing.
Portion Size: Portion sizes, which are halal, should also reflect the child’s age and this portion control is good for the child.
Hydration: Do pack a water bottle so that your child will remain well-hydrated throughout his or her journey.
Conclusion
I hope this tips and ideas would help especially in our children’s lunch box menu because every little change can make a lot of improvement. These are not only healthy meals which can be served but also colorful that makes the kid’s have their food with full nutritional needs they require. For more interesting and healthy lunch box recipes, do not forget to watch other recipes like Top 5 Best Kids Tiffin Box Recipes That You Must Try! and Popsicle & Chocolate Cereal Treats.
If we continue feeding our children with delightful food that can be portioned out in a balanced way, then children are assured of healthy future diet. Happy packing!
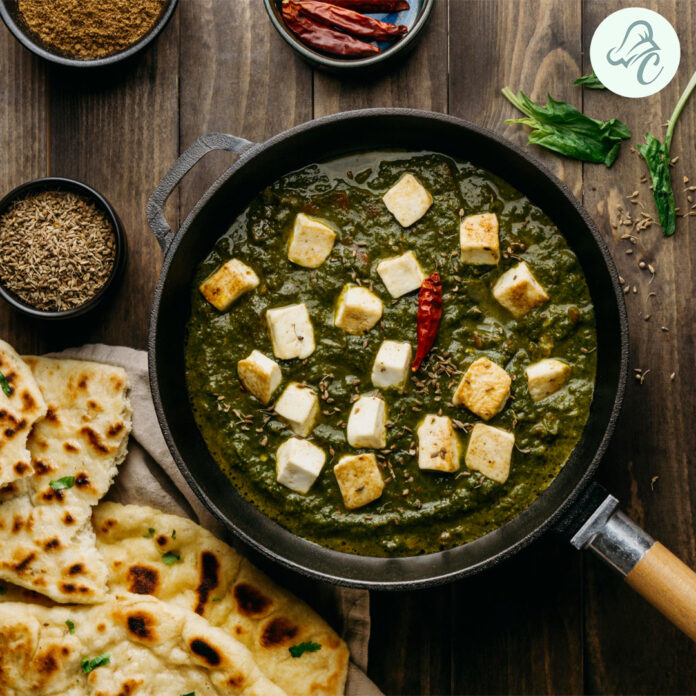
Where we celebrate the art of home cooking with diverse and delicious recipes from around the world. Today we’re excited to introduce you to Vegan Palak Tofu Magic. A vibrant, nutritious dish brings flavors of Vegan Indian Cuisine right to your kitchen. This Palak Tofu Recipe is perfect for those seeking Nutritious Vegan Meals. Both satisfying and healthy. Let’s dive into this delightful recipe that combines the wholesome goodness of palak with the satisfying texture of tofu.
Table of Contents
About Vegan Palak Tofu
This recipe is inspired by playing around with a similar Indian Vegan Palak Paneer dish but using tofu instead of cheese. The paneer used in this recipe is replaced by tofu to make a wholly vegan dish while maintaining the actual flavors of the original. Palak puree-based gravy enriched with iron and aromatic spices like garam masalas adds richness to the vegan tofu meal by combining the creamy puree around the tofu. This dish is not only a culinary delight but is healthy as well and can easily be included in the ‘7-day meal plan’.
Press the tofu to remove excess water. Cut it into cubes.
Next, warm up 2 tablespoons of healthy oil, like olive oil, in a pan. Let it warm on medium heat.
Next, add tofu cubes. Sauté it until it turns golden brown on all sides. Season it with a pinch of salt. Set aside.
Blanch the Palak:
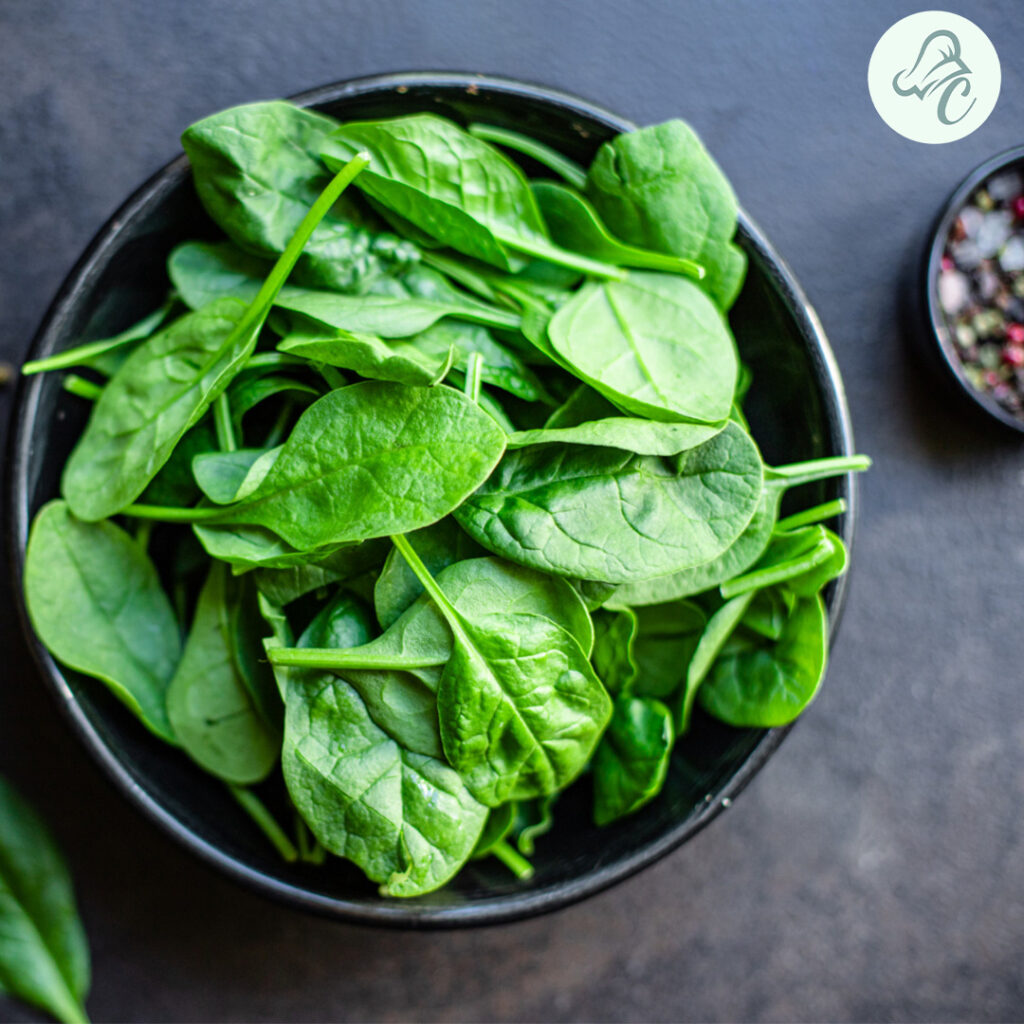
In a cooking pot, bring your water to a boil. Sauté the palak for 2-3 minutes, or until it shrivels.
Drain and immediately transfer to a bowl of ice water to retain the green color.
Drain again and blend the palak into a smooth puree. Set aside.
Make the Palak Puree:
In the same pan, heat 2 tablespoons of vegetable oil over medium heat.
Add cumin seeds. Let them sizzle.
Add chopped onions and sauté until golden brown.
Add ginger, garlic, and green chilies. Sauté for another 2 minutes.
Add chopped tomatoes, and after that, add turmeric powder and coriander powder. Cook until the tomatoes are soft and the oil starts to separate.
Add palak puree and cook for 5-7 minutes. Stirring occasionally.
Stir in coconut milk, cashew cream, and garam masala. Simmer for another 5 minutes.
Add sautéed tofu cubes to palak puree. Mix well and cook for an additional 2–3 minutes.
Serve:
Garnish with fresh cilantro leaves.
Serve hot with basmati rice or warm naan bread.
Variations
Add Vegetables: Enhance your nutritional profile by adding vegetables like bell peppers, peas, or carrots.
Creamy Palak Puree: Blend soaked cashews or use coconut milk. This creates a richer sauce.
Herbs: Garnish with fresh cilantro or mint for an extra burst of freshness.
Paneer Substitute: If you’re not strictly vegan, use paneer instead of tofu.
Tips for Making the Perfect Vegan Palak Tofu
Choose Firm Tofu: For this, the best option is to use firm or extra firm tofu as they retain their structure well. It is also perhaps the best material at retaining flavors in the food it comes in contact with.
Press the Tofu: Squeeze any water out of the tofu that you can with a press or by wrapping the tofu in clean kitchen towels. Place the weight on top for about 20 minutes for the best results.
Blanch the Palak: Blanching palak helps in keeping the color as green and fresh as possible. Enhances its nutritional value.
Spice it Up: Adjust spices according to your taste Add more green chilies for extra heat. Garam masala for deeper flavor.
Creamy Texture: Use cashew cream or coconut milk for a richer, creamier texture in palak puree.
Serving Suggestions
Vegan Palak Tofu pairs beautifully with various sides, making it a versatile dish:
Basmati Rice: The palak puree is creamy and long-grain rice adds the vigor of flavor and aroma to the dish.
Naan or Roti: They should be another kind of Indian flat bread, naan or roti which goes well with the firm, lapping up our recipe.
Quinoa: One may place the palak tofu on top of the quinoa for a more nutritious grain preference.
Salad: A refreshing salad of carrots and zucchini could be an ideal contrast to this creamy recipe.
Health Benefits of Vegan Palak Tofu
Vegan spinach tofu is not only tasty but nutritious too:
Spinach: It contains some antioxidant activity and vitamins A, C, K, and iron to boost general health.
Tofu: suggests vegetable protein, calcium, and iron, so it is one of the best sources in the replacement of meat.
Spices: For instance, spices such as turmeric, cumin, and coriander have good digestion and anti-inflammatory properties.
FAQs
Q: Can I use frozen palak?
A: Yes, you can use frozen palak. Thaw and drain it well before using.
Q: Is this dish a gluten-free recipe?
A: This dish is naturally free from gluten, which makes this recipe sure that every spice has been verified as gluten-free.
Q: How can I make the dish less spicy?
A: Reduce the number of green chilies. Use milder spices. Lower the heat level.
Q: Can I make this dish ahead of time?
A: Yes. You can prepare the palak puree and tofu separately and store them in the refrigerator. Combine and reheat before serving.
Q: What can I use instead of coconut milk?
A: You can use cashew cream. Almond milk, or soy milk as alternatives to coconut milk.
Nutritional Value (Per Serving)
Calories:
220
Protein:
14 g
Carbohydrates:
12 g
Fat:
14 g
Fiber:
4 g
Iron:
6 mg
Calcium:
150 mg
Conclusion
The Vegan Palak Tofu has a great blend of tastes and nutritional values. It’s the most outstanding dish we have in our vegan Indian meal. This Palak Tofu Recipe has been specifically designed for anyone seeking healthy vegan meals. It’s simple to prepare. And tastes great. The creamy palak puree, together with soft tofu, makes an appetizing dish that can be consumed by individuals who are health conscious. We hope you are inspired to make more meals from plants and enjoy the several benefits they offer to human health through our recipe.
Do not forget to take a glance at some other recipes, such as the Veal Piccata Recipe or Healthy Chicken Katsu Curry, among others, for further kitchen inspiration. Enjoy cooking on behalf of Chef’s Home!
If you try this recipe, please leave your thoughts below or tag us on social media using #ChefsHome. We love seeing what you come up with!