
Home Blog Page 4

Winter Treats: 7 Healthy & Tasty Homemade Protein Bar Recipes

0
7 Healthy & Tasty Homemade Protein Bar Recipes for Winters

Protein bars recipes are the perfect winter treat for foodies craving something nutritious and delicious. With winters around the corner, cozy mornings and chilly evenings bring cravings for warm, hearty snacks. Winter isn’t just for soups or sweet and savory delights — it’s the ideal season to enjoy homemade protein bars that are easy to make, fully customizable, and packed with seasonal flavors. These winter special bars are not only tasty but also loaded with nutrition. Swap store-bought options for fresh, wholesome bars, and let’s dive into some of the best homemade protein bars recipes for this winter.

Why Protein Bars Shine in Winter

Winters are full of energy dips, comfort cravings, and busy days. We all hunt for grab-and-go snacks to keep going. This is where protein bars are an ideal option for foodies, fitness freaks, children, elders and moms to be. These wholesome bars not only curb your hunger but also provide sustainable energy. They just make your post-walk or workout recovery tempting and delicious. And for more quick snacks to fuel your energy, try our Cinnamon Bites Recipe — a simple, healthy treat for chilly evenings.

But if you rely on the store-bought bars, they are packed with added sugars, artificial flavors, or ingredients you can’t even pronounce. That’s why homemade bars are a better option. From taste and flavors to nutritional value you can control and modify all according to the seasonal mood. 

The Protein Bar Trend: What’s Hot in 2025?

Here’s a shocker, in 2025 sales of protein snacks jumped to $24 billion. This sudden increase in demand is so significant. Whether it is about fitness pros or busy moms, everybody is craving for healthier and convenient treats. In fact, on google and social media searches like “protein bars” are at peak in this winter. Everywhere you can see the wave of New Year resolutions and chilly afternoon or evening snack attacks. You have several options of flavors and ingredients while making homemade protein bars like:

  • Superfoods: Matcha & Turmeric
  • Warming Indian Spices: Masala Chai & Cinnamon
  • Dessert-inspired Blends: Chocolate Hazelnut and Salted Caramel. 
  • Gluten-free options 
  • Plant-based & Low-sugar ones  

How to Build a Better Protein Bar

Wait, don’t go in your “I can’t cook zone”. There’s no need to do complicated baking as we will recommend recipes that are easier to make. To make the best homemade bars, handpick your fav ingredients, mix them in a bowl, press the mixture into a tray, chill it in the refrigerator, and slice them just the way you want. Let’s have a look at what all you’ll need to make them:

  • Protein: First you need whey protein powder. You can also opt for pea, almond, nuts and seeds.  Did you know that approximately 50–70 grams of protein is required to be consumed on a daily basis by the human body? Further it also depends on several factors like a person’s activity level, age, and health status. For physically active or older people approx 1.2 – 1.7 grams protein per kilogram, that translates to 75–120 grams is required to be consumed on a daily basis. So it is a good way to meet your protein requirements.
  • Binder: To bind all the ingredients you need a binding element that not only holds them but enhances their flavors too. So for that you can opt for all time favorite options like peanut butter, almond butter, paste of dates, honey, or even maple syrup.  You will be surprised to know that peanut butter delivers about 22 grams of protein in roughly 7–8 grams per two-tablespoon serving. Not only it repairs your muscles but also keeps you full. It is packed with several nutrients including healthy fats, fiber, vitamins like niacin and vitamin E, essential minerals such as magnesium, potassium, and zinc along with antioxidants. These nutrients support heart health, balance your energy levels and immunity.
  • Healthy fats: You will also need healthy fats to make your bar even more delicious. You can opt for coconut oil, nut butters and seeds. Learn more about the best oils and fats to use in your kitchen with our Healthy Cooking Oils Guide.
  • Flavor: Last but not the least you would require some flavorful touch to make it tastier than ever. So for that cocoa, chai spices, vanilla, dried fruits, superfoods are your go to options.
  • Important tip: No-bake recipes are undoubtedly easiest, quickest and most forgiving for winter’s stay-ins. But to increase their shelf life you need to store them carefully. Wrap the bars tightly and keep them refrigerated for up to two weeks.

7 Winter-Perfect Protein Bar Recipes

Finally, let’s dig into seven flavorful bars you’ll want to make on repeat and just won’t forget. It hardly takes 30 minutes to prep these bars. That is how you get your winter-loving nutrition packed at ease.

1. Peanut Butter Oat Bar

Every bite of this bar gives you a feeling of comfort. It has classic flavor, crunchy from nuts and a little chewy texture.
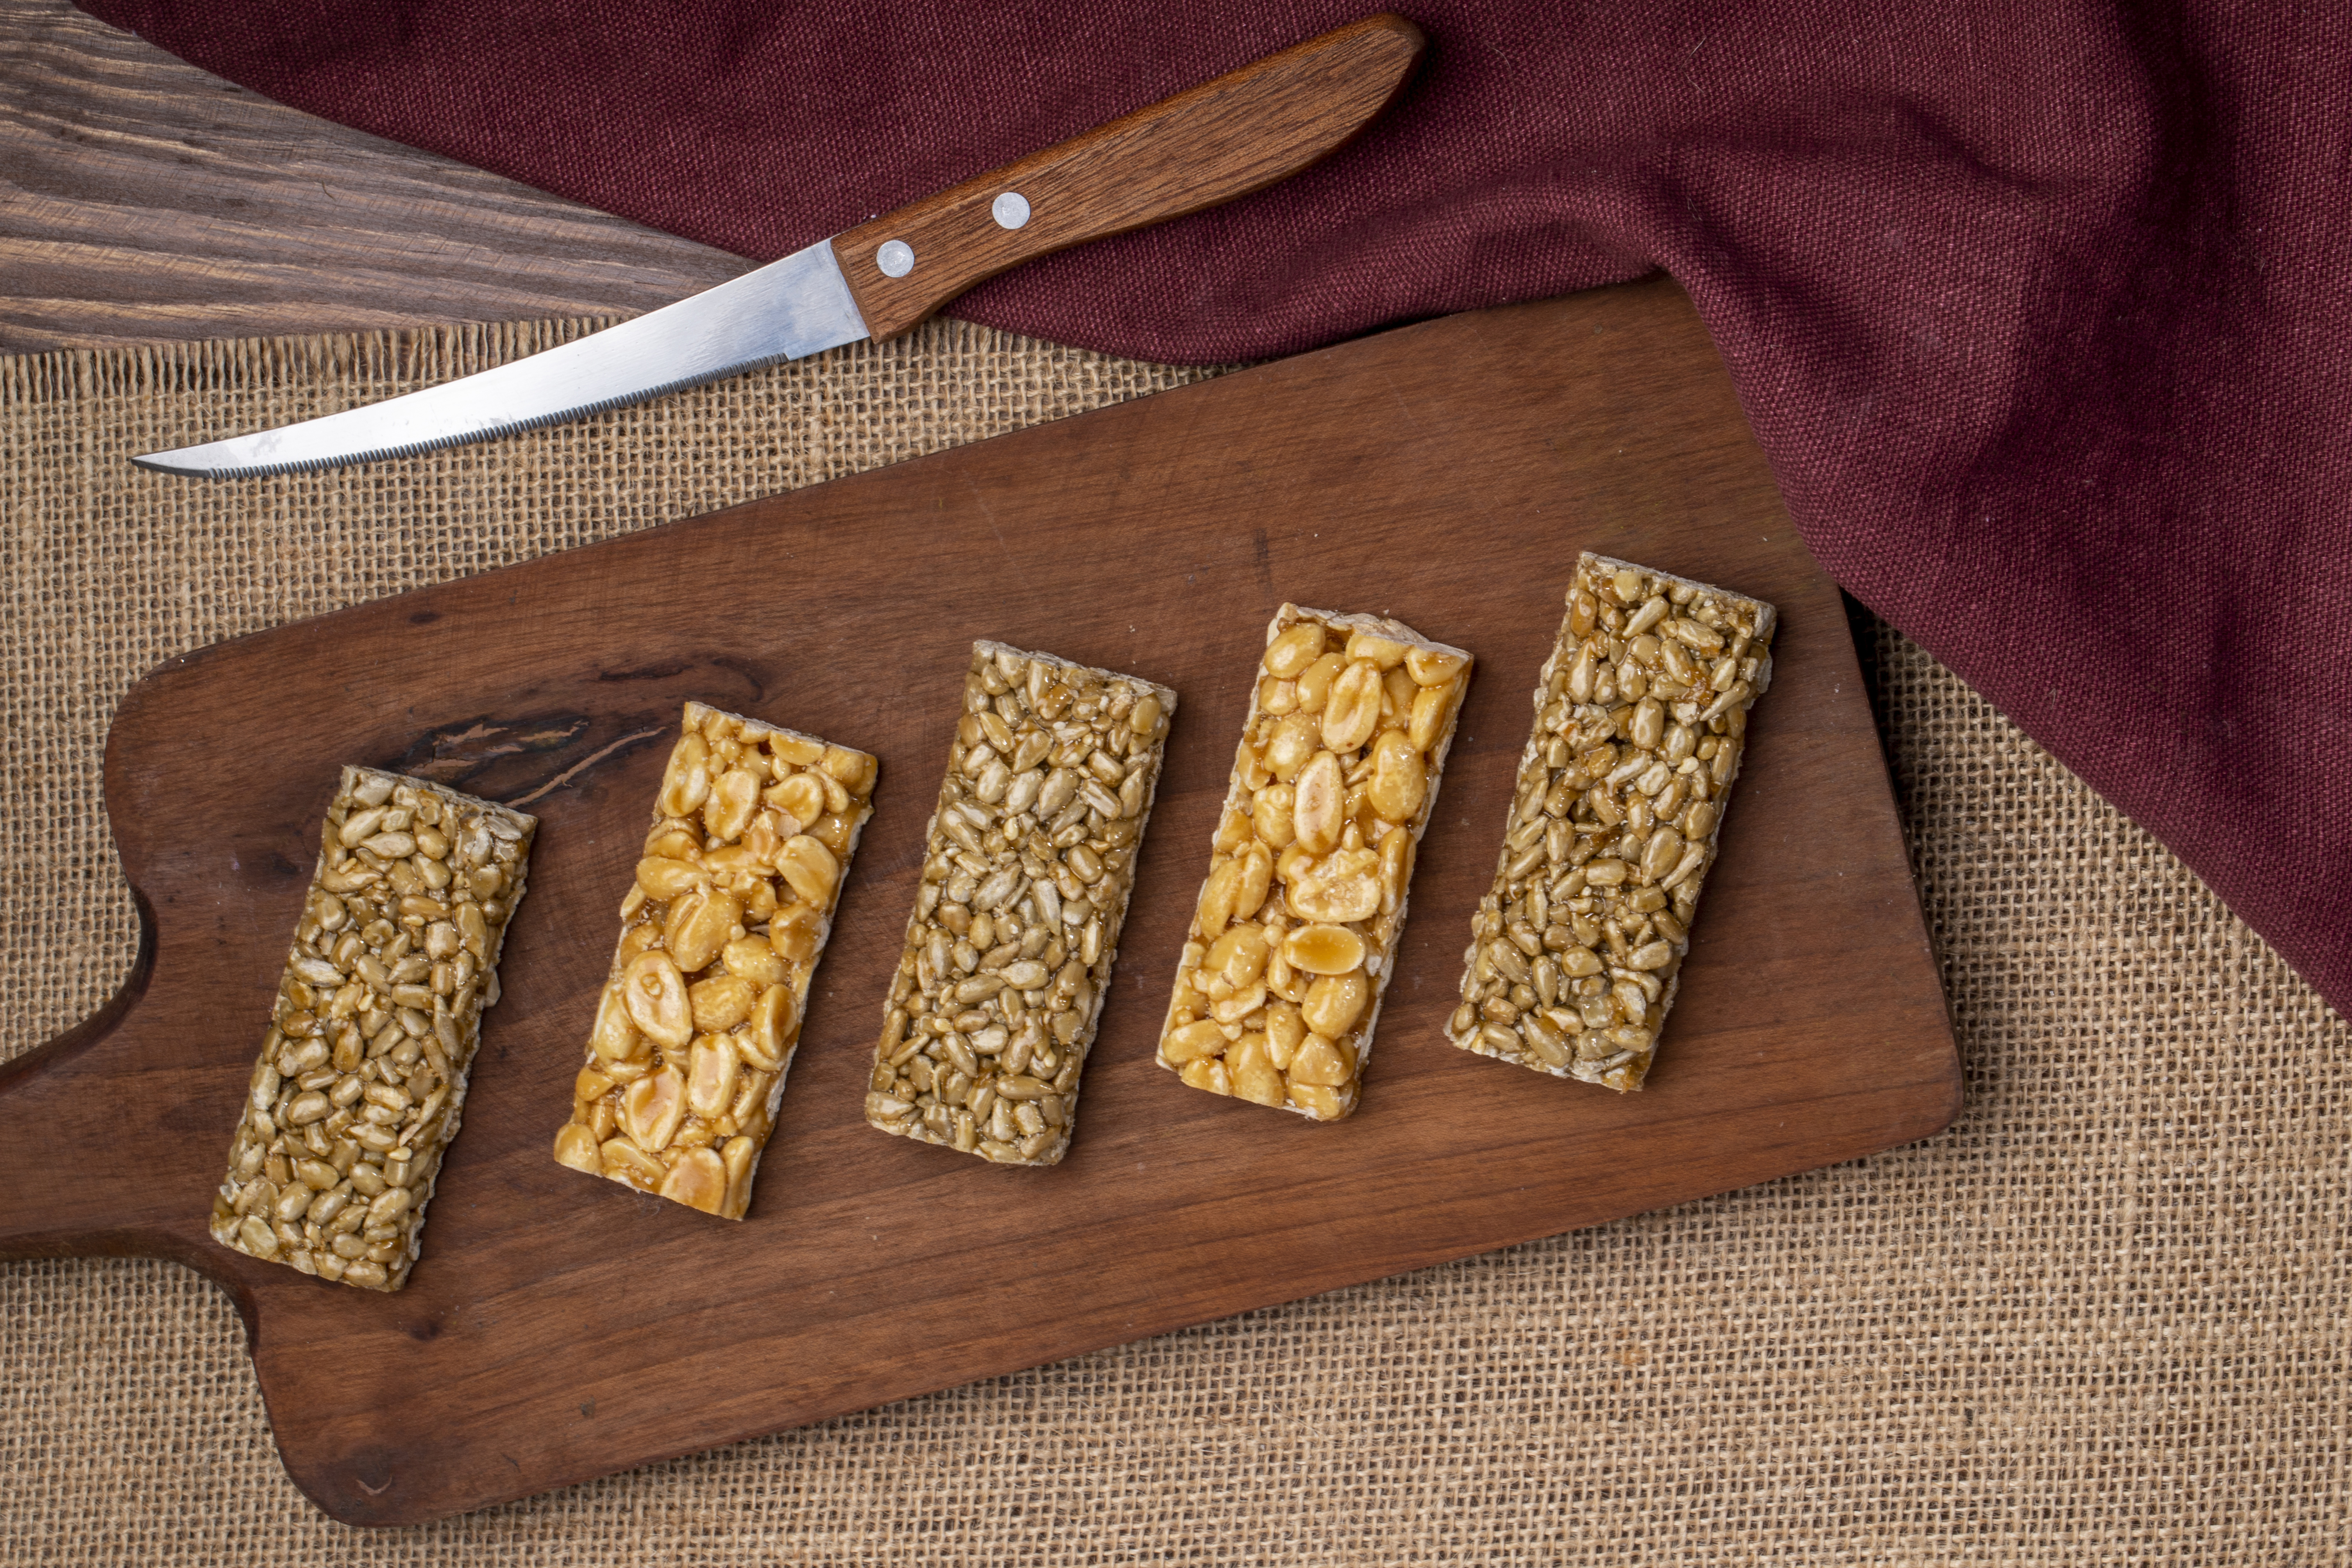
Peanut Butter Oat Bar
top view of honey bars with peanuts sesame and sunflower seeds on a wooden board on rustic background

Ingredients

  • Peanut butter
  • Rolled Oats 
  • Honey or Maple Syrup
  • Chocolate Chips
  • Pinch of Salt
  • Protein Powder

Preparation:

  • Take a mixing bowl, put 1 cup rolled oats, 1/2 cup peanut butter, 1/4 cup honey or maple syrup, and a pinch of salt into it. Mix it well.
  • Add 1 scoop protein powder, stir it well.
  • Fold the mixture in 1/4 cup chocolate chips.
  • Take a lined baking tray and press the mixture firmly. 
  • Put the tray in the refrigerator for at least 1 hour until firm.
  • Take out from the fridge, cut into bars, and enjoy the classic chewy and crunchy goodness.

2. Spiced Nuts & Seeds Bar (Masala Chai)

Every bite of this nutty bar gives you warmth and punch of unique Indian flavors. It goes well with tea.
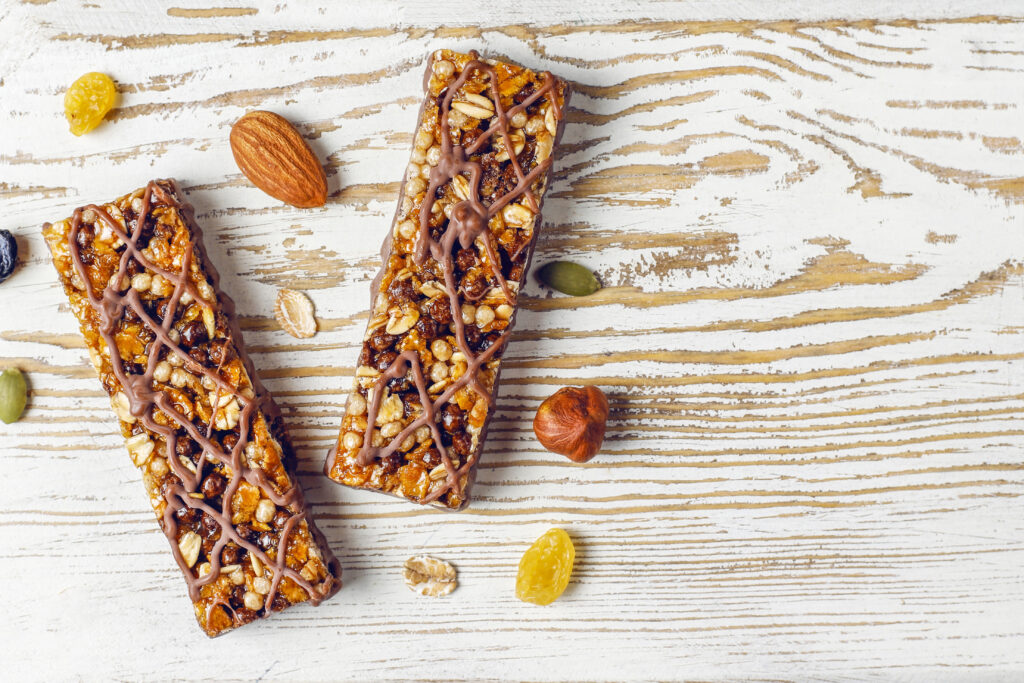
nuts protein bars

Ingredients: 

  • Dates
  • Mixed Nuts like almonds, cashews and pistachio
  • Oats
  • Coconut
  • Flax
  • Pumpkin
  • Sesame Seeds
  • Cardamom
  • Cinnamon
  • Jaggery Powder

Preparation

  • Take 1 cup of dates and soak them in warm water for about 10 minutes until soft.
  • Take 1/2 cup mixed nuts and 1/4 cup mixed seeds. Roast them lightly in a dry pan until aromatic. Let them cool down.
  • Take a food processor and pulse the soaked dates until smooth.
  • Add roasted seeds, nuts, 1 cup oats, 1/4 cup shredded coconut, 1 tsp cardamom, 1 tsp cinnamon, along with 2 tbsp jaggery powder. Pulse them to combine but make sure to retain some texture.
  • Spread and press the mixture into a lined tray.
  • Put it in the refrigerator and chill for at least 1-2 hours.
  • Cut into bars and serve alongside with tea as a warming treat.

3. Chocolate Hazelnut Dream Bar

Dessert lovers love this bar a lot. It is one of the favorite desserts for many. If you enjoy desserts that strike the perfect balance between indulgence and health, don’t miss our Strawberry Shortcake Recipe — a homemade favorite. The best thing is it gives you a wholesome guilt free experience. 
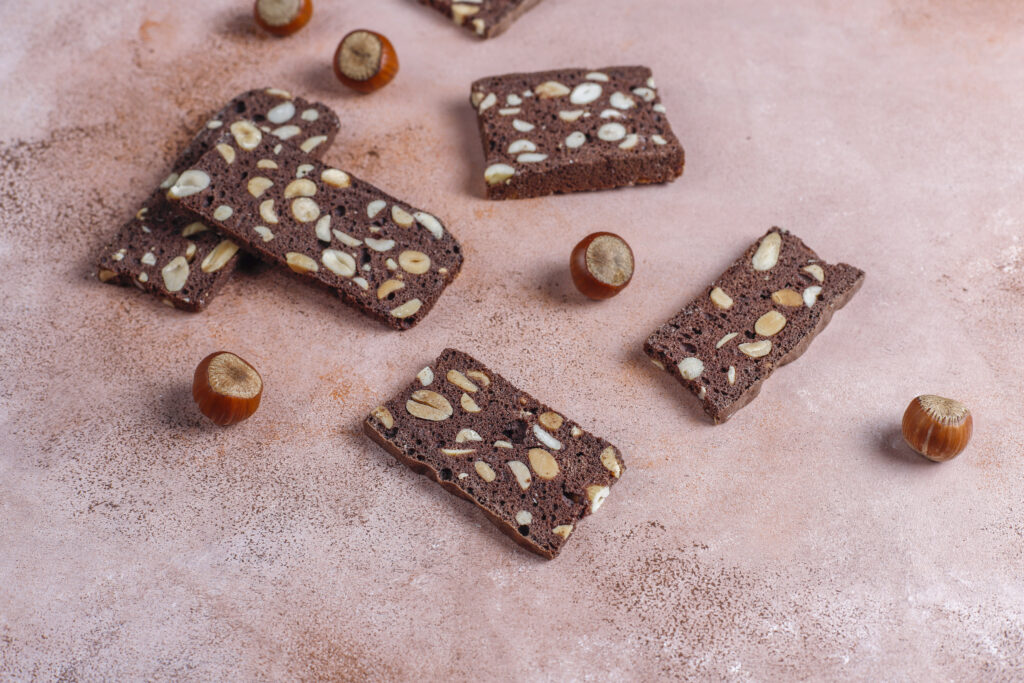
hazelnuts protein bar

Ingredients

  • Hazelnuts
  • Cocoa Powder
  • Oats
  • Nut Butter
  • Maple Syrup
  • Whey (or plant) Protein

Preparation 

  • Put 1/2 cup hazelnuts in a food processor and blend them until finely chopped.
  • Add 1/4 cup cocoa powder, 1 cup oats, 1/3 cup nut butter (hazelnut or almond), 1/4 cup maple syrup, along with 1 scoop protein powder into it.
  • Pulse until mixture sticks together but doesn’t make it paste-like.
  • Take a lined baking tray and press the mixture in it.
  • For a glossy finish, melt some dark chocolate and drizzle over the top.
  • Put it into the refrigerator for 1-2 hours.
  • Slicing to set the rich & creamy texture.

4. Matcha Coconut Energy Bar

It is one of the trending and energizing energy bars made with Asian flair. Celebs are also in love with it.

Ingredients

  • Matcha Powder
  • Coconut Flakes
  • Vanilla Protein
  • Almond Flour
  • Honey

Preparation

  • Take a bowl, put 1 cup almond flour, 2 tbsp matcha powder, 1/2 cup coconut flakes, and 1 scoop vanilla protein powder into it. Mix it well.
  • Add 1/4 cup honey in the bowl. Stir it to form a sticky dough.
  • Take a lined pan and press it firmly.
  • Place the tray into the refrigerator and chill for at least 1 hour until firm.
  • Cut out the energy bars. Enjoy it with a little caffeine and antioxidant boost.

5. Salted Caramel Cashew Bar

It is known for its classic yet unforgettable flavors. This bar is filled with sweet and salty flavors. It is totally addictive.

Ingredients

  • Cashews
  • Dates
  • Vanilla
  • Sea Salt
  • Coconut Sugar
  • Protein Powder

Preparation

  • Take a food processor and add 1 scoop protein powder and pulse it to combine.
  • Take a lined pan and press the mixture into it.
  • Take sea salt and sprinkle it evenly over the top.
  • Refrigerate it for 1 or 2 hours so it sets.
  • Take it out, slice it into the bars. Enjoy the salty-sweet flavor balance and creamy texture.

6. Turmeric Ginger Immunity Bar

Turmeric is known as a natural medicine. This bar boosts your winter defenses. It narrates your “get ready with me for winters” story!

  • Ingredients
  • Turmeric
  • Ginger
  • Oats
  • Maple Syrup
  • Almond Butter
  • Mixed Seeds (sunflower, pumpkin, flax)

Preparation

  • Take a bowl and mix 1 cup oats, 1 scoop protein powder, 1 tsp turmeric powder, with 1 tsp ginger powder in it.
  • Put 1/4 cup almond butter and 1/4 cup maple syrup into the mixture.
  • Stir it to form a uniform mixture.
  • Fold in 2 tbsp of mixed seeds.
  • Take a lined pan, grease it well. Put the mixture into it and press it firmly.
  • Put it in the refrigerator for at least 1 hour or overnight so that all spices and flavors meld.
  • Cut out the bars that not only boost winter immunity but also provide a warm spicy kick.

7. Cinnamon Apple Pie Protein Bar

This bar shows how nostalgia meets healthy snacking. It is delicious and healthy. 

  • Ingredients
  • Dried Apples
  • Oats
  • Cinnamon
  • Almond Butter
  • Honey
  • Optional Protein

Preparation

  • Take a bowl and mix 1 cup oats, 1 scoop protein powder, 1 tsp cinnamon, with 1/2 cup dried chopped apples in it.
  • To make the dough stir it in 1/4 cup almond butter and 1/4 cup honey.
  • Take a baking dish and firmly spread the dough into it. 
  • Refrigerate it for at least 1 hour so it sets properly.
  • Slice into bars. Enjoy your healthy winter dessert.

Pro Tips for Customizing at Home

  • You can swap nuts (Almonds for cashews)
  • Use Honey If You Don’t Like Dates For Sweeteners 
  • Choose Protein types as per your dietary needs
  • You can mix in dried cranberries, pumpkin seeds, or even dark chocolate for extra nutrition and fun. 

For more delicious and easy to make healthy snack recipes stay tuned with us at Chefs Home Around and also explore our Healthy Winter Recipes Collection for cozy, nutrient-rich dishes this season.

Must Try: Healthy Chocolate Smoothie

Try 5 Sizzling Sri Lankan Recipes Straight From the Chef’s Kitchen

0
Sri Lankan Recipes

Sri Lankan cuisine is not just food; it’s a culinary adventure that tantalizes your taste buds and ignites your senses. Picture this: vibrant spices mingling with tropical ingredients to create dishes that are as bold as they are intricate. The Sri Lankan recipes handed down through generations are a treasure trove of flavor, culture, and artistry. From the tangy allure of goraka-infused fish curries to the fiery zest of coconut sambols, each dish tells a story of heritage and innovation.

But here’s the catch: recreating these masterpieces at home often feels like deciphering a complex puzzle. How do you achieve that perfect sour note? What’s the secret to silky curries? And how do you balance the heat with a hint of sweetness? With the right Sri Lankan cooking techniques, you can unlock the secrets of this cuisine. Get ready to explore five sizzling recipes straight from a chef’s kitchen, each crafted to bring vibrant flavors and a touch of Sri Lanka to your table.

1. Tangy Treasure – Ambul Thiyal (Sri Lankan Sour Fish Curry Recipe)

Ingredients List

  • 500g firm fish (like tuna, swordfish, or kingfish), cut into 2-inch cubes
  • 3-4 pieces goraka (dried Garcinia cambogia), soaked in warm water
  • 2 tbsp goraka water (from soaking the goraka)
  • 1 tbsp black pepper powder
  • 1 tbsp chili powder (adjust to taste)
  • 1 tsp turmeric powder
  • 1 tbsp minced garlic
  • 1 tbsp minced ginger
  • 5-6 fresh curry leaves
  • 1 tsp salt (adjust to taste)
  • 1 tbsp coconut oil
  • 1 cup water

Cooking Process

  1. Preparation: Soak goraka in warm water for 10-15 minutes until softened. Grind into a smooth paste.
  2. Marination: Rub the fish cubes with turmeric, salt, and a little black pepper. Let it rest for 10 minutes.
  3. Curry Base: Heat coconut oil in a clay pot. Add minced garlic, ginger, and curry leaves. Sauté until fragrant.
  4. Mixing Spices: Add the chili powder, black pepper, and goraka paste. Stir for 1-2 minutes.
  5. Simmering: Place fish cubes into the pot in a single layer. Pour in water and goraka water. Cover and simmer on low heat for 20-30 minutes until the liquid reduces to a thick coating.
  6. Final Touch: Avoid stirring too much to prevent the fish from breaking. Garnish with additional curry leaves if desired.

Chef Tips

  • A clay pot enhances the flavor, but a heavy-bottomed pan works too.
  • Use goraka sparingly; its tangy flavor is intense.

2. A Symphony of Flavors – Traditional Rice or Curry Sri Lankan Recipes

Ingredients List
For the Rice

For the Lentil Curry

  • 1 cup red lentils, washed
  • 1 small onion, diced
  • 1 small tomato, chopped
  • 1 tsp turmeric powder
  • 1 tbsp curry powder
  • ½ cup thick coconut milk
  • 1 cup water

For the Vegetable Curry

  • 1 cup diced pumpkin
  • 1 cup green beans, chopped
  • 1 tsp mustard seeds
  • 1 tbsp curry leaves
  • 1 tsp chili powder
  • 1 cup thin coconut milk

Cooking Process

  1. Cook the Rice: Rinse rice thoroughly. Bring water and salt to boil, then add rice. Simmer until grains are tender. Drain excess water if needed.
  2. Prepare Lentil Curry:
    • Cook lentils with turmeric and water until soft.
    • Add onions, tomatoes, curry powder, and salt. Simmer for 10 minutes.
    • Stir in coconut milk and cook for 5 minutes.
  3. Prepare Vegetable Curry:
    • Heat oil, add mustard seeds and curry leaves until they splutter.
    • Toss in vegetables, chili powder, and salt. Stir well.
    • Add thin coconut milk, cover, and cook until vegetables are tender.
  4. Assemble: Serve rice with ladles of lentil curry, vegetable curry, and a boiled egg on the side.

Chef Tips

  • Garnish with fried onions and papadam for added crunch.
  • Adjust spice levels based on your preference.

3. A Fiery Classic – Pol Sambol (Coconut Sambol)

Ingredients List

  • 1 cup fresh grated coconut
  • 2-3 dried red chilies (adjust to spice tolerance)
  • 1 small onion, finely chopped
  • 1 tbsp lime juice
  • 1 tsp salt
  • 1 tbsp Maldive fish flakes (optional, for authentic flavor)

Cooking Process

  1. Blend the Base: Grind red chilies and salt into a coarse paste using a mortar and pestle or blender.
  2. Mix the Sambol: Add grated coconut, chopped onion, and Maldive fish flakes to the chili paste. Mix thoroughly by hand for an even texture.
  3. Add Lime: Squeeze lime juice over the sambol and mix again.

Chef Tips

  • For a smokier flavor, dry roast the coconut lightly before mixing.
  • Always use fresh lime juice for the best tangy punch.

4. Coastal Elegance – Spiced Coconut Fish Curry

Ingredients List

  • 500g fresh white fish (snapper or mackerel works well)
  • 1 cup thick coconut milk
  • 1 medium onion, finely chopped
  • 1 small tomato, diced
  • 2 green chilies, slit
  • 1 tsp fenugreek seeds
  • 1 tbsp curry powder
  • ½ tsp turmeric powder
  • 2 garlic cloves, minced
  • 5 curry leaves
  • Salt to taste
  • 1 tbsp coconut oil

Cooking Process

  1. Prepare the Base: Heat coconut oil in a pan. Add fenugreek seeds and curry leaves. Sauté until aromatic.
  2. Build the Curry: Add onions, garlic, and green chilies. Sauté until golden. Toss in tomatoes, turmeric, and curry powder. Stir until tomatoes break down.
  3. Cook the Fish: Gently place fish pieces in the pan. Pour in coconut milk and simmer for 10-15 minutes until the fish is cooked and flavors meld.
  4. Serve: Garnish with additional curry leaves. Serve hot with rice or flatbread.

Chef Tips

  • Always simmer; boiling coconut milk can curdle it.
  • Marinate fish with a pinch of turmeric and salt before cooking for enhanced flavor.

5. A Unique Gem – Kottu Roti (Sri Lankan Street Food Stir-Fry)

Ingredients List

  • 2 flatbreads (paratha or roti), shredded into small pieces
  • 1 cup mixed vegetables (carrots, beans, and cabbage)
  • 1 egg, lightly beaten
  • 2 tbsp soy sauce
  • 1 tbsp chili paste
  • 2 garlic cloves, minced
  • 1 tbsp oil

Cooking Process

  1. Sauté Vegetables: Heat oil in a large pan or wok. Add garlic and stir-fry mixed vegetables until tender.
  2. Scramble the Egg: Push vegetables to the side. Pour the beaten egg and scramble until cooked.
  3. Combine: Toss in shredded flatbread, soy sauce, and chili paste. Stir-fry everything for 2-3 minutes.
  4. Serve: Serve hot with a side of chili sauce.

Chef Tips

  • Use day-old flatbread for a chewier texture.
  • For an authentic street food vibe, chop ingredients on a flat skillet.

Must Read: Low-Calorie Crunchy Chicken Tacos – Healthy Meal

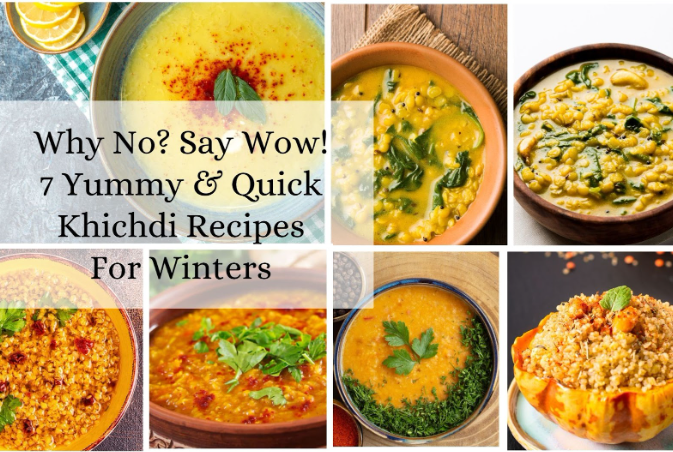
Why No? Say Wow! 7 Yummy & Quick Khichdi Recipes For Winters

0
Why No? Say Wow! 7 Yummy & Quick Khichdi Recipes For Winters

You start with the play as soon as you hear Khichdi is in the meal. Picture this: you are famished and waiting for a sizzling hot meal to grab, but the next moment, a hot bowl full of comfort like these khichdi recipes lands on your plate; sounds disappointing, right? Your eye rolls, wrinkled nose, subtly pushing the plate away, say it all! All you can imagine is a plate full of bland, mushy rice, right? However, if you keep the jokes apart, a bowl full of Khichdi always stands out to comfort us.

How about transforming this bland and not-so-favorite dish into an all-time favorite comfort food? All you need to do is infuse it with spices, vegetables, and millet. Species will tune in with flavors, veggies will play the keys of freshness and nutrition, and last but not least, millet will compose the track of a protein-rich meal. In this blog, we will explore 7 finger-licking and easy-to-make khichdi recipes that will not only satisfy your taste buds but also your appetite.

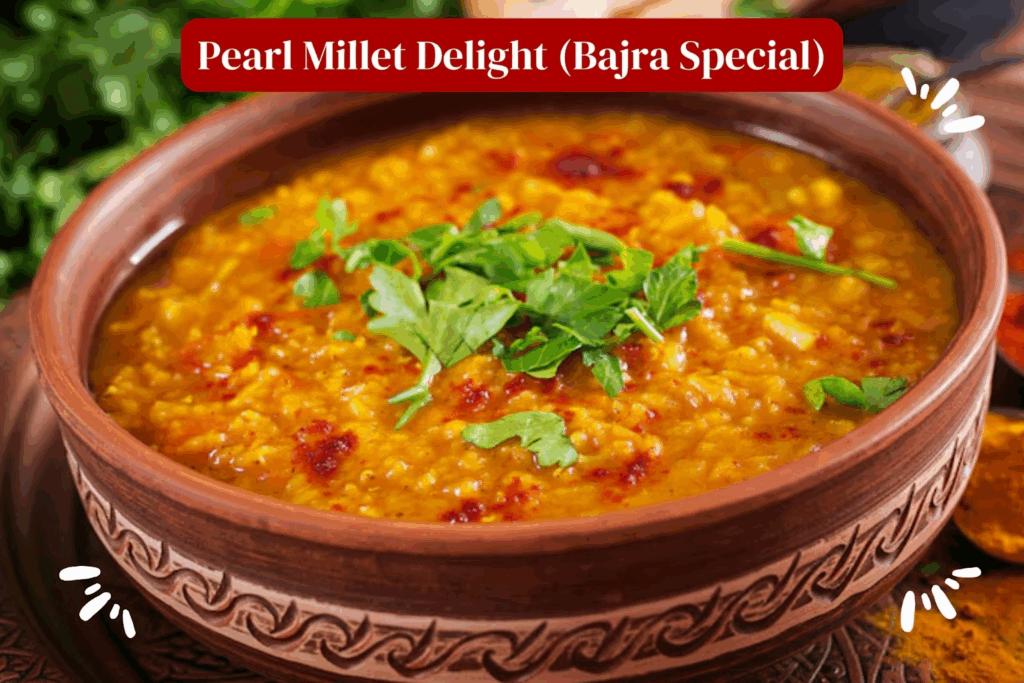
1. Pearl Millet Delight (Bajra Special)

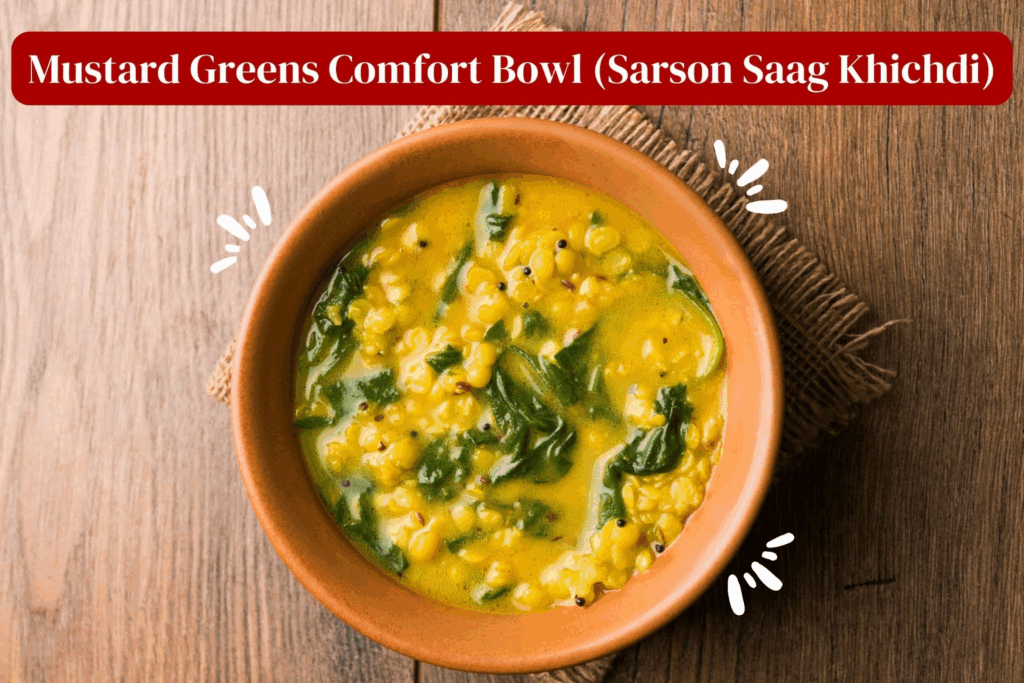
2. Mustard Greens Comfort Bowl (Sarson Saag Khichdi)

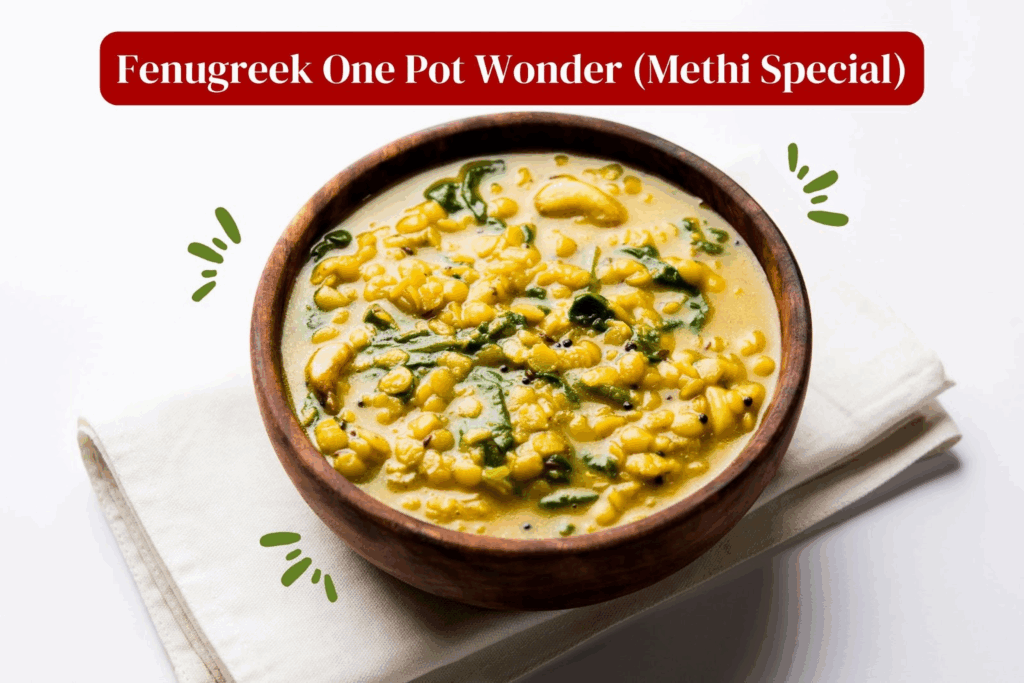
3. Fenugreek One Pot Wonder (Methi Special)

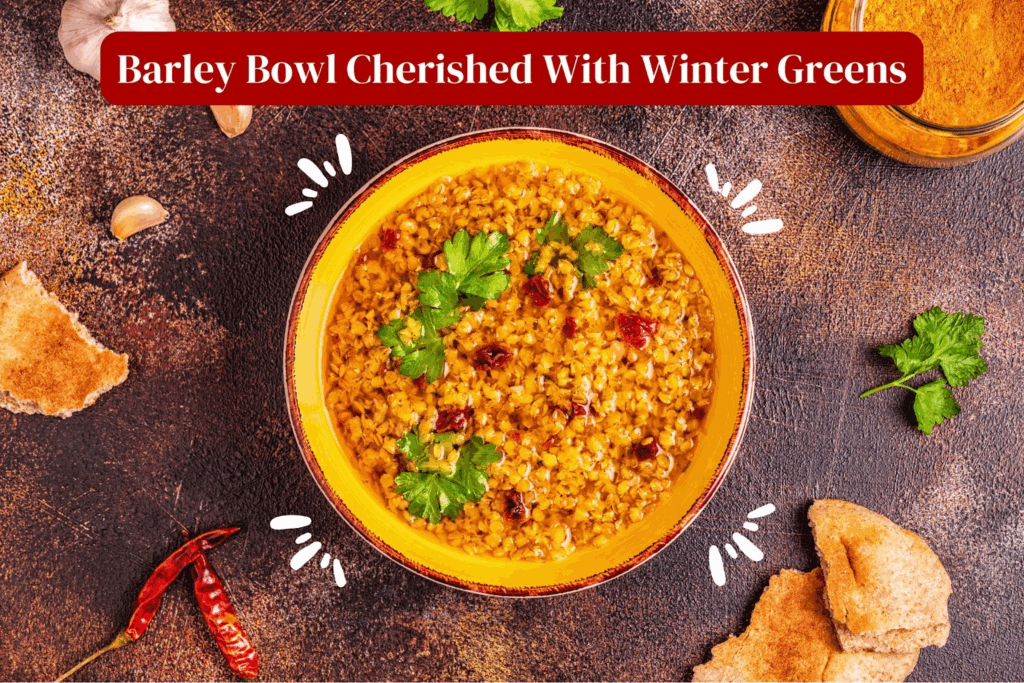
4. Barley Bowl Cherished With Winter Greens

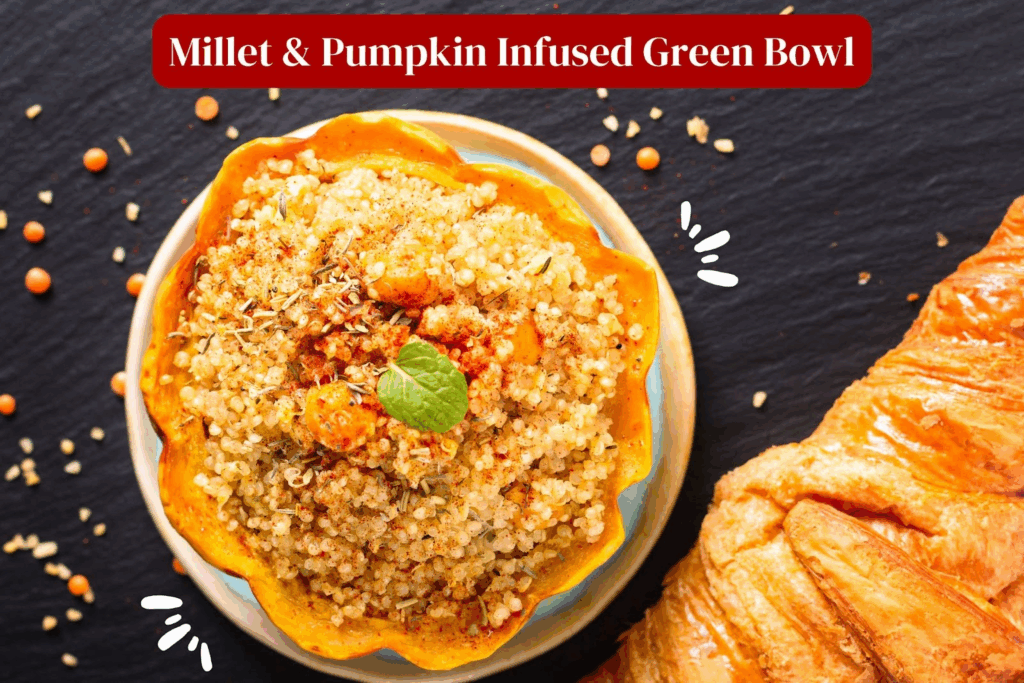
5. Millet & Pumpkin Infused Green Bowl

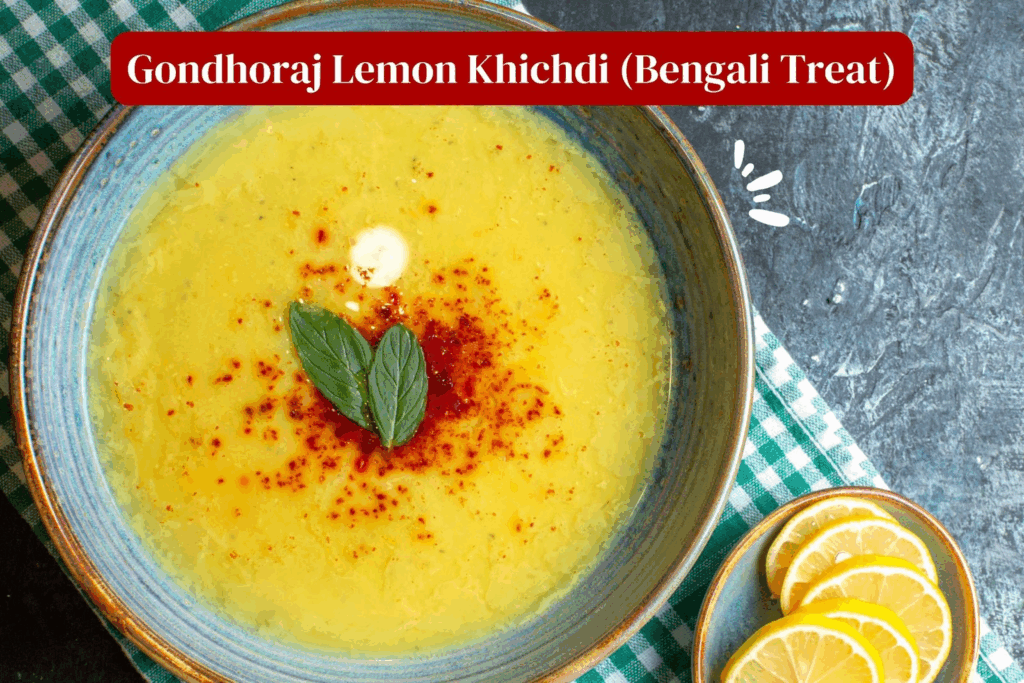
6. Gondhoraj Lemon Khichdi (Bengali Treat)

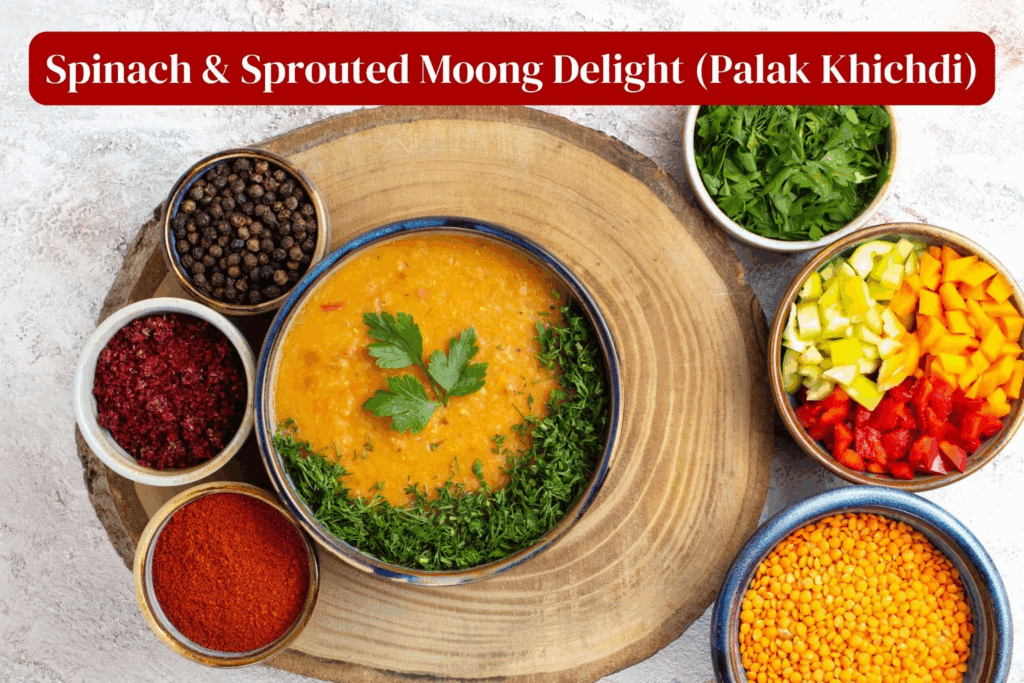
7. Spinach & Sprouted Moong Delight (Palak Khichdi)

1. Pearl Millet Delight (Bajra Special Khichdi Recipe)

Feel the warmth dipped in comfort with every bite!

It is a celebration of pearl millet and winter veggies that eventually immunize the digestion power. This combination of millet and seasonal veggies in a bowl is highly rich in dietary fiber, vitamins, and minerals. The coarse texture of bajra pairs well with the smoothness and creaminess of lentils and veggies. 

Ingredients: 

  • 1 cup overnight soaked bajra
  • ½ cup split moong dal
  • 1 tbsp Ghee
  • 1 tsp Cumin seeds
  • 1 tbsp Ginger & Garlic Paste
  • 1 Cup full of diced veggies (Carrot, peas, colored capsicums, sweet potato, corn)
  • Salt, Turmeric, and Black Pepper to taste

Cooking Process: 

  • Wash Bajra thoroughly and soak it overnight. It reduces cooking time and provides great texture. 
  • Take a pressure cooker, heat it on low flame, add cumin seeds, and wait until they splutter.
  • Add ginger garlic paste and saute it until it becomes aromatic. 
  • Add moong dal and diced vegetables, and stir well. Spice it up with turmeric powder, black pepper powder, and salt. Stir it well!
  • Add 4 to 5 cups of water to the cooker and pressure cook it for 4 to 5 whistles. 
  • Top it with coriander and a dollop of ghee for an earthy finish. Serve sizzling hot with buttermilk and homemade garlic chutney.

Health Benefits: 

  • Controls Diabetes
  • Heart friendly
  • Manages Blood Sugar Levels 
  • Natural Detoxifier 
  • Keeps Body Warm

2. Mustard Greens Comfort Bowl (Sarson Saag Khichdi Recipe)

Punjabi twist to the traditional delight.

What can be better than a bowl filled with iconic flavors like mustard greens and seasonal vegetables? This bowl is rich in flavors and nutrition and is perfect for a soul-soothing winter special meal.

Ingredients:

  • 1 cup finely chopped mustard greens
  • ½ cup finely chopped spinach
  • 1 tbsp ginger and garlic paste
  • 2 green chillies (optional)
  • ½ cup moong dal
  • 1 cup rice
  • 1 tbsp ghee
  • Salt, black pepper, cardamom powder according to taste

Cooking Process: 

  • Wash dal and rice multiple times and soak them together for a bare minimum of 30 minutes. 
  • In a pan, add ghee and ginger-garlic paste and saute until the paste turns golden yellow. Add the chopped mustard greens and cook until they wilt.
  • Add soaked rice and dal to the pan. Spice the mixture with salt, black pepper, and cardamom powder, and stir well. 
  • Put 3 cups water and pressure cook for 3-4 whistles. 
  • Serve it steaming hot with your favorite pickle and white butter. 

Health Benefits: 

  • Natural Antiseptic heals wounds early.
  • Supports Kidney Function
  • Purify and Strengthen the blood.
  • Reduces risk of chronic diseases
  • Keeps body warm 

3. Fenugreek One Pot Wonder (Methi Special Khichdi Recipe)

Hearty, flavourful twist of bitterness & sweetness.

This one-pot recipe deliciously and healthily celebrates the bitterness and sweetness of fenugreek. It offers fenugreek’s goodness in a comfortable and hearty bowl.

Ingredients:

  • 1 cup finely chopped fresh fenugreek leaves
  • 1 tsp ginger and garlic paste
  • 1 tsp cumin seeds
  • 1 clove
  • ½ cup masoor dal
  • 1 tbsp ghee
  • 1 cup rice
  • Salt, black pepper, turmeric, and coriander powder according to taste. 

Cooking Process: 

  • Heat ghee in a pressure cooker, add cumin seeds and saute until they splutter and the aroma spreads in the air.
  • Add the ginger and garlic paste and saute until golden. Then add the finely chopped fenugreek leaves and cook for about 3 to 3 minutes.
  • Add washed dal and rice, 3 cups of water, salt, turmeric, black pepper, and coriander powder according to taste. 
  • Pressure cook for 3 whistles. 
  • Pour it steaming hot in the bowl with curd, pickle, and crispy papad. 

Health Benefits: 

  • Improves the level of testosterone hormone.
  • Dietary supplements for diabetes
  • Supports in immunomodulation 
  • Provide relief from period cramps.
  • Controls Blood Sugar Levels

4. Barley Bowl Cherished With Winter Greens Khichdi Recipe

Simply nutritious yet delicious hearty barley bowl.

Barley’s unique chewy texture complements the freshness of winter greens like spinach and kale. This wholesome meal is packed with nutrition.

Ingredients: 

  • ½ cup lentils (moong dal)
  • 1 tbsp ginger and garlic paste
  • Salt, black pepper, turmeric, coriander powder according to taste
  • 1 cup barley
  • 1 cup mixed greens (fenugreek and mustard)

Cooking Process: 

  • Soak barley overnight for easy and better cooking.
  • Heat ghee in a pan, add ginger and garlic paste and saute until golden. Add greens and lentils, 3 cups of water, salt, black pepper, turmeric, coriander powder, according to the taste. 
  • Pressure cook for 3-4 whistles.
  • Serve sizzling hot in a bowl; top it with coriander leaves, papad, and a dollop of ghee. 

Health Benefits: 

  • Supports hair growth
  • Good for heart health
  • Good for breast milk production
  • Anti-cancer
  • Provides nutrition to the skin
  • Rich in protein

5. Millet & Pumpkin Infused Green Bowl Khichdi Recipe

Unfavorable ingredient but an all-time favorite dish.

The texture of millet and tenderness of pumpkin chunks with the freshness of coriander play the harmony on the taste palettes. The subtle spiciness of green chilly and black pepper will give it an extraordinary kick. 

Ingredients:

  • 1 cup peeled and diced pumpkin cubes
  • 1 cup soaked foxtail millet
  • 1 cup spinach leaves
  • ½ cup moong dal 
  • 1 medium size finely chopped onion
  • 2 green chillies
  • 1 tbsp grated ginger
  • ½ tbsp spoon garlic paste 
  • 1 sprig of curry leaves
  • ½ tsp cumin seed
  • 1 tbsp oil or ghee
  • 2 cups vegetable broth or water
  • ½ cup coconut milk 
  • Salt, turmeric, coriander, cardamom, and black pepper powder as per taste.

Cooking Process: 

  • Properly wash foxtail millet and moong dal. Soak them for about 20-30 minutes. Drain them and set them aside.
  • Heat ghee in a pressure cooker. Add curry leaves, cumin seeds, and green chilies. Saute until they splutter and become aromatic.
  • Add grated ginger, saute until golden, add chopped onion, and saute again until the onion turns translucent and pink.
  • Stir in pumpkin cubes and spinach. Cook them for 2–3 minutes until they get soft.
  • Add millet, moong dal, salt, turmeric, coriander, cardamom, and black pepper powder. Mix them well.
  • Add 2 cups vegetable broth or water. Pressure cook for 2–3 whistles. 
  • Add coconut milk and stir gently. Simmer for another 2–3 minutes.
  • Serve sizzling hot with a dollop of ghee or butter, pickle, cucumber-onion salad, or papad.

Health Benefits:

  • Prevents from constipation
  • Controls cholesterol levels
  • Fights from oxidative stress
  • Ideal for diabetics
  • Controls blood sugar levels 

6. Gondhoraj Lemon Khichdi Recipe(Bengali Treat)

Zesty aromatic bowl to celebrate winter evenings.

This delicious Khichdi is infused with sensational flavors. Tangy lemon notes, blended with mushy rice and lentils coated in the subtle bitterness of mustard, excite the taste palette.

Ingredients:

  • 1 cup aromatic short-grain rice
  • 1 tsp ginger paste
  • 2 green chillies (optional)
  • 1 tsp cumin seeds
  • ½ cup moong dal 
  • 2 cups water or vegetable broth
  • 1 Gondhoraj lime (any lime)
  • 1 finely sliced large onion
  • 1 bay leaf
  • 1 sprig of curry leaves
  • 2 tbsp mustard oil
  • Salt, turmeric powder, coriander, and black pepper powder are used according to taste.

Cooking Process: 

  • Properly wash rice and moong dal. Soak them for approx 20 minutes.
  • Heat mustard oil in a heavy-bottomed pan. 
  • Add cumin seeds and bay leaf. Saute until aromatic.
  • Add ginger paste and cook until golden and fragrant. 
  • Add sliced onions and cook until they get soft and pink.
  • Add the soaked rice and dal. Stir well.
  • Add salt, turmeric powder, coriander, black pepper powder, and green chilies. Pour in water and bring it to a boil.
  • Cook on low heat until the rice and dal get soft and creamy. Stir occasionally.
  • Serve steaming hot, and squeeze fresh lime juice over it. 
  • Garnish with lime zest and enjoy with fried egg and vegetable fritters.

Health Benefits: 

  • Cleanse the liver & improve digestion
  • Comforts stomach
  • Aroma reduces stress
  • Enhances immunity & skin health.
  • Aids energy levels

7. Spinach & Sprouted Moong Delight (Palak Khichdi Recipe)

Spinach bowl loaded with protein and lip-smacking flavors.

In this bowl, you will get to experience the nutritious goodness of fresh spinach and a protein-rich sprouted moong dala twist of garlic and spices. 

Ingredients:

  • 1 cup soaked brown rice
  • ½ cup sprouted moong
  • 1 cup finely chopped spinach leaves
  • 1 chopped medium size tomato 
  • 2 cups vegetable stock or water
  • 1 tbsp ghee or oil
  • Salt to taste, turmeric powder, black pepper, cardamom, coriander powder according to taste.
  • 1 chopped small size onion 
  • 2 minced garlic cloves 
  • ½ tsp cumin seeds
  • 1 tsp
  • ½ tsp
  • 2 green chillies (optional)

Cooking Process: 

  • Properly wash brown rice and soak for approx 30 minutes. 
  • Heat ghee in a pressure cooker. 
  • Add cumin seeds and minced garlic. Saute until golden and aromatic.
  • Stir in onions, tomatoes, and green chilies. Cook until the onions get pink and the tomatoes turn mushy.
  • Add the chopped spinach, saute, and cook until wilted.
  • Add sprouted moong, brown rice, turmeric powder,  black pepper, cardamom, and coriander powder. Stir well.
  • Add water or vegetable stock. Pressure cook for approx 2–3 whistles. Allow the pressure to release naturally.
  • Top it with fresh coriander, and serve with plain yogurt, crispy papad, and a squeeze of lime.

Health Benefits: 

  • Boosts hemoglobin levels
  • Helps in combating anemia
  • Rich in plant-based protein: Supports muscle health
  • Boosts digestion
  • Reduces calories
  • Boosts immune health 

Conclusion:

Do you still feel that khichdis are boring? Try the above winter khichdi recipe and see the difference! You can transform ordinary Khichdi into evergreen favorites using seasonal veggies, protein-rich millets, and aromatic whole spices. Sharing flavors is a foodie’s love language. Don’t forget to drop your reviews in the comment section!

ALSO READ: Winter Smoothie Recipe

Choosing the Best Healthy Cooking Oils for Your Kitchen

0
Best Healthy Cooking Oil

Culinary health is a game changer in finding the best healthy cooking oil. If you have the right oil, you will enhance the taste of your dishes while boosting their nutritional value. We will lead you through these high-quality choices for cooking healthy oil and help you find the best edible oil for your health.

Why Cooking Oil Matters

When it comes to cooking oil, it is not only about flavour; it is also part of your nutritional composition. Oils contain essential fatty acids and enable the absorption of vitamins from food consumed. Nevertheless, not all oils are made equal. Some perform well under high temperatures, while others are good with salads or low-temperature foods. Understanding this distinction will make one healthy when choosing items at home.

Top Healthy Cooking Oils

1. Olive Oil

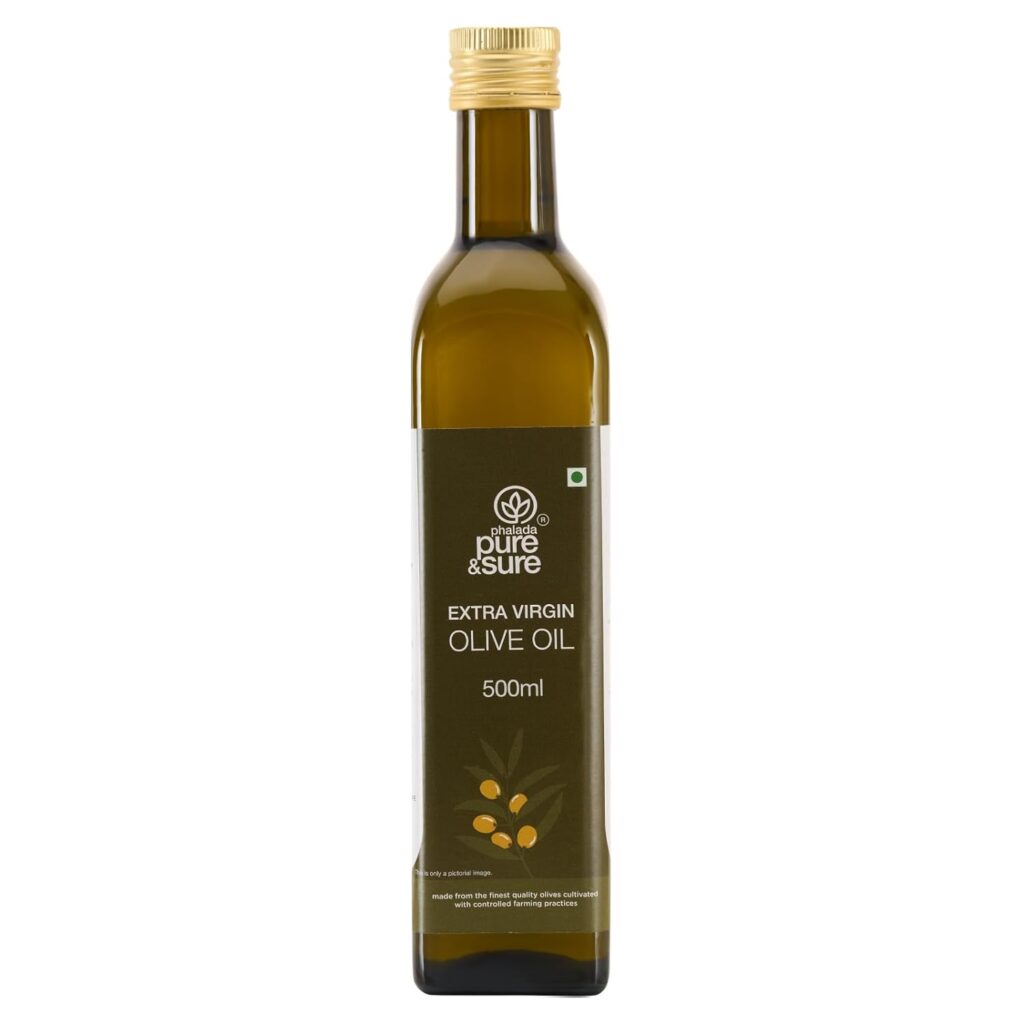
Traditional evidence indicates that olive oil is among the healthiest cooking oils. It has monounsaturated fatty acids, and these are deemed to be so beneficial to the heart and help to combat inflammation. All other oils are substandard to extra virgin olive oil as they have undergone further processing and contain fewer nutrients than this product. It should, therefore, be used for frying, baking, or dressing salads to enrich the health benefits and enhance the taste.

2. Avocado Oil

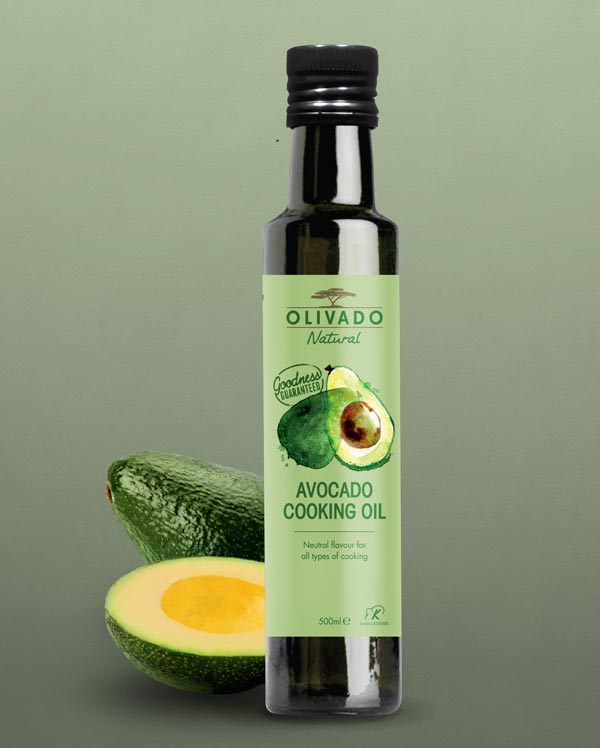
Another option for cooking healthy oil is avocado oil, which is fantastic for people who care about their diet. It has a high smoke point, making it ideal for frying or grilling at high temperatures. Avocado oil contains monounsaturated fats and vitamin E, which support heart functions and make skin shine outwards. This mild-flavoured ingredient can be included in many recipes.

3. Coconut Oil

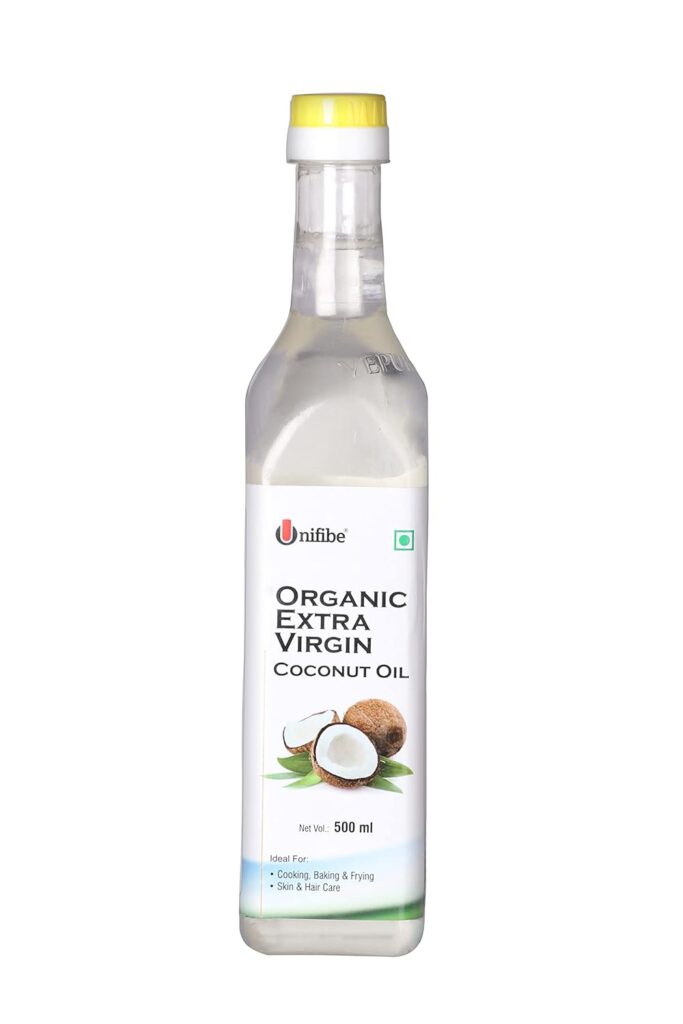
Coconut oil suits individuals searching for the best edible oil for health due to its unique medium-chain triglycerides (MCTs). Hence, MCT products enter the body quickly, providing energy that may aid weight reduction efforts even though room-temperature coconut solidifies with a distinct flavour. Use it for baking or to give your dishes a tropical twist, but remember that coconut oil has high saturated fats, so use it sparingly.

4. Flaxseed Oil

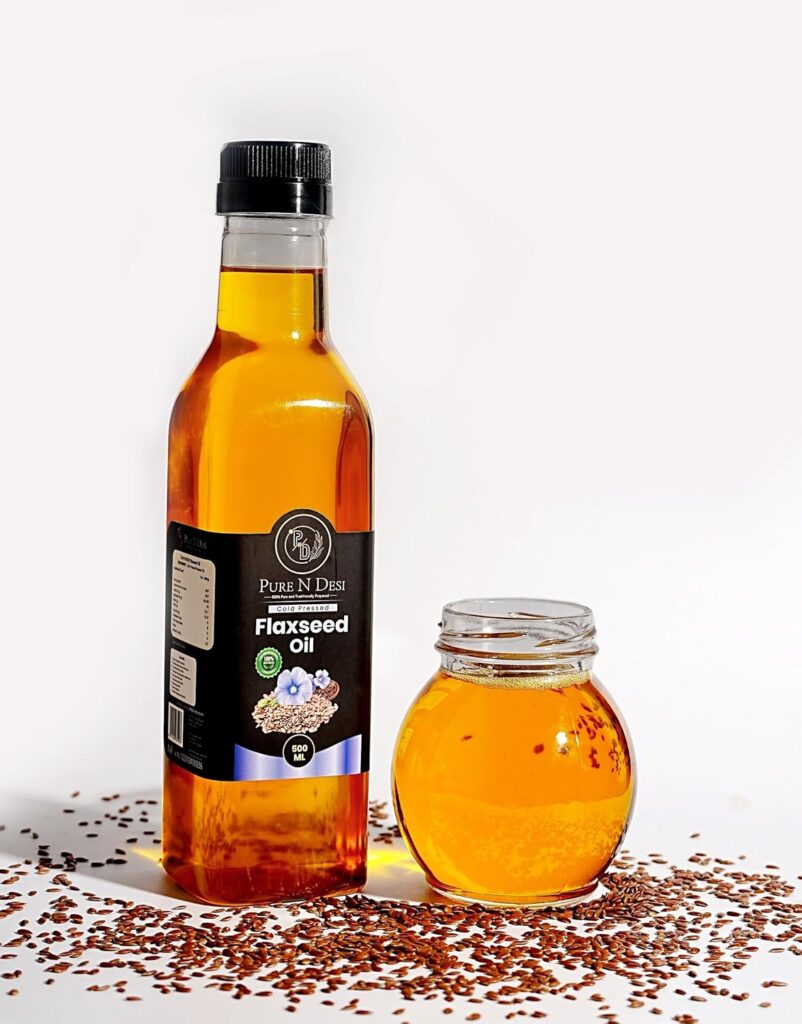
The fact that flaxseed oil contains high levels of omega-3 fatty acids speaks volumes about its contribution to the health of our hearts. It is most suitable as an ingredient in cold preparations like dressings and smoothies since it has a low smoke point. Include flaxseed oil in your kitchen cupboard to reduce inflammation and improve overall welfare.

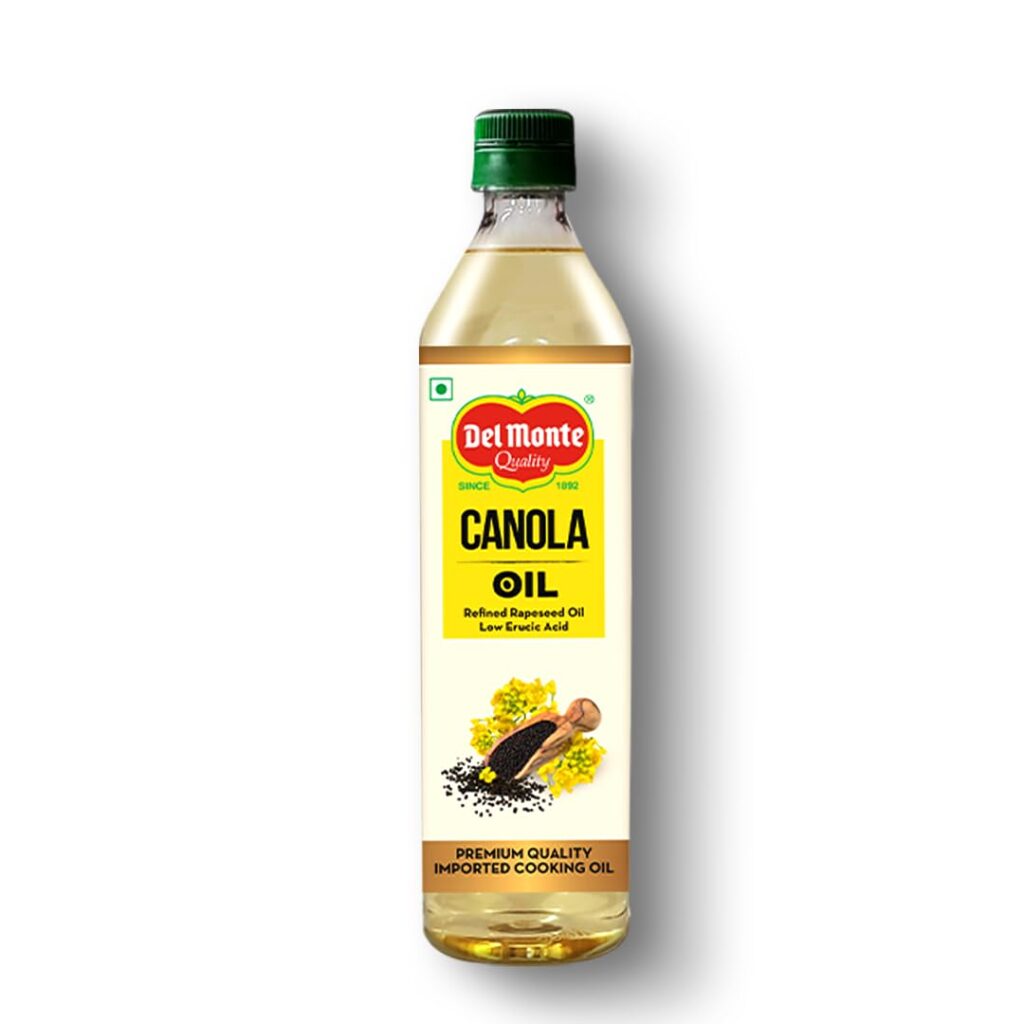
5. Canola Oil

Canola oil is the best edible oil for health because of its balanced combination of omega-3 and omega-6 fatty acids. It is perfect for different cooking techniques because it has a mild taste and a high smoking point, from frying to baking. Look for cold or expeller-pressed canola oils when choosing a healthier one with more preserved nutrients.

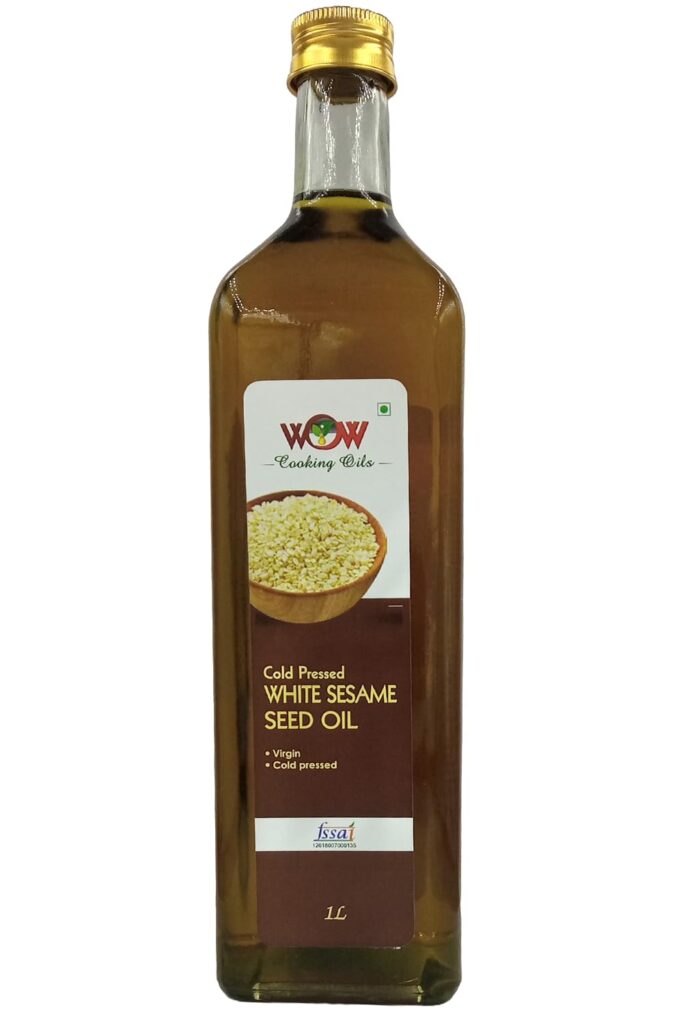
6. Sesame Oil

Sesame oil adds distinct tastes to meals and is commonly used in Asian cooking. It comprises monounsaturated and polyunsaturated fats, among other antioxidants such as sesamolins. It can also be toasted for a more pungent taste, becoming an added flavour at the end of meals. However, exercise caution when consuming due to its flavoring solid effect and calories contained in it.

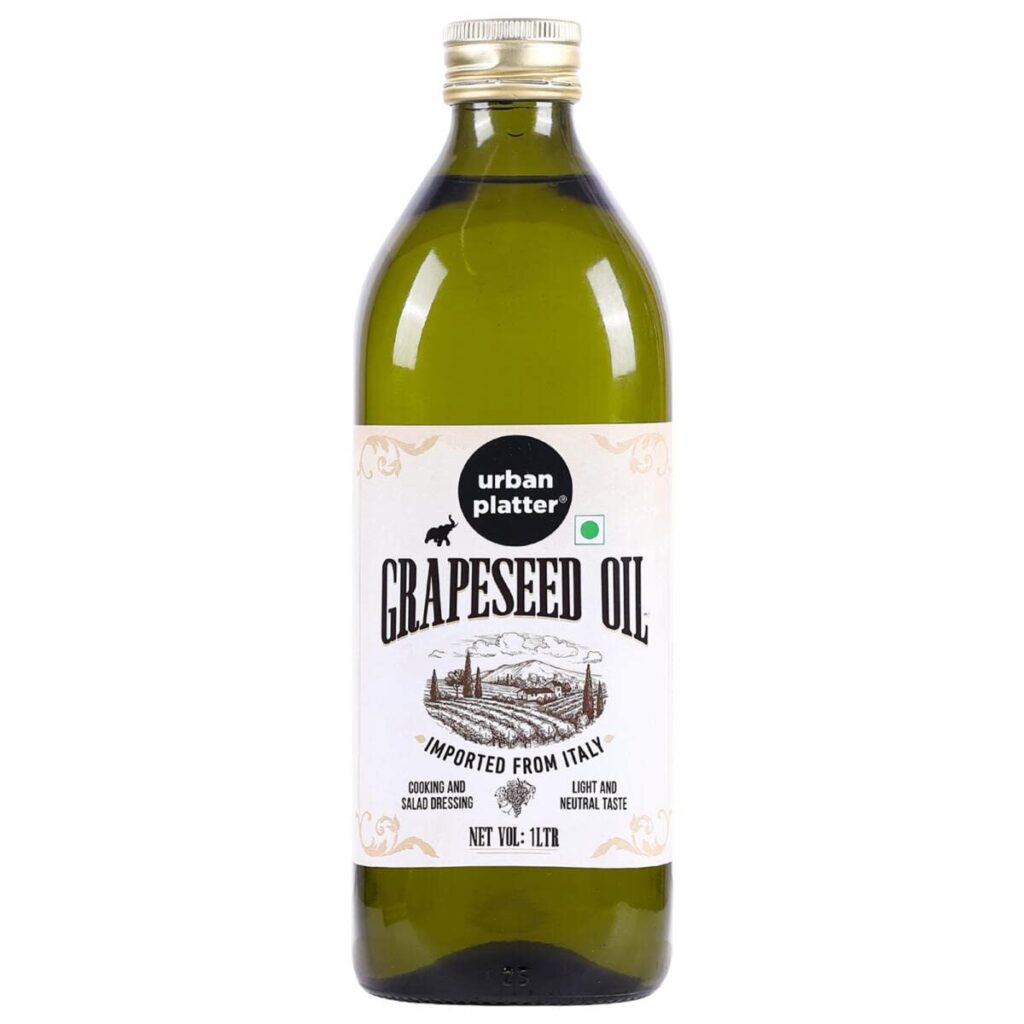
7. Grapeseed Oil

Grated seed, the less popular but healthy option, has polyunsaturated fats alongside Vitamin E, which acts like an antioxidant agent. The high smoke point permits this mild-flavored type of fat to work well on frying, sautéing, or even baking. It means that this all-purpose fat pairs with various recipes.

Comparing Oil Options for Specific Recipes

Different types of oils are required depending on the recipe, cooking method, and desired flavors. Quickly choosing your specific culinary needs oil:

  • Sautéing and Stir-Frying: You can use oils with high smoke points, such as avocado or canola oil for this technique. These oils will not break down or emit smoke at high temperatures.
  • Baking: You could also bake with coconut or olive oil. The former adds a hint of coconut, while the latter is neutral in flavour.
  • Salad Dressings: Extra virgin olive oil and flaxseed should be chosen to make salad dressings with taste but no need for cooking with some added health benefits.
  • Marinades and Finishing Touches: Finally, sesame oil or toasted sesame oil, for its intense flavour can be used to finish off dishes or as marinades.

Potential Health Concerns

Though many oils have their own sets of health advantages, there are a few things we should consider:

  • Saturated Fats: These oils, like coconut oil, contain high saturated fats, which may raise LDL cholesterol levels. This is not to say that MCTs of this type cannot be suitable for your health, though they would undoubtedly require moderate use.
  • Processing: Other highly processed oils, including certain brands of canola and soybean, may have unhealthy trans fats or other additives. Choose less processed ones like cold-pressed or extra virgin oils instead.
  • Omega-6 Fatty Acids: If one consumes too many omega-6-rich foods, like grapeseed, inflammation occurs; hence, choose those balanced with omega-3-rich ones, like flaxseed.

FAQs

1. What is the smoke point?

It is worth pointing out that the smoke point is observed as the temperature at which an oil begins to ‘burn,’ or, in more technical terms, undergo the process of pyrolysis. Some of the examples are avocados and canola. They are associated with higher smoke points and are used when cooking at high temperatures is desired. For example, others, such as flaxseed oil, are applied in cold dressing.

2. What’s the difference between refined and unrefined oils?

The oils in this group are processed to eliminate any other impurities that could lower their smoke point, which means they are suitable for high-heat cooking. Raw oils retain more nutrients and flavours than refined oils, but because of their low smoke point, they can easily be overheated. Select the type of cooking you like according to your health requirements. 

3. Can I use olive oil for high heat?

Extra virgin olive oil has a lower smoke point than other oils, meaning it is not good when you want to cook at high temperatures. However, light or refined olive oil can tolerate higher heat and can be used to sauté or roast.

4. Why is flaxseed oil beneficial?

Flaxseed oil is a source of omega-3 fatty acids that reduce inflammation and improve cardiovascular health. However, it has a shallow smoke point, making it preferable for cold dishes or as a garnishing oil.

Making the Best Choice Healthy Cooking Oils for Your Kitchen

Choosing the best edible oil for health involves balancing flavour, cooking needs, and nutritional benefits. Whether you’re sautéing vegetables, grilling meat, or making a fresh salad, selecting the right oil can enhance both the taste and healthiness of your meals.

By incorporating healthy cooking oil into your kitchen routine, you’re taking a positive step towards better health. From the heart-healthy benefits of olive oil to the high-heat versatility of avocado oil, there’s an oil to suit every cooking need.

For more inspiration, try out these delicious and healthy recipes: 3 Delicious Oats Smoothie Recipes, Sweet Potato Shepherd’s Pie Recipe, and 7 Top-rated Quick And Easy Recipes.
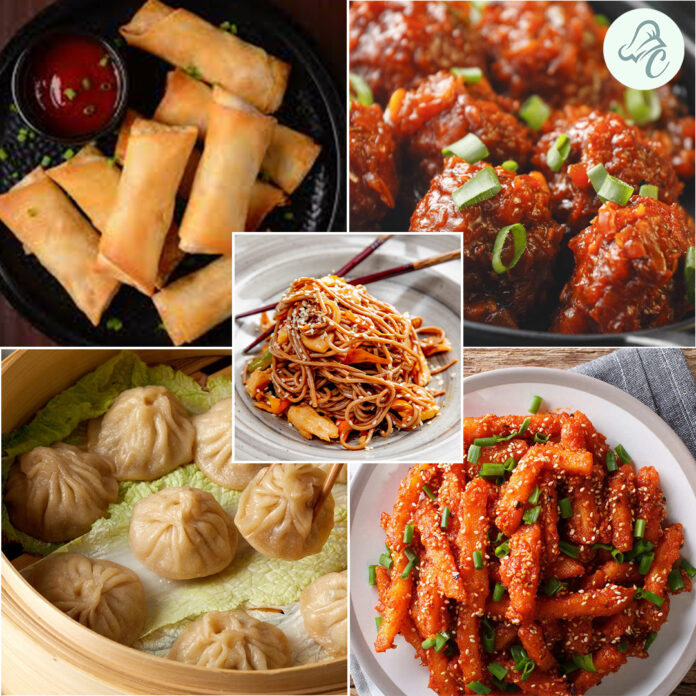
Remember, variety is key to a healthy diet. Don’t be afraid to experiment with different oils and find what works best for you and your family. Happy cooking!

How to Grilled Halloumi Cheese Perfectly: A Delicious Recipe

0
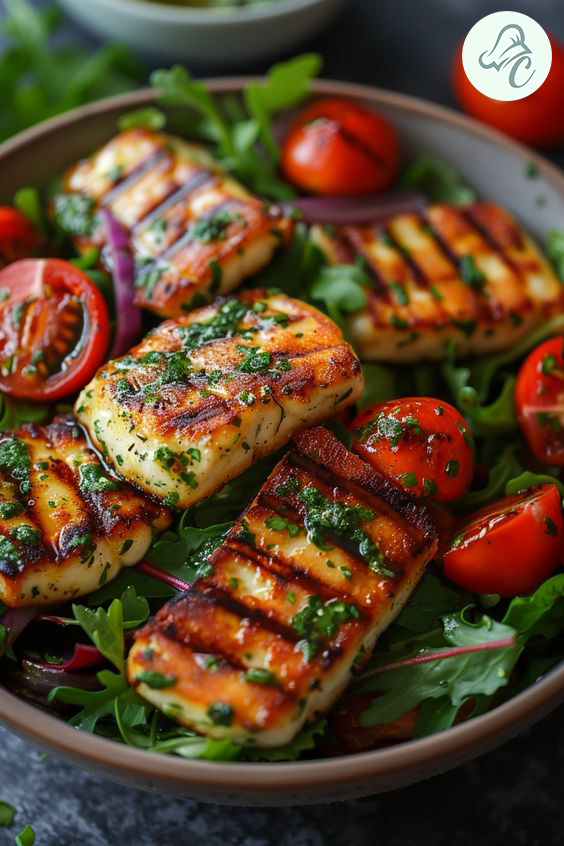
Grilled-halloumi-cheese

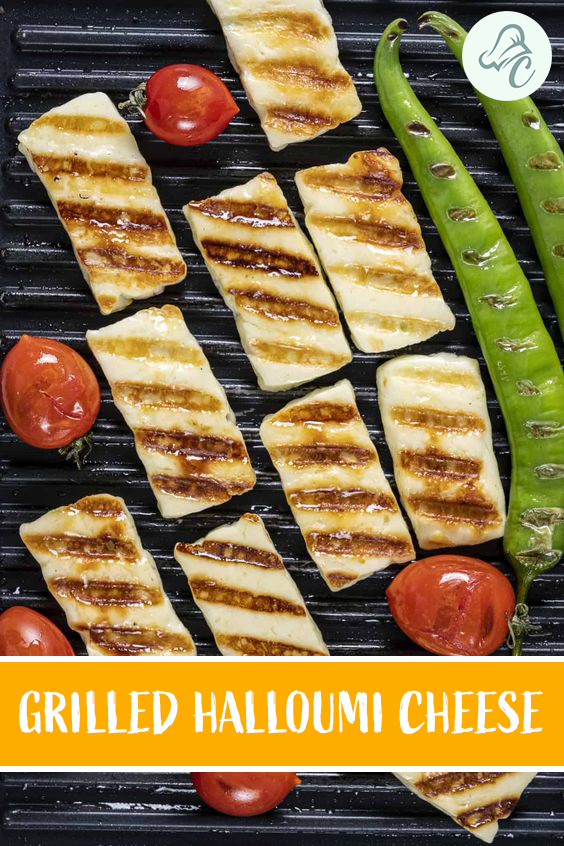
Grilled cheese is a classic favorite, but have you ever tried grilled halloumi cheese? This grilled halloumi cheese recipe will introduce you to a new level of cheesy goodness that’s perfect for any BBQ or casual meal. Halloumi, known as the Greek grilling cheese halloumi, is a semi-hard cheese that holds up beautifully on the grill, creating a delicious, crispy exterior with a warm, melty center. This guide will walk you through everything you need to know to perfect your Greek grilled halloumi.

Halloumi cheese is not only delicious but also incredibly versatile. Its unique texture and flavor make it a standout ingredient in various dishes, from salads to sandwiches. Whether you’re a seasoned chef or a novice in the kitchen, grilling halloumi is straightforward and rewarding. This recipe will help you master the art of grilling halloumi, ensuring it becomes a staple in your culinary repertoire.

About Grilled Halloumi Cheese

Halloumi cheese originates from Cyprus but is popular in Greek cuisine, often referred to as Greek grilling cheese halloumi. It’s a semi-hard, unripened cheese made from a mixture of goat’s and sheep’s milk, and sometimes cow’s milk. Its high melting point makes it ideal for grilling, frying, or baking, allowing it to develop a beautiful golden crust while staying soft inside. This unique texture and its mildly salty flavor make it a versatile ingredient in various dishes.

Grilled Halloumi Cheese

Ingredients

For this grilled halloumi cheese recipe, you will need:

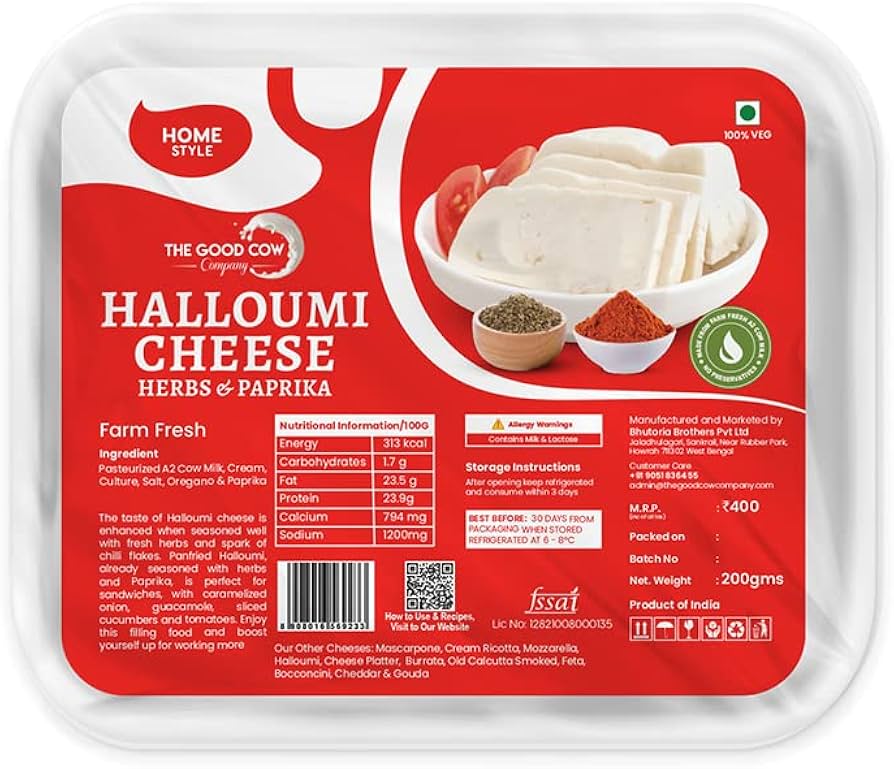
Halloumi Cheese
  • 2 tablespoons olive oil
  • 1 tablespoon fresh lemon juice
  • 1 teaspoon dried oregano
  • Freshly ground black pepper, to taste
  • Fresh herbs (like mint or parsley) for garnish
  • Lemon wedges for serving

Instructions

  1. Preheat the Grill: Heat your grill to medium-high heat. If you’re using a BBQ, ensure it’s clean and well-oiled to prevent sticking.
  2. Prepare the Halloumi: Slice the Halloumi cheese into 1/2-inch thick slices. This thickness is ideal for grilling as it allows the cheese to cook evenly without falling apart.
  3. Marinate the Cheese: In a small bowl, mix the olive oil, lemon juice, and dried oregano. Brush each slice of halloumi with this marinade on both sides. Let it sit for about 10 minutes to absorb the flavors.
  4. Grill the Halloumi: Place the Halloumi slices on the preheated grill. Cook for 2-3 minutes on each side, or until you see a nice golden-brown char. Be careful not to overcook as halloumi can become tough if left on the grill too long.
  5. Serve: Transfer the grilled halloumi to a serving plate. Sprinkle with freshly ground black pepper, garnish with fresh herbs, and serve with lemon wedges. Enjoy your perfectly grilled halloumi warm.
BBQ halloumi cheese recipe

Tips for Perfect Grilled Halloumi Cheese

  • Use High-Quality Halloumi: The quality of halloumi can vary, so choose a good brand for the best results.
  • Don’t Over-Marinate: Halloumi can absorb flavors quickly. A short marination time ensures it doesn’t become too salty.
  • Watch the Grill: Halloumi grills quickly. Keep an eye on it to avoid burning.
  • Serve Immediately: Grilled halloumi is best enjoyed hot off the grill while it’s still warm and melty inside.

Health Benefits of Halloumi Cheese

Halloumi cheese offers several health benefits:

  • High in Protein: Halloumi is an excellent source of protein, which is essential for muscle repair and growth.
  • Rich in Calcium: It provides a good amount of calcium, supporting bone health.
  • Low in Carbohydrates: Suitable for low-carb diets, halloumi is low in carbohydrates.
  • Gut Health: Being a dairy product, it can be a good source of probiotics if unpasteurized.

Variations of Grilled Halloumi Cheese

BBQ Halloumi Cheese Skewers

Cut the halloumi into cubes and skewer them with vegetables like bell peppers, cherry tomatoes, and zucchini. Brush with the marinade and grill until charred.

Greek Grilled Halloumi Salad

Top a bed of mixed greens with grilled halloumi, olives, cucumber, and red onion. Drizzle with a lemon-oregano vinaigrette for a refreshing salad.

Spicy Grilled Halloumi

Add a pinch of chili flakes to the marinade for a spicy kick. Serve with a cooling yogurt dip on the side.

Serving Suggestions

Mediterranean Platter

Create a Mediterranean platter by serving grilled halloumi with hummus, pita bread, olives, and a fresh cucumber-tomato salad. This combination makes a perfect appetizer or light meal.

Tacos

For a fusion twist, use grilled halloumi as a filling for tacos. Top with shredded cabbage, avocado, and a squeeze of lime for a delightful and unique taco experience.

Sandwiches

Layer grilled halloumi in a sandwich with roasted vegetables and pesto. This makes a hearty and flavorful lunch option that is both satisfying and nutritious.

Storage Tips

Before Grilling

Store your halloumi in its original packaging in the refrigerator until you’re ready to use it. Halloumi can last for several months unopened but check the expiration date.

After Grilling

If you have leftover grilled halloumi, store it in an airtight container in the refrigerator. It can be reheated gently in a non-stick pan or enjoyed cold in salads. Use within 3-4 days for best quality.

Dietary Modifications

Low-Sodium Version

To reduce the salt content, soak the halloumi slices in water for a couple of hours before grilling. This will help draw out some of the excess salt.

Vegan Alternative

For a vegan version, you can use a plant-based grilling cheese that has similar properties to halloumi. Brands like Violife offer great vegan options that work well on the grill.

Gluten-Free

This recipe is naturally gluten-free. Just ensure that any additional ingredients (like marinades or accompaniments) are also gluten-free if you have dietary restrictions.

FAQs

  1. What is Halloumi Cheese?

Halloumi is a semi-hard cheese traditionally made from sheep’s and goat’s milk, known for its high melting point, making it ideal for grilling.

  1. Can I Fry Halloumi Instead of Grilling?

Yes, halloumi can also be fried in a non-stick pan with a bit of oil until golden brown on both sides.

  1. How Do I Store Leftover Halloumi?

Store any leftover halloumi in an airtight container in the refrigerator. It can be reheated gently in a pan or eaten cold in salads.

  1. Is Halloumi Cheese Suitable for Vegetarians?

Halloumi is typically made with rennet, so check the label to ensure it’s vegetarian-friendly if this is a concern for you.

Nutritional Value of Grilled Halloumi Cheese

Estimated Nutritional Information (Per Serving)

  • Calories: 200-250
  • Protein: 14g
  • Fat: 18g
  • Carbohydrates: 2g
  • Calcium: 30% DV

These values can vary depending on the specific brand of halloumi and portion sizes used.

Conclusion

Grilled halloumi cheese is a delightful and versatile addition to your culinary repertoire. Whether served as a main dish or an appetizer, this grilled halloumi cheese recipe offers a perfect blend of crispy exterior and soft, melty interior that is sure to please. Enjoy the delicious taste of BBQ halloumi cheese and Greek grilled halloumi with this easy and healthy recipe.

Pair it with a variety of sides and main dishes to create a memorable meal experience. The rich, savory flavor of halloumi complements a wide range of ingredients, making it a fantastic choice for any occasion. Plus, its health benefits and versatility make it a staple worth adding to your regular menu.

For more tasty recipes, check out our Mac And Cheese recipe and Grilled Mexican Street Corn on Chefs Home. These dishes, along with our grilled halloumi cheese recipe, will add variety and excitement to your meals.

Experiment with these recipes and bring a taste of diverse cuisines to your table. Whether you’re cooking for family, friends, or just yourself, these dishes will elevate your culinary skills and delight your taste buds.

Chefs Home is dedicated to providing you with delicious and easy-to-follow recipes that cater to all tastes and preferences. From comfort food classics to innovative culinary creations, our collection is designed to inspire and satisfy.

Enjoy experimenting with these recipes and creating delicious meals at home! Bon appétit!


Low-Calorie Crunchy Chicken Tacos: A Deliciously Healthy Meal Option

0
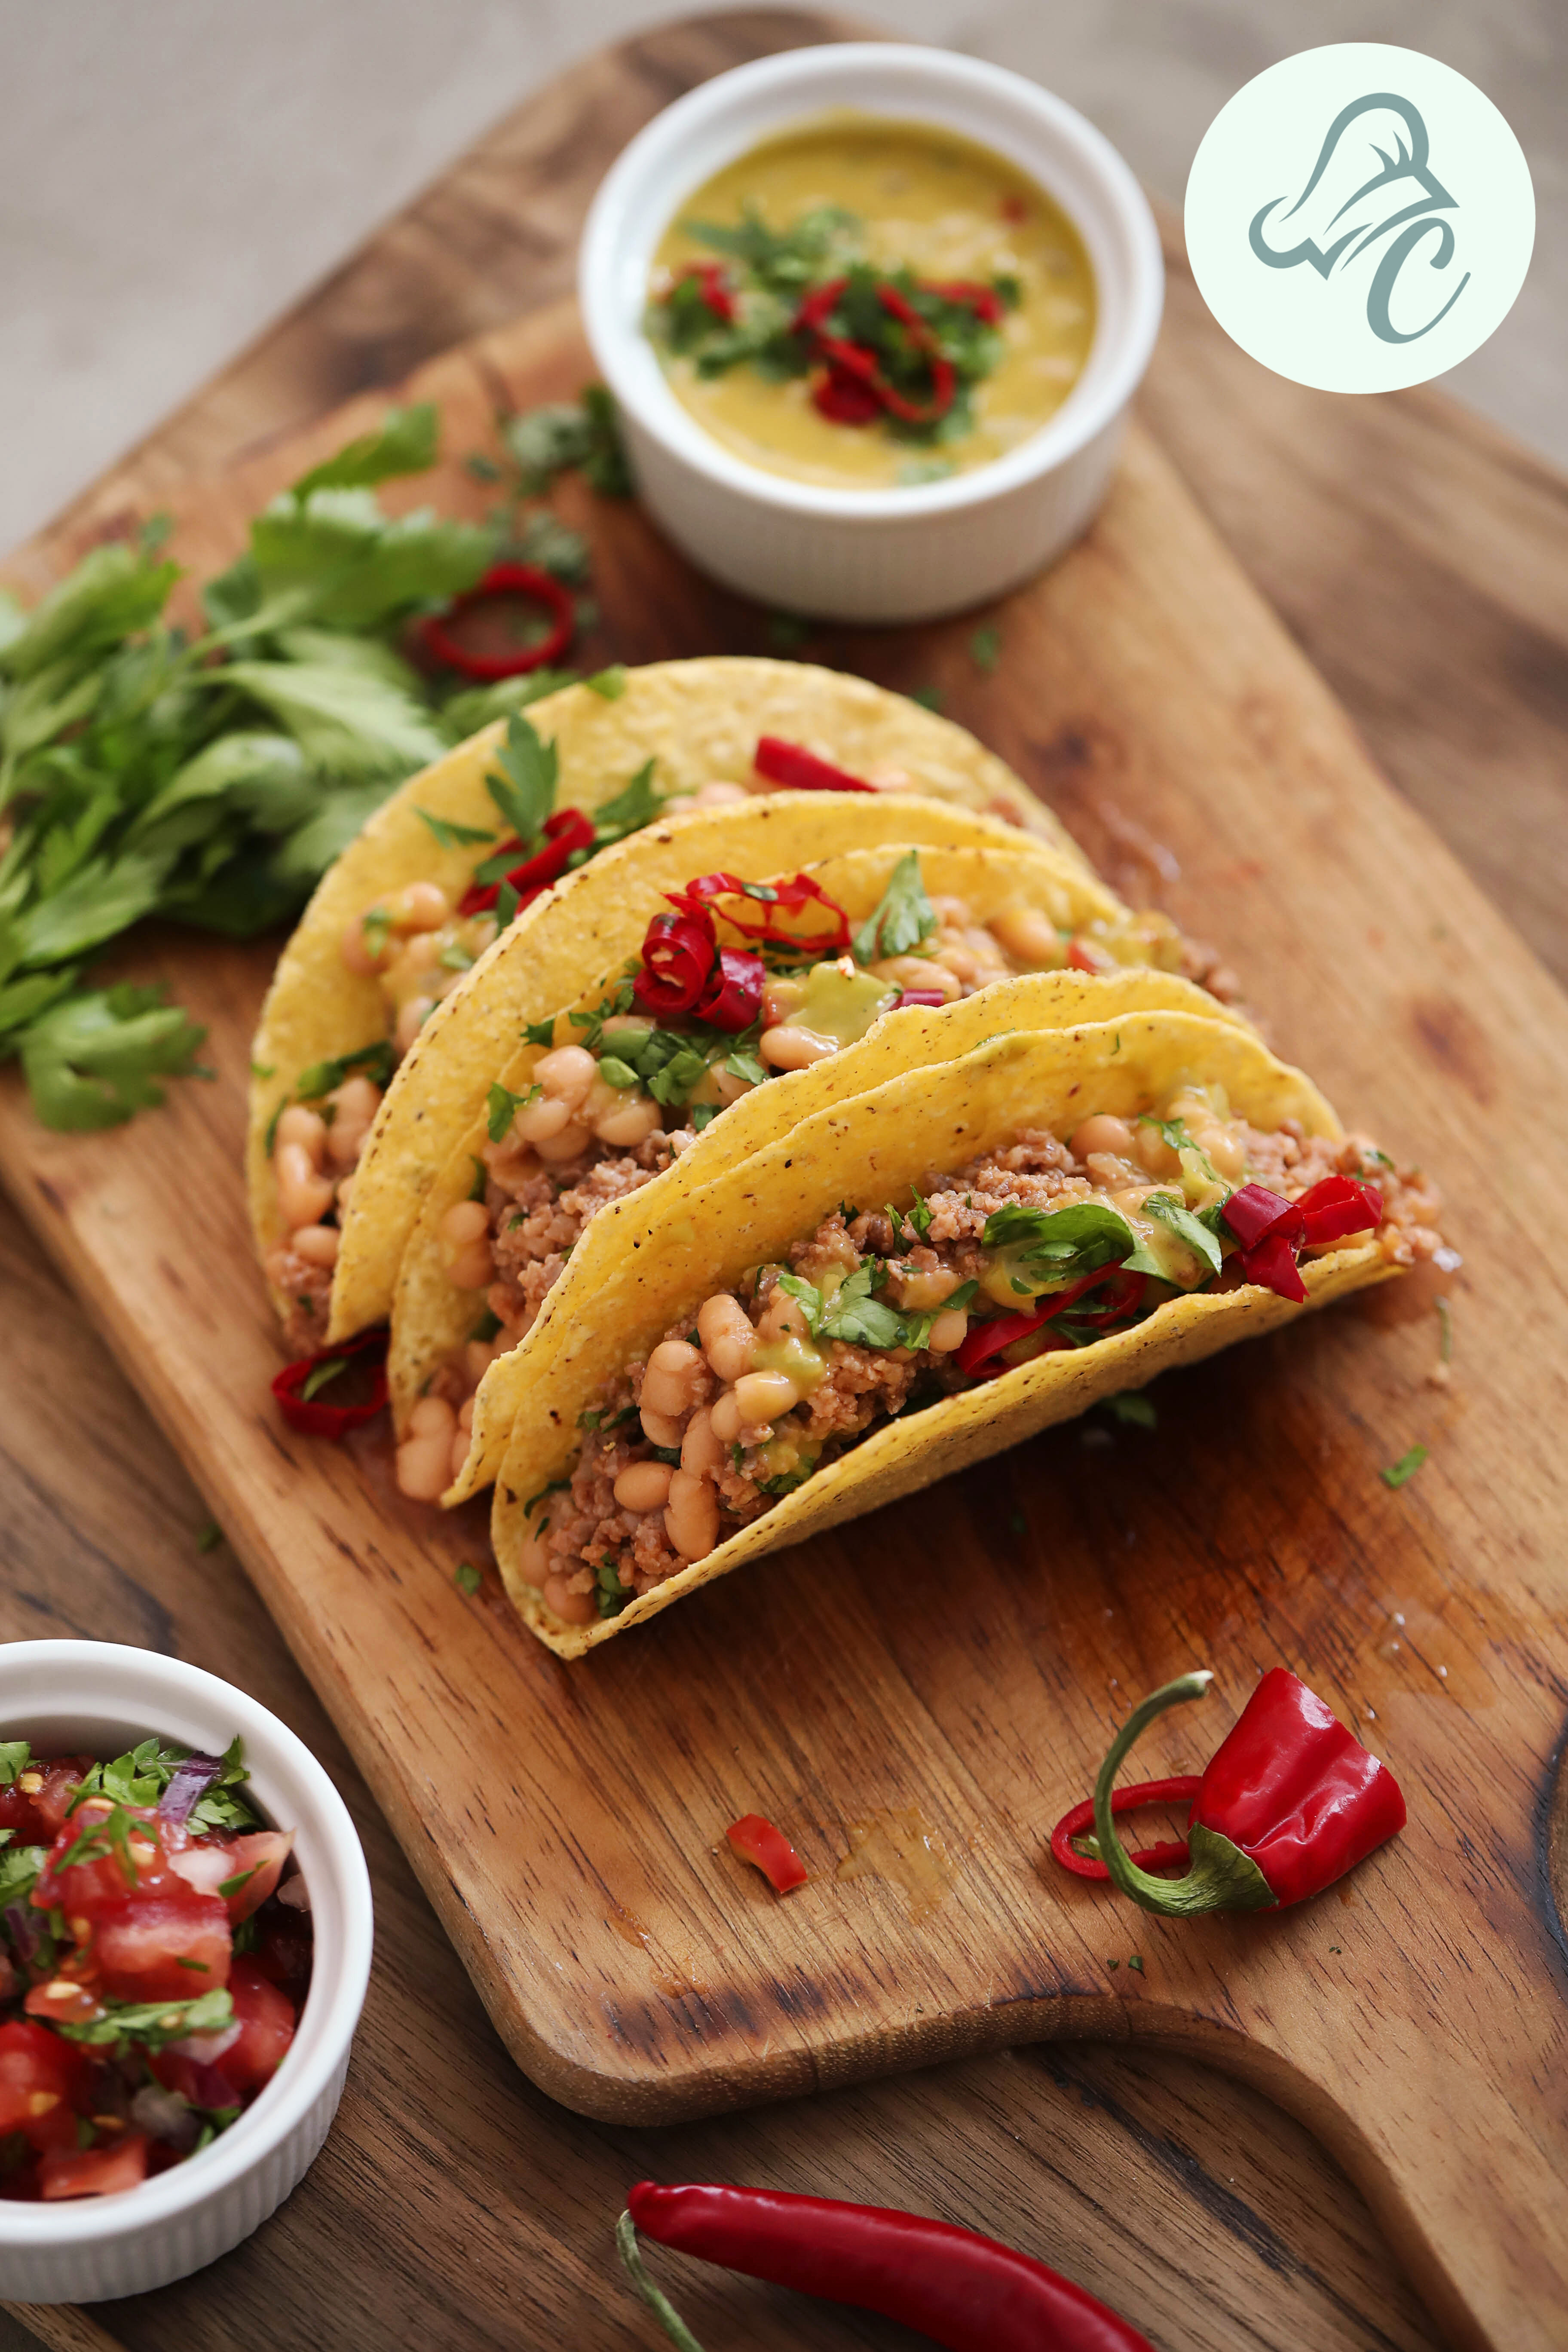
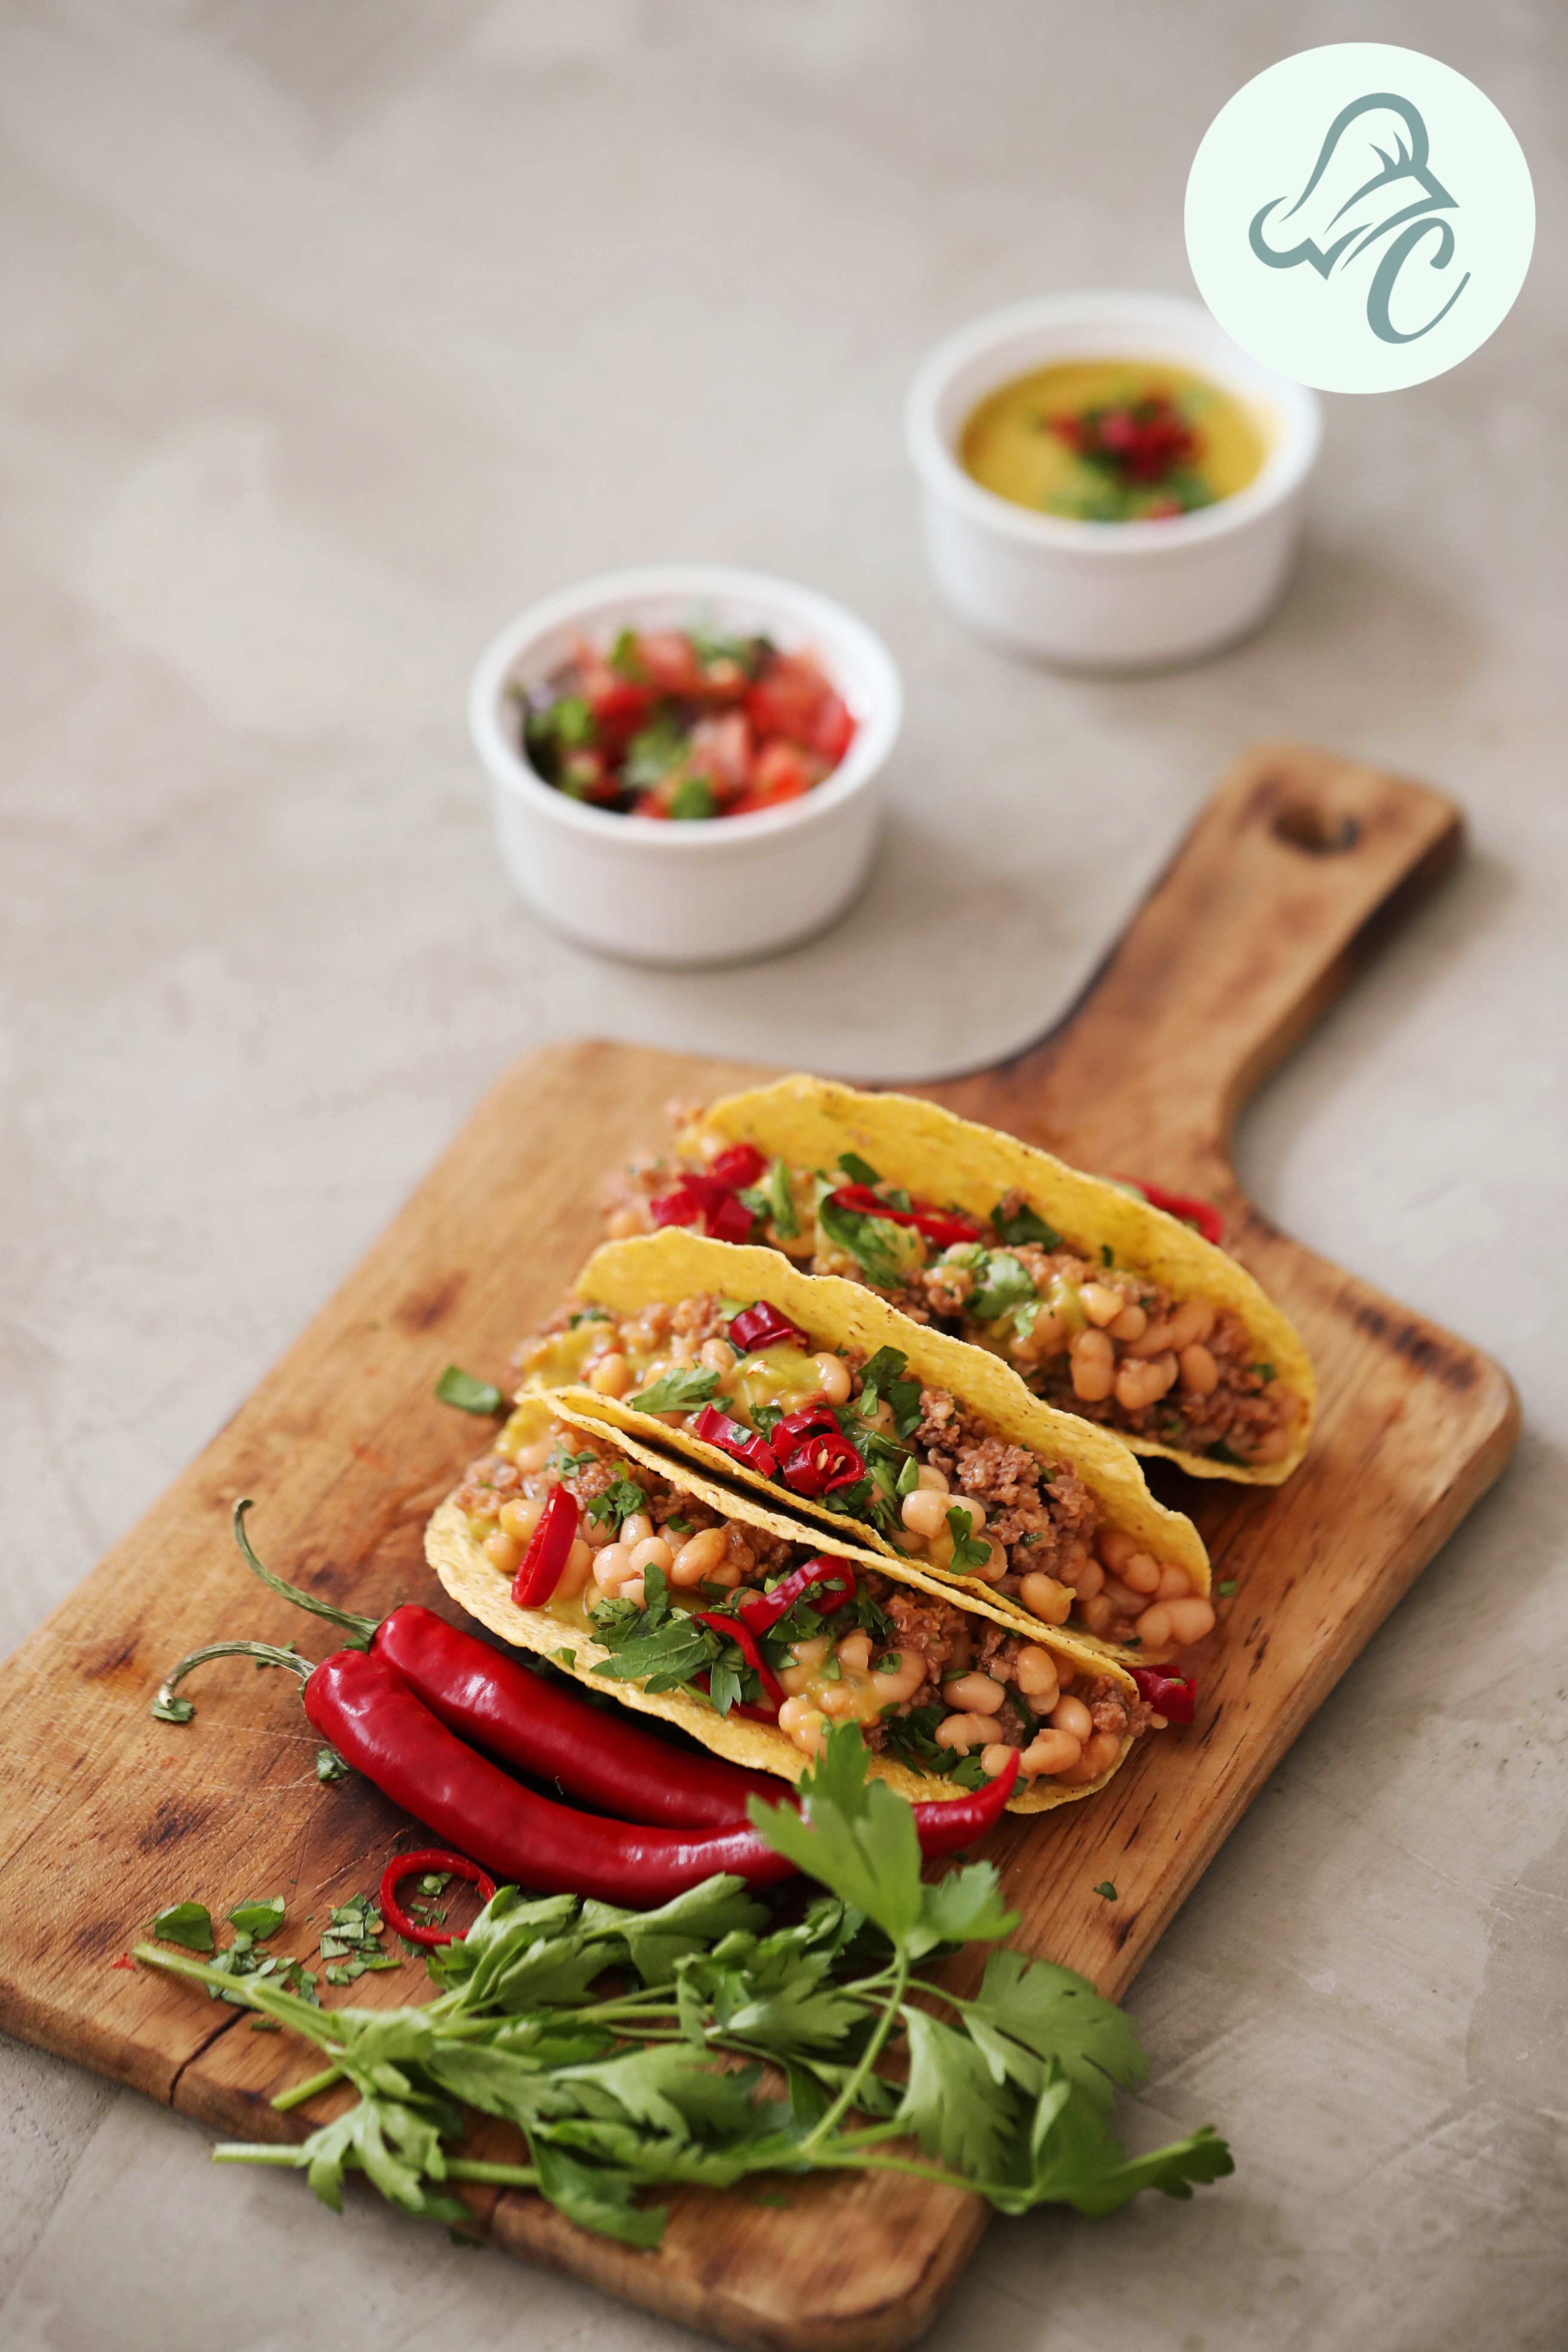
Crunchy chicken taco

Are you searching for a meal that is both nutritious and bursting with flavor? Look no further than crunchy chicken tacos! This recipe combines the satisfying crunch of fresh ingredients with the savory goodness of perfectly seasoned chicken. Ideal for anyone looking to enjoy a healthier take on classic tacos, these low-calorie crunchy chicken tacos make for an excellent choice whether you’re planning a weeknight dinner or a weekend gathering.

In this blog, we will explore how to prepare these crunchy chicken tacos, delve into the benefits of using lean chicken, and share some tips on how to keep your meal low-calorie without sacrificing flavor. Also, we’ll provide links to more delightful recipes, so you can keep your meal rotation exciting and healthy!

The Appeal of Crunchy Chicken Tacos

When it comes to tacos, the texture is just as important as the taste. That’s where crunchy chicken tacos come into play. These tacos offer a satisfying crunch with every bite, thanks to crispy taco chicken that’s been perfectly seasoned and cooked. The key to achieving that delightful crunch is to use fresh, high-quality ingredients and a cooking method that locks in flavor while keeping the calorie count low.

Why Choose Crunchy Chicken Tacos?

  1. Health Benefits: By opting for crunchy chicken tacos, you’re making a choice that’s as kind to your body as it is to your taste buds. Using lean chicken breast as your base protein ensures you get a healthy dose of protein without excessive fat or calories. This is particularly beneficial if you’re trying to maintain a balanced diet while still enjoying flavorful meals.
  2. Versatility: One of the greatest advantages of chicken and taco dishes is their versatility. You can easily customize your tacos with a variety of fresh vegetables, herbs, and spices. Whether you prefer a classic topping like shredded lettuce and diced tomatoes or something more adventurous like avocado salsa, there’s a combination that will suit your taste.
  3. Flavor Without Guilt: Incorporating crispy taco chicken into your meals doesn’t mean you have to compromise on flavor. By using healthy cooking methods and seasoning, you can enjoy all the savory goodness of traditional tacos with fewer calories. The result is a meal that’s both indulgent and health-conscious.
crispy-taco-chicken

Recipe for Low-Calorie Crunchy Chicken Tacos

Here’s a simple and delicious recipe for low-calorie crunchy chicken tacos that you can easily whip up at home.

Ingredients:

  • 1 pound chicken breast, cut into small cubes
  • 1 tablespoon olive oil
  • 1 teaspoon chili powder
  • 1 teaspoon paprika
  • 1 teaspoon garlic powder
  • 1/2 teaspoon cumin
  • Salt and pepper to taste
  • 8 small corn tortillas
  • 1 cup shredded lettuce
  • 1/2 cup diced tomatoes
  • 1/4 cup chopped cilantro
  • Lime wedges for serving

Instructions:

  1. Prepare the Chicken: In a large bowl, combine the chicken cubes with olive oil, chili powder, paprika, garlic powder, cumin, salt, and pepper. Toss until the chicken is evenly coated with the spices.
  2. Cook the Chicken: Heat a large skillet over medium-high heat. Add the seasoned chicken and cook for 5-7 minutes, or until the chicken is cooked through and has a crispy exterior. Stir occasionally to ensure even cooking.
  3. Assemble the Tacos: Warm the corn tortillas in a dry skillet or microwave. Spoon the crispy taco chicken onto each tortilla. Top with shredded lettuce, diced tomatoes, and chopped cilantro.
  4. Serve: Garnish with lime wedges and serve immediately. Enjoy your crunchy chicken tacos as a delicious and healthy meal option!
chicken-and-taco

Cooking Techniques for the Perfect Crunch

High Heat Searing

Achieving that perfect crunch in your crunchy chicken tacos is all about the cooking technique. Searing the chicken over high heat ensures a crispy exterior while keeping the inside juicy and flavorful. Make sure your skillet is hot before adding the chicken to lock in moisture and create a beautiful crust.

Baking for Crispiness

Alternatively, you can bake the chicken pieces at a high temperature. This method allows for even cooking and a consistent crunch without the need for excess oil. Simply preheat your oven to 425°F (220°C), spread the seasoned chicken on a baking sheet, and cook for 15-20 minutes, turning halfway through.

Presentation Tips

Colorful Garnishes

Presentation can make your crunchy chicken tacos even more appealing. Use colorful garnishes like diced tomatoes, bright green cilantro, and vibrant lime wedges to make your tacos look as good as they taste.

Neat Assembly

When assembling your tacos, keep the fillings neatly arranged. Place the chicken first, then layer on the vegetables and garnishes. This not only makes the tacos look more appetizing but also ensures each bite is perfectly balanced.

Serving Style

Consider serving your crunchy chicken tacos on a large platter, allowing guests to customize their tacos with their favorite toppings. This interactive approach is perfect for gatherings and ensures everyone gets their preferred flavor combination.

Health Benefits of Crunchy Chicken Tacos

High Protein Content

Crunchy chicken tacos are a great source of lean protein, essential for muscle repair and growth. Protein also helps keep you feeling full longer, which can aid in weight management.

Low-Calorie Option

By using lean chicken breast and minimal oil, these tacos remain low in calories without compromising on taste. Opting for fresh vegetables as toppings adds flavor and nutrients without extra calories.

Nutrient-Rich Ingredients

Ingredients like lettuce, tomatoes, and cilantro provide essential vitamins and minerals. These nutrients support overall health, including immune function, skin health, and more.

Variations of Crunchy Chicken Tacos

Spicy Crunchy Chicken Tacos

For those who love a bit of heat, add extra chili powder or fresh jalapeños to your tacos. You can also drizzle a spicy sauce over the top for an extra kick.

BBQ Crunchy Chicken Tacos

Swap out the traditional seasoning for a smoky BBQ rub. Add a bit of BBQ sauce to the cooked chicken before assembling the tacos for a sweet and tangy flavor profile.

Asian-Inspired Crunchy Chicken Tacos

Use a soy-ginger marinade for the chicken and top with shredded cabbage, carrot ribbons, and a drizzle of sriracha mayo. This variation brings a delightful Asian twist to your tacos.

Nutritional Value of Crunchy Chicken Tacos

Estimated Nutritional Information (Per Taco)

  • Calories: 150-200 (depending on toppings)
  • Protein: 15g
  • Fat: 5g
  • Carbohydrates: 15g
  • Fiber: 3g
  • Sugar: 2g

These values can vary based on the specific ingredients and portion sizes used. Keeping the toppings fresh and light helps maintain the low-calorie profile of the dish.

Frequently Asked Questions (FAQs)

  1. Can I Use a Different Protein?

Yes! While crunchy chicken tacos are delicious, you can substitute the chicken with other proteins like turkey, shrimp, or tofu for a different take.

  1. How Can I Make the Tacos Gluten-Free?

To make these tacos gluten-free, simply use gluten-free corn tortillas and ensure all seasonings and sauces used are certified gluten-free.

  1. What Can I Serve with Crunchy Chicken Tacos?

These tacos pair well with a variety of side dishes like black beans, rice, or a fresh salad. For a complete meal, consider adding a side of guacamole or salsa.

  1. How Do I Store Leftovers?

Store any leftover chicken and toppings separately in airtight containers in the refrigerator. Reheat the chicken in a skillet or microwave before assembling the tacos to retain the best texture.

Conclusion

In conclusion, crunchy chicken tacos offer a delightful way to enjoy a low-calorie, nutritious meal that doesn’t skimp on flavor. Whether you’re craving a satisfying dinner or a tasty lunch, these tacos are a fantastic choice. By following our recipe and tips, you can create a meal that’s both healthy and indulgent.

Remember, there are plenty of other delicious recipes to explore, like our Fish Taco Recipe and Egg Salad Recipe. Feel free to experiment with different toppings and seasonings to make these crunchy chicken tacos your own. Enjoy every bite of this guilt-free treat!

Caramel Custard Pudding: Simple Recipe for a Luxurious Dessert

0
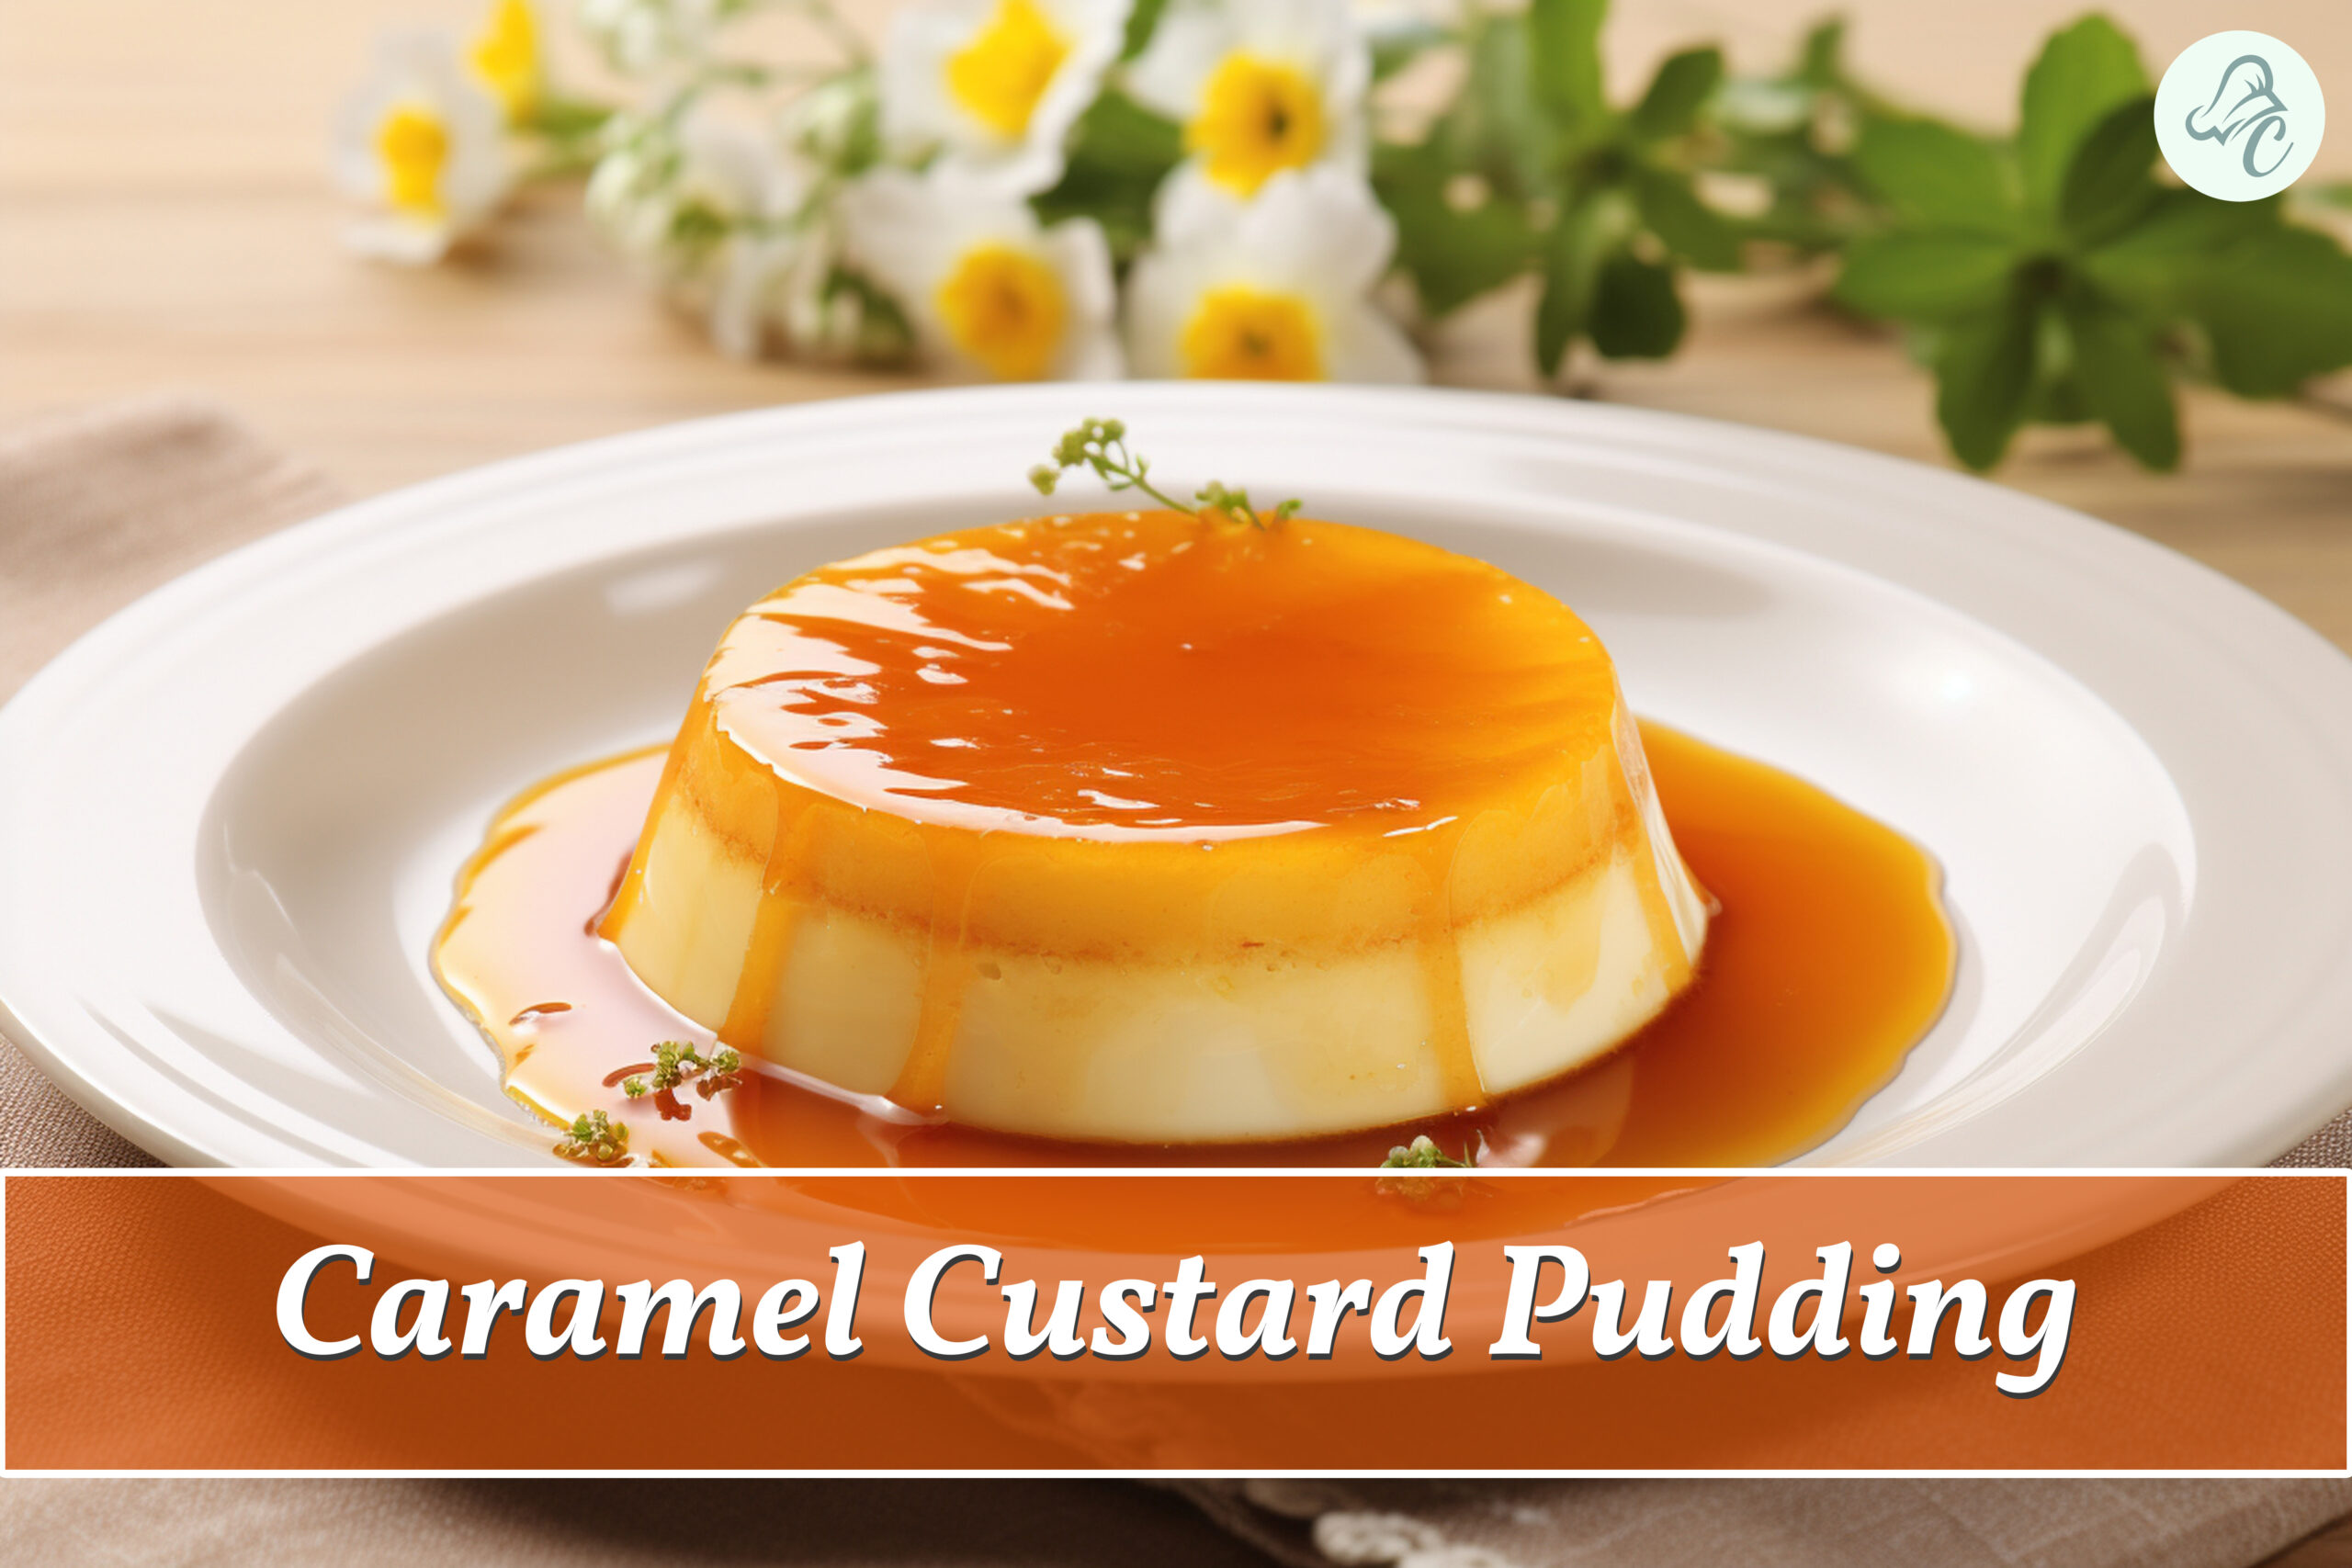
caramel custard pudding

If you’re a dessert enthusiast seeking a delightful yet straightforward recipe to add to your repertoire, look no further than caramel custard pudding. This luxurious treat combines the rich, smooth texture of custard with the sweet, slightly bitter notes of caramel. Whether you’re hosting a dinner party or simply craving a decadent homemade dessert, caramel custard pudding is sure to impress.

The Allure of Caramel Custard Pudding

Caramel custard pudding, also known as flan or crème caramel, is a classic dessert that has been enjoyed for generations across various cultures. The allure of this dessert lies in its perfect balance of flavors and textures. The creamy custard, made from a mixture of eggs, milk, and sugar, is complemented by a layer of golden caramel that adds depth and complexity.

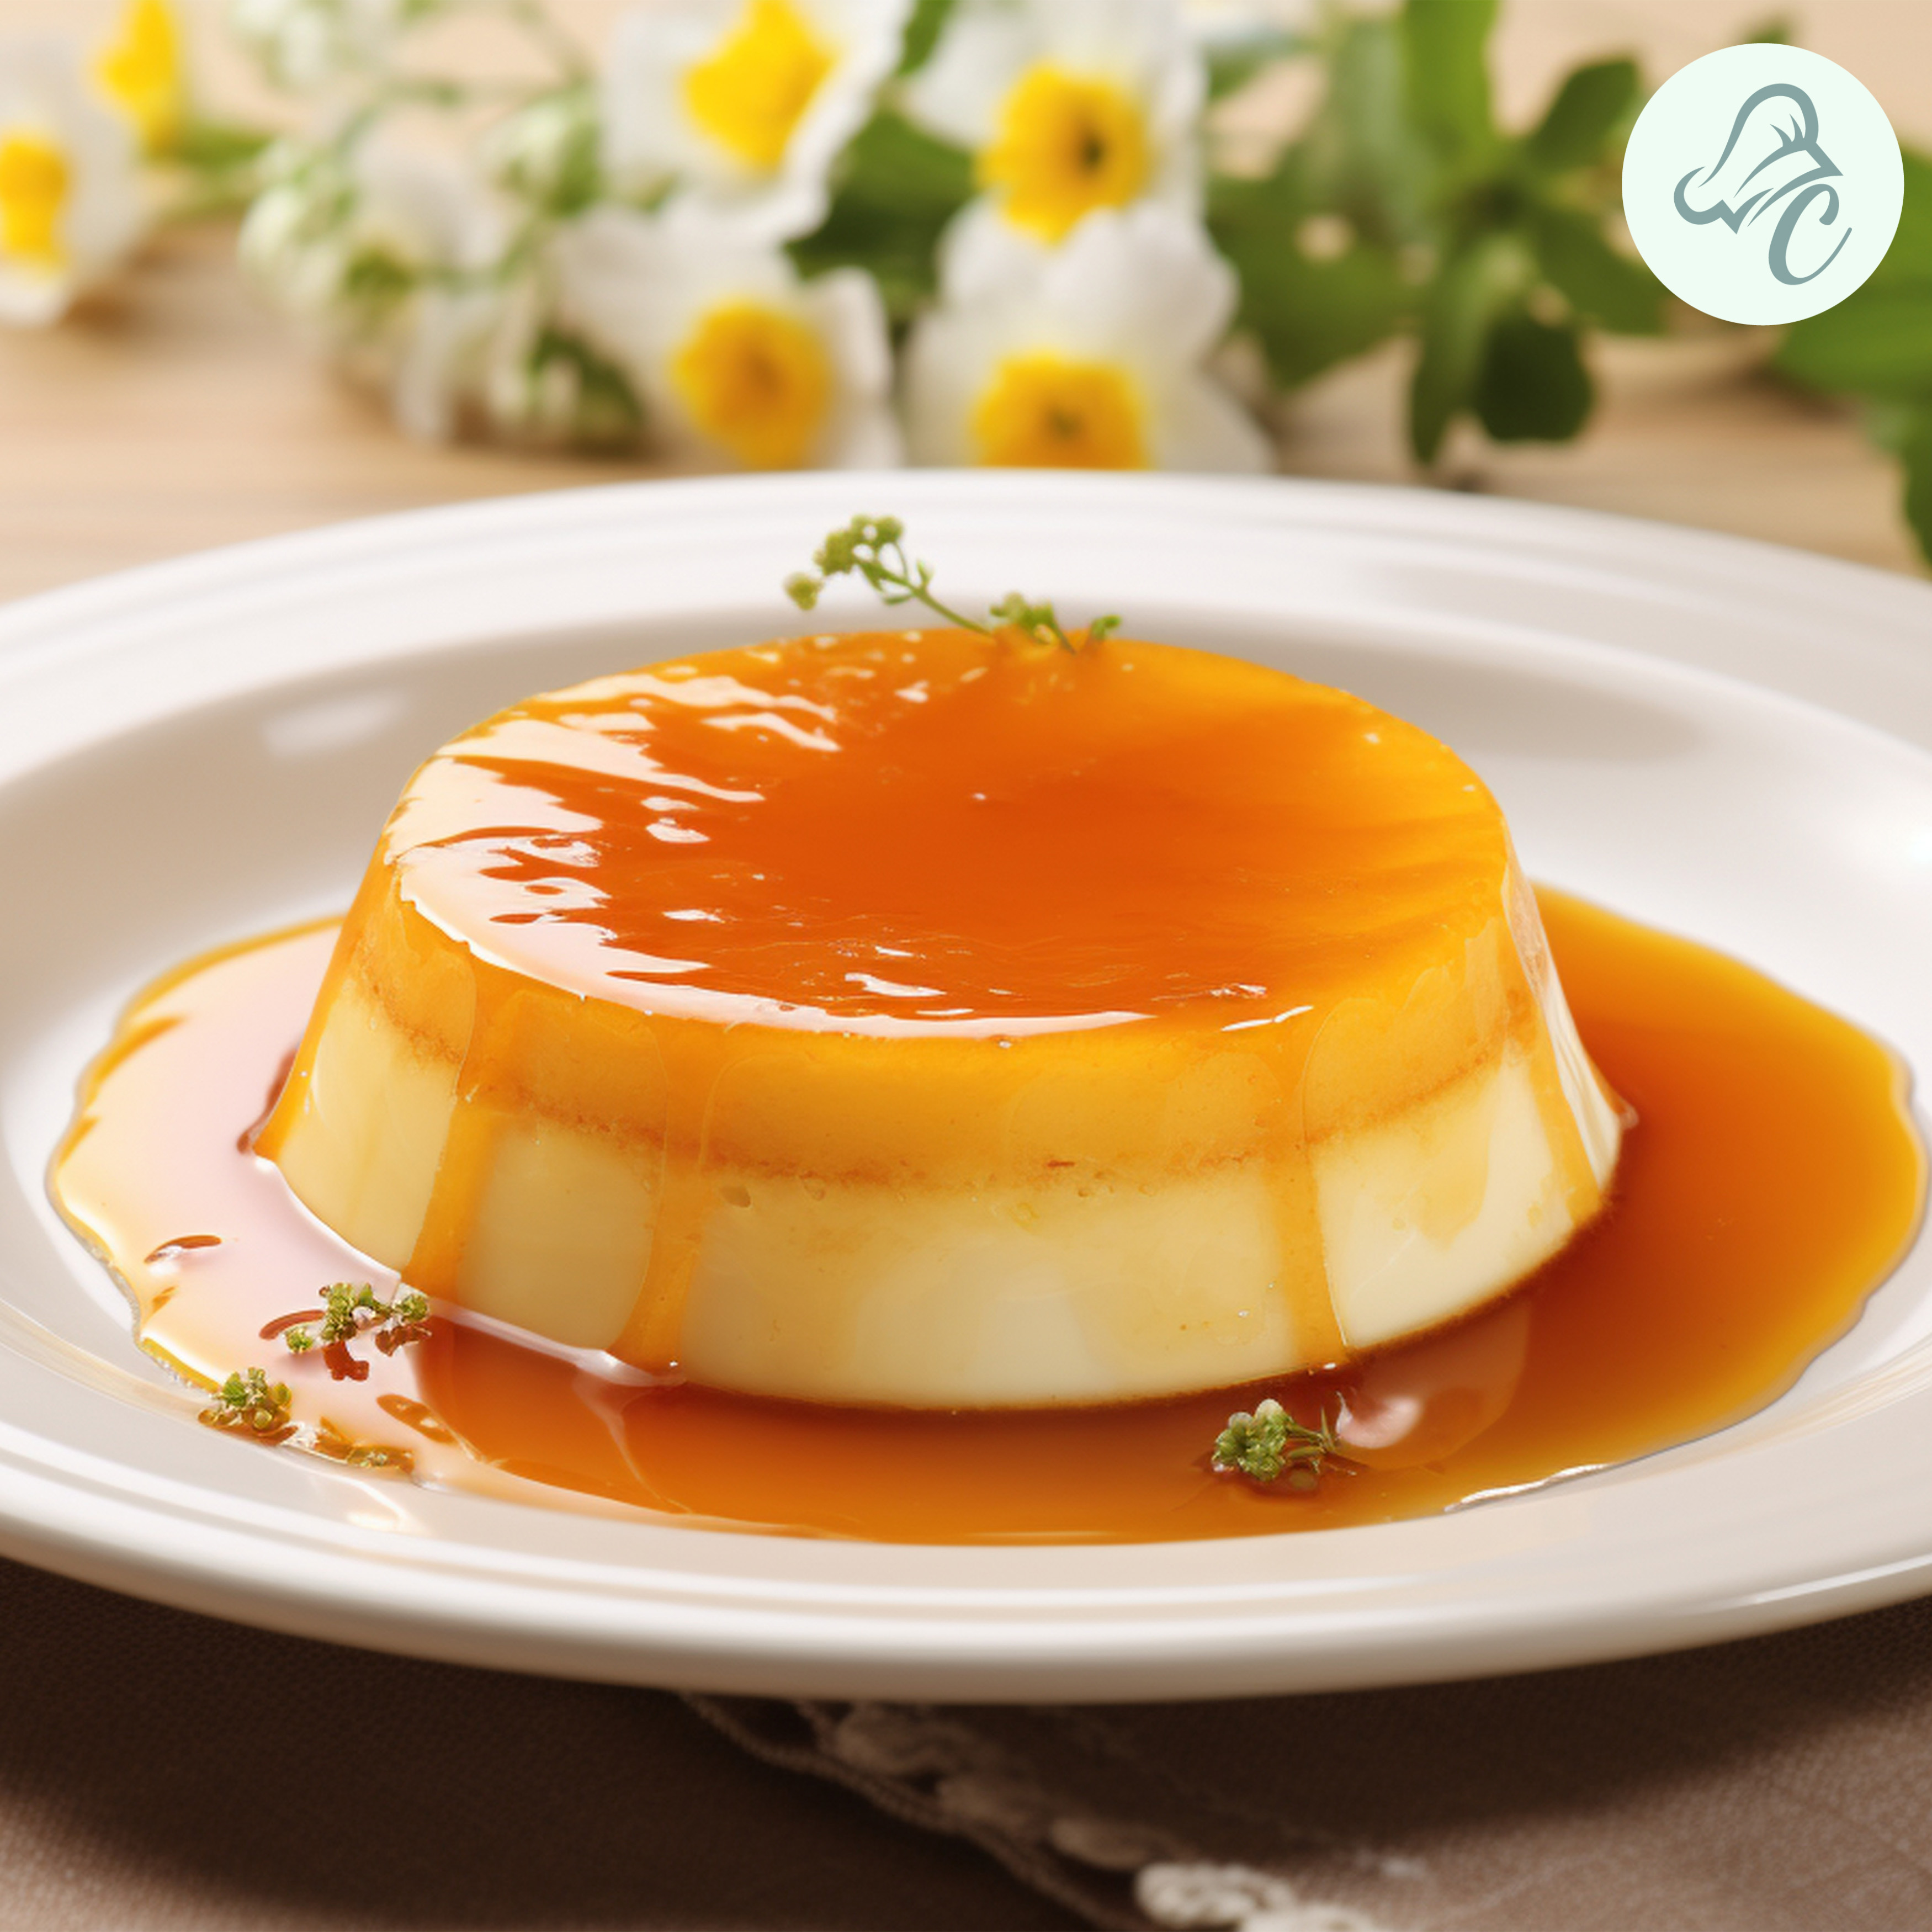
Custard-pudding

Ingredients for Caramel Custard Pudding

To make this luxurious dessert, you’ll need the following ingredients:

For the caramel:

  • 1 cup granulated sugar
  • 1/4 cup water

For the custard:

Instructions for  Caramel Pudding Dessert

1. Preparing the Caramel:

Start by making the caramel for pudding. In a medium saucepan, combine the sugar and water. Cook over medium heat, stirring occasionally, until the sugar dissolves and the mixture turns a deep amber color. This process should take about 10-15 minutes. Be careful not to burn the caramel, as it can quickly turn from golden brown to burnt.

Once the caramel reaches the desired color, carefully pour it into the bottom of your ramekins or a large baking dish, tilting the dish to ensure an even layer. Set aside to cool and harden.

2. Making the Custard:

In a mixing bowl, whisk together the eggs and sugar until well combined. In a separate saucepan, heat the milk until it is just about to boil. Gradually add the hot milk to the egg mixture, whisking continuously to prevent the eggs from curdling. Stir in the vanilla extract for an added touch of flavor.

3. Combining and Baking:

Pour the custard mixture over the hardened caramel in the ramekins or baking dish. Place the ramekins or dish in a larger baking pan and fill the pan with hot water until it reaches halfway up the sides of the ramekins. This water bath, or bain-marie, ensures even cooking and prevents the custard from cracking.

Bake the caramel custard pudding in a preheated oven at 350°F (175°C) for about 45-60 minutes, or until the custard is set but still slightly jiggly in the center. Remove from the oven and let the pudding cool in the water bath before transferring to the refrigerator to chill for at least 4 hours or overnight.

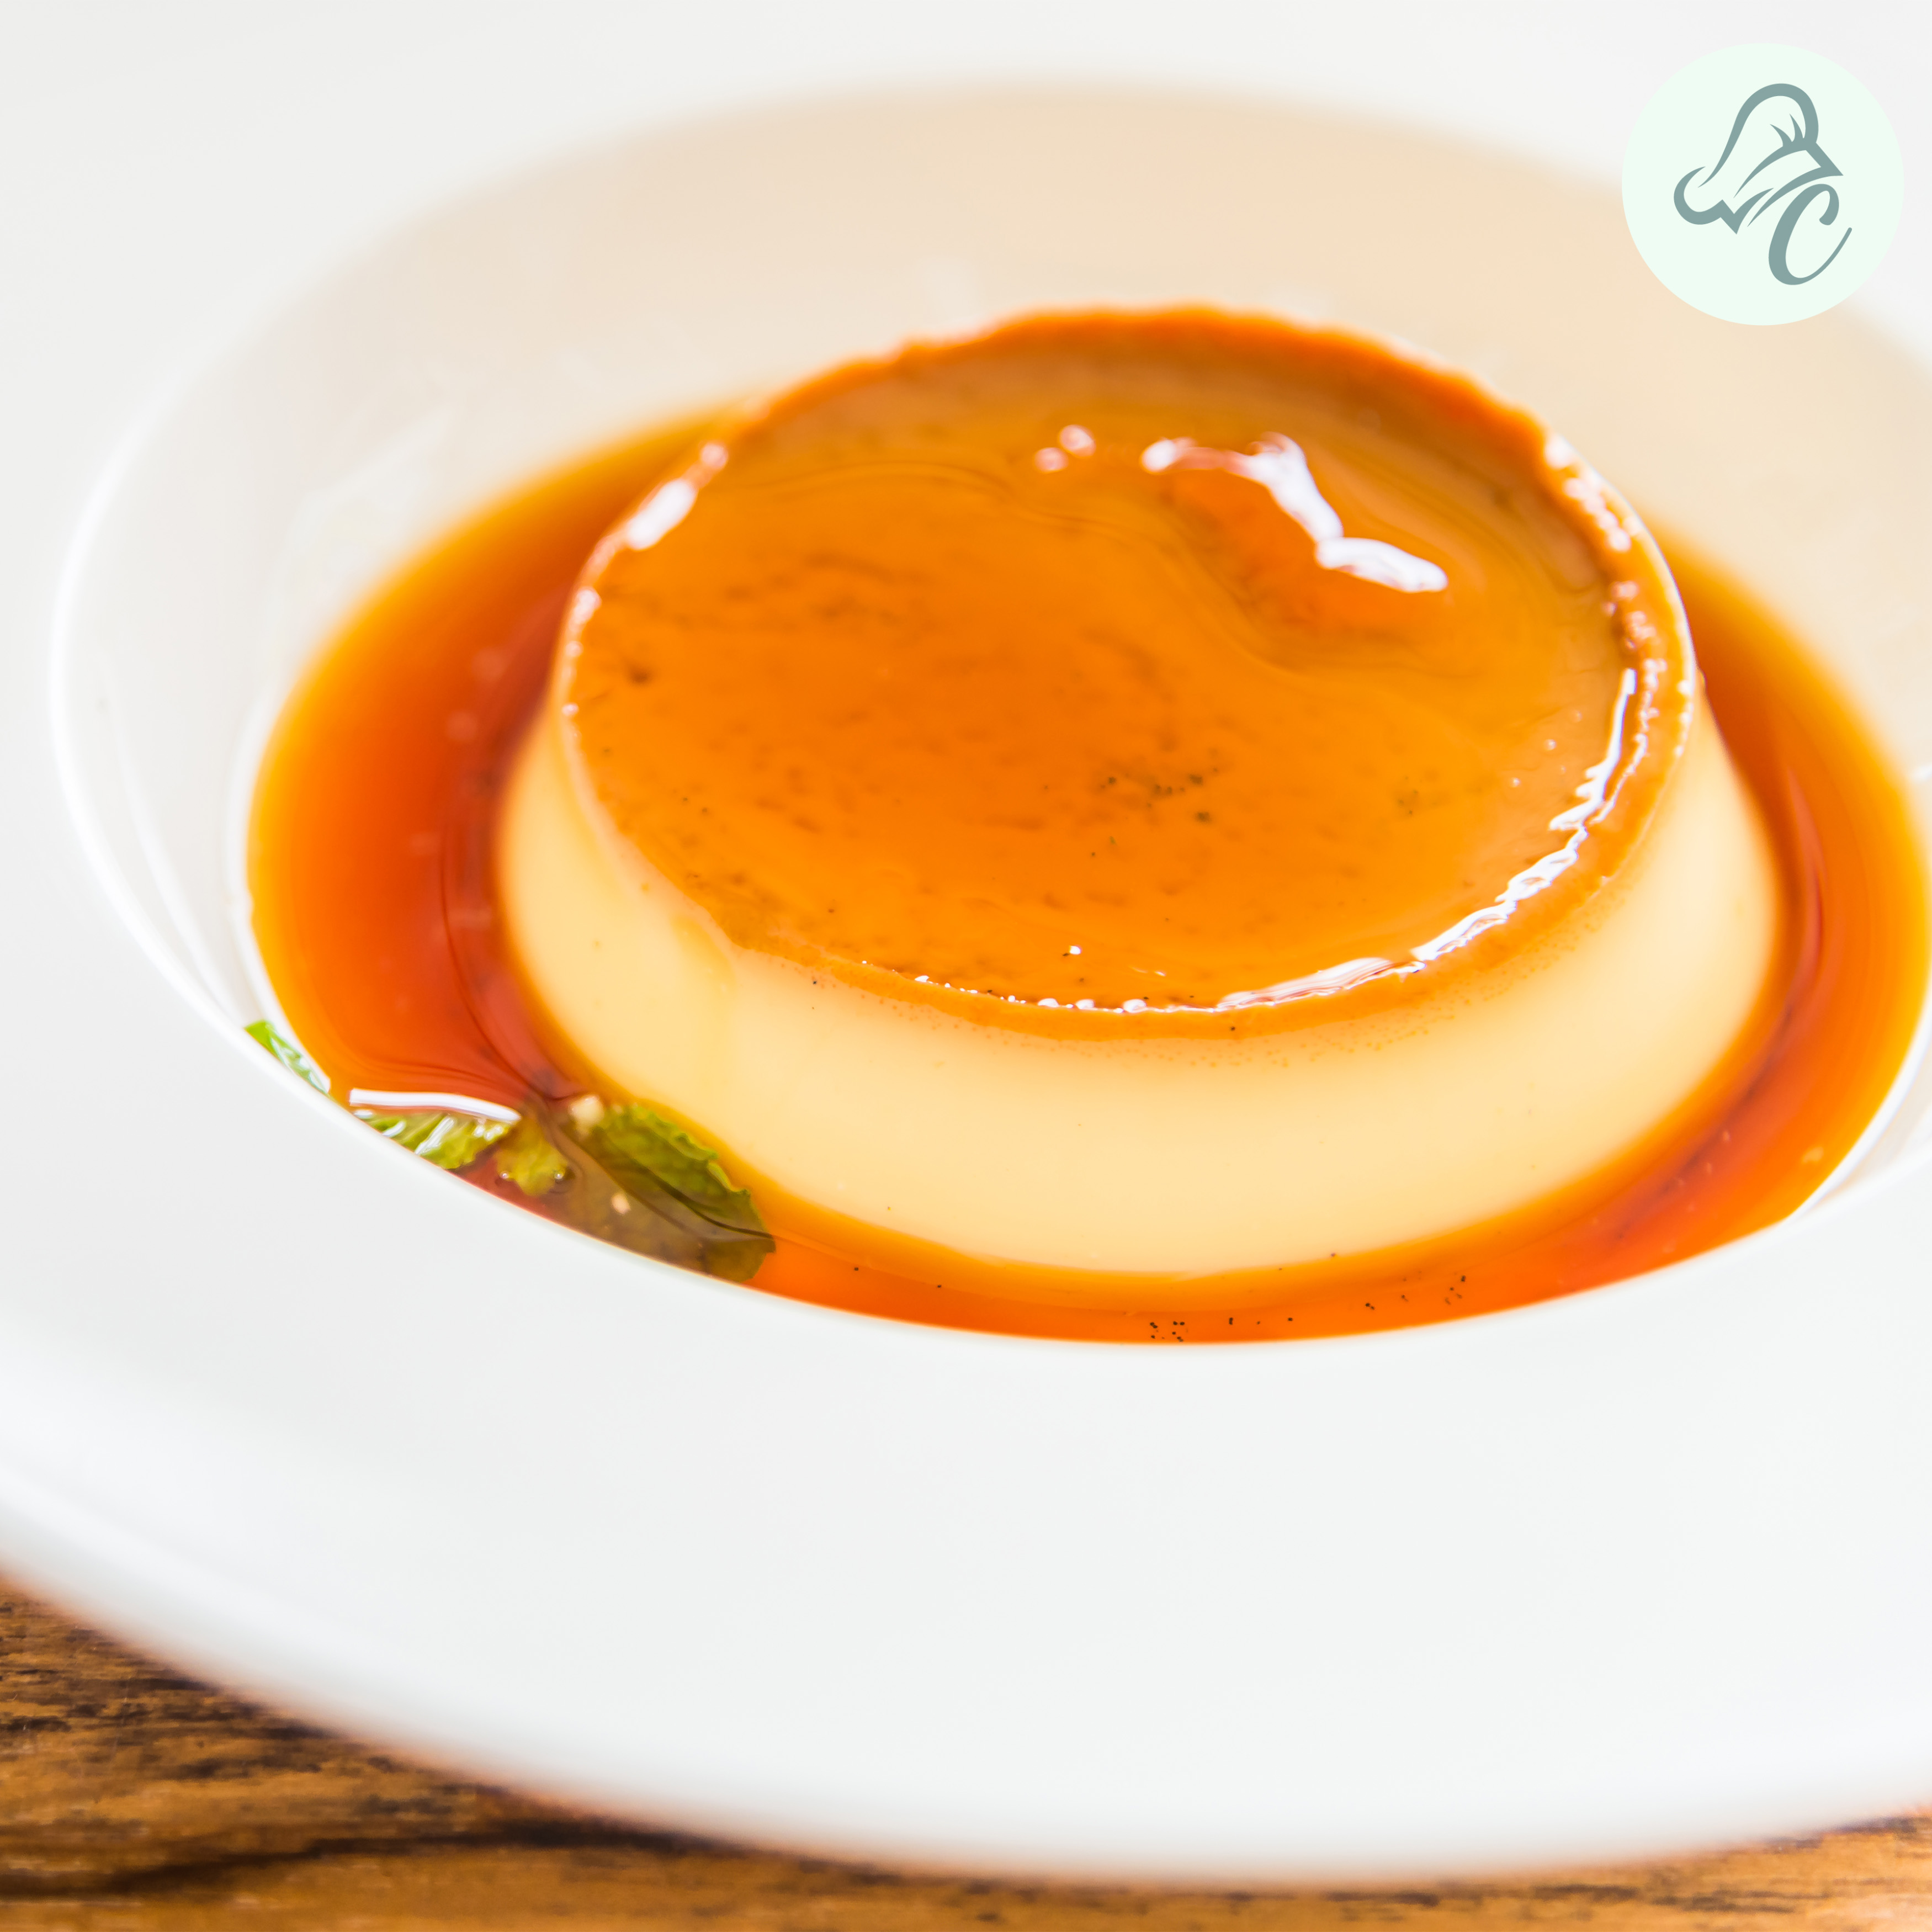
Healthy-caramel-custard-pudding

Serving Your Caramel Custard Pudding

When you’re ready to serve your caramel custard pudding, run a knife around the edges of the ramekins to loosen the custard. Place a serving plate over the top of each ramekin and invert to release the pudding, allowing the caramel sauce to flow over the custard. The result is a beautiful, glossy caramel coating that adds a touch of elegance to this classic dessert.

Tips for the Perfect Caramel Custard Pudding

  1. Use Fresh Ingredients: Fresh eggs and high-quality milk are essential for achieving the smooth, creamy texture that defines a good caramel custard pudding.
  2. Be Patient with Caramel: Making caramel requires patience and attention. Keep a close eye on the sugar as it cooks to prevent burning.
  3. Strain the Custard: For an extra smooth custard, strain the egg mixture through a fine-mesh sieve before pouring it over the caramel. This step removes any potential egg bits or lumps.
  4. Chill Thoroughly: Allow the custard to chill completely in the refrigerator. This helps the flavors meld together and the custard to set properly.

Variations and Healthy Dessert Options

While traditional caramel custard pudding is undeniably delicious, there are ways to put a healthier twist on this classic dessert. For those seeking healthy desserts, consider the following variations:

  1. Low-Sugar Option: Reduce the amount of sugar in both the caramel and custard. You can also experiment with natural sweeteners like honey or maple syrup.
  2. Dairy-Free Version: Substitute whole milk with almond milk, coconut milk, or any other plant-based milk. This option is perfect for those who are lactose intolerant or prefer a dairy-free diet.
  3. Flavor Infusions: Add a burst of flavor by infusing the milk with ingredients like cinnamon, cardamom, or citrus zest. Simply heat the milk with the desired flavorings and strain before combining it with the egg mixture.

Caramel Custard Pudding in Different Cultures

Caramel custard pudding is a beloved dessert in many cultures, each with its unique twist. In Latin America, it is known as flan and often includes sweetened condensed milk for added richness. In France, crème caramel is a staple dessert, renowned for its delicate texture and sophisticated presentation. Across Asia, variations like Japanese purin offer a slightly firmer custard with a subtle sweetness.

The Perfect Caramel Pudding Dessert for Any Occasion

Whether you’re celebrating a special occasion or simply indulging in a sweet treat, caramel custard pudding is a versatile and crowd-pleasing dessert. Its luxurious texture and rich flavor make it a standout choice for dinner parties, family gatherings, or a cozy night in.

Storing and Reheating

If you have leftovers (which is rare with such a delicious dessert), store your caramel custard pudding in the refrigerator, covered with plastic wrap, or in an airtight container. It will keep well for up to 3 days. To enjoy it at its best, serve chilled or at room temperature. Avoid reheating, as this can cause the custard to become rubbery.

Nutritional Value

Understanding the nutritional value of your caramel custard pudding can help you enjoy this dessert in moderation. Here’s a basic breakdown per serving (assuming eight servings from the recipe):

  • Calories: Approximately 250-300
  • Fat: 10-15 grams
  • Cholesterol: 100-150 mg
  • Sodium: 50-70 mg
  • Carbohydrates: 35-45 grams
  • Protein: 6-8 grams

These values can vary based on ingredient brands and serving sizes.

FAQs

Q: Can I make caramel custard pudding in advance? 

Yes, caramel custard pudding can be made a day or two in advance. It tastes even better after chilling in the refrigerator for a day.

Q: How do I prevent the custard from curdling?

Gradually adding the hot milk to the egg mixture while whisking continuously helps prevent the eggs from curdling.

Q: Can I use a different sweetener instead of granulated sugar? 

Yes, you can use alternatives like honey, maple syrup, or stevia for a healthier version of the dessert.

Cooking Techniques

  1. Bain-Marie (Water Bath): This technique involves placing the ramekins or baking dish in a larger pan filled with hot water. The water bath helps distribute heat evenly and prevents the custard from cracking.
  2. Caramelizing Sugar: Pay close attention while caramelizing sugar. Stir gently and watch for the color change to a deep amber. Remove from heat immediately to avoid burning.
  3. Tempering Eggs: Slowly adding hot milk to beaten eggs prevents the eggs from cooking too quickly and curdling, resulting in a smooth custard.

Presentation Tips for Caramel Custard Pudding

  1. Individual Ramekins: Serving the caramel custard pudding in individual ramekins creates an elegant and personalized presentation.
  2. Garnishing: Add a touch of sophistication by garnishing with fresh berries, mint leaves, or a dusting of powdered sugar.
  3. Plating: When inverting the custard onto a plate, allow the caramel sauce to drizzle naturally over the custard for a beautiful, glossy finish.

Conclusion

Caramel custard pudding is a timeless dessert that brings a touch of elegance to any meal. With its silky smooth custard and rich caramel sauce, it’s a treat that never fails to delight. Whether you stick to the classic recipe or explore healthier variations, this caramel pudding dessert is sure to become a favorite in your dessert repertoire.

So, the next time you’re in the mood for a luxurious yet simple dessert, give caramel custard pudding a try. Its irresistible flavor and texture will have you coming back for more, making it a staple for any dessert lover.

For more delicious recipes and culinary inspiration, visit our website, Chef’s Home Around. Check out our other delightful recipes like the Cinnamon Bites Recipe and the Mango Oats Chia Pudding Recipe. Happy cooking!

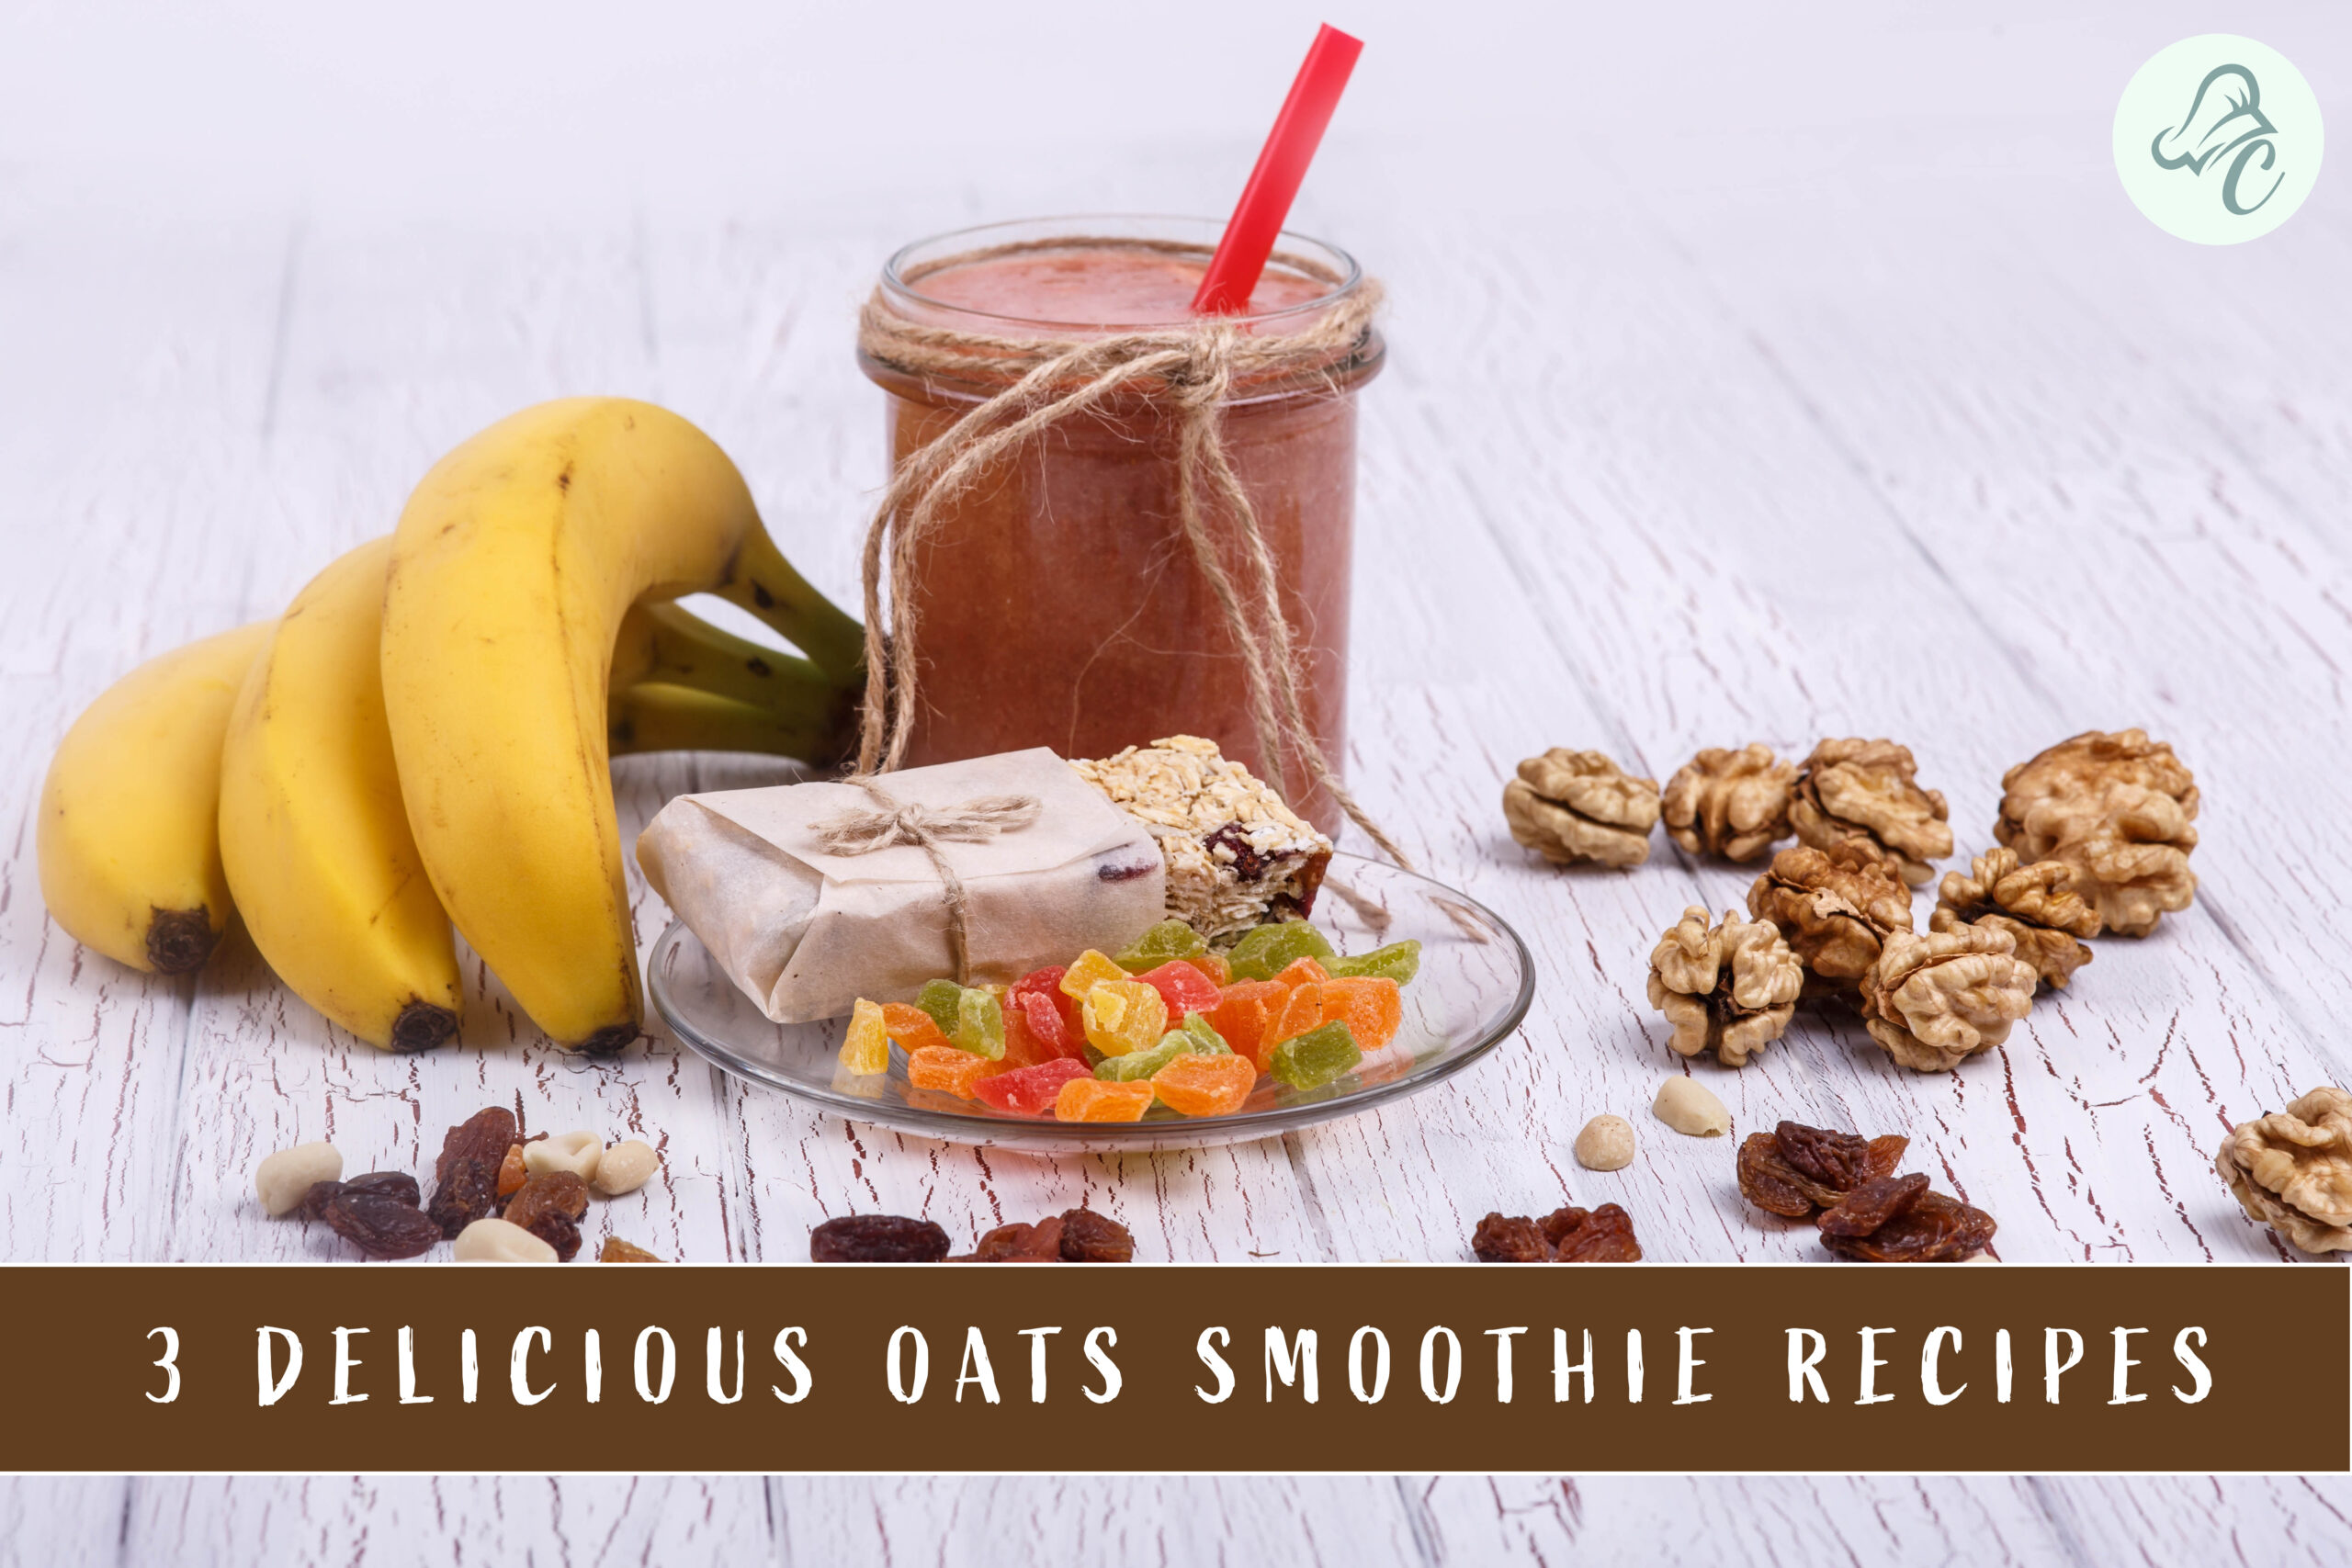
3 Delicious Oats Smoothie Recipes for Healthy Weight Loss
0
Oats-Smoothie-Recipes

Smoothies have become a staple for those looking to maintain a healthy lifestyle. They are quick, convenient, and can be packed with nutrients. Among the many varieties, oats smoothie recipes stand out for their ability to provide both nutrition and satiety, making them ideal for weight loss. In this blog, we’ll explore three delicious oats smoothie recipes that are perfect for a healthy weight loss journey. Whether you’re a fan of fruity blends or prefer a more decadent flavor, these smoothies will keep you satisfied and on track with your goals.
Oats are a fantastic ingredient for smoothies. They are rich in fiber, which helps you feel full longer, and they provide a good source of protein. Including oats in your smoothie can make it a more balanced meal replacement, especially when combined with fruits, vegetables, and healthy fats. Today, we will be sharing three unique oats smoothie recipes that are not only delicious but also beneficial for weight loss. Let’s dive in!

About These 3 Different Oats Smoothie Recipes

Our selection includes:

  1. Berry Oats Smoothie
  2. Green Detox Oats Smoothie
  3. Chocolate Banana Oats Smoothie

Each recipe is designed to cater to different taste preferences while ensuring you get a nutritious boost.

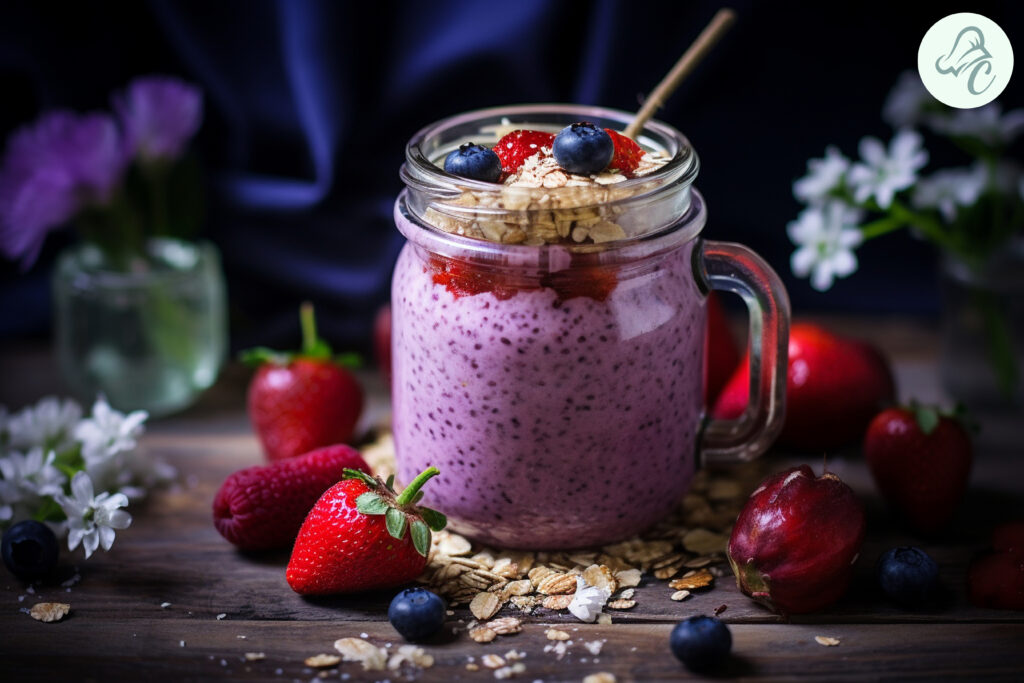
1. Berry Oats Smoothie

This Berry Oats Smoothie is a vibrant, fruity blend that’s perfect for a refreshing start to your day. Packed with antioxidants from mixed berries and the fiber-rich goodness of oats, this smoothie is an excellent choice for those looking to incorporate an oats smoothie for weight loss into their diet.

Oats Smoothie Recipes

Ingredients:

  • 1/2 cup rolled oats
  • 1 cup mixed berries (strawberries, blueberries, raspberries)
  • 1 banana
  • 1 cup almond milk
  • 1 tablespoon chia seeds
  • 1 teaspoon honey (optional)

Instructions:

  1. Prepare the Oats: Blend the oats in a blender until they form a fine powder.
  2. Add Ingredients: Add the mixed berries, banana, almond milk, chia seeds, and honey to the blender.
  3. Blend: Blend until smooth. If the smoothie is too thick, add more almond milk until the desired consistency is reached.
  4. Serve: Pour into a glass and enjoy immediately.

Tips:

  • Use frozen berries for a thicker texture.
  • Adjust the sweetness by adding or omitting honey.

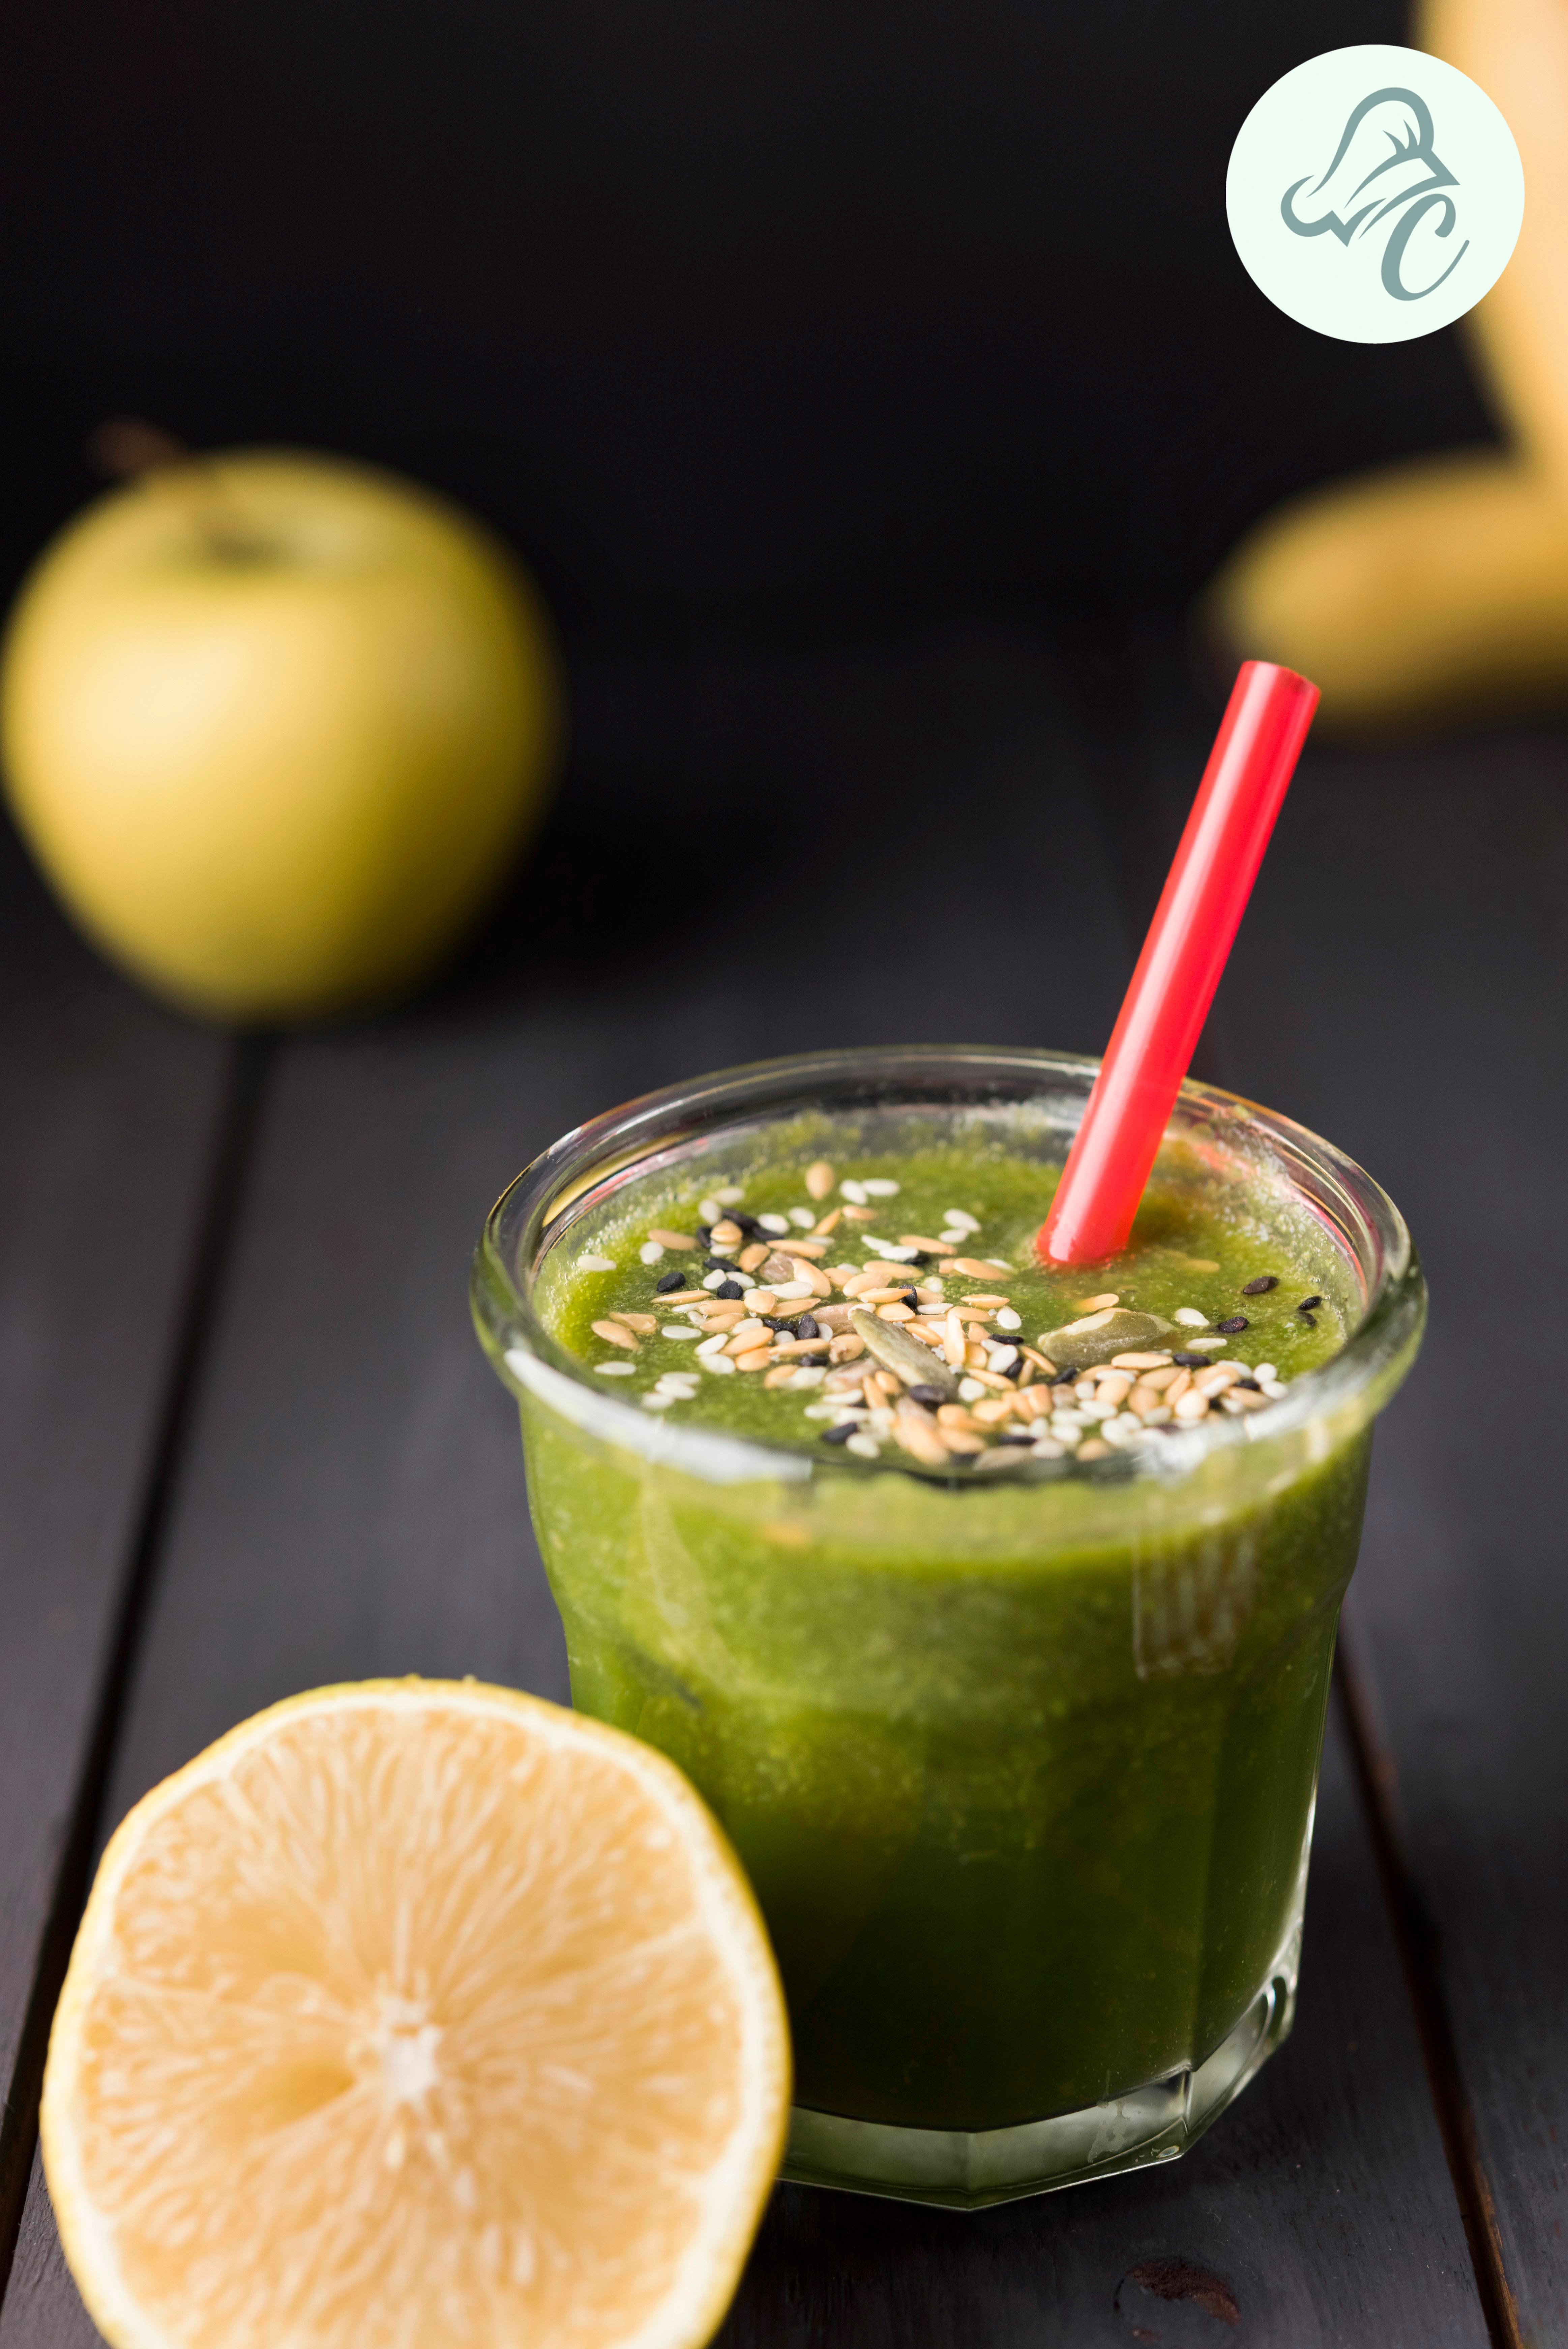
2. Green Detox Oats Smoothie

The Green Detox Oats Smoothie is a nutrient-packed drink that’s perfect for cleansing your body and boosting your energy levels. With spinach, cucumber, and apple, this smoothie offers a refreshing taste while helping you stay on track with your weight loss goals. It’s an ideal oats smoothie for weight loss due to its low-calorie content and high fiber.

Green-Detox-Oats-Smoothie

Ingredients:

  • 1/2 cup rolled oats
  • 1 cup spinach
  • 1/2 cucumber
  • 1 green apple, chopped
  • 1 cup coconut water
  • 1 tablespoon flaxseeds
  • Juice of 1 lemon

Instructions:

  1. Prepare the Oats: Blend the oats in a blender until they form a fine powder.
  2. Add Ingredients: Add the spinach, cucumber, apple, coconut water, flaxseeds, and lemon juice to the blender.
  3. Blend: Blend until smooth. If the smoothie is too thick, add more coconut water until the desired consistency is reached.
  4. Serve: Pour into a glass and enjoy immediately.

Tips:

  • Use fresh spinach for the best flavor and nutrients.
  • Add a few ice cubes to make the smoothie cold and refreshing.

3. Chocolate Banana Oats Smoothie

For those with a sweet tooth, the Chocolate Banana Oats Smoothie is a perfect indulgence without the guilt. Combining the natural sweetness of bananas with rich cocoa powder and fiber-rich oats, this smoothie makes for a delightful treat. This oats banana smoothie is perfect for a post-workout snack or a nutritious breakfast.

Chocolate-Banana-Oats-Smoothie

Ingredients:

  • 1/2 cup rolled oats
  • 1 banana
  • 1 tablespoon cocoa powder
  • 1 cup almond milk
  • 1 tablespoon almond butter
  • 1 teaspoon vanilla extract
  • 1 teaspoon honey (optional)

Instructions:

  1. Prepare the Oats: Blend the oats in a blender until they form a fine powder.
  2. Add Ingredients: Add the banana, cocoa powder, almond milk, almond butter, vanilla extract, and honey to the blender.
  3. Blend: Blend until smooth. If the smoothie is too thick, add more almond milk until the desired consistency is reached.
  4. Serve: Pour into a glass and enjoy immediately.

Tips:

  • Use a ripe banana for natural sweetness.
  • Add a few ice cubes for a chilled smoothie.

Health Benefits

  1. Fiber-Rich: Oats are high in dietary fiber, which helps in maintaining digestive health and keeps you feeling full longer.
  2. Nutrient-Dense: These smoothies are packed with vitamins, minerals, and antioxidants from fruits and vegetables.
  3. Protein-Packed: Oats and added ingredients like chia seeds and almond butter provide a good source of protein, essential for muscle repair and growth.
  4. Hydrating: Ingredients like coconut water and almond milk help keep you hydrated.

Variations

  • Berry Oats Smoothie: Swap mixed berries with your favorite berry or add Greek yogurt for extra creaminess.
  • Green Detox Oats Smoothie: Add a scoop of protein powder or a tablespoon of spirulina for an extra health boost.
  • Chocolate Banana Oats Smoothie: Add a handful of spinach for added nutrients without changing the flavor.

Additional Steps

  • Soak the Oats: For a smoother texture, soak the oats in milk or water for 10-15 minutes before blending.
  • Add Superfoods: Incorporate superfoods like maca powder, spirulina, or matcha for added health benefits.

Serving Suggestions

  • Berry Oats Smoothie: Garnish with fresh berries and a sprinkle of chia seeds.
  • Green Detox Oats Smoothie: Top with a slice of cucumber and a mint leaf.
  • Chocolate Banana Oats Smoothie: Add a drizzle of almond butter and a sprinkle of cocoa nibs.

Presentation Tips

  • Use clear glass jars to showcase the vibrant colors.
  • Garnish with fresh fruits or nuts for a visually appealing presentation.
  • Serve with a reusable straw to make it eco-friendly.

Cooking Techniques

  • Blending: Ensure all ingredients are well blended for a smooth consistency.
  • Layering: For a visually appealing smoothie, layer different colored ingredients before blending.

FAQs

  1. Can I prepare these smoothies in advance?

Yes, you can prepare them the night before and store them in the refrigerator. However, they are best consumed fresh.

  1. Can I use steel-cut oats instead of rolled oats?

Rolled oats are recommended for a smoother texture. Steel-cut oats can be used but may result in a coarser consistency.

  1. Are these smoothies suitable for vegans?

Yes, all recipes are vegan-friendly if you use plant-based milk like almond or coconut milk.

    Nutritional Value

    • Berry Oats Smoothie: Approximately 250 calories, 8g protein, 45g carbs, 6g fat
    • Green Detox Oats Smoothie: Approximately 180 calories, 5g protein, 35g carbs, 4g fat
    • Chocolate Banana Oats Smoothie: Approximately 300 calories, 7g protein, 50g carbs, 9g fat

    Conclusion

    Incorporating oats smoothie recipes into your diet is an excellent way to enjoy a nutritious and satisfying meal that supports weight loss. These smoothies are easy to make, versatile, and packed with health benefits. Whether you prefer a fruity, green, or chocolatey flavor, there’s an oats smoothie for weight loss for everyone. Don’t forget to explore other smoothie recipes on our website, such as the Mango Sago Recipe and Rich & Healthy Chocolate Smoothie, to add more variety to your healthy eating plan. Cheers to a healthier you!

    Creating a Perfect Chinese Platter: A Feast of Flavorful Recipes

    0
    Chinese-platter

    A well-curated Chinese platter is a feast of flavors, textures, and colors that brings together some of the most beloved Indo-Chinese recipes. From the spicy crunch of honey chili potato to the savory delight of veg steamed momos, this platter is perfect for any occasion. In this blog, we’ll guide you through creating a perfect Chinese platter that will leave your guests craving for more.

    About this Chinese Platter

    This Chinese platter features a variety of Indo-Chinese favorites that are sure to tantalize your taste buds. The combination of Hakka noodles, Manchurian, honey chili potato, veg steamed momos, and spring rolls offers a delightful mix of flavors and textures. Each dish is easy to prepare and makes for an impressive spread when served together.

    Ingredients and Instructions

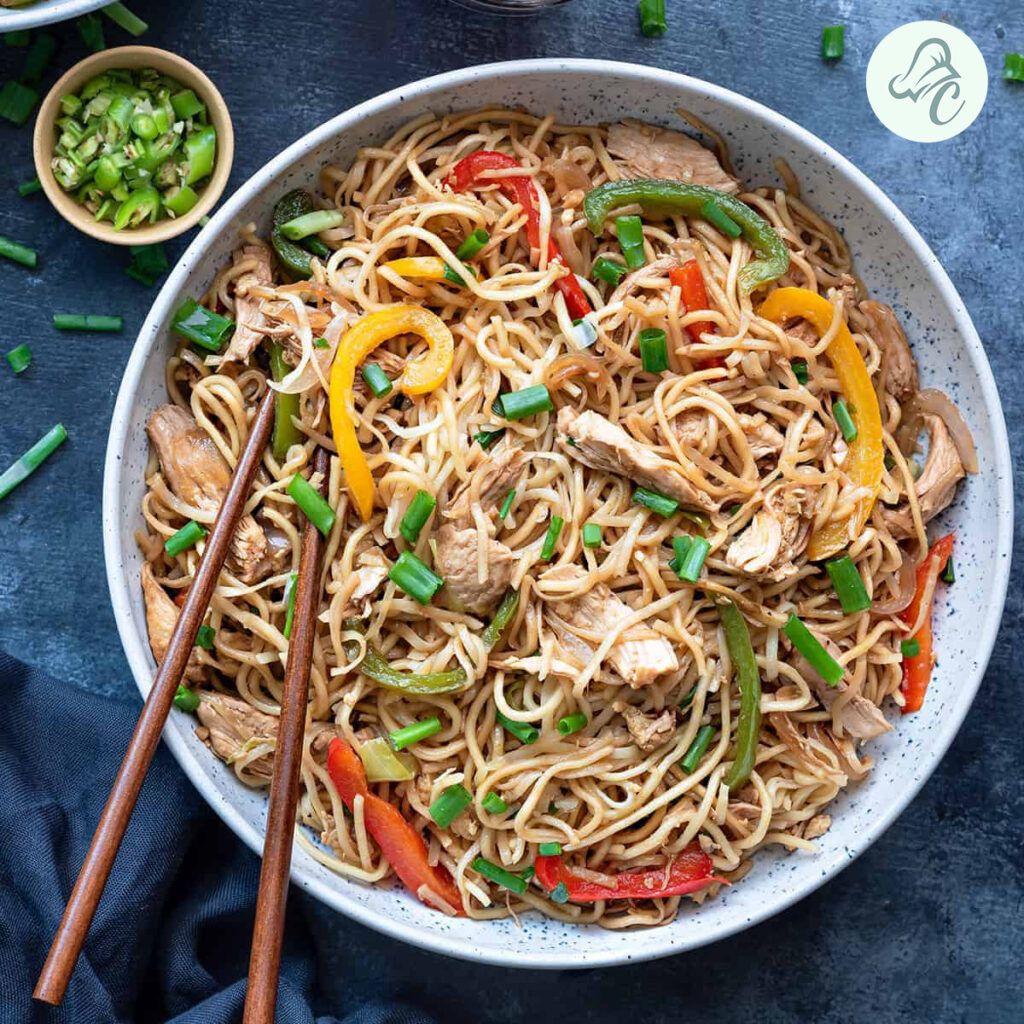
    1. Hakka Noodles

    Hakka noodles are a staple of any Chinese platter, featuring stir-fried vegetables and perfectly cooked noodles tossed in savory sauces. This dish is known for its balanced flavor and delightful crunch, making it a must-have in your Chinese culinary spread.

    chinese-platter

    Ingredients:

    • 200g Hakka noodles
    • 1 cup mixed vegetables (carrots, bell peppers, cabbage, beans), julienned
    • 2 tbsp oil
    • 1 tbsp soy sauce
    • 1 tbsp chili sauce
    • 1 tsp vinegar
    • 2 garlic cloves, minced
    • Salt and pepper to taste
    • Spring onions for garnish

    Instructions:

    1. Cook the Hakka noodles according to the package instructions. Drain and set aside.
    2. Heat oil in a wok and add minced garlic. Sauté until fragrant.
    3. Add the mixed vegetables and stir-fry on high heat for 3-4 minutes.
    4. Add soy sauce, chili sauce, and vinegar. Mix well.
    5. Add the cooked noodles and toss everything together. Season with salt and pepper.
    6. Garnish with spring onions and serve hot.

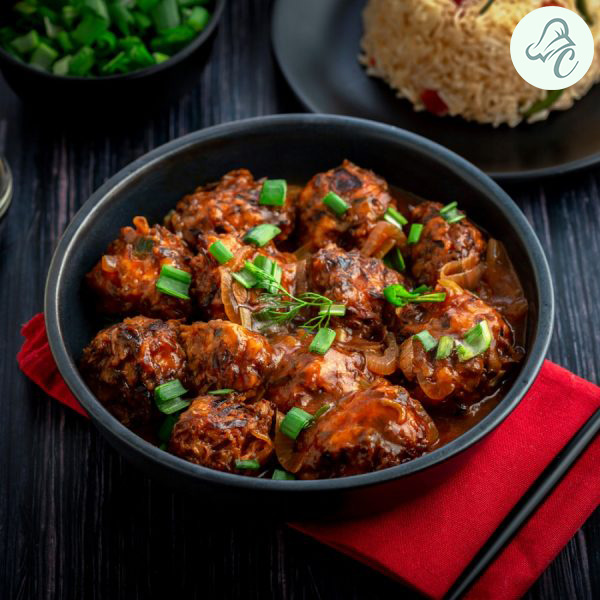
    2. Manchurian

    Manchurian, a beloved addition to any Chinese platter, combines crispy vegetable balls in a flavorful, tangy sauce. This dish offers a delightful mix of textures and a rich, savory taste that perfectly complements other platter items.

    manchurian recipe

    Ingredients:

    • 1 cup grated cabbage
    • 1 cup grated carrot
    • 1/2 cup finely chopped capsicum
    • 2 tbsp all-purpose flour
    • 2 tbsp cornflour
    • 1 tbsp soy sauce
    • 1 tbsp chili sauce
    • Salt and pepper to taste
    • Oil for frying
    • 2 garlic cloves, minced
    • 1/2 cup onion, finely chopped
    • 1/2 cup capsicum, diced
    • 1 cup tomato ketchup
    • 1 cup water
    • 1 tbsp cornflour mixed with 2 tbsp water (slurry)

    Instructions:

    1. In a bowl, mix grated cabbage, carrot, capsicum, all-purpose flour, cornflour, soy sauce, chili sauce, salt, and pepper to form a dough.
    2. Shape the dough into small balls and deep fry until golden brown. Drain on paper towels.
    3. In a pan, heat oil and sauté minced garlic until fragrant.
    4. Add chopped onions and diced capsicum. Cook until tender.
    5. Add tomato ketchup, water, and the cornflour slurry. Bring to a boil.
    6. Add the fried Manchurian balls and mix well. Cook for a few minutes until the sauce thickens.
    7. Serve hot with a garnish of spring onions.

    3. Honey Chili Potato

    Honey chili potato is a sweet and spicy delight that adds a vibrant touch to your Chinese platter. The crispy potato strips coated in a tangy sauce make for an irresistible snack or side dish that perfectly balances sweetness and heat.

    honey chilli potato recipe

    Ingredients:

    • 3 large potatoes, cut into thin strips
    • 2 tbsp cornstarch
    • 2 tbsp all-purpose flour
    • Salt to taste
    • Oil for frying
    • 2 tbsp oil
    • 2 garlic cloves, minced
    • 1 tbsp soy sauce
    • 1 tbsp chili sauce
    • 1 tbsp tomato ketchup
    • 2 tbsp honey
    • Sesame seeds for garnish

    Instructions:

    1. Coat potato strips with cornstarch, all-purpose flour, and salt. Deep fry until crispy and golden brown. Drain on paper towels.
    2. In a pan, heat oil and sauté minced garlic until fragrant.
    3. Add soy sauce, chili sauce, and tomato ketchup. Mix well.
    4. Add the fried potatoes and toss to coat with the sauce.
    5. Drizzle honey over the potatoes and mix well.
    6. Garnish with sesame seeds and serve hot.

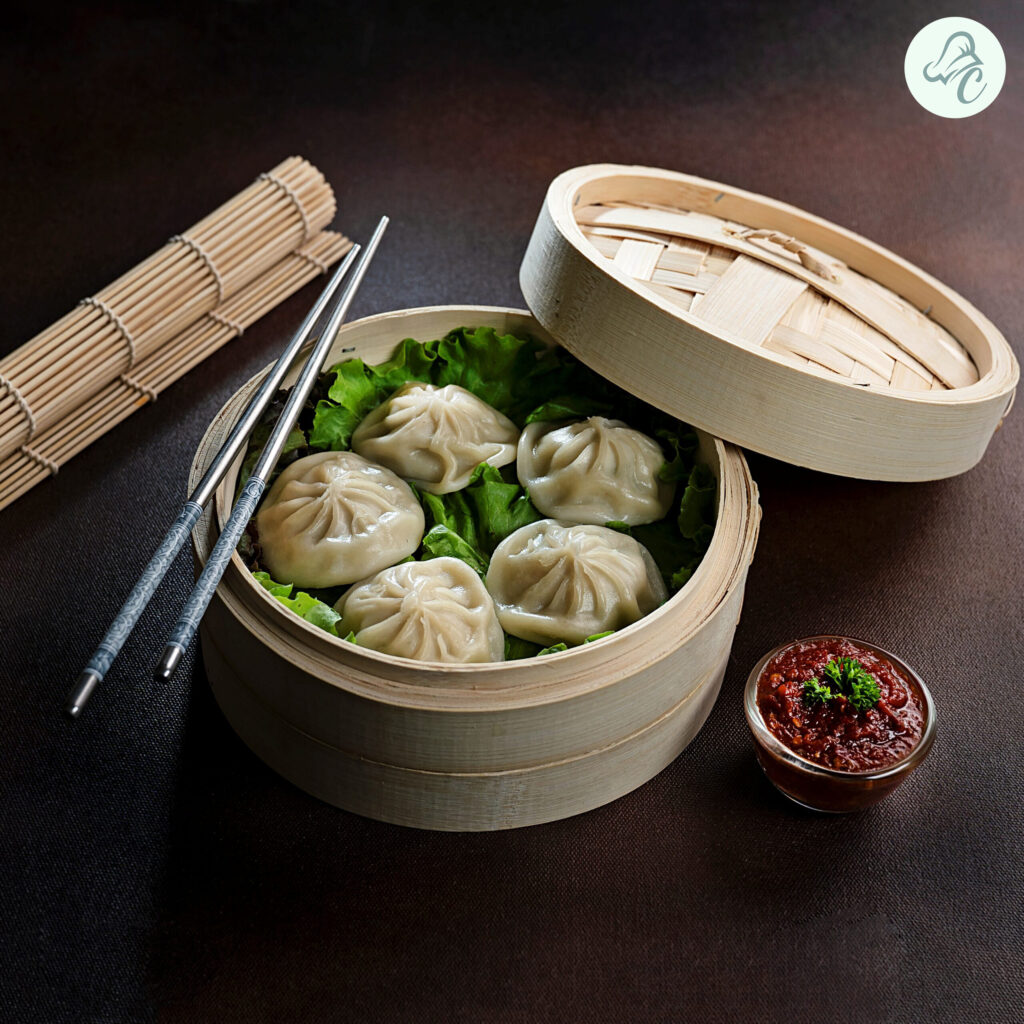
    4. Veg Steamed Momos

    Veg steamed momos are a healthy and delicious addition to any Chinese platter. These bite-sized dumplings filled with seasoned vegetables are perfect for dipping in a spicy sauce, offering a delightful burst of flavor with every bite.

    veg momos

    Ingredients:

    • 1 cup all-purpose flour
    • Water as needed
    • 1 cup finely chopped vegetables (carrot, cabbage, capsicum, onion)
    • 2 garlic cloves, minced
    • 1 tsp soy sauce
    • Salt and pepper to taste

    Instructions:

    1. In a bowl, mix all-purpose flour and water to form a smooth dough. Cover and let it rest for 30 minutes.
    2. In a pan, sauté minced garlic until fragrant. Add chopped vegetables and cook until tender.
    3. Add soy sauce, salt, and pepper. Mix well and let it cool.
    4. Roll out small portions of dough into thin circles. Place a spoonful of the vegetable filling in the center and fold to form momos.
    5. Steam the momos for 10-12 minutes or until cooked through.
    6. Serve hot with a dipping sauce.

    5. Spring Rolls

    Spring rolls are a crunchy and flavorful addition to your Chinese platter. Filled with a mix of fresh vegetables and wrapped in a crispy shell, they are perfect for dipping in your favorite sauce, providing a satisfying crunch and burst of flavors.

    spring rolls

    Ingredients:

    • Spring roll wrappers
    • 1 cup mixed vegetables (carrot, cabbage, bean sprouts), julienned
    • 2 garlic cloves, minced
    • 1 tbsp soy sauce
    • Salt and pepper to taste
    • Oil for frying

    Instructions:

    1. In a pan, sauté minced garlic until fragrant. Add mixed vegetables and stir-fry for 3-4 minutes.
    2. Add soy sauce, salt, and pepper. Mix well and let it cool.
    3. Place a spoonful of the vegetable filling on each spring roll wrapper. Roll tightly and seal the edges with a paste of flour and water.
    4. Deep fry the spring rolls until golden brown and crispy. Drain on paper towels.
    5. Serve hot with a dipping sauce.

    Tips

    • Ensure all ingredients are fresh for the best flavor.
    • Maintain high heat while stir-frying to retain the crunch of the vegetables.
    • Adjust the level of spiciness according to your preference.

    Variations

    • Add tofu or paneer to the Hakka noodles for extra protein.
    • Use different vegetables like mushrooms or zucchini in the Manchurian.
    • Substitute sweet potatoes for regular potatoes in the honey chili potato.
    • Experiment with different fillings for the veg steamed momos.
    • Add some cooked chicken or shrimp to the spring rolls for a non-vegetarian option.

    Additional Steps

    • Prepare all ingredients in advance to streamline the cooking process.
    • Keep sauces and seasonings ready for quick use.

    Serving Suggestions

    • Serve the Chinese platter with a side of hot and sour soup.
    • Garnish each dish with fresh herbs like cilantro or green onions for added flavor and color.

    Presentation Tips

    • Arrange the dishes on a large platter or individual serving plates.
    • Use colorful garnishes to enhance the visual appeal.

    Cooking Techniques

    • Use a wok for stir-frying to achieve high heat and quick cooking.
    • Ensure even coating of sauces on the dishes for consistent flavor.

    FAQs

    Q: Can I make the dishes ahead of time? 

    A: Yes, you can prepare the components in advance and assemble them before serving.

    Q: Can I make these dishes spicier? 

    A: Adjust the amount of chili sauce and add fresh chilies if you prefer more heat.

    Q: Are there gluten-free options? 

    A: Substitute soy sauce with gluten-free tamari and use rice noodles instead of Hakka noodles.

    Conclusion

    Creating a perfect Chinese platter is all about balancing flavors and textures. By following these recipes and tips, you’ll be able to impress your guests with a delightful spread of Indo-Chinese dishes. Enjoy the culinary journey and don’t forget to explore more recipes on our website, where you can find a variety of delicious Chinese recipes like Chicken Egg Drop Soup Recipe and Quick & Easy Mushroom Noodles.

    Spicy Stuffed Bell Peppers with Paneer: A Flavor-Packed Delight

    0
    Stuffed-Bell-Peppers-with-Paneer

    Discover the perfect blend of flavor and nutrition with our Spicy Stuffed Bell Peppers with Paneer. This dish not only tantalizes your taste buds with its vibrant spices and creamy paneer but also adds a burst of color to your dining table. Ideal for both casual dinners and festive occasions, this recipe offers a delightful twist on traditional stuffed peppers.

    Stuffed capsicum, or bell peppers, are a classic dish that can be customized in many ways. In this recipe, we enhance the traditional concept by filling these vibrant vegetables with a spicy and creamy stuffed paneer mixture. This fusion of the bell pepper’s natural sweetness and the spiced paneer filling creates a delightful contrast that’s both satisfying and flavorful.

    About This Stuffed Capsicum Recipe

    Our Spicy Stuffed Bell Peppers with Paneer is a unique twist on the traditional stuffed capsicum recipe. Instead of the usual ground meat or rice filling, this version uses paneer, an Indian cottage cheese known for its mild flavor and creamy texture. The combination of spices used in the stuffing adds a depth of flavor that pairs beautifully with the bell pepper’s sweetness.

    Spicy Stuffed Bell Peppers with Paneer

    Ingredients for Stuffed Capsicum

    To create these delicious stuffed bell green peppers, you’ll need:

    • Bell Green Peppers (Capsicum): 4 large
    • Paneer: 1 cup, crumbled
    • Quinoa or Rice: 1 cup, cooked
    • Onion: 1 medium, finely chopped
    • Garlic: 2 cloves, minced
    • Tomato: 1 medium, finely chopped
    • Olive Oil: 1 tablespoon
    • Cumin Seeds: 1 teaspoon
    • Paprika: 1 teaspoon
    • Chili Powder: 1 teaspoon
    • Turmeric Powder: 1/2 teaspoon
    • Garam Masala: 1/2 teaspoon
    • Salt and Pepper: To taste
    • Fresh Coriander Leaves: For garnish

    Step-by-Step Instructions for Stuffed Capsicum

    1. Prepare the Bell Green Peppers

    Preheat your oven to 375°F (190°C). Cut the tops off the bell green peppers and remove the seeds and membranes. This will create a hollow space for the filling. Set the peppers aside, and consider saving the tops to use as a decorative element if desired.

    2. Cook the Filling for Stuffed Capsicum

    In a medium-sized pan, heat olive oil over medium heat. Add cumin seeds and let them sizzle for a few seconds until aromatic. Add the finely chopped onion and garlic, sautéing until the onion turns translucent and soft, about 5 minutes.

    3. Add Tomatoes and Spices to the Stuffing

    Stir in the chopped tomato and cook for another 3-4 minutes until softened. Add paprika, chili powder, turmeric powder, and garam masala to the pan. Cook until the spices are well incorporated and the tomato releases its juices, about 3 minutes.

    4. Mix in Stuffed Paneer and Quinoa

    Add the crumbled stuffed paneer and cooked quinoa or rice to the pan. Mix thoroughly, ensuring the paneer and grains are well combined with the spiced tomato mixture. Cook for an additional 5 minutes, allowing the flavors to meld. Season with salt and pepper to taste.

    5. Stuff the Peppers

    Using a spoon, carefully fill each bell pepper with the prepared paneer mixture, packing the filling tightly. This step ensures that the peppers hold their shape during baking.

    stuffed capsicum recipe
    6. Bake the Stuffed Capsicum

    Arrange the stuffed peppers upright in a baking dish. Cover the dish with foil and bake in the preheated oven for 25 minutes. After 25 minutes, remove the foil and bake for an additional 10 minutes, or until the peppers are tender and slightly charred.

    7. Garnish and Serve

    Once baked, remove the peppers from the oven and let them cool slightly. Garnish with fresh coriander leaves for a touch of color and freshness. Serve warm, and enjoy the delightful flavors!

    Tips for Perfect Stuffed Capsicum

    • Choose Fresh Peppers: Opt for firm, glossy bell peppers to ensure they hold up well during baking.
    • Adjust Spices: Modify the chili powder according to your heat preference. You can also add chopped green chilies for an extra kick.
    • Prepare Ahead: You can make the stuffing a day in advance. Refrigerate it and stuff the peppers just before baking.

    Health Benefits of Stuffed Bell Green Peppers

    Stuffed capsicum provides numerous health benefits. Bell peppers are rich in vitamins A and C, which are crucial for immune function and skin health. They also contain antioxidants that combat free radicals in the body. Paneer contributes protein and calcium, promoting muscle health and bone strength. Quinoa or rice adds essential carbohydrates, making this a well-rounded and nutritious meal.

    stuffed capsicum

    Variations on Stuffed Capsicum

    • Vegetarian Alternative: Replace paneer with tofu to create a dairy-free version. Tofu will absorb the spices and offer a similar texture.
    • Add Extra Vegetables: Incorporate finely chopped vegetables such as spinach, mushrooms, or zucchini into the stuffing for added nutrition and flavor.
    • Cheesy Topping: For a cheesy twist, sprinkle shredded cheese on top of the stuffed peppers during the last 10 minutes of baking for a delicious melted cheese crust.

    Additional Steps to Enhance Flavor

    • Marinate Peppers: Marinate the bell peppers in olive oil, lemon juice, and a pinch of salt before stuffing to enhance their flavor.
    • Serve with Sauce: Complement the stuffed peppers with a side of tomato or yogurt sauce to add extra flavor and richness.

    Serving Suggestions for Stuffed Capsicum

    Serve the stuffed capsicum as a main course or alongside a fresh salad. They pair well with quinoa, couscous, or simple raita for a complete and satisfying meal.

    Presentation Tips for Stuffed Bell Peppers

    • Garnish: Fresh herbs like coriander or parsley add visual appeal and enhance the dish’s freshness.
    • Arrange Neatly: Place the stuffed peppers on a serving platter or individual plates, keeping them upright for a beautiful presentation. Add a drizzle of olive oil or a sprinkle of additional spices for an extra touch.

    Cooking Techniques for Stuffed Capsicum

    • Sautéing: Properly sautéing the onion and spices is crucial for developing a rich flavor base. Ensure the onions are well-cooked before adding other ingredients.
    • Baking: Baking the peppers helps them soften and develop a slightly caramelized flavor. Monitor them during the final minutes to avoid overcooking.

    FAQs about Stuffed Capsicum

    1. Can I use different types of peppers?
    Yes, you can use red, yellow, or orange bell peppers instead of green. Each variety offers a different level of sweetness and color, enhancing the dish’s visual appeal and taste.

    2. How should I store leftovers?
    Store any leftover stuffed peppers in an airtight container in the refrigerator for up to 3 days. Reheat thoroughly before serving to ensure even heating.

    3. Can I freeze the stuffed peppers?
    Yes, you can freeze them before baking. Wrap each pepper tightly in plastic wrap and foil, and freeze for up to 3 months. Bake from frozen, adding extra baking time as needed.

    Nutritional Value of Stuffed Capsicum

    A serving of Spicy Stuffed Bell Peppers with Paneer typically contains:

    Calories:250-300
    Protein:12-15g
    Carbohydrates:20-25g
    Fat:15-18g

    These values may vary based on portion sizes and specific ingredients used.

    Conclusion

    Spicy Stuffed Bell Peppers with Paneer are more than just a meal; they are a celebration of flavors and textures. Combining the natural sweetness of bell green peppers with the creamy richness of stuffed paneer and a blend of spices creates a dish that’s both satisfying and delightful. Perfect for any occasion, this stuffed capsicum recipe is sure to become a staple in your culinary repertoire. Try it today and enjoy the harmonious blend of flavors in every bite!

    If you enjoyed this stuffed capsicum recipe, be sure to check out other delicious recipes on Chef’s Home Around, such as our Mushroom with Sauteed Veggies, Vegetable Stuffed Peppers, and Roasted Sweet Potatoes. These recipes, along with our wide range of soup recipes like Chicken Egg Drop Soup Recipe, Creamy Potato Soup Recipe, and Instant Spicy Carrot Soup, offer a variety of flavors and healthy options to suit any palate. Happy cooking!