
Home Blog Page 3

Smart Cooking Hacks Every Home Chef Should Know in 2025

0
Cooking Hacks

Still working harder in your kitchen? But why? Cooking at home in 2025 is more and more about working smarter. Relax, after reading this blog you will be mastering a few smart hacks that can save your valuable time. So whether you are an experienced chef or a passionate cooking lover this blog is going to be a fun read for you. 

These cooking hacks not only will make the cooking process easier but will also enhance flavors eventually making your cooking experience more enjoyable and effortless. Ready to upgrade your kitchen and cooking process? Here are some of the smartest kitchen hacks for home chefs like you. 

cooking tips

Hack 1: Turn Everyday Tools into Kitchen Wizards

Who said creating culinary magic requires expensive equipment? There’s no point in costly equipment when you can make creative use of what you already have! Like if you need to create a creamy, café-quality foam why don’t you use a clean soap dispenser filled with milk. It can literally do your work in a matter of seconds even without any whisk. Sounds interesting, right? 

You might be wondering how difficult chopping can be. Well it’s a no brainer if you do it smartly. For instance if you want to chop cherry tomatoes as quickly as possible. Look around you and catch the plastic lids. You can slice tomatoes horizontally after sandwiching them between two plastic lids. When it’s about  salads and sauces, it is the best way to evenly cut tomatoes in half, keeping their integrity untouched. 

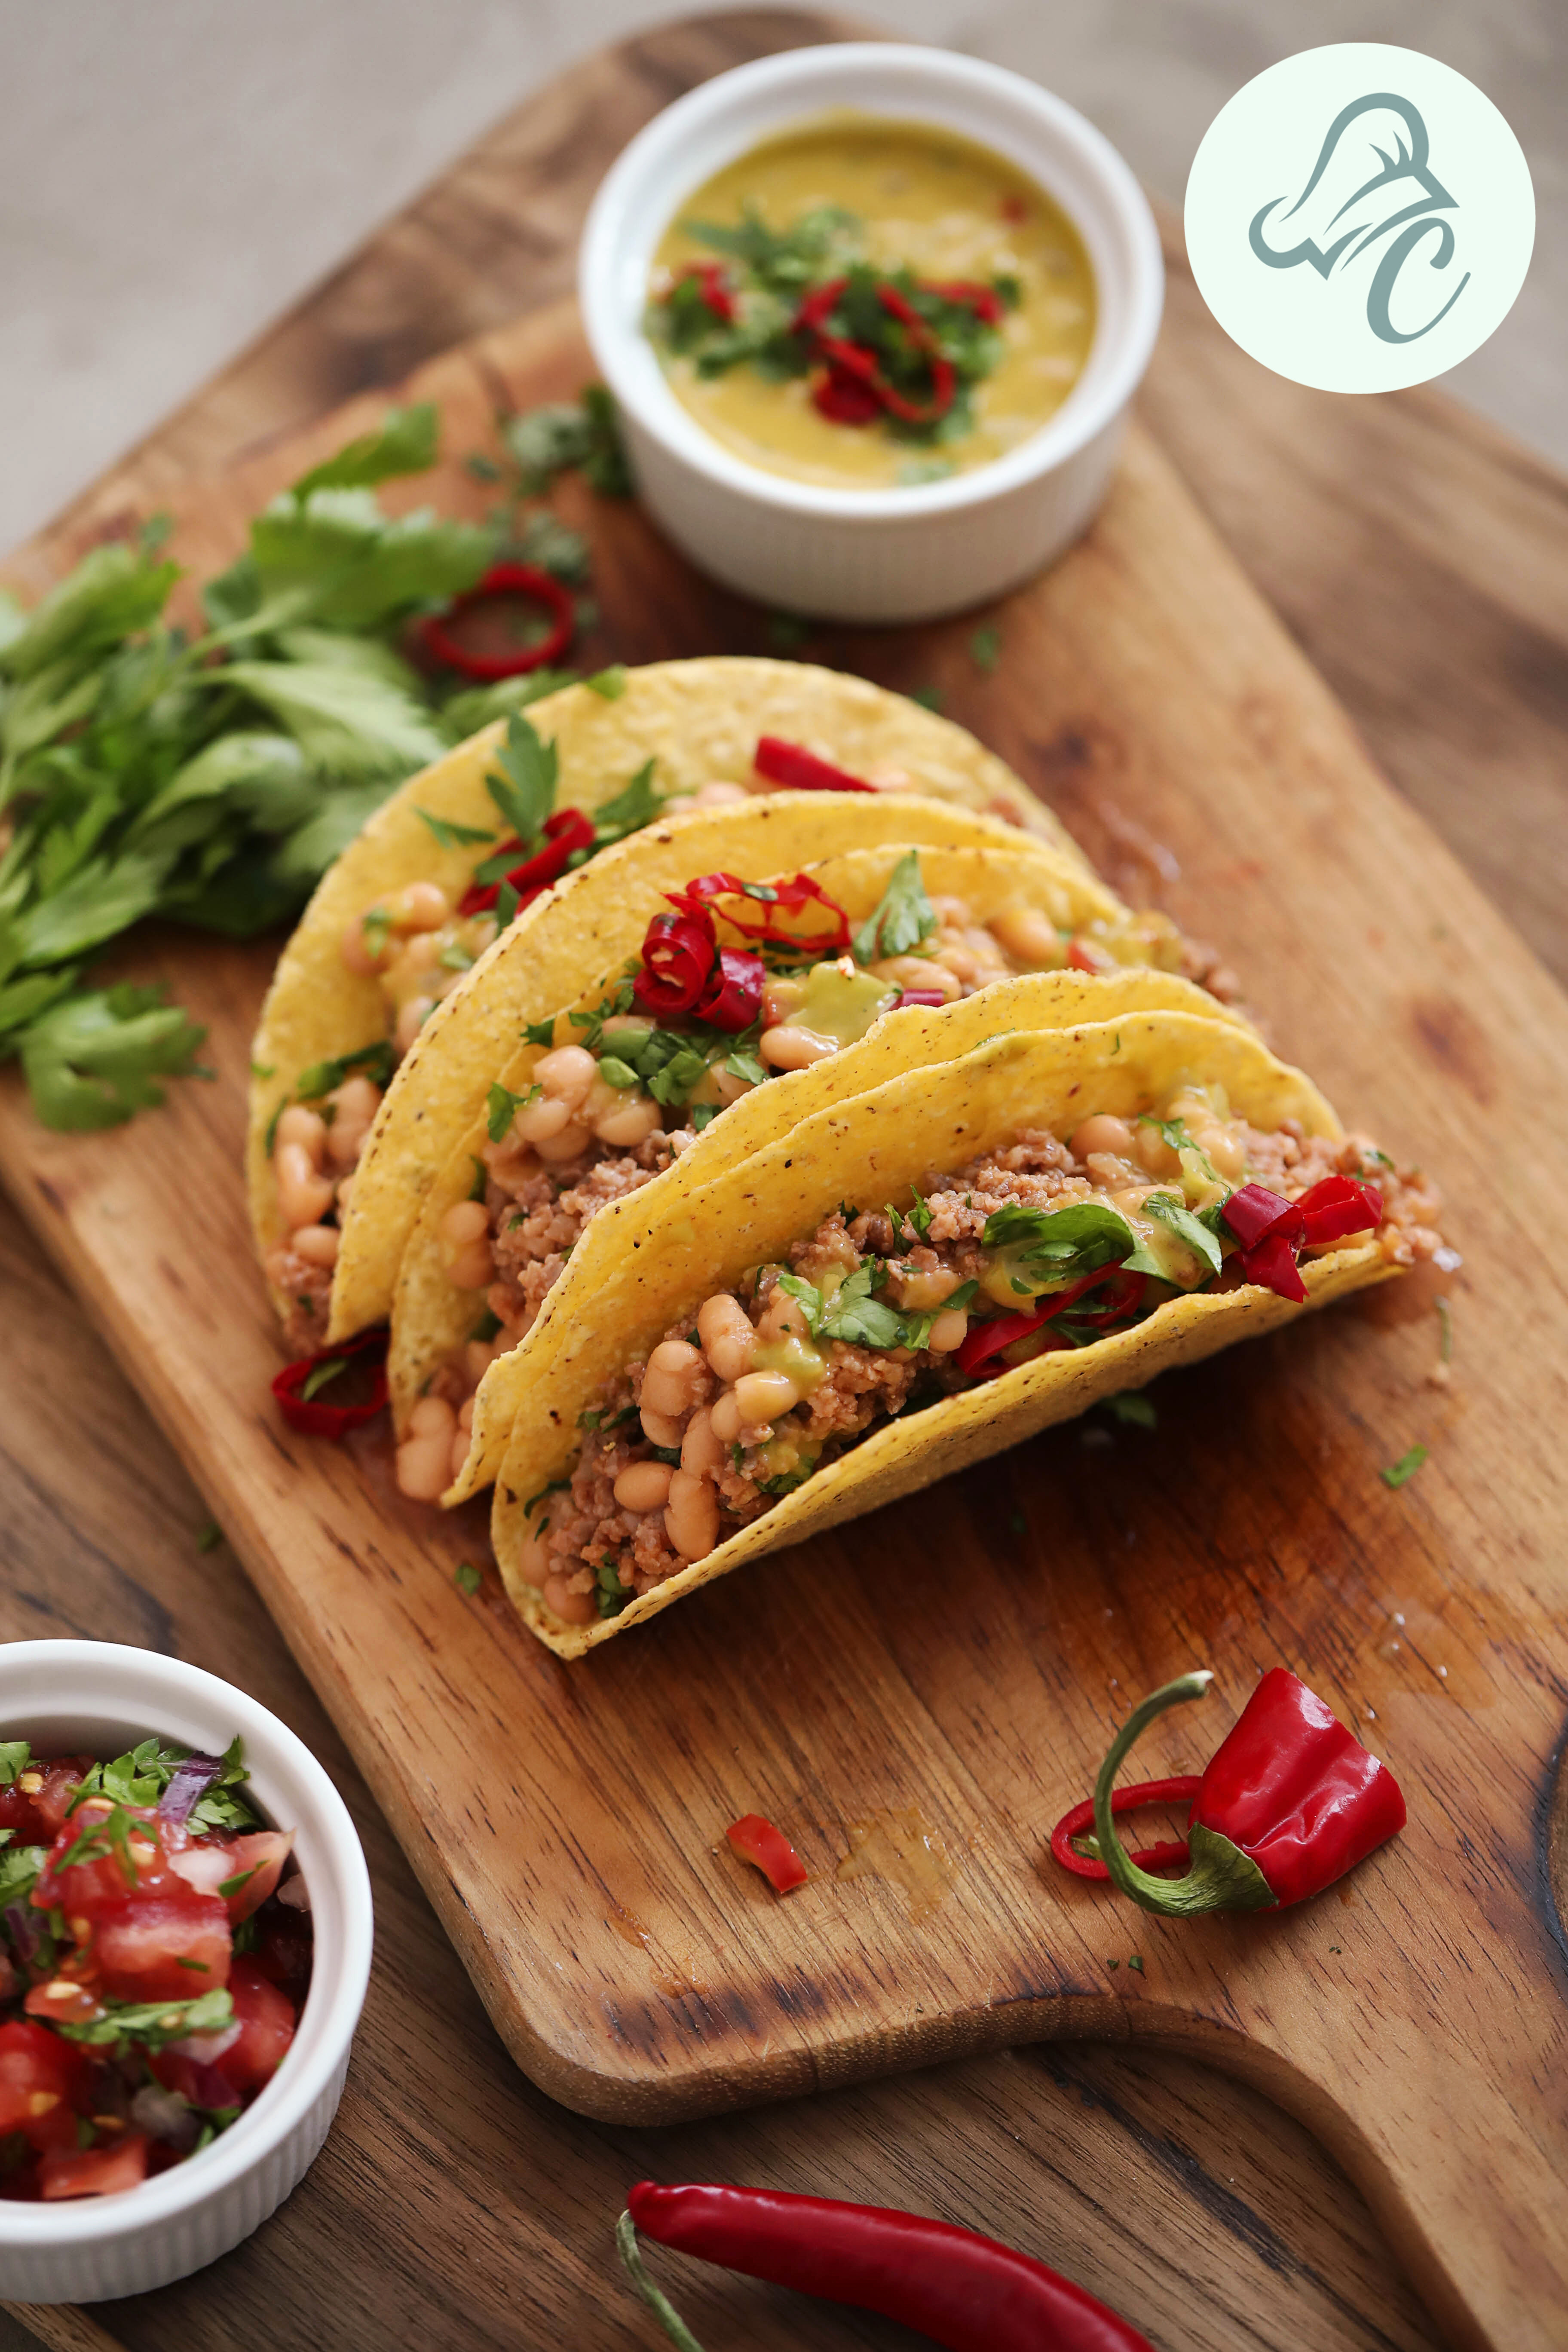
Are you ready to jump into another clever tip? How to make Taco shells faster? To make perfectly crispy taco shells all you need to do is fold soft tortillas and toss them in the toaster for at least three to four minutes. Taco nights can be transformed with little effort, all thanks to the toaster’s heat, which crisps and curves them in just one step.

Hack 2: Bulk Prep and Smart Storage Are Your Best Friends

By prepping pantry staples in advance you can save both energy and stress. Why don’t you cook larger batches of quinoa, rice, and sauces, it is a great way to enjoy, mix and match meals throughout the week. You will just have to add sauces into ready-to-go sides whenever your meals develop. 

Start using airtight containers with proper labels for quick choices. Picking ingredients should not feel like a “find me if you can round” instead it should be a grab-and-go option in your fridge or freezer. 

To keep the herbs fresh for longer periods of time, wrap them up in damp paper towels and then tuck them in a resealable plastic bag. It will literally extend the shelf-life of your herbs by weeks! 

Why throw vegetable scraps when you can use them to make homemade veggie stock. You should keep onion skins, celery ends and herb stems in the freezer until you need to boil them into the next stock that is infinitely better than ready made stocks available at stores.

Hack 3: Level Up Your Flavors with Simple Tweaks

Master these flavor enhancing hacks to enhance and elevate the dishes. Why add spices straightaway into the dishes when you can toast and dry them properly in a hot pan. Roasting releases essential oils of spices along while making them aromatic. 

If your soup or stew tastes too salty, no need to throw it away. Just add a splash of vinegar or squeeze some fresh lemon juice in it to balance the flavors beautifully. 

You can use olive brine or pickle juice as a quick and delicious salad dressing base. Not only this it also adds an unexpected tang to your marinades. 

How do you brighten bread or cranberry dishes? Well here’s an interesting twist you should opt for. Add a little fresh orange juice to your batter or sauce as its acidity compliments the flavor of spices and gives the whole dish an exciting edge.

Hack 4: Speed Up Prep Time with Ingenious Shortcuts

Make the most of your time by preparing the ingredients one night before. To save time right now, chop vegetables in bulk and grate frozen ginger straight a night prior. So that no peeling is required while cooking. To ensure that everything is finished at the same time, make the most of kitchen timers to coordinate cooking steps. 

Is there any way to avoid waste and mess? Lightly oil your spoons or scoops before working with sticky dough and batter. 

Additionally, a small change that speeds up your entire process is yet to come into the play. It is to microwave butter in short bursts rather than letting it sit at room temperature for hours. Stop scratching your head. It’s basic but only experts tell it.

Hack 5: Smart Multi-Tasking and Cleanup

Maintaining is the key to faster cooking. A clean kitchen is a must have component for a faster and delicious cooking story. But it is not that easy especially when you have to wash so many dishes just after cooking. 

To cut this hassle, use the one-pot cooking method,  combining important spices, vegetables, and proteins in one pan and roasting or sautéing them all together. This not only creates a delicious flavor fusion but also cuts down on cleanup time drastically. 

To keep the parchment paper flat and safe while cooking, you can place it on baking sheets, crumple it first and then smooth it out. 

To keep the stove clean and reduce the unwanted bubbles, just place a wooden spoon across the top of boiling pots or pans so they don’t overflow. By this you can stay productive and stress-free when you plan the cleanup throughout the cooking process.

Hack 6: Use the Microwave for More Than Reheating

Gone are the days when microwaves were used for reheating. You are living in 2025, and now microwaves are one of the best secret weapons that helps to speed up the cooking steps. 

Let’s understand with an example, you can soften garlic cloves in just 20 seconds before peeling. It makes the peeling and crushing process easier, eventually eliminating the last moment inconvenience. 

Why elongate the process when it can be done shortly? Why spend minutes with the stove when you can quickly toast the nuts for salads and desserts in a few seconds in the microwave. 

Well steaming vegetables is not a lengthy process anymore! You can simply boil vegetables in the microwave with a bit of water. Surprisingly, that’s all it takes to get a nutrient-packed side dish faster. It is a perfect equipment for busy weeknights when every minute counts.​

Hack 7: Freeze Fresh Herbs in Olive Oil Cubes

Fresh herbs get wilted very fast, but here’s a trick to keep their taste and freshness all year. Put your favorite herbs, like basil, cilantro, or parsley, in ice cube trays with olive oil (any oil you use) and freeze them in the refrigerator. You can use these oil cubes with herbs in any meal you cook, like soups, salads, or sautéd vegetables platter. It’s a great way to cut down on waste, keep things fresh, and add flavor right away with little work.

Bonus Hack: Make The Most Of Kitchen Gadgets You Already Own

Stop overloading your kitchen’s drawer with gadgets, why don’t tap into the hidden powers of every single equipment! Start making the most of existing gadgets. How do you cook canned cinnamon rolls? Well they get beautifully crisp and golden when made in a waffle maker. Yes they create a bakery-style treat in just under 7 minutes. 

Well that freezing pancake batter in ice cube trays gives perfectly portioned pancakes every morning that too with minimal measuring. These playful hacks will not only save your time but also bring a fresh spin to meal preparation and weekend breakfasts.

FAQs

1. What are the easiest smart cooking hacks for beginners?

There are many easy hacks for beginners. You can start with simple ones like making the most of a toaster to make crispy taco shells, microwaving the garlic cloves for quick and easy peeling, chopping veggies in large stocks one night before, or freezing fresh herbs in olive oil. It requires zero expertise but creates a big difference.

2. How can I save more time in the kitchen while making delicious food?

By using airtight labeled containers, toasting your spices, and smart microwave techniques including quick steaming or softening ingredients can help you save time and make your food taste even better.

3. Is one-pot cooking really effective for busy people?

Yes it is absolutely effective! One-pot cooking reduces unwanted mess, saves cleaning time and efforts, not only this but it also keeps your flavors concentrated. It’s one of the best hacks for quick meals to try on busy days.

4. How can I increase the shelf life of fresh herbs?

To increase the shelf life of fresh herbs you should wrap them in damp paper towels, store them in sealed bags, or freeze them in olive oil ice cubes. These methods extend their life by weeks while preserving their freshness.

5. Can everyday household items replace our expensive kitchen tools?

Yes they can save a lot for you! You can use a soap dispenser to make milk foam, plastic lids to slice tomatoes faster and a waffle maker for cinnamon rolls is a perfect example. It’s all about smart usage of what you already have.

Wrapping It Up

Who said perfect cooking means complicated techniques or expensive tools? It is not true, because it’s more about clever tweaks that save your time, reduce waste, and bring out the best in your ingredients. These smart cooking hacks are specially designed to align with your everyday cooking routine. 

These help you cook faster and with cleanliness without compromising on  taste. Pick a few cooking tips and tricks to try this week—and thank yourself later! For more time-saving cooking tips and smart cooking ideas stay tuned with Chefs Home Around!
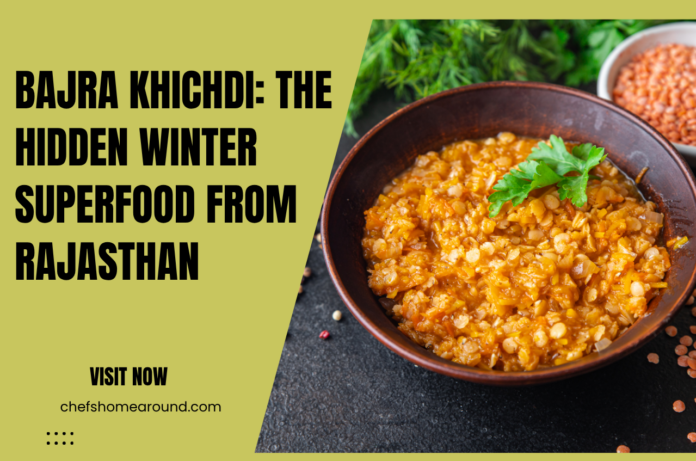

Must Check: Boost Immunity This Winter: Easy Recipes Packed with Vitamins

Bajra Khichdi—A Winter Superfood from Rajasthan

0
Bajra Khichdi

Winter has something special about it. It has its own way of waking up the sleeping food lover in all of us. This epic season comes along with special cravings. You feel a different kind of hunger when the chilly air gets crisp, isn’t it? All you need is your brimming bowl of something hearty, homely, and wholesome. 

Instead of some packaged soup you can indulge in bajra khichdi, Rajasthan’s special winter meal to celebrate cold mornings and starry winter nights. Imagine curling up with a bowl brimming with earthy pearl millet, creamy dal, and ghee, letting its warmth seep into your soul. Trust a food blogger and passionate chef—this is winter comfort at its finest, without the guilt! In this blog we will explore more about this super food along with the authentic Bajra Khichdi Recipe. 

From Desert Kitchens to Global Wellness—The Story of Bajra Khichdi

It’s been centuries, Rajasthan is enjoying its love affair with bajra also known as pearl millet. Rajasthan’s extreme climatic condition narrates this love story. It is a land where summers are fiercing hot and winters biting cold. Here this drought-resistant grain is not only the staple food but also a winter savior. Earlier this Bajra Khichdi was considered as the “poor man’s food,” but its rustic goodness and powerful health profile achieved “superfood” status over the years. Now it is one of the favorite delights of many wellness circles worldwide.

In rural Rajasthan, bajra khichdi is a ritual that is more than just food. After working hard all day on the fields in that burning hot climate, families used to huddle around the clay stove, to stir millet and dal along with vegetables and traditional spices for dinner. And the unforgettable aroma used to fill the courtyards. 

This healthy warm meal is often served with a dollop of ghee and a sweet bite of jaggery as a side. Honestly Rajasthan’s every celebration, festival, or chilly evening is incomplete without this humble dish that unites generations in this flavorful generation.​

The Ultimate Bajra Khichdi Recipe (Traditional Rajasthani Style)

Ingredients

  • 1 cup of bajra (pearl millet), it should be soaked overnight
  • ½ cup of rinsed split moong dal (yellow or green gram)
  • 1 cup of finely chopped mixed vegetables (carrots, peas, beans, potatoes)
  • 1 medium size onion (finely chopped)
  • 1 medium size tomato (finely chopped)
  • 2 green chilies, with slit and no seeds
  • 1 tbsp of minced ginger-garlic paste
  • 1 tsp of cumin seeds
  • ½ tsp of mustard seeds
  • ¼ tsp of hing (asafoetida)
  • ½ tsp of turmeric powder
  • ¼ tsp of red chili powder
  • 1 tsp of coriander powder
  • 4 cups of water
  • 2-3 tbsp of ghee (clarified butter)
  • Salt according to taste
  • Finely chopped coriander to garnish
  • Jaggery (a small piece, for serving)​

How To Make Bajra Khichdi?

Preparation

1. First of all, soak bajra overnight or at least for 6–8 hours. When soaked, drain and wash them. Then coarsely grind or crush them in a mortar-pestle for faster cooking.

2. Wash and rinse moong dal properly.

Tempering

1. Take a thick bottomed pot or a pressure cooker and heat ghee in it.

2. Add cumin seeds and mustard seeds, roast them until they splutter.

3. Add hing, turmeric, green chilies, and ginger-garlic paste in the pot and sauté it for a minute at least.

4. Now add finely chopped onions, saute them until they become translucent and pink. Put tomatoes and cook them until they become soft.

5. Now add chili and coriander powder. Mix it all well.

Cooking

1. Once the tempering is done add finely chopped vegetables, soaked bajra, and rinsed moong dal in it. Stir and mix it well to coat everything in the spices.

2. Now pour the water in it, stir and add salt according to your taste and mix it well.

3. Now close the lid and pressure cook it for at least 5–6 whistles on medium flame, or cover and simmer it for at least 35–40 minutes until the grains and lentils are soft and porridge-like in texture.

4. Once you turn off the flame, let the pressure release naturally. If you think it is too thick, you can add a little hot water in it. Don’t forget to adjust the seasoning.

Finishing Touch

1. To enhance flavor, depth and richness stir in some extra ghee.

2. Garnish it with some finely chopped coriander. Finally, serve it sizzling hot, with jaggery and some spicy or sweet pickle.​

Nutritional Value of Bajra Khichdi (Per Serving)

NutrientsAmount (approx.)
Calories250–335 kcal
Protein11–14 g
Carbohydrates38–50 g
Fiber5.7–8 g
Fat6–9 g
Calcium35–40 mg
Iron3.5–4 mg
Magnesium70–74 mg
Folate59 mcg
Potassium466 mg
Cholesterol0 mg

Benefits Of This Superfood Bajra

  • It is gluten-free, rich in energy, and keeps your appetite full for hours.
  • It is packed with plant protein and a rich source of fiber and complex carbs for slow and sustainable energy.
  • Bajra is loaded with minerals for immunity, bone health, and stamina.

Frequently Asked Questions

1. What is Bajra Khichdi?

Answer: Well, Bajra khichdi is one of the traditional Rajasthani dishes made using pearl millet (bajra), moong dal, vegetables, pure ghee, and whole spices. It’s a wholesome bowl of comfort known for its warming properties and earthy flavors. Its impressive nutritional benefits attract fitness freaks.

2. Why is Bajra Khichdi eaten in winter?

Answer: Bajra is a grain that naturally generates warmth in the body and supports the digestive system. It keeps your stomach full for hours. That’s why it is a perfect meal for cold weather. It is rich in fiber, iron, and magnesium. It helps to boost strength, immunity, and overall stamina throughout the winter season.

3. Is Bajra Khichdi healthy?

Answer: Yes you heard right! Bajra Khichdi is considered a superfood meal. It is gluten-free, rich in complex carbs, high in protein from lentils, and packed with essential minerals. It supports gut health, boosts energy, and is great for people looking for nutritious, light, and satisfying meals.

4. Can I make Bajra Khichdi without soaking the bajra?

Answer: Well, technically it is not possible because bajra grains are tough when compared to other grains. It requires at least 6–8 hours of soaking or overnight cooking. When you soak it softens the millet, reduces cooking time, and improves digestion. If you soak grains they get softened. If you won’t soak the khichdi may turn out chewy and unevenly cooked.

5. How can I make Bajra Khichdi more flavorful?

Answer:
You can enhance its flavor by:

  • Adding more ghee during tempering or while serving
  • Using fresh ginger-garlic paste
  • Including vegetables like carrots, peas, and beans
  • Adding a spoonful of curd or a squeeze of lemon while serving
  • Pairing it with jaggery or pickle for a sweet-spicy balance

6. Can Bajra Khichdi be eaten for weight loss?

Answer:
Yes, it is a great meal that helps in weight loss. It has low fat, highly fibrous, and keeps your stomach full for a long time. It is the best way to reduce unnecessary snacking. It slowly releases energy, so that there’s no sugar spiking. 

7. Is Bajra Khichdi good for diabetics?

Answer:
Yes, it is absolutely good for diabetics. As bajra has a low glycemic index, and it actually helps to regulate blood sugar levels. Especially when it is combined with dal and vegetables, it becomes a wholesome, balanced and a diabetic-friendly meal. 

8. Can I make Bajra Khichdi without vegetables?

Answer:
Yes, you can make it just the way you want! In fact many households make bajra khichdi with basic ingredients like bajra, dal, ghee, and spices. Vegetables are optional but if you add them it enhances the taste, texture, and becomes even more nutritional.

Conclusion: Why Bajra Khichdi Belongs on Your Winter Table

Nowadays when there are so many diet plans followed by people out there. But do you know why? They spend so much money on forced diet plans. But bajra is the one spot solution that is highly nutritional. Bajra Khichdi is simple, powerful, rustic and modern. With every bite you can feel a nourishing story. Let’s cherish this tradition that’s carried from Rajasthan’s sandy dunes straight to your modern kitchen. You need to try it only then you will be able to experience the ultimate flavors. Your body will tell you how healthy it is. Let’s celebrate this winter superfood by trying an authentic Bajra Khichdi Recipe! For more winter superfood recipes stay tuned with us at Chefs Home Around!
Must Try: 7 Healthy One-Pot Meals in Under 20 Minutes

Tandoori Chicken Tacos: Indian Flavours in a Quick Weeknight Wrap

0
Tandoori Chicken Tacos

Talking about food fusions, Mexican cuisine rules our taste palette. Nothing excites foodies more than crispy, juicy and tangy chicken tacos! This Mexican favorite savory delight has won hearts across the world. From dining tables over the seas and Netflix binge watch sessions to busy Indian streets it is just everywhere. Why are they so popular? Tacos are quick, customisable, and flavorful snacks.

What if the Indian chef hidden in you takes the lead? Why to stop guys, let’s give this mexican treat a desi twist. How about the smoky magic of juicy tandoori chicken filled inside warm and crispy tortillas. Sounds tempting, right? That’s exactly how Tandoori Chicken Tacos were actually born. The ultimate blend of Indian spice and global comfort sets the bar high!

Why Chicken Lovers Can’t Resist These Tacos

Let’s be honest guys, chicken lovers never say no to tacos dripping with flavorful chicken juices! Chicken is soft yet juicy, easy to cook, and soaks up all the flavors in such a delicious way. When marinated with essential Indian tandoori spices including cumin, coriander and paprika powder along with garlic and ginger paste. That’s all it takes for the show stopper dish. You get so obsessed with chicken’s smoky edges, creamy chutneys, and soft taco shells that every bite feels like the star of the party or gathering. A blast of spices, tanginess, and freshness in the mouth.

These tandoori tacos truly bring the best of both worlds — Mexican ease with Indian heat. So now be carefree while cooking dinner or hosting a weekend get-together, because you will be serving flavors that are a total hit!

The Ultimate Tandoori Chicken Taco Recipe

Come on, let’s dive into the recipe and make this fusion magic happen in your kitchen.

chicken tacos

Ingredients

For the Tandoori Chicken Marinade:

  • 500g of boneless chicken (prefer thighs or breasts, cut them into strips)
  • ½ cup of thick yogurt (hung curd preferred)
  • 1 tbsp of minced ginger-garlic paste
  • 1 tbsp of tandoori masala
  • 1 tsp of red chili powder
  • 1 tsp of cumin powder
  • 1 tsp of coriander powder
  • ½ tsp of turmeric
  • 1 tbsp of lemon juice
  • 1 tbsp of mustard or vegetable oil
  • Salt according to taste

For the Taco Base:

  • 6–8 small tortillas (flour or corn)
  • 1 tbsp oil or butter

Toppings:

  • Sliced onions & finely chopped fresh coriander
  • Cucumber slices (Pickled or fresh)
  • Mint-coriander green chutney
  • Mango or tamarind sweet chutney
  • Shredded lettuce or cabbage for crunch
  • A dollop of fresh yogurt or raita

Preparation

1. Marinate the Chicken

Take a bowl and mix all the yogurt, ginger-garlic paste, tandoori masala, spices, lemon juice, oil, and salt into it. Add chicken strips and marinate it well.
Cover the lid and let it rest for approx 2 hours. You can let it rest overnight for flavor absorption.

2. Cook the Chicken

Oven/Grill: Preheat the oven to 200°C or 400°F. Put marinated baked chicken for at least 15 to 20 minutes until charred and cooked evenly.

Stovetop: Take a grilling pan or non-stick tawa and grease it with a little oil. Put chicken in it and cook it for 5-6 minutes each side on medium-high heat until it gets golden brown and smoky.

3. Warm the Tortillas

Lightly toast the tortillas on a pan with a brush of oil or butter. After toasting them, you need to keep them soft and warm. For that wrap them in a clean cloth to stay absolutely soft and warm. 

tacos

4. Assemble the Tandoori Tacos

Lay out a tortilla on a plate then place a few chicken strips in its center. Then put chopped onions, cucumbers, and cabbage over it. Finally drizzle these with fresh chutneys.
To top it up you can use fresh coriander and a spoon full of yogurt or raita for that cooling balance. Serve it hot and enjoy the explosion of unforgettable Indian flavors in every single bite!

Twists and Variations to Try

Paneer Tikka Tandoori Tacos: If you are a paneer lover, you can swap chicken for paneer. Your yummy vegetarian version is all set to eat.

Spicy Mayo Drizzle: You can mix mayonnaise with harissa or mint yogurt for a flavorful quick dressing that flips gives the dish an edge.

Add Crunch: Toss the tacos in roasted nuts and then with crispy fried onions for the extra crunch.

Indian Salad Twist: To make it more healthy you can add a spoonful of kachumber salad for freshness.

Low-Carb Option: You can use fresh lettuce leaves instead of tortillas for a vegan touch.

FAQs & Common Mistakes

Q1. Can I skip overnight marination of chicken?
Yes, you can skip the overnight marination but you will surely miss out on mouthwatering flavors. But you need to marinate it for at least 30 minutes so it absorbs the flavor. Just like the traditional slow cooking process, the longer you keep it marinated the juicier your chicken will become.

Q2. Can I make Tandoori Chicken Tacos without tandoori masala?
No worries, you can make it at your home. Mix coriander, cumin, turmeric, and chili powder along with some garam masala. That’s all your homemade spice mix is ready that just tastes like tandoori masala.

Q3. How to keep tortillas soft?
After toasting tortillas get hard if you keep it open in the air. To keep them soft and warm, wrap them into a clean cloth. Cloth traps the steam and keeps tortillas moist. 

Q4. Can I prepare the chicken early?
Yes you can cook chicken early and store it properly. It stays good in the fridge for at least 2 days. Just reheat gently before serving.

Q5. Which sauces go best in chicken tacos?
Desi sauces like mint and coriander’s green color chutney and mango tamarind chutney goes great in this Indo mexican delight.

Final Bite

So no more boring week nights. Now it’s time to enjoy Tandoori Chicken tacos. These are quick, hearty, and bursting with mouthwatering flavors. Perfect snacking option when your heart is craving for something smoky, spicy, creamy, and fresh. This Indo-Mexican fusion feels so familiar and exciting. So from now on whenever your brain will ask “what to cook?” your heart will scream Tandoori Chicken Tacos. What are you waiting for? Grab your tortillas, fire up the pan, and enjoy!!! For more Indian fusion recipes stay tuned with us at Chefs Home Around!
Must Check Recipe: 7 Healthy One-Pot Meals in Under 20 Minutes

Winter Warmers: 7 Healthy One-Pot Meals in Under 20 Minutes

0
Winter Warmers: 7 Healthy One-Pot Meals in Under 20 Minutes

Chilly winds start blowing when winters are around the corner. But the sun has some other plan and it just goes for a longer nap. This is when our kitchens become the heart of warmth and utmost comfort. People of several cultures celebrate the magical ritual of slow-simmered and hearty winter meals like an enchanting tradition. It was a beautiful way of preparing their body to fight back against winters.

Winter special one-pot meal recipes originated from Indian homes and global households are more than just a nutritional meal. They are the symbol of togetherness, a trail of precious stories shared over steaming bowls, and an unforgettable soul-soothing feeling of utmost comfort.

one-pot meal recipes

One pot meals are a perfect blend to cherish your brisk mornings, busy evenings and family dinners. You can enjoy this flavorful and convenient meal on weekends when your heart craves for something warm and wholesome. You can enjoy seasonal vegetables in a flavorful and convenient way. By saving your time and reducing cleaning stress it makes winter cooking simple, quick, and incredibly satisfying.

Why One-Pot Meals Are Winter Superstars

Get over the fads! One-pot meals are a lifestyle win, that is most needed especially in the winter season. When you need a fulfilling meal quickly and don’t want to spend hours in cleaning or juggling several pans, their convenience feels so great. Every satisfying and flavorful bite of this rich and cozy food comes from the slow blending of ingredients during slow cooking in a single pot.

Not only this, but these recipes also preserve the unmatched health benefits of winter’s best produce including root vegetables, legumes, greens, and warming spices. The best part is when all these ingredients are cooked together, essential nutrients get locked in. One-pot meals are no less than your winter kitchen’s best friend. For parents juggling meals and even a working professional rushing after work, this blog has 7 healthy one-pot winter warmer recipes to satisfy your cravings.

1. Spiced Lentil and Vegetable Stew

Ingredients:

  • 1 cup of rinsed red lentils (masoor dal)
  • 2 medium sized diced carrots
  • 2 diced celery stalks 
  • 1 finely chopped medium size onion
  • 3 minced cloves of garlic, 
  • 1 inch grated ginger
  • 1 tsp of turmeric powder
  • 1 tsp of ground cumin
  • 1/2 tsp of ground cinnamon
  • 1/2 tsp of red chili powder or paprika
  • 4 cups of vegetable broth (or water)
  • 2 cups of roughly chopped fresh spinach, 
  • 1 tbsp of olive oil or pure ghee
  • Salt and pepper according to taste
  • Fresh cilantro to garnish
  • Lemon wedges
Spiced Lentil and Vegetable Stew Recipe

Process:

  1. Take a large pot, add oil in it and heat it over medium heat. 
  2. Add onions, garlic, and ginger. Sauté until they get soft, pink and aromatic.
  3. Put turmeric powder, ground cumin, ground cinnamon, and chili powder in it. Mix it well and cook these spices for at least 1 minute.
  4. Put diced carrots and celery in it. Sauté for at least 3 minutes.
  5. Add rinsed lentils with vegetable broth in it and bring it to a boil. Then reduce heat and simmer it uncovered for at least 15 minutes or until lentils and vegetables don’t get tender.
  6. Add chopped spinach in it and stir it well. Cook for another 2 minutes until spinach gets wilted.
  7. For seasoning add salt and pepper to taste. Serve it hot! Top it up with fresh cilantro and a squeeze of lemon for a fresh and tangy punch.

2. Quinoa and Kale Winter Soup

Ingredients:

  • 1 cup of rinsed quinoa
  • 1 bunch of kale, (remove ribs and chop it finely)
  • 2 medium sized diced carrots
  • 1 medium size finely chopped onion
  • 3 cloves of minced garlic 
  • 1 tsp of dried or fresh thyme leaves
  • 6 cups of homemade vegetable broth
  • 2 tbsp of olive oil or pure ghee
  • Salt to taste
  • Freshly grounded black pepper

Process:

  1. Take a pot, heat it on a medium flame, add oil and toss onions and garlic in it until they get translucent and soft. 
  2. Add diced carrots in it and cook it well for at least 3 minutes.
  3. Add quinoa, broth, and thyme into it and stir well to mix. 
  4. Wait for a boil and reduce the flame. Simmer it for at least 12 minutes.
  5. Add finely chopped kale into the pot and cook it for 5 minutes, until kale gets tender.
  6. Season it with salt and pepper to taste. 
  7. Drizzle some extra olive oil and serve it hot.

3. One-Pot Brown Rice and Chickpea Pilaf

Ingredients:

  • 1 cup of rinsed brown rice, 
  • 1 can or (15 oz) of drained and rinsed chickpeas
  • 1 medium sized diced tomato, 
  • 1 medium sized finely chopped onion 
  • 3 cloves of garlic (minced well)
  • 1 tsp of cumin powder
  • 1 tsp of smoked paprika
  • 3 cups of homemade vegetable broth 
  • 2 tbsp of olive oil or ghee
  • Fresh finely chopped cilantro for garnish
  • Salt and pepper according to taste

Process:

  1. Heat olive oil in a large pot over medium flame.
  2. Add onions and garlic into it and sauté until they get slightly golden.
  3. Put diced tomato, cumin, and smoked paprika into it and cook for at least 2 minutes.
  4. Add brown rice and chickpeas in it and mix them well.
  5. Pour the broth, add salt and pepper and stir it well. 
  6. After one boil, cover it with a lid, reduce the heat and simmer it for 18 to 20 minutes, until the liquid gets absorbed and rice is cooked well.
  7. Open the lid and fluff rice using a fork. 
  8. Top it with fresh cilantro leaves before serving.

4. Hearty Tomato and Spinach Pasta

Ingredients:

  • 8 oz of whole wheat pasta (penne or fusilli as per choice)
  • 1 can or (14 oz) of diced tomatoes
  • 3 cups of fresh spinach
  • 1 medium sized finely chopped onion 
  • 3 cloves of garlic (minced well)
  • 1 tsp of dried basil or handful of finely chopped fresh basil leaves
  • 1/4 tsp of chili flakes 
  • 3 cups of homemade vegetable broth
  • 2 tbsp of olive oil
  • Salt and pepper according to taste
  • Parmesan cheese for garnish 
Tomato and Spinach Pasta Recipe

Process:

  1. Take a large pot, heat olive oil over medium flame. 
  2. Add onions and garlic, sauté them until they get aromatic and translucent.
  3. Add diced tomatoes and mash them well. 
  4. Season it with chili flakes, salt, and pepper. 
  5. Pour the broth in it and stir well to mix.
  6. Wait for a boil and reduce heat to medium.
  7. Add pasta and stir it occasionally.
  8. Cook it uncovered for at least 10-12 minutes to check if the pasta is al dente or not.
  9. Add spinach with basil leaves, mix it well and cook for 2 more minutes.
  10. Top it up with grated Parmesan cheese and serve it hot.

5. Chicken and Sweet Potato Curry

Ingredients:

  • 1 lb boneless chicken breast (cut into medium sized cubes)
  • 2 medium sized peeled and cubed sweet potatoes
  • 1 medium sized finely chopped onion
  • 3 cloves of garlic (minced well)
  • 1 inch of grated ginger 
  • 1 tbsp of curry powder
  • 1 can or 14 oz of coconut milk
  • 2 tbsp of olive oil or pure ghee
  • Salt and pepper according to taste
  • Finely chopped fresh cilantro leaves for garnish

Process:

  1. Take a pot, add oil in it and heat it over medium high heat. 
  2. Add finely chopped onions, minced garlic, and grated ginger into it and sauté until it gets softened.
  3. Put chicken cubes and cook until it gets slightly brown on all sides.
  4. Season it with curry powder and salt, mix well and cook for at least 1 minute.
  5. Put diced sweet potatoes and coconut milk into it and wait for a boil.
  6. Reduce the flame and cover with a lid. Simmer for 15 minutes until chicken is properly cooked and sweet potatoes get tender.
  7. Top it up with finely chopped cilantro leaves. Serve it hot.

6. Creamy Pumpkin and Lentil Risotto

Ingredients:

  • 1 cup of Arborio rice
  • 1/2 cup of red lentils
  • 1 cup of pumpkin puree
  • 1 medium sized finely chopped onion
  • 3 cloves of garlic (minced well)
  • 4 cups of warmed vegetable broth 
  • 1 tbsp of olive oil or pure ghee
  • 1 tsp of dried or fresh sage 
  • Salt and pepper according to taste
  • Grated parmesan cheese or nutritional yeast 

Process:

  1. Take a pot and heat olive oil over medium heat. 
  2. Add onions and garlic, saute until they get soft and translucent.
  3. Put rice and lentils into it, stir to mix.
  4. Add warm broth gradually, keep stirring continuously for at least about 15-18 minutes or until rice and lentils get tender.
  5. Add pumpkin puree and sage in it. Stir it well. 
  6. Season it with salt and pepper
  7. Top it up with Parmesan cheese or nutritional yeast.

7. Mushroom and Barley Winter Bowl

Ingredients:

  • 1 cup of pearled barley
  • 2 cups of sliced mushrooms
  • 1 medium sized finely chopped onion 
  • 3 cloves of garlic (minced well)
  • 1 tsp of dried or fresh thyme
  • 5 cups of homemade vegetable broth
  • 2 cups of chopped kale 
  • 2 tbsp of olive oil or pure ghee
  • Salt and pepper according to taste

Process:

  1. Take a pot, heat the oil over medium flame. 
  2. Add onion, garlic, and mushrooms in it. Saute them until they soften.
  3. Add barley and thyme, stir for at least 1 minute.
  4. Pour the broth, season it and bring it to boil. Reduce the heat and let it simmer for 30 minutes.
  5. Add chopped kale in the last 5 minutes, let it cook until it wilts.
  6. Adjust the seasoning if needed and serve it hot.

Tips for Perfect One-Pot Meals Every Time

Taste depends on how you layer the ingredients. Always start with aromatics, then add grains and legumes in it. Once done add liquids and finish it up with delicate fresh greens or creamy add-on ingredients. 

You can also use winter special spices like cumin, cinnamon, nutmeg, and cloves to warm the palate. Add seasonal vegetables to elevate flavors and make it nutritional.  Ensure that every bite is comforting and nourishing. Are you ready to bring out your biggest pot? Roll up your sleeves and indulge into these healthy winter warmers. For more one-pot meal recipes or quick dinner recipes, stay tuned with us at Chefs Home Around.

Must Check Recipe: Boost Immunity: Superfood Smoothies to Sip This Winter

Boost Immunity This Winter: Easy Recipes Packed with Vitamins

0
winter recipes

Hey foodies, winters are around the corner and you might have started looking for healthy and delicious winter special immunity boosting recipes. There’s one thing you should keep in your mind while surfing and shortlisting recipes and that is nutritional value. Ignoring health quotients might lead to frequent health issues in chilly winters. This is where you need to look for Vitamin rich winter recipes. In this blog we will be exploring some of the winter special recipes that are almost forgotten now. Let’s dive into the blog.

Rediscovering Winter Wellness: Lost Recipes from Around the World

Let’s start from this chilly white season and its culinary treasures. Winter’s flashbacks overwhelm us with its beauty. Those soft blankets, bowl of warm soup, and general yearning for comfort, everything feels so captivating. All of these come associated with the idea of comfort, but winter also invokes the sense of care and wellness. 

soups
Must Try Recipe: 5 Sizzling Sri Lankan Recipes

As a die hard foodie and traditional flavors lover, I have always been impressed with culturally celebrated nourishing immunity boosting recipes for winter season. Unfortunately, these culinary treasures are left behind. Someone has to find them or they will get lost soon.

So let’s revive them! Let’s bring back these lost recipes that remind us that wellness often starts in the kitchen.

Why Talk About Lost Recipes?

You might be wondering why we choose lost recipes. In today’s busy world, we’ve unknowingly drifted away from the foods our ancestors swore by years ago. Traditional winter recipes were way beyond taste, they were smartly created to keep our bodies warm, strong, and energized during the cold months. 

By using local, seasonal ingredients, these dishes were full of natural vitamins, spices, and goodness you can amplify the flavors of these lost treasures. By reviving these forgotten recipes, we’re not only cooking something nostalgic but are also reconnecting with food that heals us internally, feels like all time comfort, and brings us way too close to our roots.

1. Russian Borscht – Beetroot and Cabbage Immunity Soup (Vegetarian)

Why it Boosts Immunity:

It is a rich source of vitamins A & C. This winter special lost recipe is made with beetroot, cabbage and carrots, packed with folate and essential antioxidants. It is just like a fermented sour cream that is generally served along with probiotics.

Ingredients:

  • 2 medium size peeled and grated beetroots
  • 1/2 small size shredded cabbage
  • 2 medium size grated carrots
  • 1 medium size finely chopped onion
  • 2 tomatoes, peeled and diced well
  • 3 cloves of garlic (minced well)
  • 6 cups of homemade vegetable broth
  • 2 tbsp of sunflower oil
  • 2 tbsp of tomato paste
  • 2 bay leaves
  • Salt & pepper to taste
  • Fresh dill and sour cream to garnish

Process:

  1. Take a large pot, heat oil in it on a medium flame. Add sauté onions and garlic, until they get soft and pink.
  2. Add grated beets, carrots, and cabbage in it. Cook for at least 5 minutes stirring continuously.
  3. Put tomato paste, tomatoes, bay leaves, salt and pepper to taste into it and stir it well to mix.
  4. Pour in homemade vegetable broth and bring it to a boil. Lower the heat and simmer it for at least 25 minutes.
  5. Remove the bay leaves from it. Garnish with fresh dill and a dollop of sour cream. Serve it hot. 

2. Korean Samgyetang – Ginseng Chicken Soup (Non-Vegetarian)

Why it Boosts Immunity:

Ginseng is a well-known adaptogen that not only increases immunity but also boosts stamina. It’s no less than a wintertime powerhouse when paired with jujube, garlic, and an entire piece of chicken.

Ingredients:

  • 1 small piece of young chicken (Cornish hen)
  • ½ cup of soaked glutinous rice
  • 3-4 cloves of garlic
  • 2-3 slices of fresh ginger
  • 4-5 dried jujubes (red dates)
  • 1 small ginseng root (or powder if fresh if unavailable)
  • 6 cups of water
  • Salt and black pepper to taste
  • Spring onions and sesame seeds for garnish

Process:

  1. Take the piece of chicken, stuff its cavity with soaked rice, garlic, ginger, and jujubes.
  2. Keep the chicken in a large pot, pour some water then add ginseng in it.
  3. Bring it to the boil. Skim the foam, cover and simmer it for at least 1.5-2 hours until the meat gets tender.
  4. Season it with salt and pepper according to your taste. Garnish it with finely chopped spring onions and sesame seeds. Serve it hot!

3. Ethiopian Atmit – Nut and Grain Porridge (Vegetarian)

Why it Boosts Immunity:

Whole grains and nuts are a rich source of fiber, protein, healthy fats, and minerals essential to keep your body fit and healthy in winters.

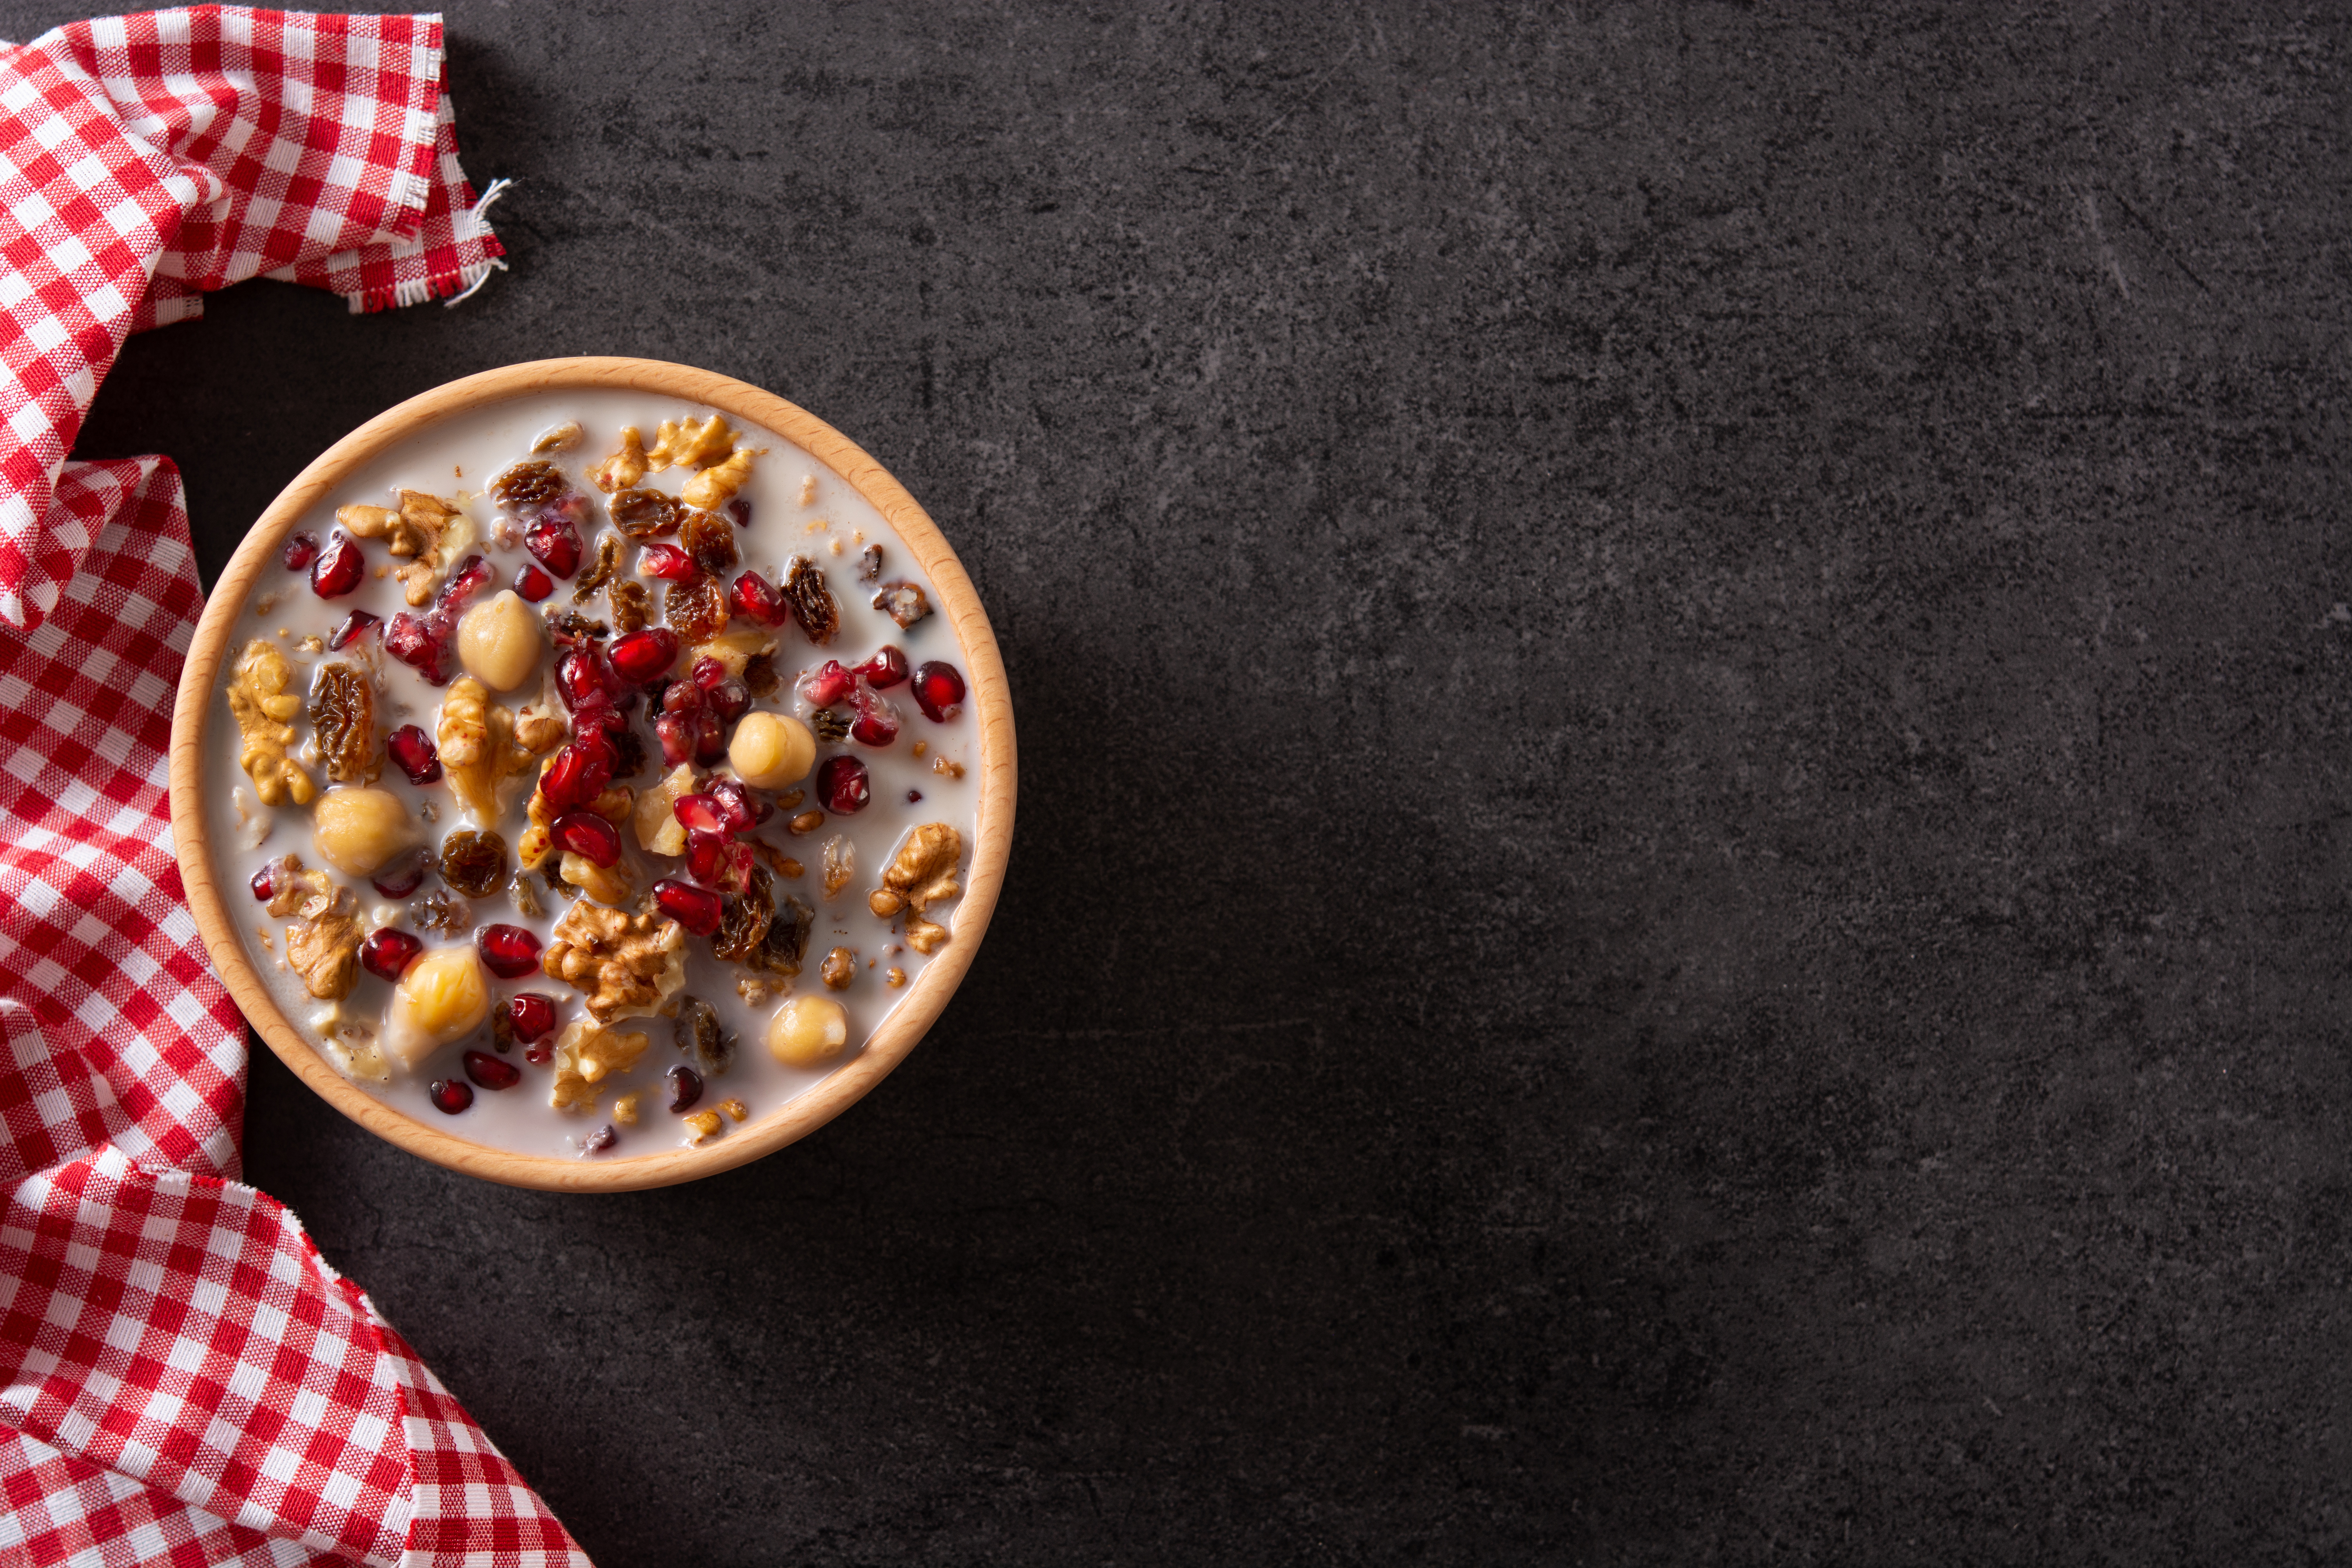
Nut and Grain Porridge Recipe

Ingredients:

  • 1 cup of cracked wheat or barley
  • 1/4 cup of chopped almonds or peanuts
  • 1/4 cup of flaxseeds
  • 3 tbsp of powdered fenugreek seeds (methi)
  • 1 tbsp of honey or date syrup
  • 3 cups of water or milk
  • Cinnamon powder to taste

Process:

  1. In a dry pan, roast the cracked wheat and nuts lightly on a low flame until aromatic.
  2. In a pot, combine toasted grains, nuts, fenugreek powder, along with water or milk.
  3. Cook it on medium heat, stir frequently for at least 15 minutes until the porridge gets thick.
  4. To sweeten it, use honey. Sprinkle cinnamon powder before serving hot.

Conclusion: Rediscovering the Lost Healing Power of Traditional Recipes

These lost recipes from around the world offer several flavors and health benefits in their ultimate quest for natural immunity this winter season. These recipes use healthy local ingredients and centuries of wisdom, that’s how these recipes reconnect us to the past.

These also remind us that good food has the power to heal deeply by nourishing our bodies, warming our hearts, and reconnecting us to traditions that are abundant in health and taste. Stay healthy and for more winter healthy food recipes like this, stay tuned with us at Chefs Home Around!
Must Check Recipe: Gajar Ka Halwa: The Sweet Symphony of Indian Winters

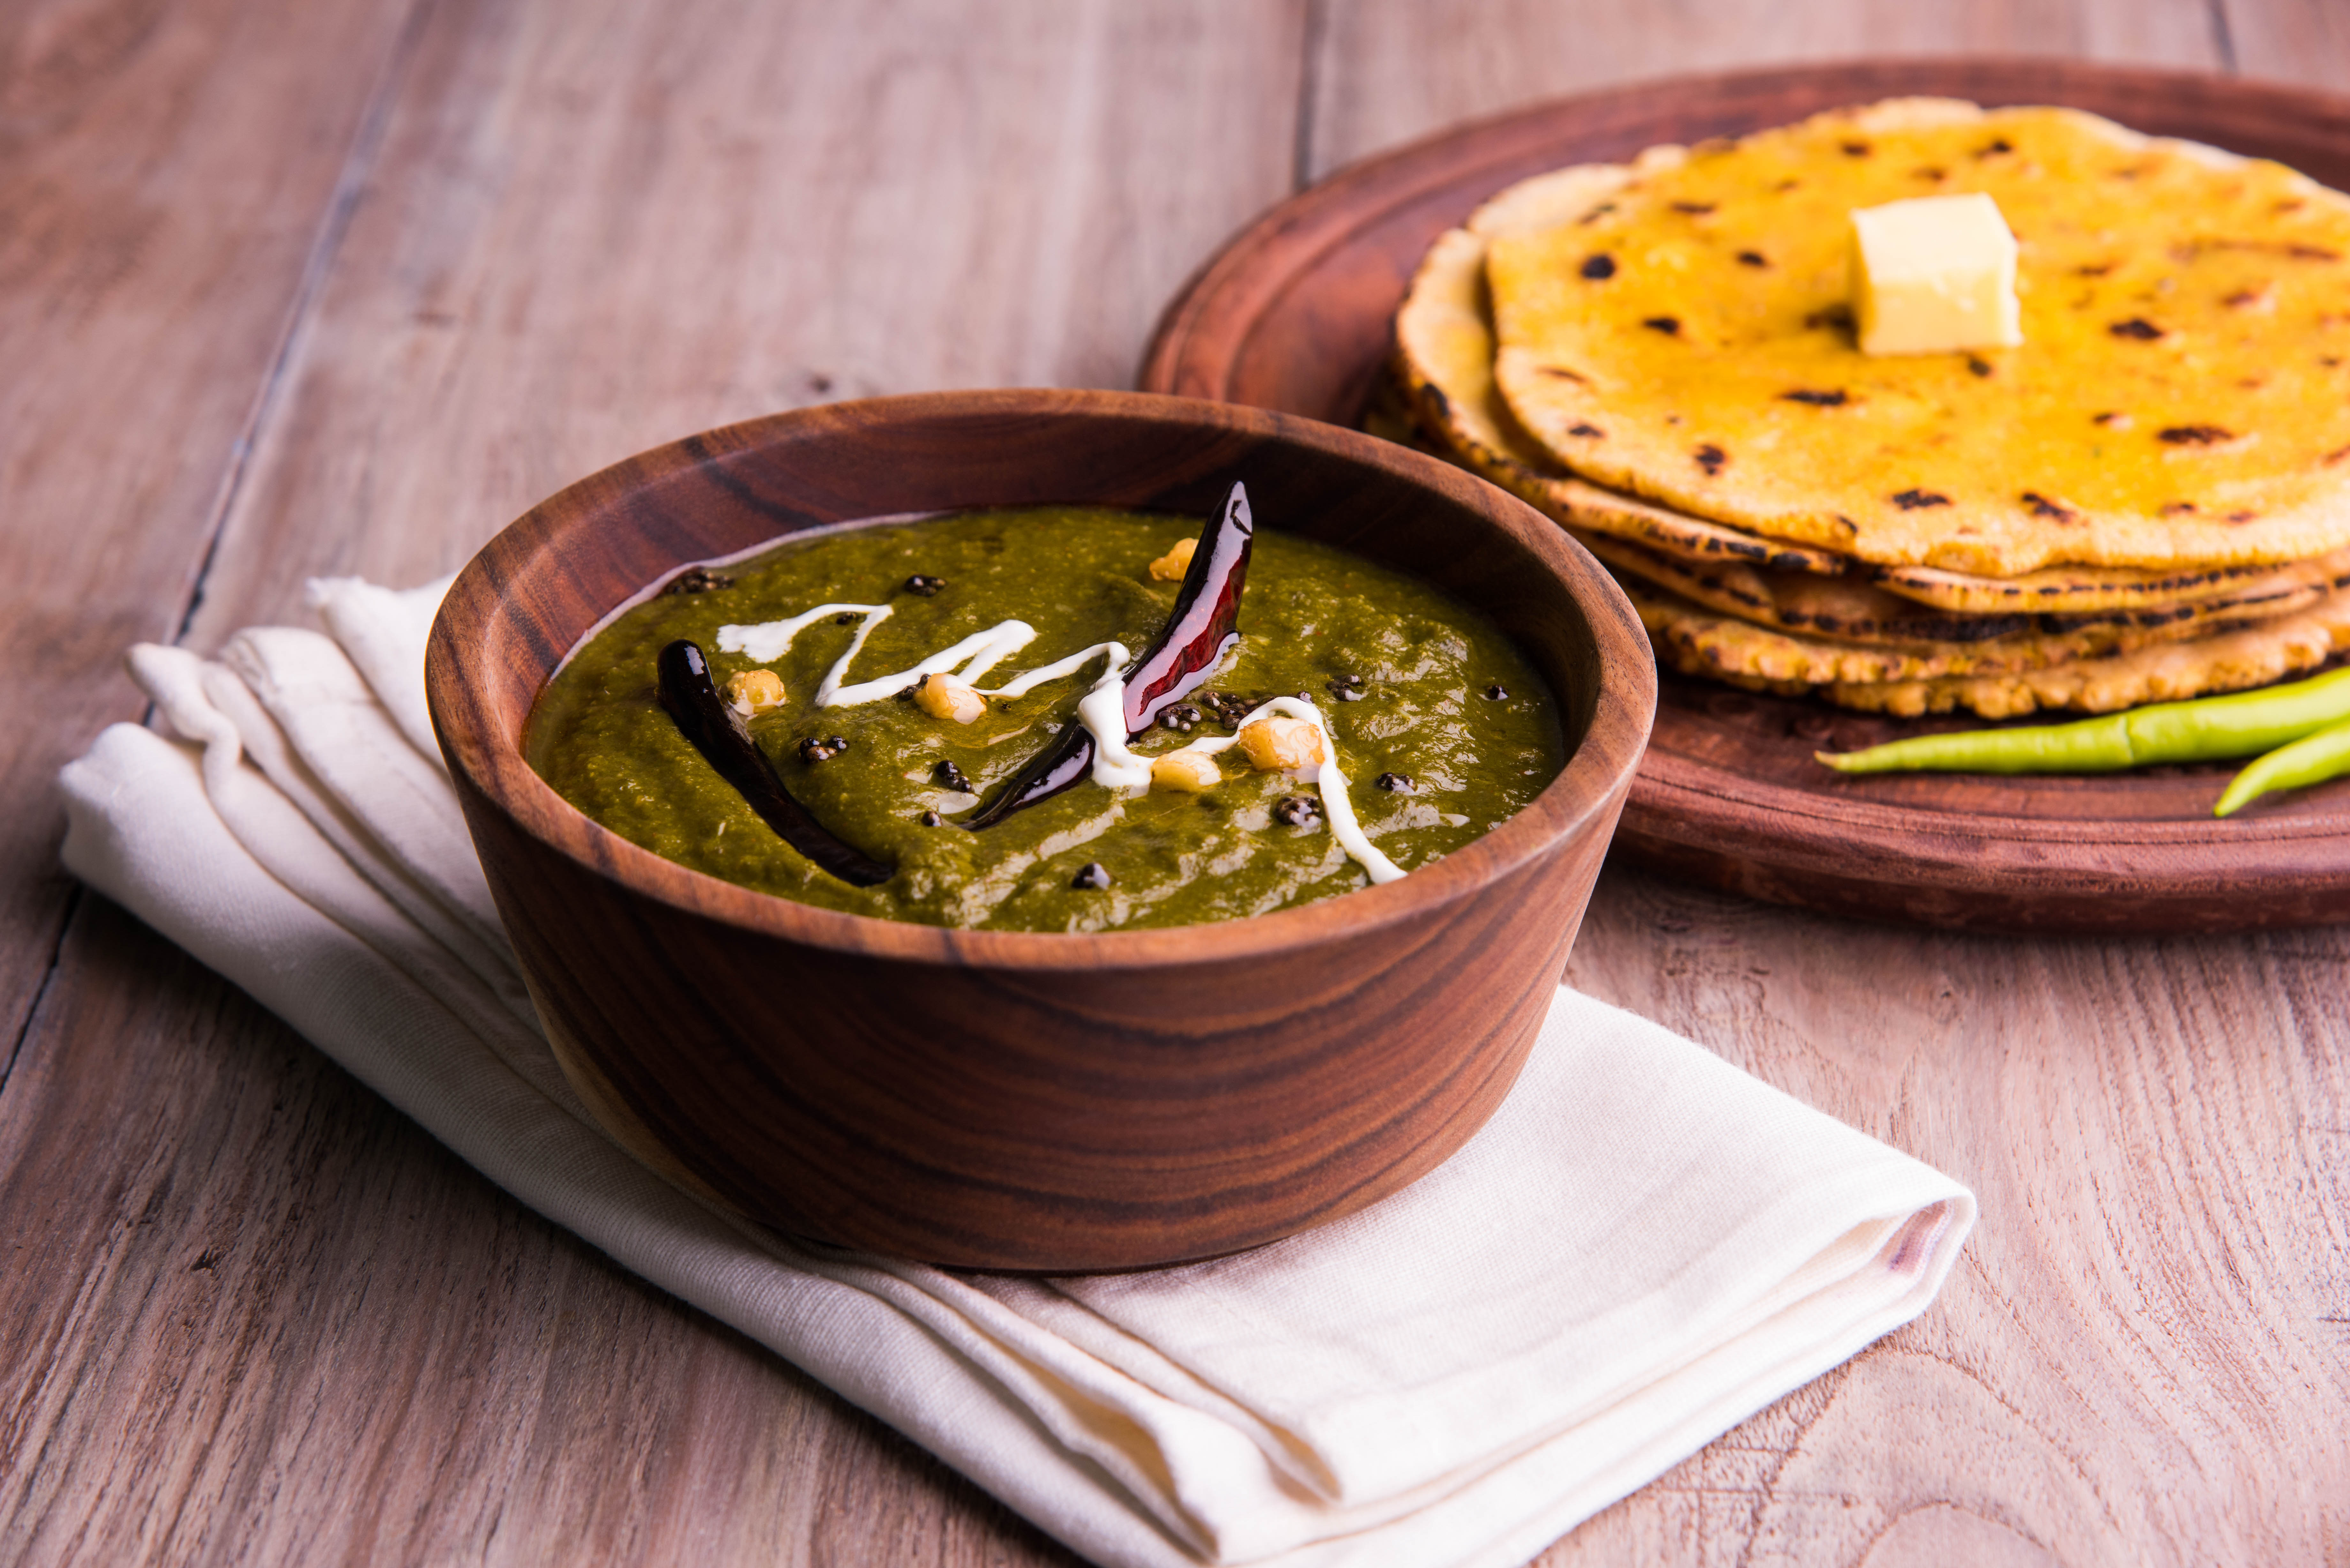
Sarson Ka Saag and Makki Ki Roti: A Punjabi Winter Feast 

0
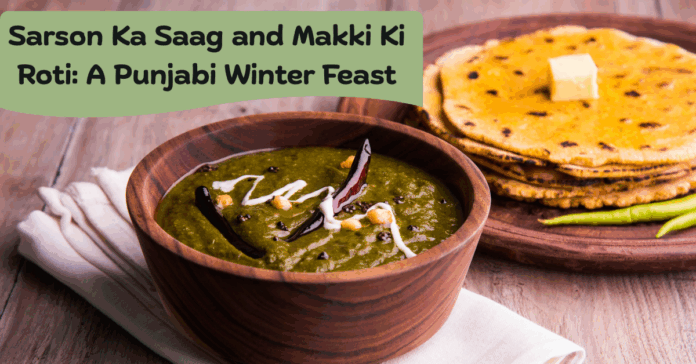
Sarson Ka Saag and Makki Ki Roti

Oh ji, as soon as winter descends in Punjab, there’s one thing that tunes in like dhol in every single punjabi heart. You can feel Sarson Ka Saag and Makki Ki Roti in the air! After all it’s not any ordinary meal, yaar! It’s an earthy celebration in every single bite. Wrapped in the farm-fresh mustard greens served with the golden maize bread, It is truly the soul of Punjabi winters. This heavenly combo is loved for generations. Let’s dive into the mouth watering and soulful Makki ki roti and Sarson ka Saag recipe. 

Sarson Ka Saag – The Golden Mustard Symphony

From vast mustard fields stretching as far as the eye can see, those hardy sarson dainty leaves are hand picked fresh and that is where the magic begins. The whole family used to sit together for the slow, memorable and  loving preparation of the saag. It’s not just cooking; it is a ritual. The aroma of fresh saag wafting through the home feels like heaven on earth. It can bring even the busiest soul to the kitchen. Here’s the ultimate Sarson Ka Saag recipe!

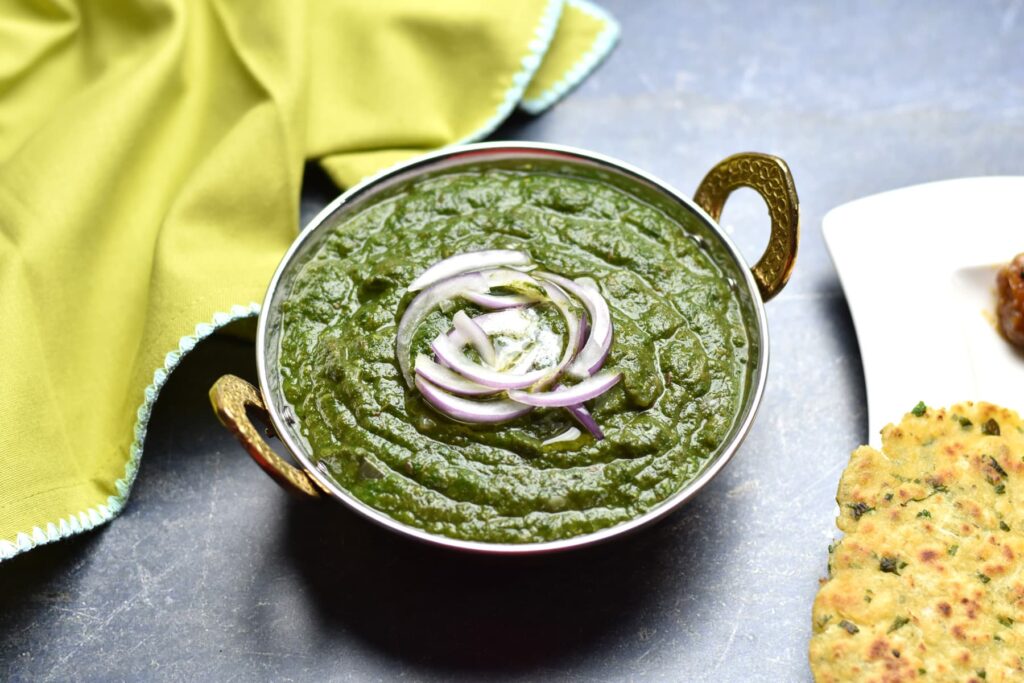
Sarson ka Saag


Sarson Ka Saag Recipe (Authentic Punjabi Style)

Ingredients:

  • 2 bunches of fresh mustard leaves (sarson ke patte)
  • 1 bunch of fresh spinach (palak)
  • ½ bunch of fresh bathua leaves (enhances taste)
  • 1/2 bunch of fenugreek leaves (methi) 
  • 3-4 finely chopped garlic cloves 
  • 1 inch finely chopped or grated ginger
  • 3-4 finely chopped green chilies 
  • 1/2 finely chopped onion
  • 1 tsp of turmeric powder (haldi)
  • 1 tbsp of cornmeal (makki ka atta)
  • Salt and black pepper to taste
  • 2-3 tbsp of pure ghee or mustard oil

For the Tadka (Tempering):

  • 2 tbsp of pure ghee
  • 2-3 finely chopped garlic cloves 
  • 1 finely chopped small onion
  • 1-2 broken dry red chilies
  • 1/2 tsp of asafoetida (hing)
  • 1 tsp of coriander powder (for flavor)
  • 1 tsp of garam masala 

Procedure:

  1. Prepare the greens: First of all properly wash mustard, spinach, bathua, and methi leaves thoroughly. Wash and rinse several times to remove all the dirt. Then chop them finely.
  2. Cook the greens: Take a pressure cooker or a large pot, put chopped greens, garlic, ginger, green chilies, turmeric powder, salt and black pepper to taste, and a little water (around 1 cup) in it. Pressure cook it for at least 4-5 whistles.
  3. Mash and thicken: Once cooked and soft, mash the fresh greens coarsely with a masher. You can also use an immersion blender for slight smoothness. Well, authentic saag has texture, that’s what Punjabis love.  
  4. Simmer, art of slow cooking: Put the blended puree and cornmeal (makki ka atta) in the pot or cooker and simmer the mixture for at least 5-10 minutes until it gets thick.
  5. Prepare tadka: Take a pan, heat ghee in it, put chopped garlic and sauté it until golden. Add onions and dry red chilies in it and saute well. Add asafoetida, coriander powder, and garam masala in it, mix well. Cook until onions get caramelised and spices release aroma.
  6. Combine: Pour this sizzling hot tadka over the saag and mix it well. Cook it for another 5 minutes on low flame.
  7. Serve: Serve it hot. Top it with a dollop of white butter or pure ghee accompanied by makki ki roti.

Makki Ki Roti – The Royal Cornbread

What’s the point of having saag without Makki Ki Roti? Believe me, these aren’t ordinary rotis. These are delicious, dense, hearty, and made of golden cornmeal. Making this flatbread takes skill and patience and that’s not a cinch. 

This golden dough is rough, the rotis are thick and textured, and they cook slowly on a cast-iron tava until they get a perfect toasted crust along with a buttery softness inside.

Here’s the fun part, rolling them out takes some muscle! Here’s the tempting Makki ki roti recipe.

Makki Ki Roti Recipe (Cornmeal Flatbread)

Ingredients:

  • 2 cups of cornmeal (makki ka atta)
  • Luke warm water (as needed to knead)
  • Salt and black pepper to taste
  • Pure ghee or butter 

Procedure:

Make dough: Mix cornmeal and salt to taste in a bowl. Slowly add warm water and knead it gently until it gets soft and clayey. Cornmeal is gluten-free, so the dough will not be stretchy. It will be flaky and sticky. 

Shape rotis: Divide the dough into lemon-sized balls. Place the dough on a clean flat surface and cover it with a plastic sheet or use a flat thick cloth. Then flatten it gently into a round shape roti (this technique is important to prevent roti from breaking).

Cook roti: Heat a cast iron tava or skillet on medium flame. Transfer the flattened roti very carefully onto the hot greased tava. Then cook one side for at least 1-2 minutes until it gets light brown colored spots on it. Flip it carefully and cook it on the other side as well. Apply ghee on both sides while cooking. Press the edges gently with a spatula.

Serve hot: Serve hot and crispy makki ki roti with dripping ghee or white butter. Pair it with sarson ka saag, and keep raw onions or jaggery as a side.

saag or makki di roti

Health Powerhouse in Punjabi Style

Everybody knows Punjabis don’t compromise on taste nor do they do it on health. Health is an essential part of this yummy story here. Fresh Sarson greens are packed with vitamins A, C, iron, calcium, and fiber. On the other hand Makki ki roti is rich in carbohydrates and fiber. Let’s have a look at their nutritional values:

NutrientSarson Ka Saag (100g serving)Makki Ki Roti (1 medium roti ~ 60g)
Calories64-150 kcal200-220 kcal
Carbohydrates4.3 – 9 g40-45 g
Dietary Fiber2.2 – 3 g5-6 g
Sugars1 – 4 g1-2 g
Protein1.9 – 4 g5-6 g
Fat4.3 – 12 g (mostly from ghee or oil added)2-4 g (with ghee/butter, can be higher)
Saturated Fat1 – 4 g0.5 – 1 g
Cholesterol0-10 mg (due to ghee/butter)0 mg
Vitamin A360 – 4780 μg (very high, from mustard greens)Negligible
Vitamin C1 – 25 mgNegligible
Calcium60 – 180 mg10-30 mg
Iron1 – 2.4 mg1-2 mg
Potassium~196 mg150-200 mg

The Showstopper – Punjab’s Winter Love Letter

So, when winter calls, Sarson Ka Saag always says “Welcome, yaar!” just the way you want. For more healthy recipes, and unforgettable savoury delights stay tuned with us at Chefs Home Around!
Must Check Recipe: Boost Immunity: Superfood Smoothies to Sip This Winter

Boost Immunity: Superfood Smoothies to Sip This Winter 

0
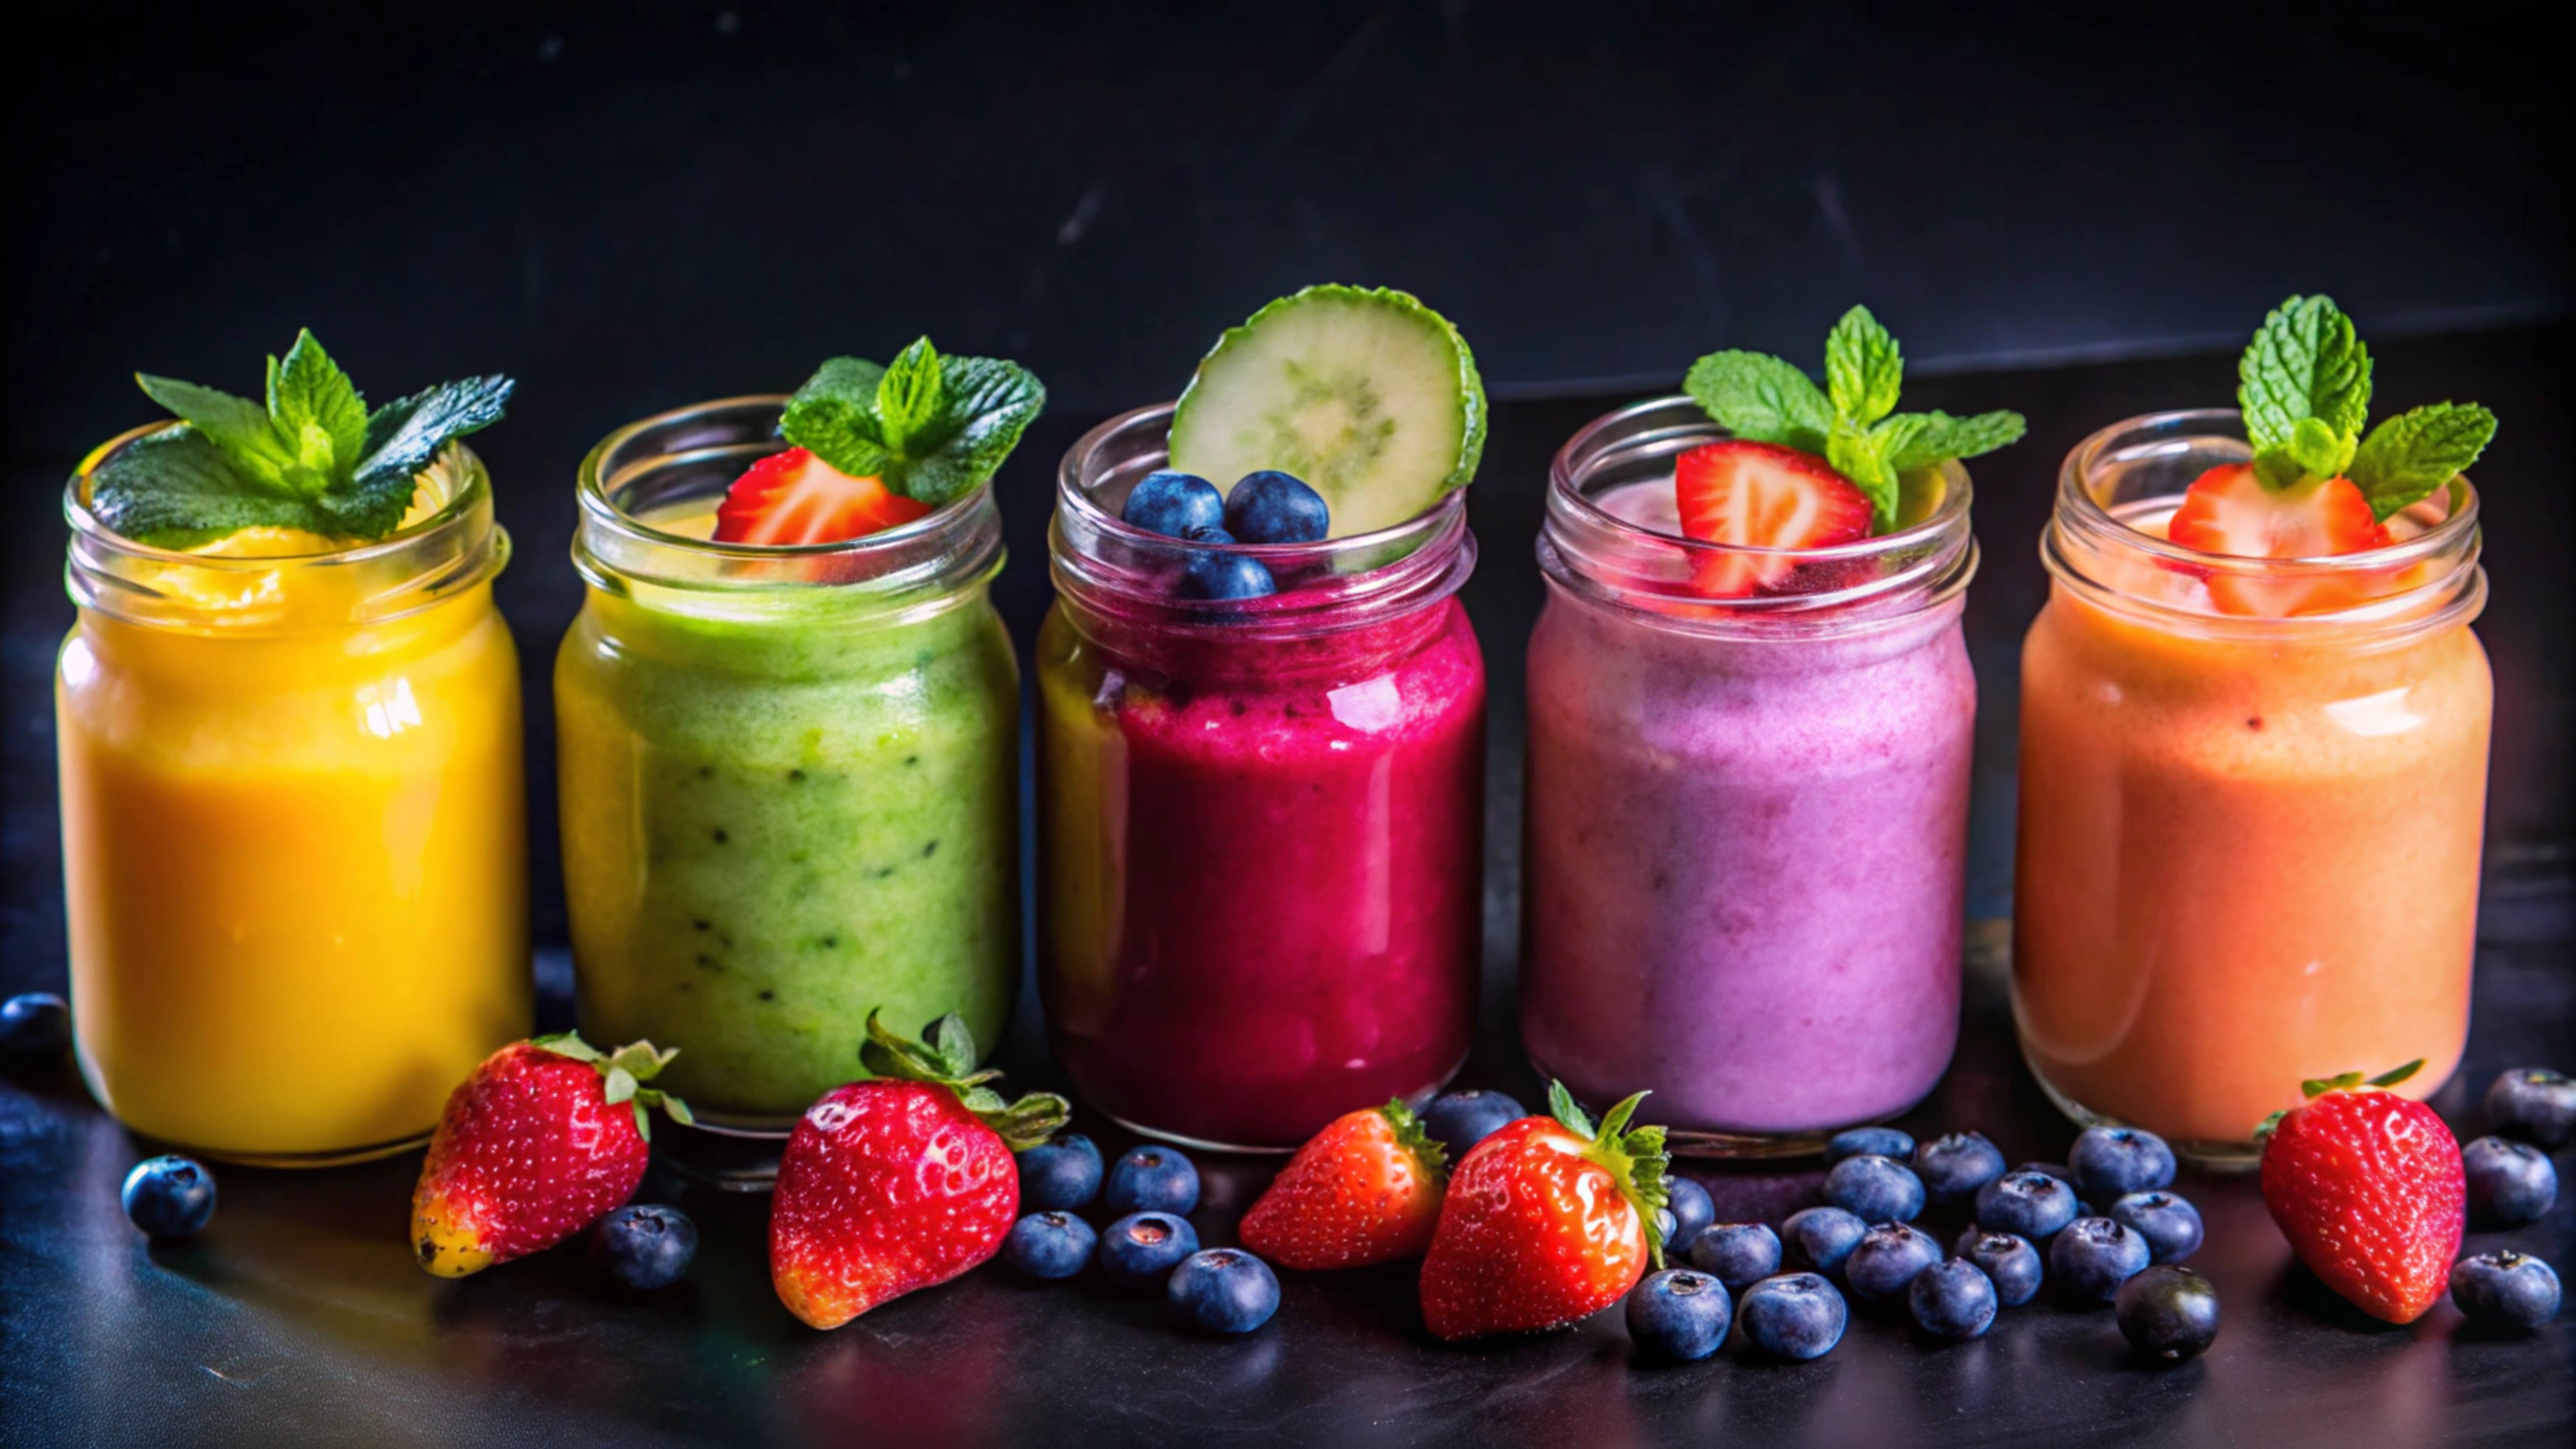
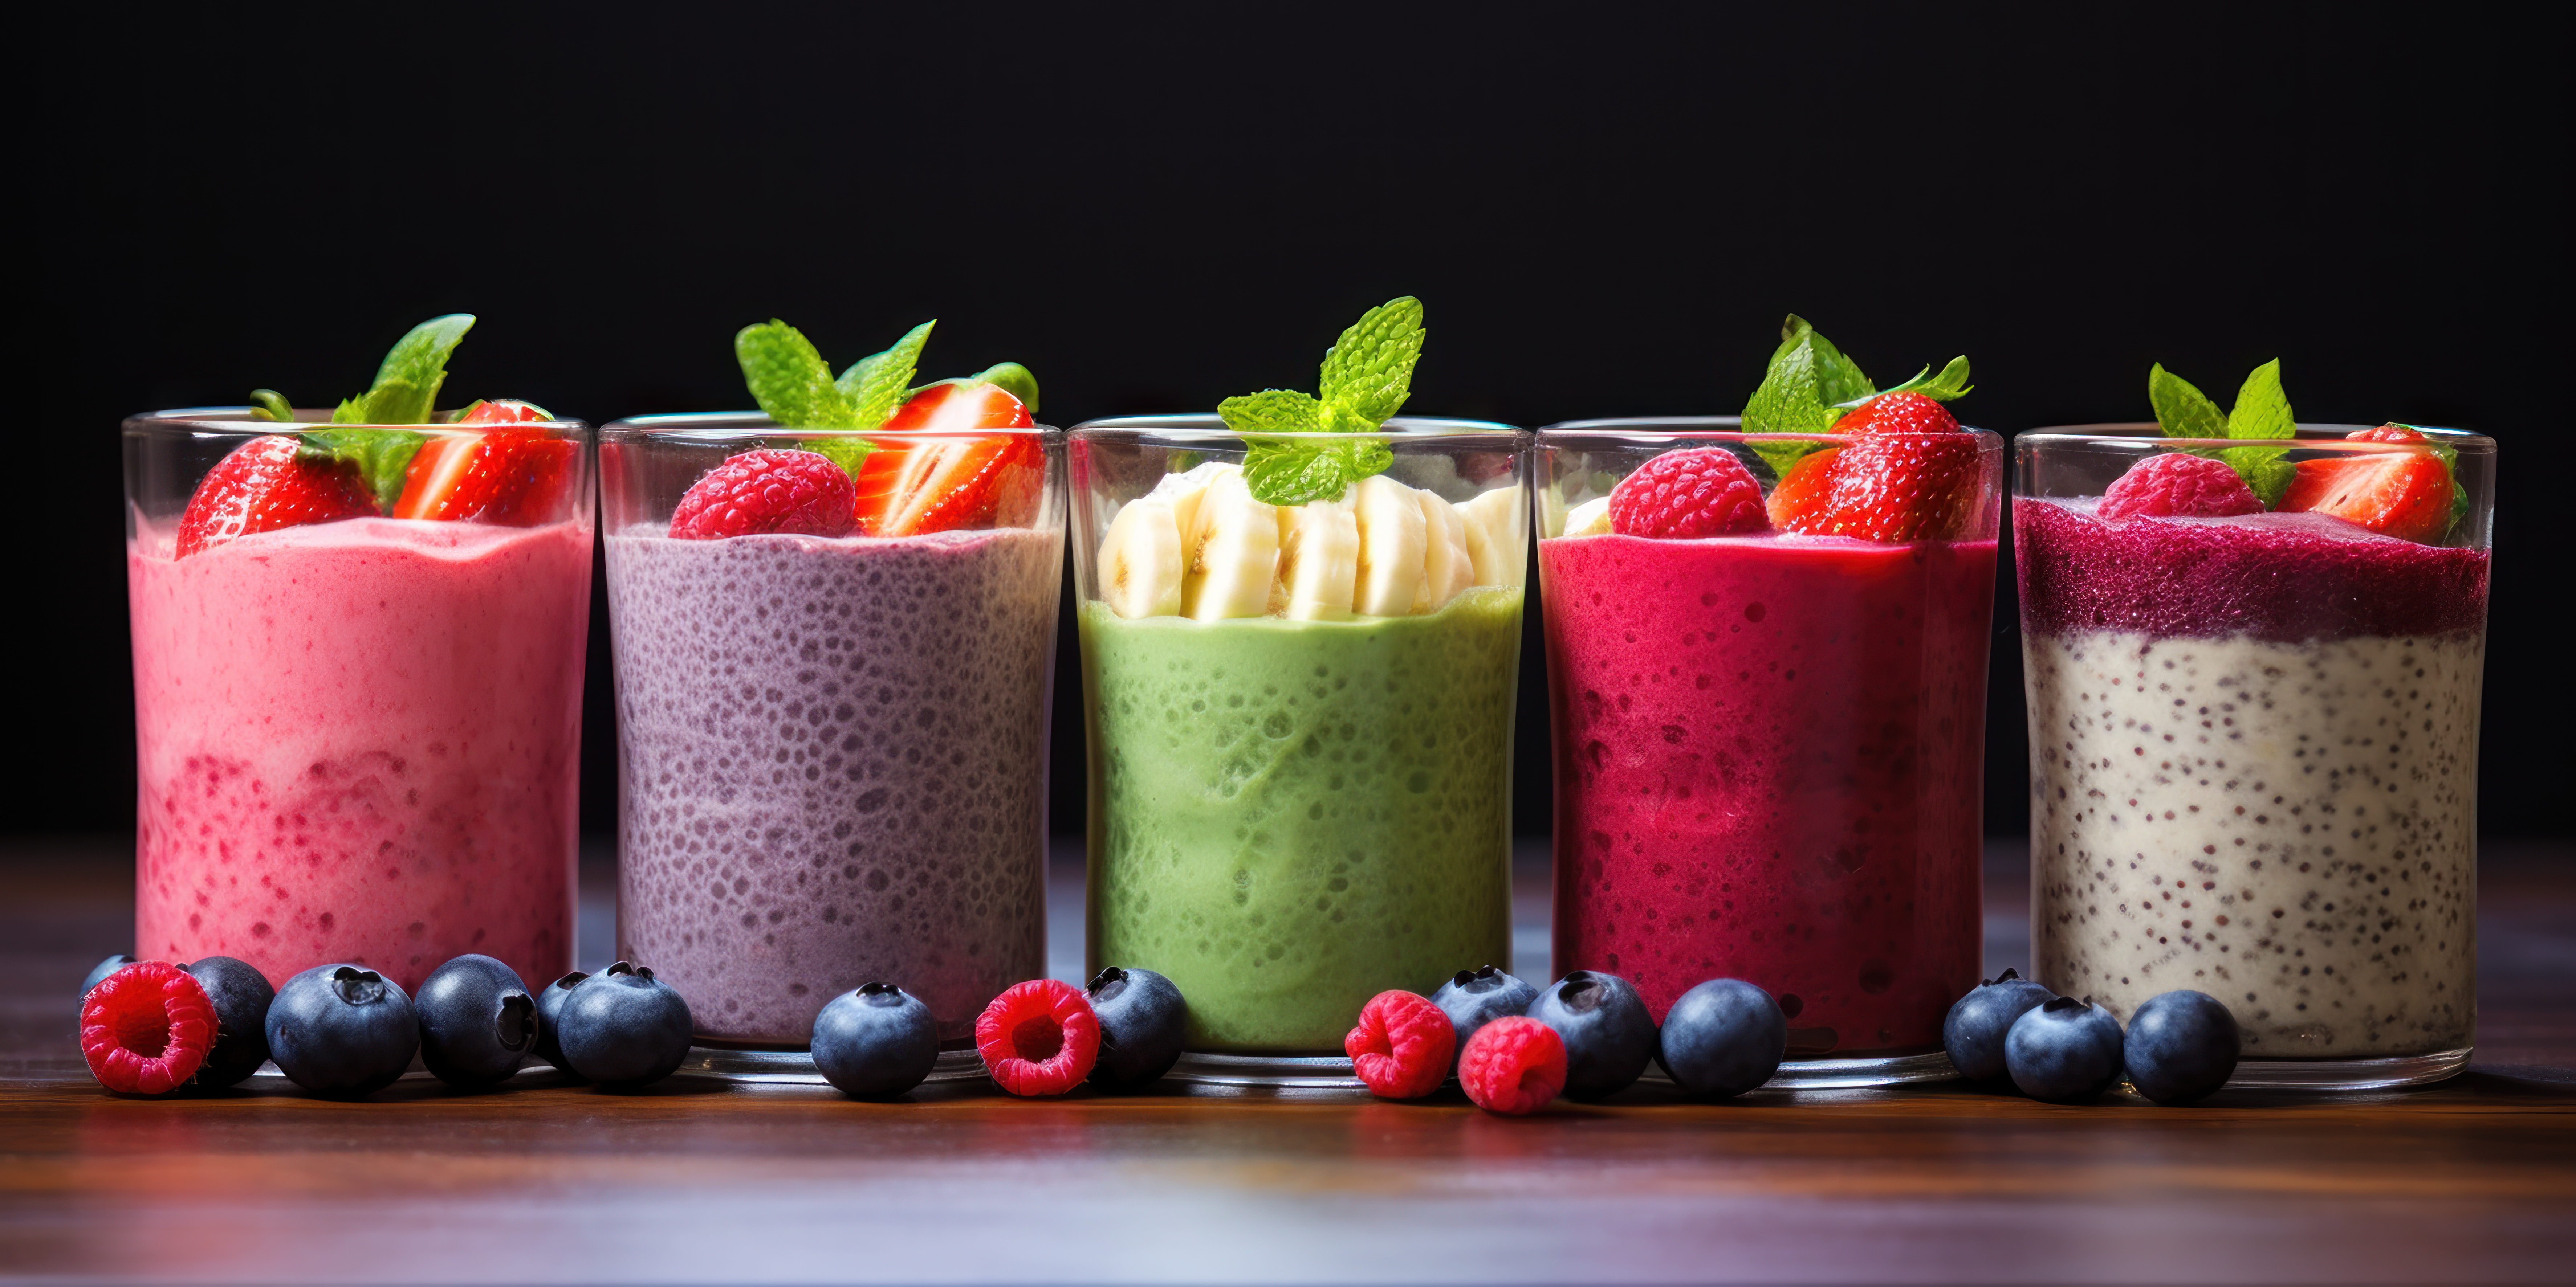
Superfood Smoothies to Sip This Winter to boost immunity

Winter is knocking on the door, but it comes along with the cozy blankets, warm fires, and infamous yet unforgettable sniffles. This chilly phase of every year puts our immune systems at work. That is how it becomes even more important to fuel our bodies with the right nutrients in the right ratio. 

No more bland drinks, it’s high time to swap those heavy winter meals for vibrant, nourishing and nutrient-dense sips. These healthy smoothie recipes not only energize but it also keeps your defenses strong. 

So, all the die-heart foodies, line up here! In this blog we will be exploring 5 delicious secret superfood smoothies that not only taste like heaven but also act like a powerful punch for your immunity.

Why Superfood Smoothies? The Immunity Boost in a Glass

What makes smoothie the ultimate convenience food? Well, they are quick to make, easy to consume, keeps you full and endlessly customizable. By simply packing them with superfoods including ingredients loaded with antioxidants, vitamins, and minerals you create a great powerhouse of your health.

smoothies

Foods rich in Vitamin C, zinc, probiotics, and omega-3 fatty acids help to fight back colds, flu, and fatigue, especially in the winter season. Why to sip drinks with artificial flavors or eat oily heavy snacks when you can sip something really creamy and chilled, loaded with goodness of tropical fruits, leafy greens, nuts, and spices like turmeric and ginger. Doesn’t it sound like sending a soul nourishing care package to your immune system?

Winter’s Superfood Stars to Stock Up On

Before we explore immune-boosting drink recipes, let’s check out superstars of the season:

  • Citrus Fruits: Citric fruits like Oranges, lemons, and kiwis. These are no less than the goldmines of vitamin C. They not only boost white blood cells but also help to fight free radicals.
  • Berries: Then we have several types of berries including Blueberries, strawberries, and raspberries. These are rich sources of antioxidants and a natural solution to reduce inflammation.
  • Leafy Greens: Let’s move on to greens like spinach and kale packed with the goodness of iron, folate, and essential vitamins like vitamin A, C, and K.
  • Turmeric & Ginger: Then we have warming anti-inflammatory roots that enhance immunity so well. They also soothe our throat when infected.
  • Yogurt or Kefir: These are essential ingredients that are rich in probiotics. These are good to balance gut flora. Probiotics play a very essential role in boosting immunity.
  • Nuts and Seeds: Nuts are a must have in the winter season. Nuts and seeds like almonds, chia seeds, and flaxseeds give protein, fiber, and healthy fats that keep you full and energetic throughout the day.
  • Honey: A natural antimicrobial sweetener that eases coughs and soothes mucous membranes.

Now that you know our star ingredients, let’s blend these into some wonderful and healthy smoothie recipes that bring body and soul together.

1. Citrusy Immunity Booster

Ingredients:

  • 1 peeled orange 
  • ½ juiced lemon
  • 1 peeled kiwi 
  • 1 cup of spinach
  • 1 tbsp of chia seeds
  • 1 tsp of honey
  • ½ cup of coconut water or plain water
  • Few ice cubes (optional)

How To Make Citrusy Immunity Booster Smoothies?

  • Chop the orange, remove the seeds. 
  • Slice kiwi 
  • Take a blender, add the citrus fruits, lemon juice, spinach, chia seeds, honey, coconut water, and ice cubes (optional) into it.
  • Blend all the ingredients on high speed until they get smooth and frothy.
  • You can add more honey if desired.
  • Your refreshing vitamin C-rich immunity drink is ready, serve it immediately. Sip it slowly and enjoy the zing!

2. Berry-Ginger Power Shake

Ingredients:

  • 1 cup of fresh or frozen mixed berries 
  • ½ cup of Greek yogurt or kefir
  • 1 tsp of grated ginger
  • 1 tbsp of flaxseeds
  • 1 tbsp of honey or maple syrup
  • ½ cup of almond milk
  • Ice cubes (optional)
berry smoothies

How To Make Berry-Ginger Power Shake?

  • To start with measure berries, grate the ginger, and soak flaxseeds for about 10 minutes.
  • Take  a blender and add mixed berries, Greek yogurt or kefir, honey, almond milk, grated ginger, flaxseeds, and ice cubes (optional) into it.
  • Blend all the ingredients thoroughly until they get creamy and smooth.
  • To adjust the sweetness add honey or maple syrup according to taste.
  • Your antioxidant and probiotic-rich shake is ready, pour it into a glass and enjoy as a post-brunch delight!

3. Golden Glow Smoothie

Ingredients:

  • 1 sliced banana
  • 1 cup of fresh or frozen mango cubes
  • ½ tsp of fresh grated turmeric or turmeric powder
  • ½ tsp of cinnamon
  • 1 tbsp of almond butter
  • 1 cup of oat milk (dairy milk)
  • 1 tsp of honey or jaggery

How To Make Golden Glow Smoothie?

  • Take a blender, put banana, mango, turmeric powder (black pepper to taste), almond butter, oat milk, cinnamon powder, and honey or jaggery into it.
  • Blend all the ingredients until you get silky and smooth consistency.
  • You can tweak it for sweetness or spice.
  • Your anti-inflammatory winter treat is ready, serve it immediately, top it with some mango juice or mango jelly. 

Must Try Smoothie Drink Recipes:

Winter Smoothie Recipe

Chocolate Smoothie Recipe

Mango Sago Recipe

Gond Katira: Refreshing Sharbat, Delicious Pudding, Nutritious Smoothie

Pineapple Whip Recipe

4. Green Goddess Defense

Ingredients:

  • 1 cored apple 
  • 1 sliced cucumber
  • 1 cup of chopped kale
  • 1 chopped celery stalk
  • 1 tbsp of fresh lemon juice
  • 1 tbsp of pumpkin seeds
  • ½ cup of water or coconut water
  • Ice cubes (Optional)

How To Make a Green Goddess Defense Smoothie?

  • Take a blender, add apple, kale, celery, lemon juice, cucumber, pumpkin seeds, water or coconut water, and ice cubes (optional) into it.
  • Blend it until it gets smooth in texture.
  • To adjust the thickness you can add more liquid if required.
  • Your detoxifying, refreshing, mineral-packed green smoothie is ready, enjoy it as a refreshing morning start.

5. Tropical Turmeric Delight

Ingredients:

  • 1 cup of chopped pineapple 
  • 1 peeled and grated carrot
  • 1 tsp of turmeric powder
  • ¼ tsp of black pepper
  • 1 tbsp of coconut oil
  • 1 cup of coconut milk or water
  • 1 tsp of honey or maple syrup

How To Make Tropical Turmeric Delight?

  • Take a blender, add carrot, turmeric powder, pineapple, black pepper, coconut milk or water, coconut oil, and honey or maple syrup into it.
  • Blend it for 60-90 seconds so you get a smooth, vibrant, and creamy texture.
  • To adjust the sweetness or spice you can add more honey and pepper powder to taste.
  • Your tropical immunity booster is ready. Enjoy your refreshing drink with anti-viral benefits. It helps to boost infection resistance naturally.

Wrapping It Up – Sip Your Way to a Stronger Winter

Winter health doesn’t have to be dull or boring. Superfood smoothies are full of delicious flavors and health benefits. These smoothies are a chef’s love letter to your immune system. They are fresh, colorful, and full of the best natural ways to fight off winter blues and colds.

Why to grab sugary, processed snacks this winter season when you can just grab your blender, whip up any of these nutrient-packed smoothies? Ready for this nutritious hug in a glass? Try these best smoothie recipes today! For more healthy, delicious and refreshing recipes stay tuned with us at Chefs Home Around.

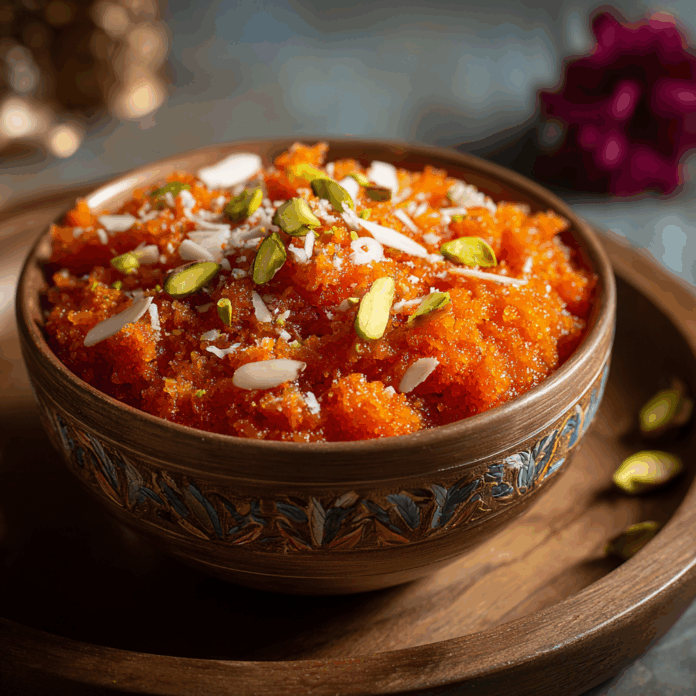
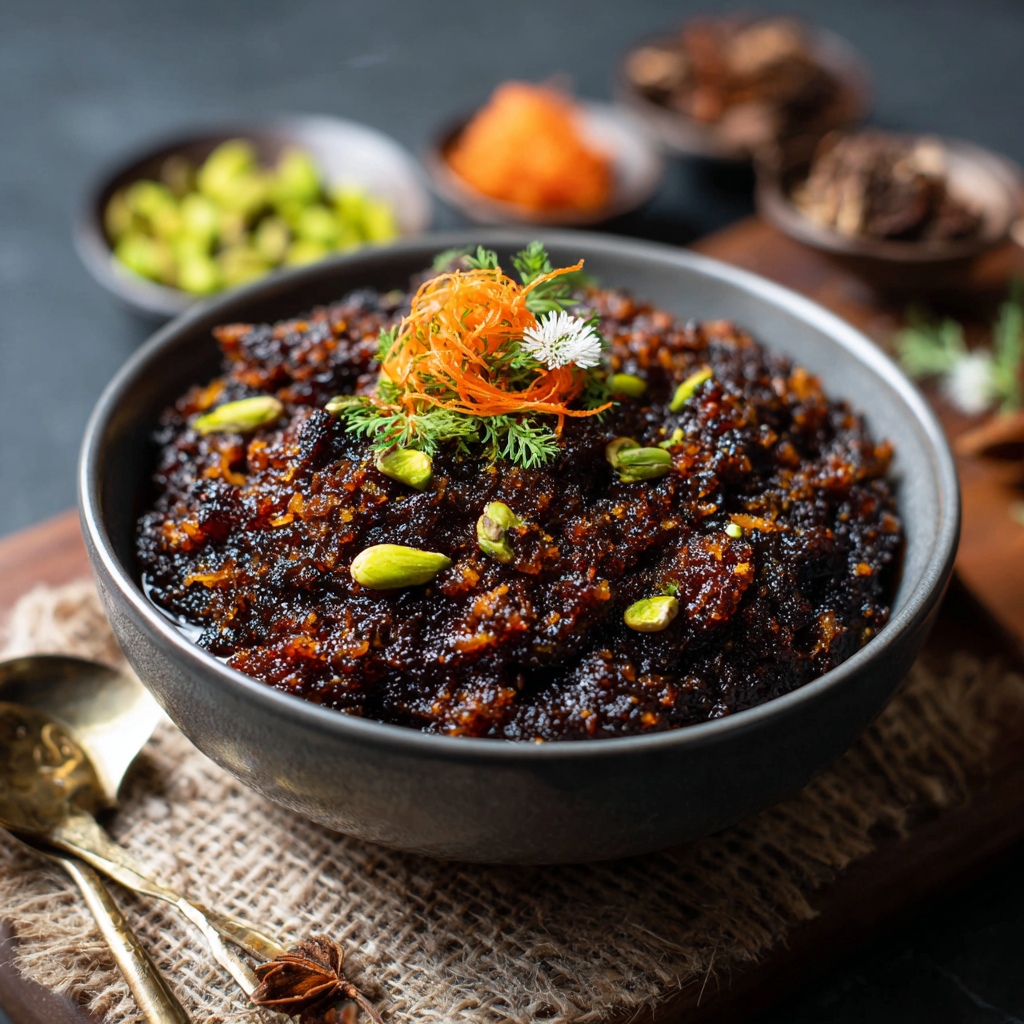
Gajar Ka Halwa: The Sweet Symphony of Indian Winters

0
gajar ka halwa

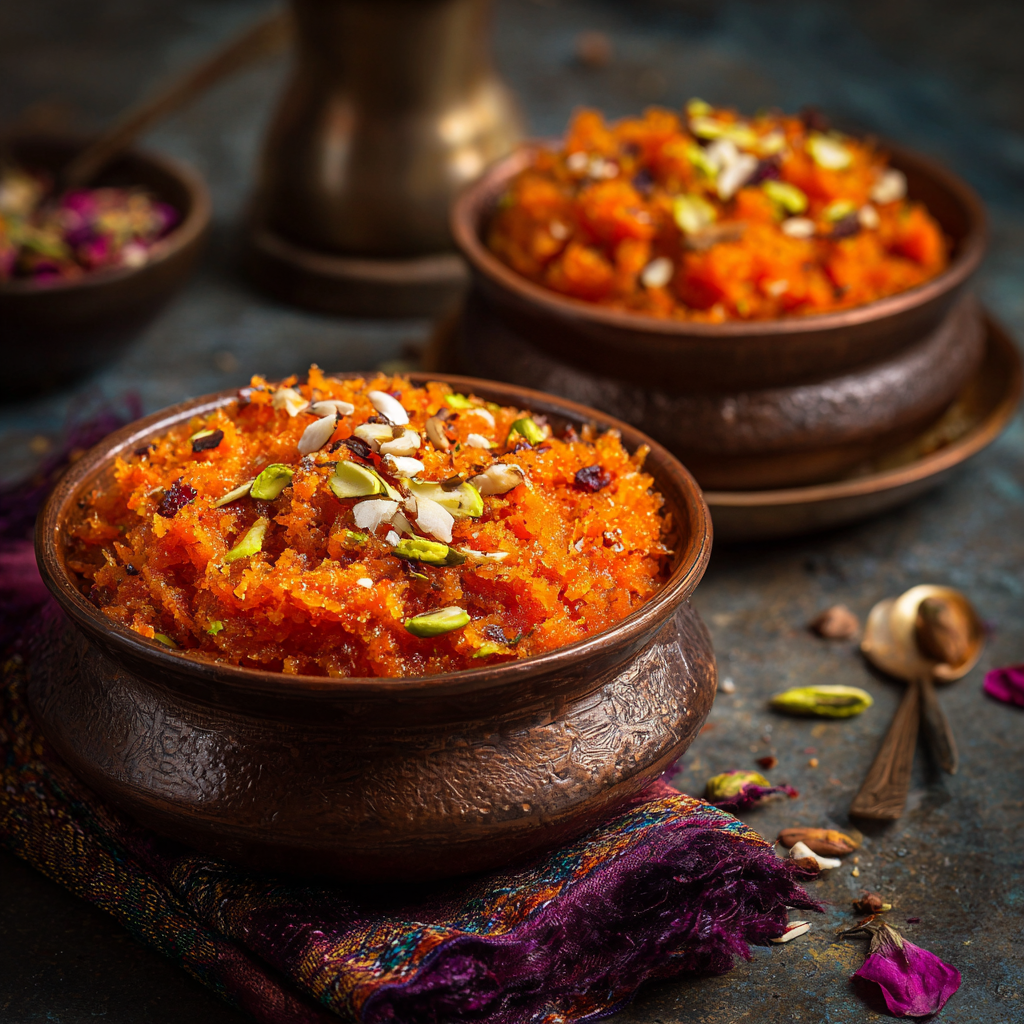
Ever experienced euphoria? In the realm of chilly winters, there’s something that takes you to heaven. It is like a silent poetry in the misty mornings, the cozy memoir in the evenings.  Navigating through the soft clink of tea cups, its aroma rules every lane nook and corners. Grab a bowl of Gajar ka Halwa to experience what euphoria actually is.

Some whispers from the kitchen, followed by an unforgettable fragrance of ghee melting into grated carrots, it all feels so lively. The symphony of tradition lies in Gajar ka halwa recipe. In this blog we will celebrate this sacred ritual. Let’s see what makes it so special that you can’t stop saying “Bas ek aur spoon please!” 

From Royal Kitchens to Your Plate

The origins of gajar ka halwa can be traced to the Mughal kitchens, where chefs transformed ordinary carrots into a royal delicacy. Over the centuries it has evolved from a court delicacy to a winter custom in homes, specially in areas like Punjab, Delhi, and Uttar Pradesh. The best part is it blooms with the winter, a season when carrots grow sweetest and every bite truly feels like a hug against the cold weather.

gazar halwa

This winter bliss is known for its balance and the combination:

  • Pure Ghee for Strength
  • Fresh Milk for Purity
  • Sugar For Mood
  • Carrots for vitality 

It is everyone’s favorite dessert that feeds both heart and health.

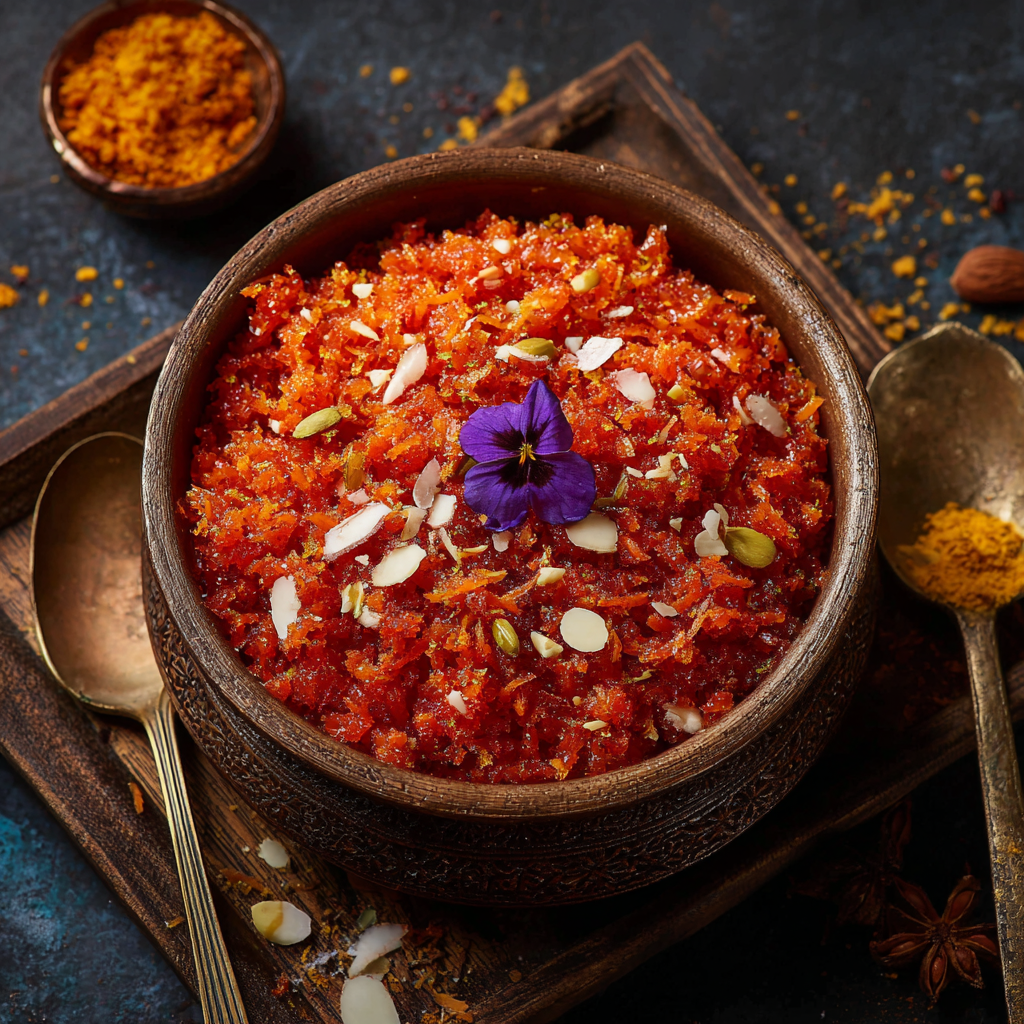
The Classic Red Carrot Halwa: Tradition on a Plate

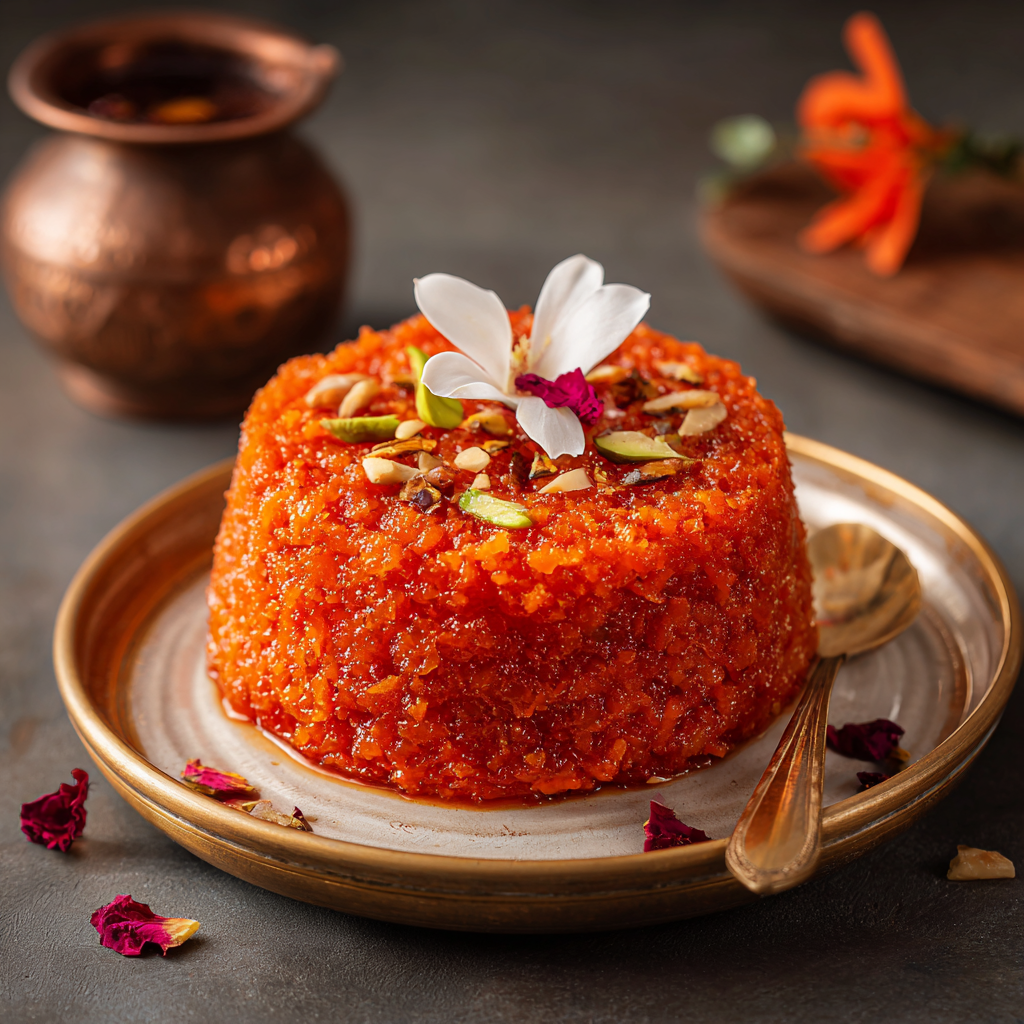
Its symphony started long back with brass handis bubbling on the stove, mothers and grandparents stirring the halwa enjoying the rhythmic devotion.  Do you know how authentic red carrot halwa looks? It is aromatic, glossy, tender, and unapologetically rich in its purest form. 

read gazar ka halwa

It is made from the crimson jewels of winter, which are carrots that are naturally sweet and colorful. With roasted cashews, slow-cooked milk, and a touch of cardamom, this dessert unites flavor and family in a way that no other dessert can.

Traditional Red Carrot Halwa Recipe

Ingredients

  • 8 to 9 red carrots (medium-sized or about 650 grams), 
  • 4 cups of full-fat milk
  • 4 tablespoons of pure ghee (clarified butter)
  • 10 to 12 tablespoons of sugar (according to taste)
  • ½ to 1 teaspoon of cardamom powder
  • 10 to 12 chopped cashews
  • 10 to 12 sliced almonds
  • 2 tablespoons of golden raisins
  • A pinch of saffron strands

Instructions

  1. Wash and rinse carrots. Peel and grate them finely with the help of a grater.
  2. Take a kadai, put some ghee in it. 
  3. Add grated carrots in it and cook until fragrant. 
  4. Add full fat milk and mix it well.
  5. Cover the lid and boil the mixture on medium heat. Simmer it on a low flame. 
  6. Stir occasionally to prevent burning.
  7. Cook it until the milk reduces by 75% and the carrots get softer. It may take 45 minutes to 1 hour.
  8. Add pure ghee, sugar as per taste, and cardamom powder for flavor to the mixture. Stir well.
  9. Stir the mixture until thick and you get a pudding-like texture.
  10. In a separate small pan, roast dry fruits in a little ghee until you get golden color.
  11. Add the roasted dry fruits to the halwa. Mix and cook for 5 more minutes.
  12. Add saffron strands.
  13. Serve it hot, garnished with extra nuts, kesar and some khoya.

Black Carrot Halwa: For the Health-Conscious Sweet Tooth

How about making this symphony more healthy? To make it more healthy and nutritious you can use the black carrot. It is darker, deeper, and richer in nutrients when compared to ordinary red carrots. Its beautiful royal purple hue and unforgettable intense aroma makes it a special winter ingredient. Surprisingly, this modern version of Carrot halwa is rewriting tradition with one antioxidant at a time.

kali gazar ka halwa

Black carrots are packed with the goodness of anthocyanins. It supports heart health, boosts immunity, and slows aging. For those who are calorie conscious but still crave for sweetness, it is no less than a winter blessing.

What makes this kali Gajar ka halwa so different? It is jet-purple in color, cooked with almond milk, sweetened with jaggery or desi khaand, and topped with slivered or golden almonds. It is not always about indulgence, sometimes it is about nutritional satisfaction. If you are a gym enthusiast, diabetes What makes this kali Gajar ka halwa so different? It is jet-purple in color, cooked with almond milk, sweetened with jaggery or desi khaand, and topped with slivered or golden almonds. It is not always about indulgence, sometimes it is about nutritional satisfaction. If you are a gym enthusiast, diabetes patient, fitness freak who is obsessed with calorie-counts, it is your go to dessert. Let’s have a look at this black carrot halwa recipe.

Black Carrot Halwa Recipe (Diet-Conscious & Nutrient-Rich)

Ingredients

  • 8 to 9 peeled and grated black carrots 
  • 3 cups of fresh almond milk (you can also opt for any plant-based milk for a vegan option)
  • 3 tablespoons of pure ghee (coconut oil for vegan version)
  • 6 to 8 tablespoons of jaggery powder (or coconut sugar instead refined sugar)
  • ½ or 1 teaspoon of cardamom powder
  • 10 finely chopped walnuts, cashews and almonds
  • 2 tablespoons of raisins
  • 1 tablespoon of chia seeds (for extra fiber)
  • 1 tablespoon of flaxseeds (omega-3)
  • Optional: 1 teaspoon protein powder (for gym-friendly boost)

Instructions

  1. Properly peel the black carrots and grate them finely.
  2. In a pan with  heavy-bottom, cook grated carrots until fragrant. 
  3. Add almond milk in it and bring to a boil. Let it simmer on low heat. Stir occasionally to prevent burning.
  4. Cook for about 40-50 minutes till the almond milk is mostly absorbed, and carrots get softened.
  5. Add pure ghee or coconut oil in it along with jaggery powder or khaand. Stir & Mix well.
  6. Add cardamom powder, chopped nuts, raisins, and chia or flaxseeds and protein powder if using. Mix it and cook for another 5 minutes until thick.
  7. Turn off the flame and serve it hot.

The Sweet Tug-of-War: Tradition Meets Transformation

Let’s have a look at the table:

AspectRed Carrot HalwaBlack Carrot Halwa
ColorBright Red & Slightly OrangeDeep purple-black
TextureRich & CreamyEarthy & Dense 
TasteSweet & ButteryNutty & Slightly Tangy 
Caloric ValueModerate-to-highComparatively lower
Ideal ForFamilies, festive suppliesFitness lovers, diabetics
NutrientsBeta carotene, vitamin AAnthocyanins, antioxidants

As you can see both versions shine with their own purpose. Red carrot halwa sings of nostalgia and comfort on another hand the black carrot halwa hums of innovation and well-being. Together, they make a perfect winter duet.

A Cultural Connection – From Lohri to Corporate Brunches

From flaming Lohri bonfires to sophisticated business brunches, Gajar ka Halwa has smoothly transitioned across generations and now it is just everywhere. It’s a sentimental custom rather than an ordinary winter dessert. In chilly cold winters, it becomes the mostly preferred comfort food that people love to share with their guests, coworkers, and neighbors alike. 

It reflects the essence of warmth and prosperity in weddings. It also sweetens new beginnings during Lohri. It is no less than a spoonful of nostalgia that is passed from one home to another. It frequently finds its way into gifting customs. These days, it can be found on wellness and fusion menus in addition to traditional thalis, serving as a reminder that some flavors will always taste familiar no matter how modern life gets.

The Last Spoonful – A Symphony of Warmth

For every winter lover Gajar ka halwa is an emotion dressed in saffron’s flavor and natural sweetness. It can be made from both scarlet red carrots or enigmatic black ones. In both versions its essence remains intact. It not only brings people closer but also warms conversations. 

indian desert gazar halwa

This sweet symphony sweetens even the iciest winter mornings. So foodies, relish the old, embrace the new, and let every single bite remind you that life is best enjoyed with a bowl of halwa in winters. Afterall, in India, winter doesn’t arrive with a calendar date. They arrive with a spoon full of ghee-dripping Gajar ka Halwa.


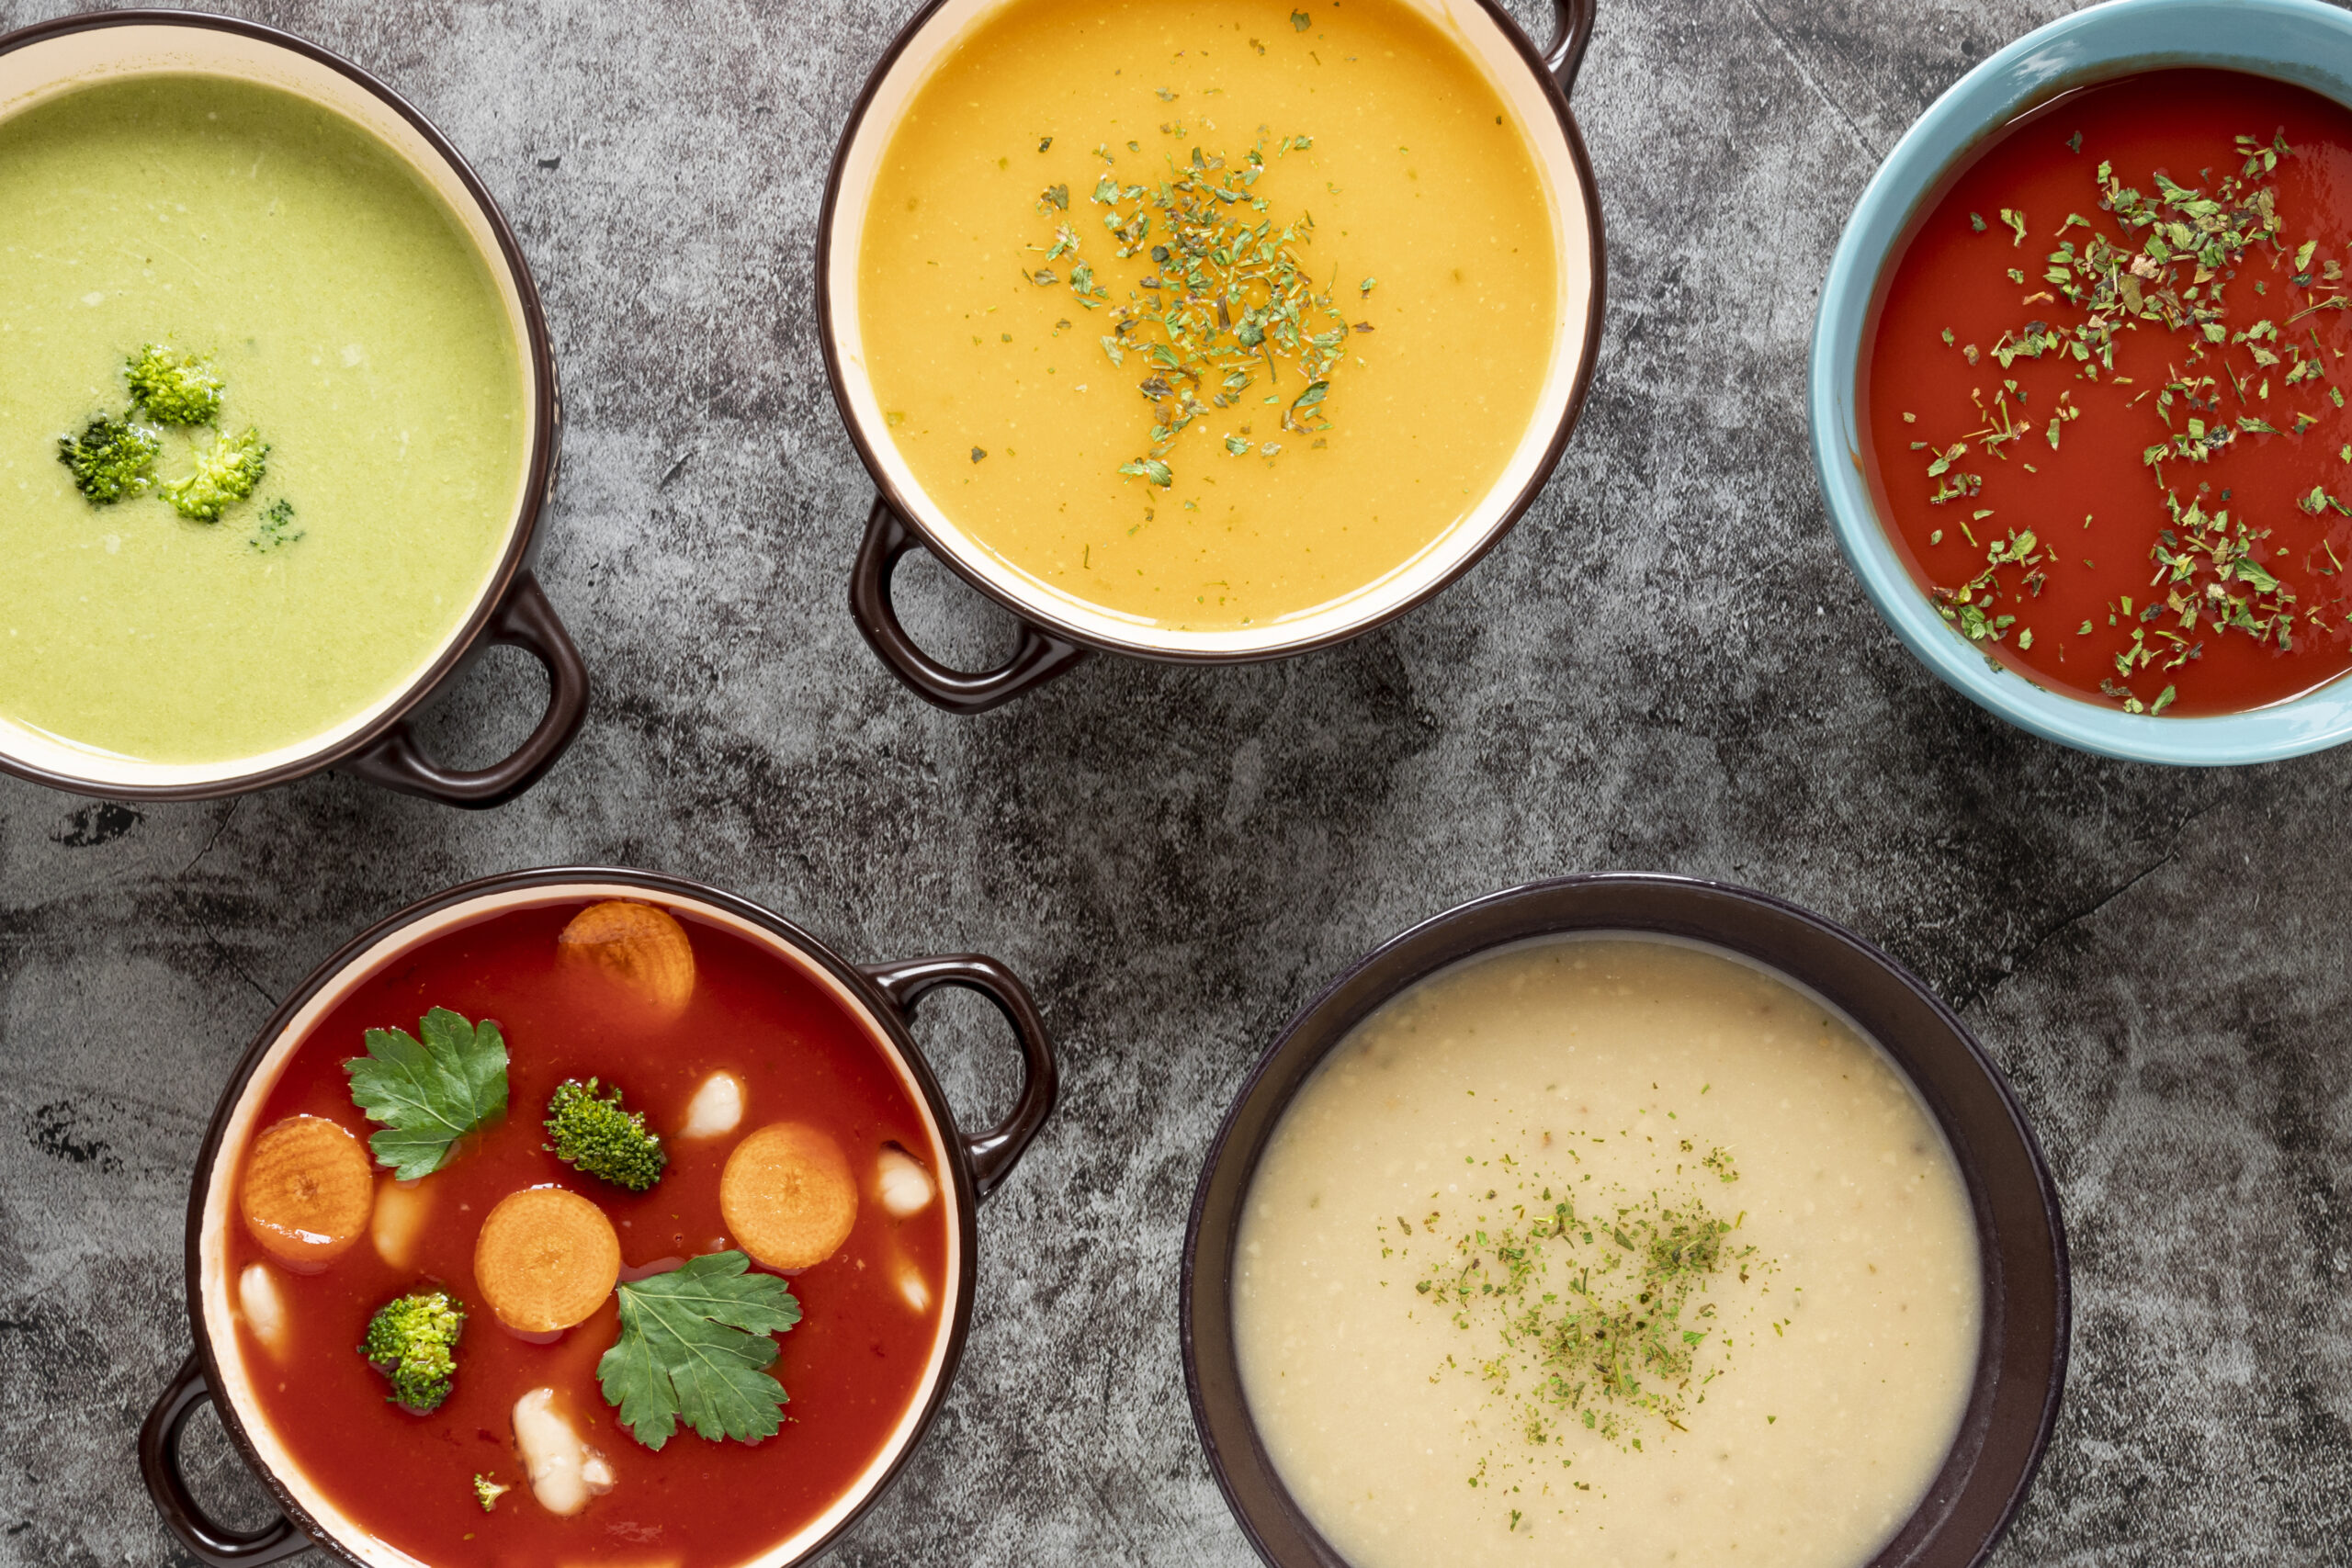
Warm & Wholesome: 5 Kid-Friendly Winter Soups They’ll Actually Eat

0
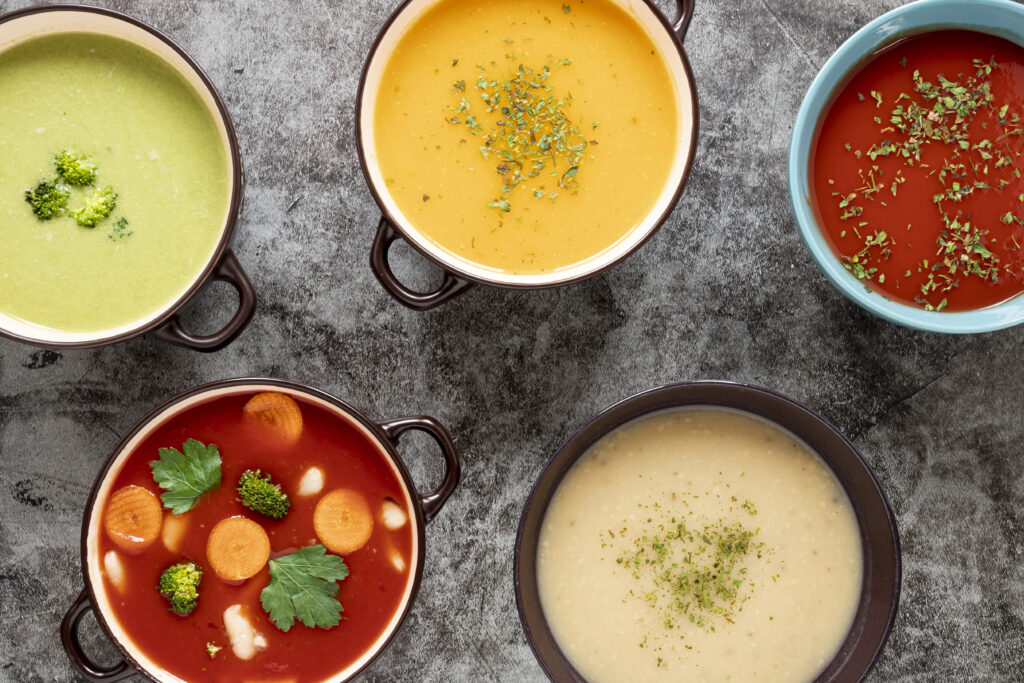
winter soups

Winters are around the corner. Nippy mornings, fogged-up windows, and those inviting cozy corners paints a memorable picture. Sitting in cozy corners, sipping warm soups, holding a cup of coffee and tea and talking to the shivers feels so good. In this winter scenery your little kiddos add their own colors, with mischiefs, dicy moody cravings, and cute little no no to healthy soups. 

For parents, winter also comes along with uninvited sniffles, layers of woolens, and the age-old kitchen battles. How to keep up with your kids’ nutritional intake? How to introduce them with the goodness of seasonal greens? Here are some exciting winter soups recipes your kiddos would love to slurp!

1. Creamy Carrot & Apple Hug Winter Soup

Ever tasted sunshine? This soup tastes like it. Its cheerful and vibrant orange color simply brightens a bland, grey and chilly evening. Fresh carrots are not only used for natural sweetness but also have Vitamin A that soothes and boosts your immune system. To top it up, a crispy apple goes great. It sets the tone of gentle tanginess that melts so good into the creamy smooth butter base.

Ingredients of this winter soup

  • Finely Chopped Onions
  • Chopped Carrots & Apples
  • Butter
  • Cinnamon
  • Salt to taste 
  • Black pepper
  • Fresh Cream (for finishing)
  • Bread (for star-shaped croutons)

Process

  • Take a pan and add finely chopped onions in it. Sauté it until they get golden.
  • Add finely chopped carrots and apple in it. Cook it until soft. 
  • Add salt and black pepper to taste.
  • Take the mixture into a blender and blend it till a silky smooth texture. 
  • Add a little cream in it and garnish it with cinnamon dust. 
  • To top it up and for extra giggles, star-shaped croutons are good to go.

Golden onions taste like caramel and the slight sweetness compliments the creamy texture of boiled carrots and apples.

2. Broccoli-Cheddar Dream Bowl

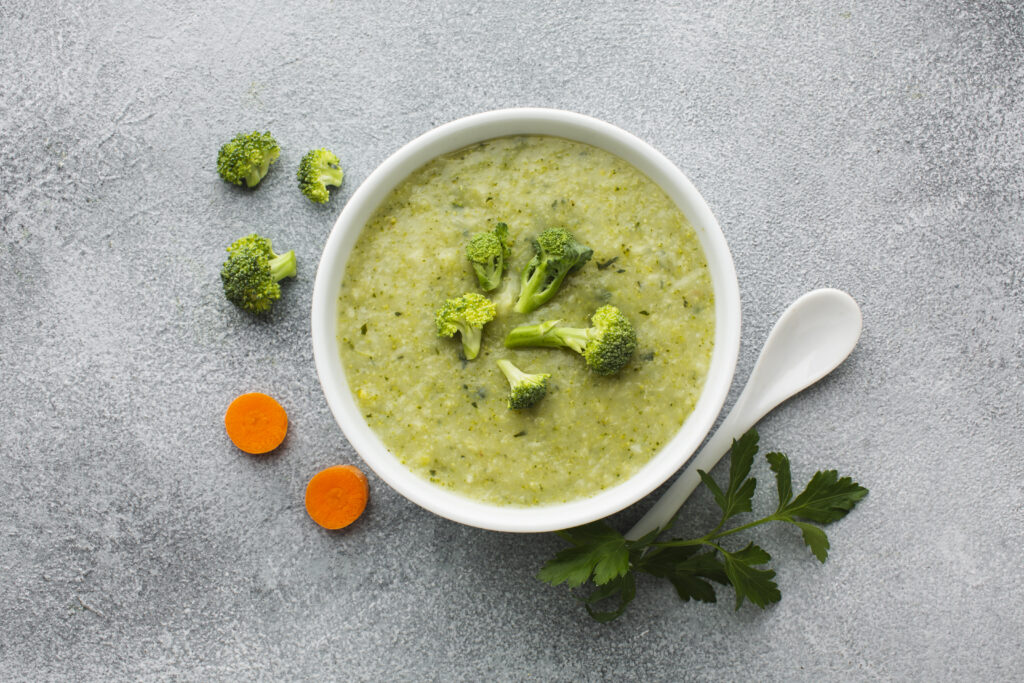
Hey mummas, do you know the classic kiddish trick to hide the greens? Spread the blanket of cheese. If your little champ goes on looks before taste, you have to be dramatic! Broccoli, a great veggie that’s no less than a winter superfood. It is packed with vitamin C, fiber, and essential minerals that helps in bone-strengthening. The cheddar cheese is important to wipe away any bitterness. That’s how this luscious and velvety treat becomes your personal favorite.

broccoli soup

Ingredients

  • Finely Chopped Broccoli 
  • Vegetable Stock
  • Chopped Onion 
  • Cheddar Cheese
  • Black Pepper
  • Salt to taste 
  • Toast (for mini toasties)

Process

  • Take a pan, add finely chopped broccoli, vegetable stock, onion, black pepper and salt in it. Simmer until soft. 
  • Take  a blender and add the mixture into it. Blend it until smooth.
  • Add a handful of grated cheddar in the smooth paste and watch it melt. Stir until it gets creamy in texture. 
  • Season it lightly with pepper or your favorite seasoning. 
  • Serve hot with mini golden toasties or baked tortilla strips. 

This bowl is a mouth watering blend of cheesy comfort and a nutritional twist. You never know your broccoli skeptics might love to lick the bowl and leave it clean.

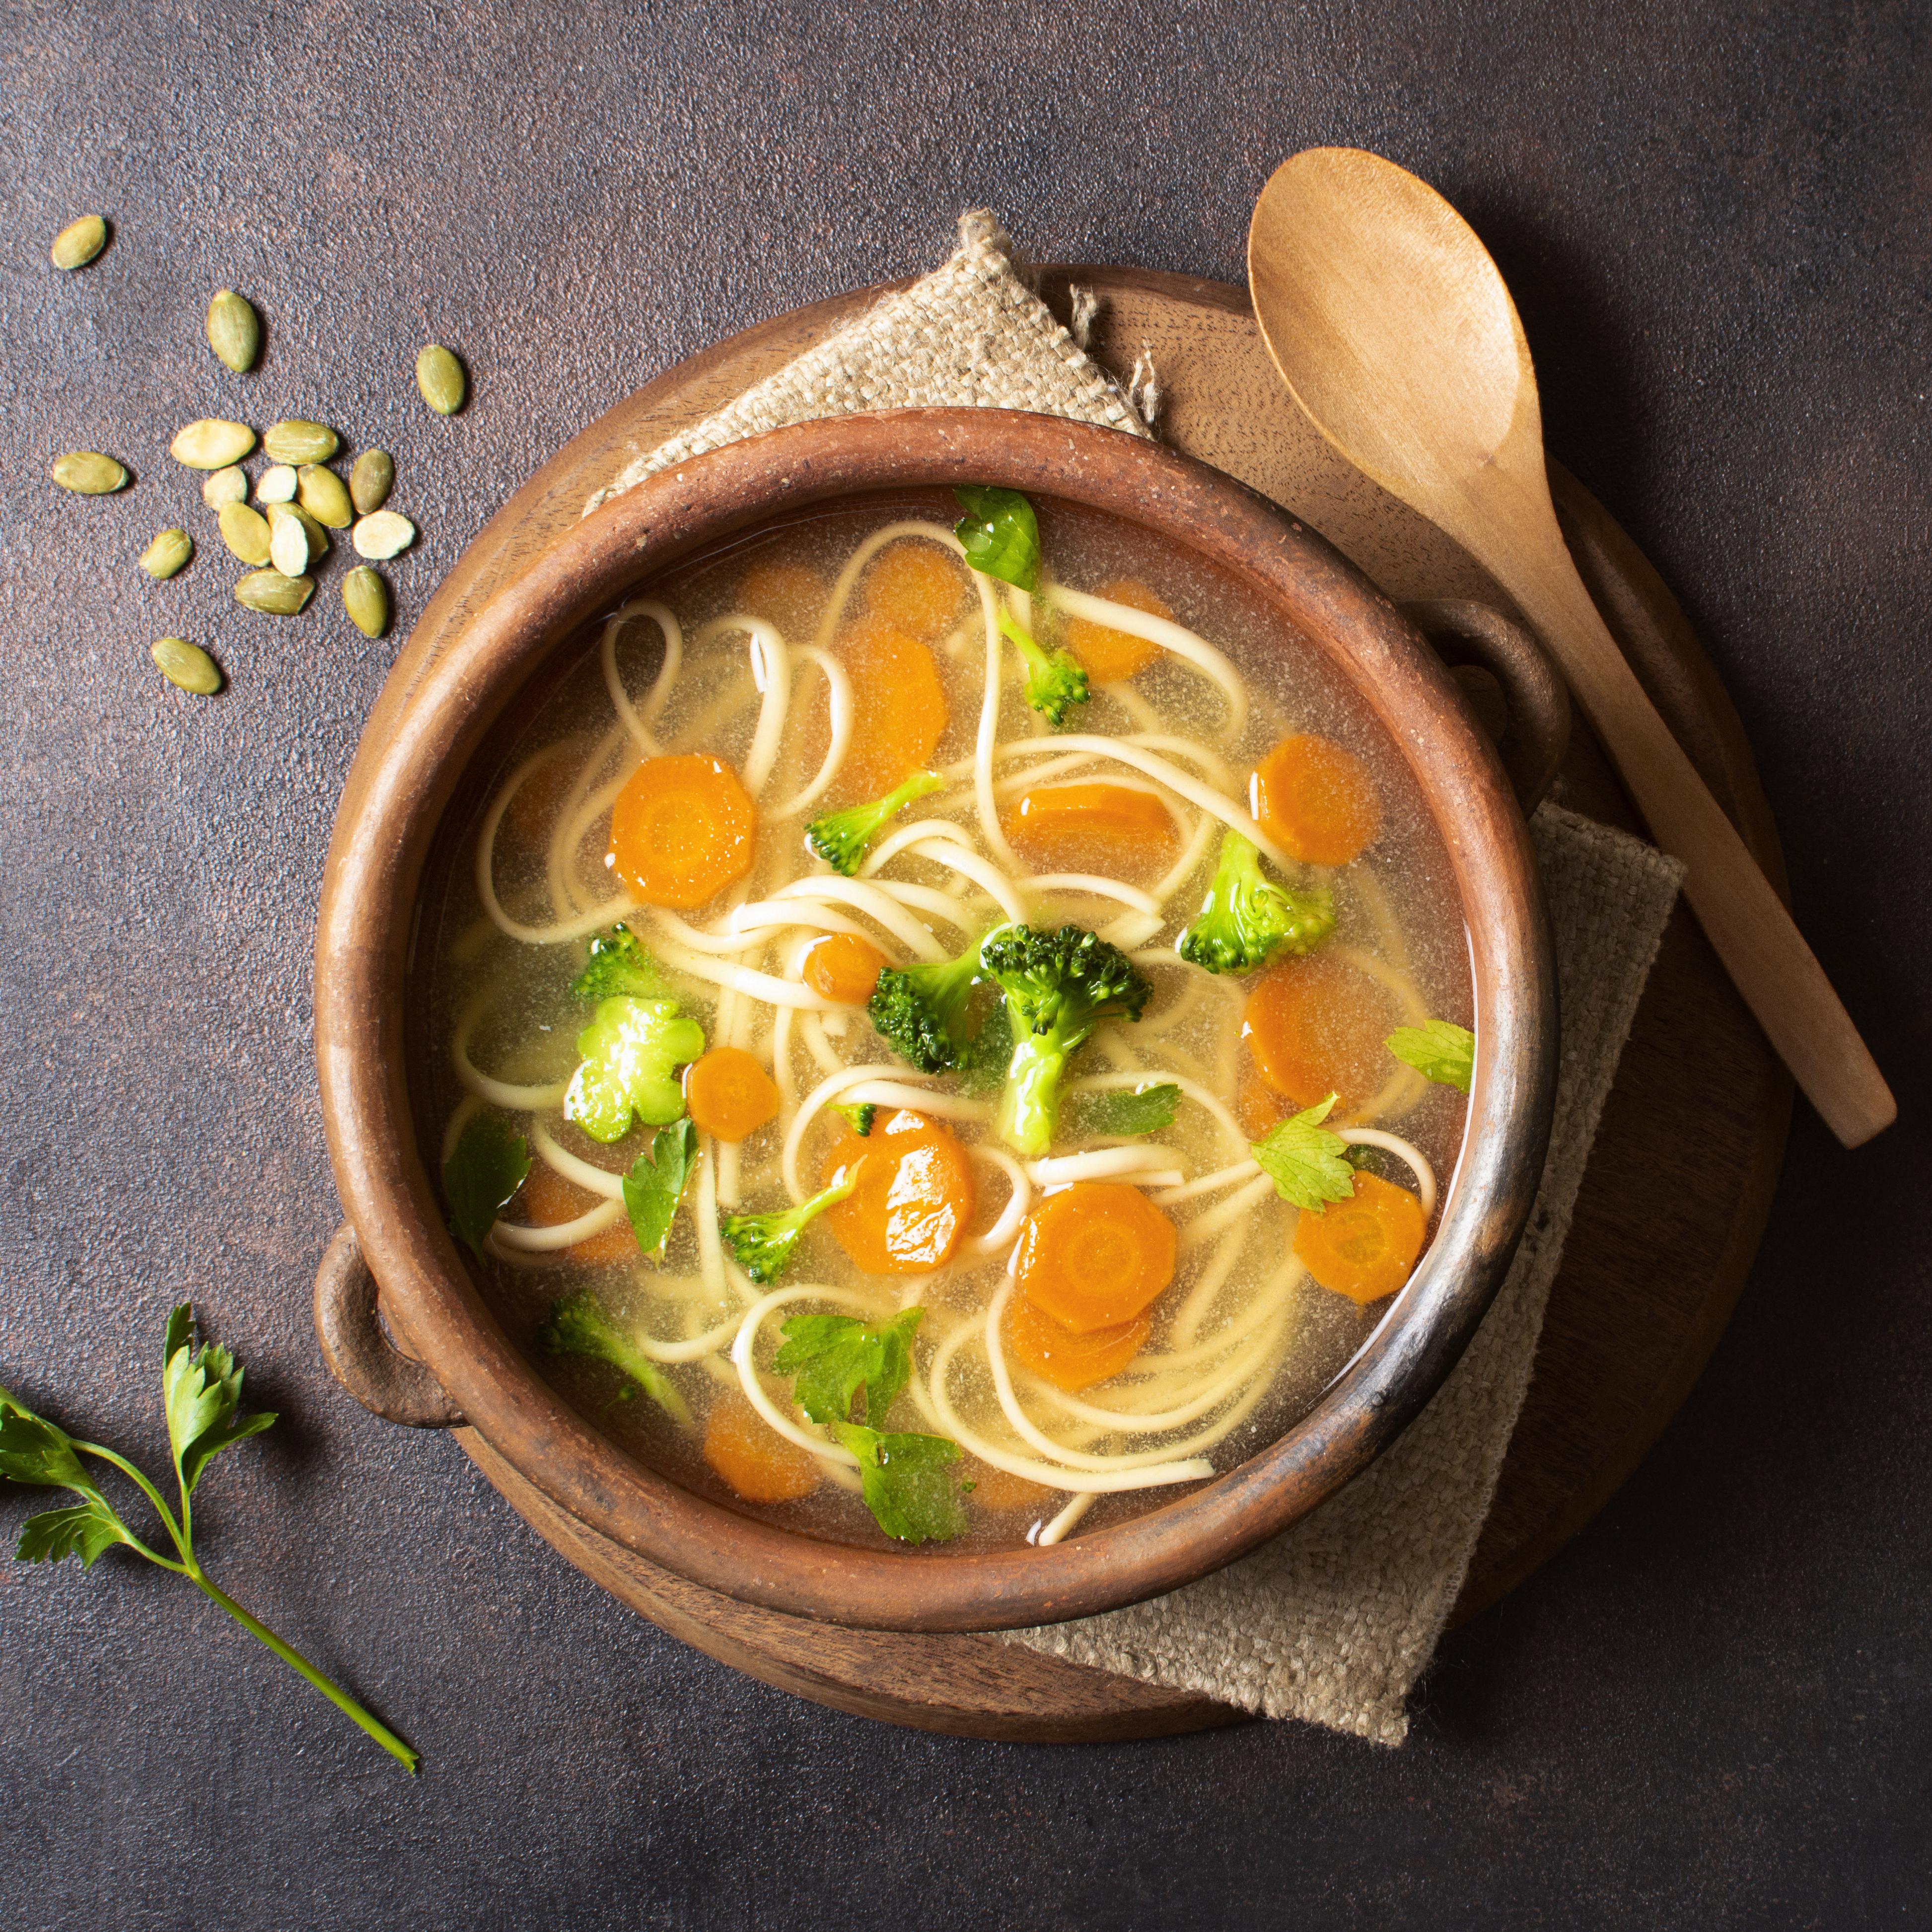
3. Rainbow Veggie Noodle Magic Winter Soup

It just looks like confetti in a bowl. It has vibrant colors and crunchy elements  your little tornados would love to have. 

noodles soup

Ingredients

  • Chopped Carrots
  • Onions
  • French Beans
  • Bell Peppers 
  • Boiled Corn
  • Black Pepper
  • Butter
  • Cinnamon Powder
  • Salt To Taste
  • Wheat Floor
  • Water
  • Cooking Oil

Process To Make Broth

  • Take a pan and put butter, chopped onions, carrots, French beans and bell peppers in it. Shallow fry and toss them just to make them crunchy. 
  • Add boiled corn in it.
  • For flavors add black pepper, cinnamon powder, salt and red chilli powder in it. 
  • Add freshly made pasta in this broth, mix well and serve hot. 

Process To Make Pasta

  • Take the wheat floor and add water to it.
  • Add a drop of oil in it and mix it well.
  • Knit the dough just as you do for chapati. 
  • Cut out alphabetical-shaped pastas out of it.
  • Take a pan, boil water in it, add salt in it. Then add pasta in it.
  • Boil until soft, drain excess water and keep it aside.

The broth is light yet flavorful and a healthy option that is great for lunchboxes and quick post-school dinners. While serving drizzle a little olive oil and a touch of soy sauce in it.

4. Corn & Chicken Comfort Bowl

When your child has a cough and cold or is exhausted and needs strength, this bowl is no less than a therapy. 

Ingredients of this Winter Soup

  • Shredded Chicken
  • Garlic 
  • Homemade Stock
  • Corn
  • Light Cream
  • Black Pepper
  • Salt to Taste
  • Spring Onions 
  • Bread Roll

Process

  • Take a pan, add homemade stock in it. 
  • Put shredded chicken with garlic and corn in it. Simmer it until cooked. 
  • Add a spoon of milk or light cream in it. Stir it well!
  • Season it gently with black pepper and salt in it. 
  • Garnish with spring onions. 
  • Serve it with a warm bread roll on the side. 

5. Tomato-Basil Bliss Winter Soup

Some soup bowls are loved when they are classic for a reason. This one is my all time favorite because of its tangy flavor and tempting aroma. 

tomato soup

Ingredients of this Winter Soup

  • Butter
  • Tomatoes
  • Gralic
  • Salt and black pepper for seasoning
  • Fresh Basil Leaves
  • Cheddar Cheese
  • Bread

Process

  • Take a pan, add butter in it. 
  • Place half cut ripped red tomatoes upside down in it. Add garlic cloves. Cover with a lid and roast them.
  • Open lid, remove the peels of tomato.
  • Take a blender. Put roasted tomato, garlic and fresh basil leaves into it. Blend it until you get a velvety texture. Add seasonings as per taste.
  • Garnish it with cheddar cheese. Serve it hot with mini toasts. 

This soup delivers antioxidants and lycopene that are great for immunity and skin health.

Feeding Hearts, Not Just Tiny Tummies

Winter soups are way more than just meals. Honestly, every winter lover knows they are no less than precious memories simmered in broth. Soups raise a toast to laughter around the dining table. Soups are the way to capture the goodness of seasonal veggies in warmth. The satisfaction reflected by the rosy cheeks after the first hot spoonful, and the satisfied “Mmm!” that follows one after another.

carrot soup
red lentil soup with a slice of lemon and breadcrumbs

If your kids shy away from veggies, or judge from looks, these 5 Healthy soup recipes are your secret weapon. Celebrate comfort and creativity with these winter soup recipes. For more interesting, soulful and healthy recipes stay tuned with us at Chef’s Home Around!
For more inspiration, try out these delicious and healthy recipes: Diwali Snacks Ideas, 7 Healthy & Tasty Homemade Protein Bar Recipes, and 7 Yummy & Quick Khichdi Recipes For Winters.

Festive Fun: Diwali Snacks Kids Can Help You Make 

0
Diwali Snacks Kids Can Help You Make

Festivity in the air, you know there’s something magical about Diwali mornings that is so different and good.  Remember the aroma of desi ghee in the kitchen when mother and grandmother used to cook, that steady humming of laughter coming from a group of children standing at the corner of street, and the sparkle of fairy lights waiting to glow. 

Do you know what makes these moments even more memorable? When little kiddos join you in making diwali snacks! Cook with your kids to celebrate this Diwali. Transform your kitchen into a playground and make laddoos, mathris, along with so many memories together. 

Why Cooking Diwali Snacks with Kids Is So Special

Well cooking with your cute kiddos is an opportunity to build a unique connection. Imagine tiny hands helping roll out laddoos or even spoon chivda into bowls, first of all they look so sweet doing so. Then your little masterchefs learn recipes, know about your family, tradition, along with creativity. It is also like a sensory adventure, where your kids explore different textures, colors, and aromas.

delicious-indian-dessert for diwali

However, always opt for the safety first approach! Always handle tasks like frying, baking, and chopping all by yourself. It’s good to let your kids tackle mixing, shaping, decorating, or sprinkling. It not only keeps them engaged but also ensures you all have a stress-free celebration! But what will you cook? Let’s have a look at some mouth watering, easy to make diwali recipes:

1. Sweet Coconut Laddoos (No-Cook Wonder)

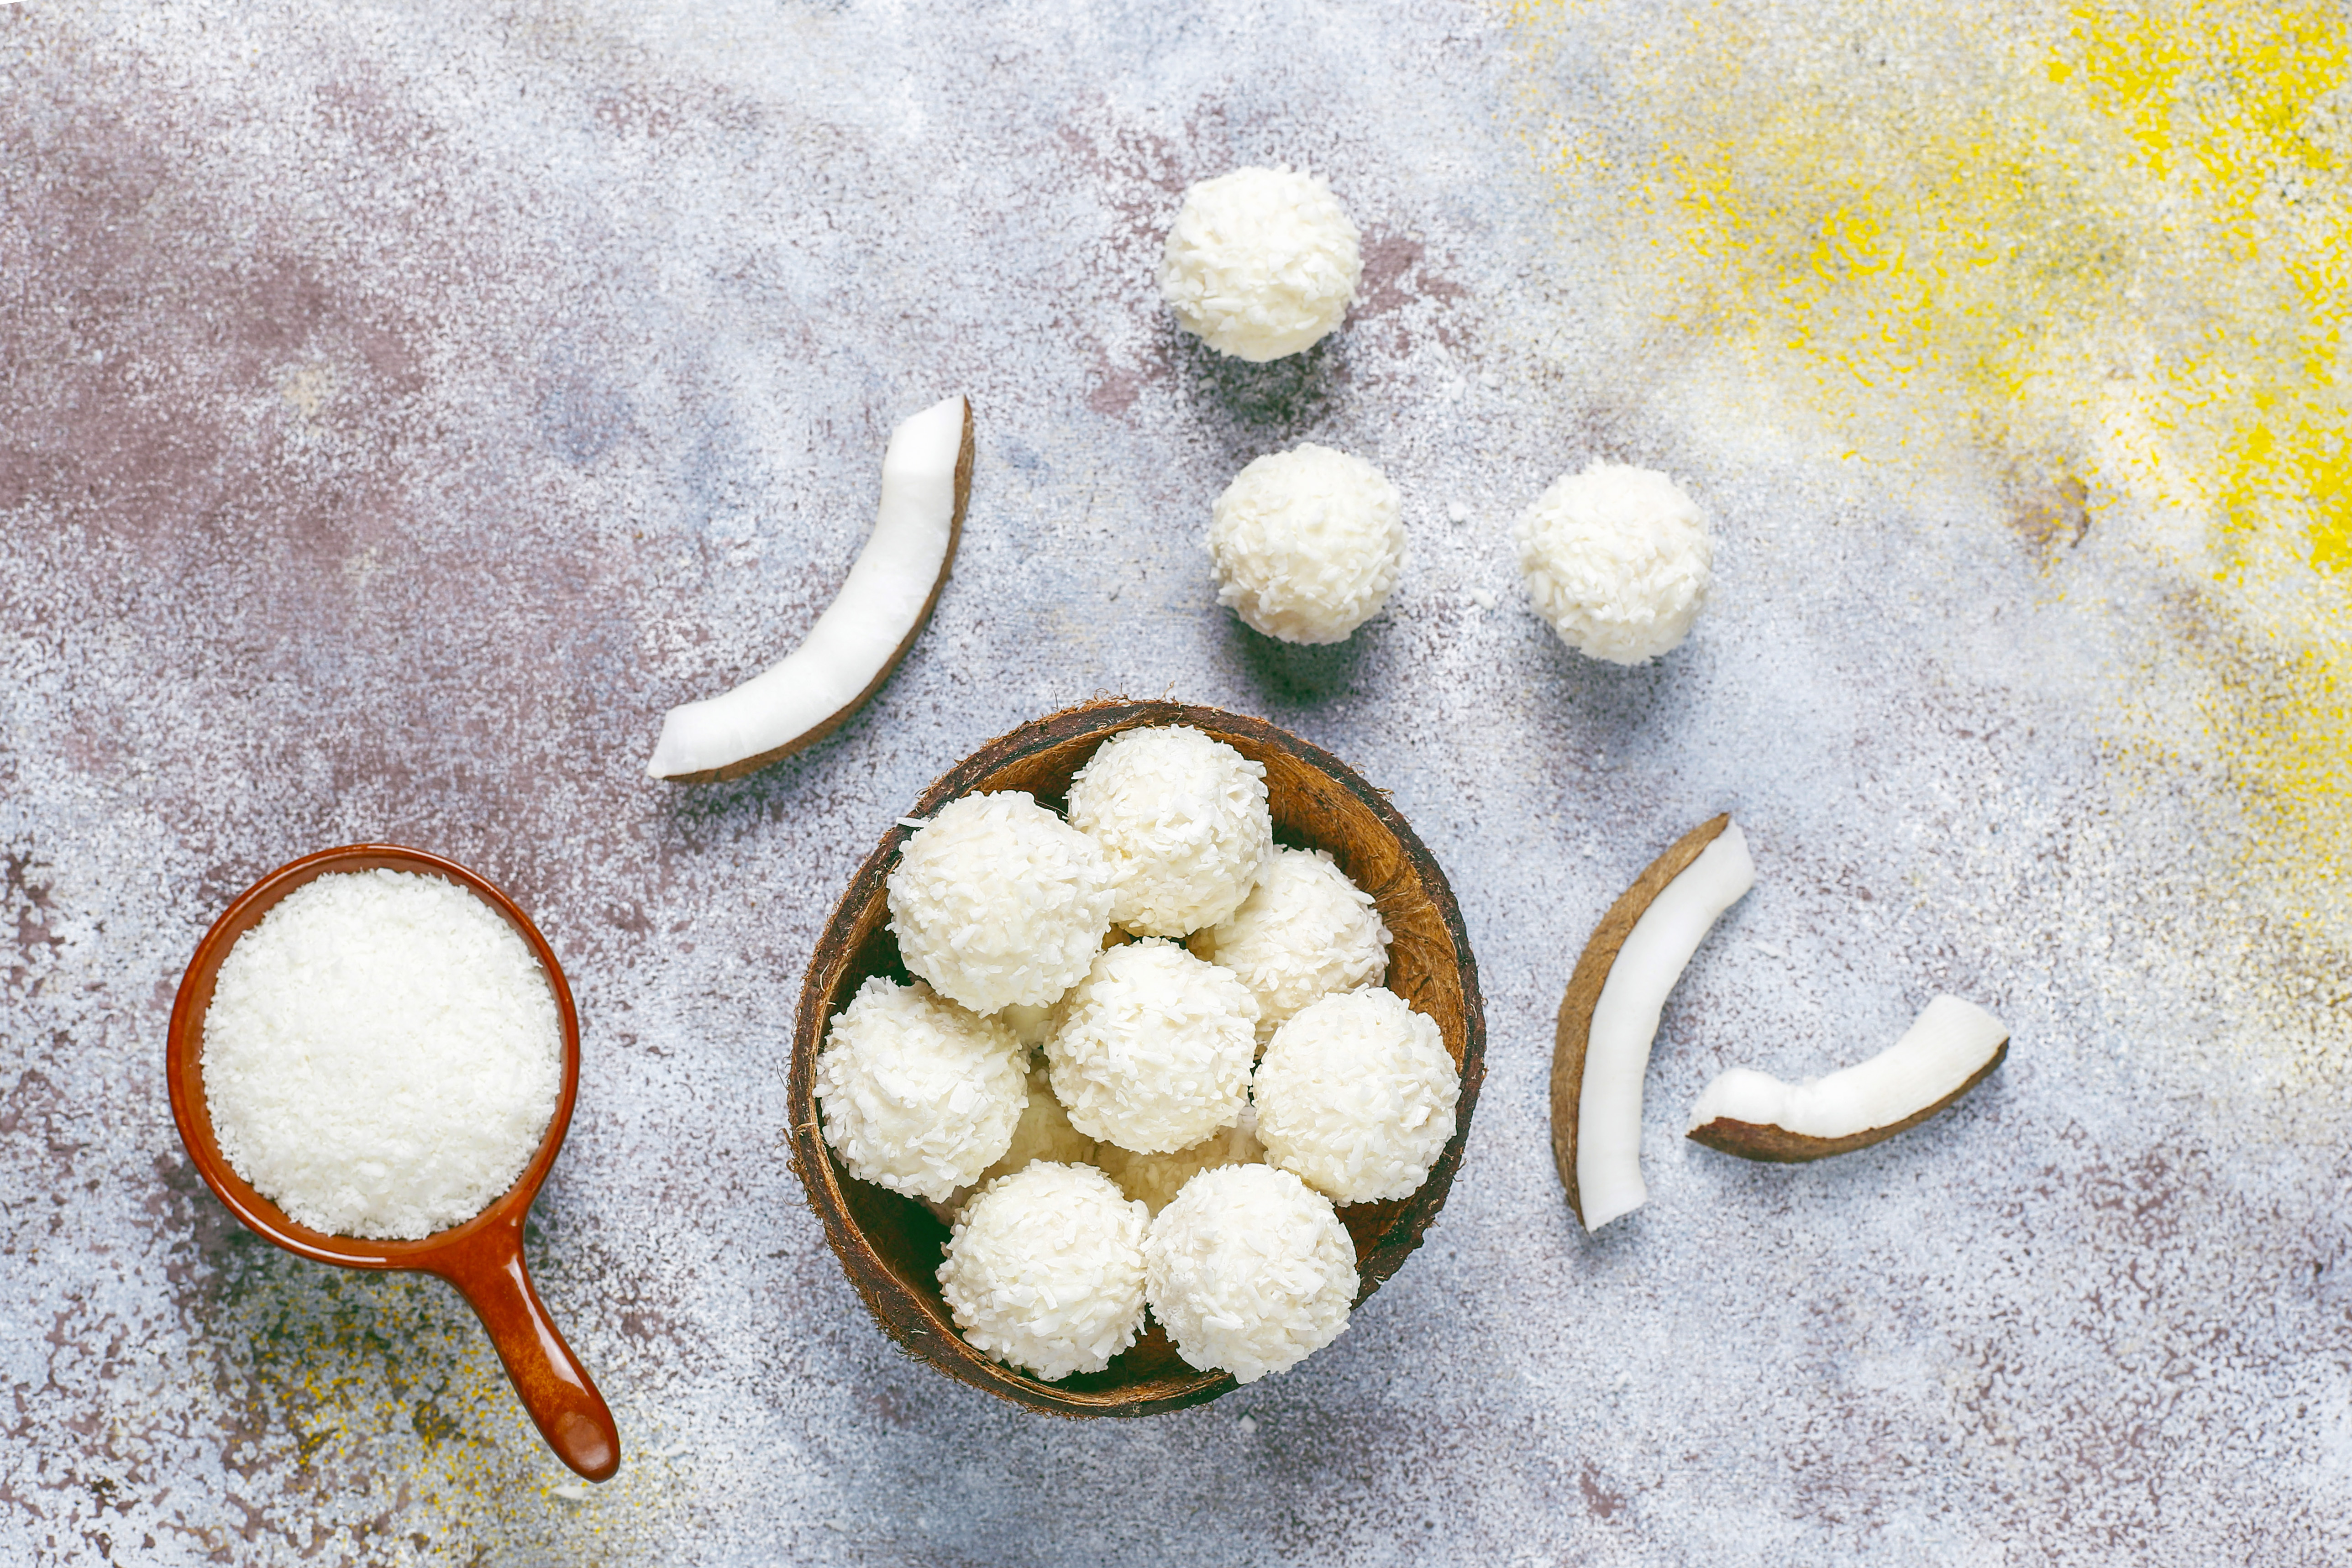
Running out of time? This recipe is perfect, takes less time to cook and it’s next level delicious. These are packed with refreshing flavors, essential minerals like manganese, copper, and iron that not only supports metabolism but also supports bone health. It also contains dietary fiber that improves digestion.

coconut laddoos

Ingredients:

  • 2 cups of grated fresh coconut
  • 1 cup of condensed milk (milk made or any)
  • ½ teaspoon cardamom powder (for flavor)
  • Chopped nuts like almonds and cashews (optional)

Process:

  • Take a mixing bowl
  • Put grated coconut, condensed milk, and cardamom powder in it. 
  • Help kids in taking turns and mixing the mixture. Let them explore its soft and squishy texture! 
  • Guide your kiddos how to form small balls and roll them in shredded coconut for garnish. 
  • Keep the laddoos in the refrigerator for at least 15 minutes before serving.
  • Take laddoos out, wrap them in colorful foil paper, and place them in mini decorative boxes for gifting!

You can play a game called “hide the nuts in laddoo”, so they will be curious to find it while eating. They will easily get friendly with dry fruits. 

2. Mini Masala Mathris (Crispy Fun to Shape)

Say mathris and you will dive into the flashbacks of tea time, travel time or midnight crackles. Mathris is the most loved nostalgic and crispy snack. What’s the twist? Make them in mini-size and let your kiddos shape them into different shapes like stars, hearts, or diyas with the help of cookie cutters. It will enhance their creativity. 

Ingredients:

  • 1 teaspoon of carom seeds (ajwain)
  • 2 cups of wheat flour
  • 2 tablespoons of pure desi ghee (Try Bilona Ghee by Gaudhuli Parivaar)
  • Salt according to taste
  • Spices of your choice for flavors
  • Water as required

Process: 

  • Take a bowl or you can do it on a slab.
    Put wheat flour, carom seeds, salt, and ghee into it. Mix it and knit it well until you get a stiff dough. 
  • Teach your kiddos how to cut fun shapes. 
  • Once the cutouts are ready, you can bake or air-fry them till they get golden and crisp.

Make sure to brush mathris with a tad of ghee post-baking for extra flavor and shiny look.

3. Fruity Chivda (Healthy Twist to a Classic)

Looking for something light yet a festive snack? Chivda can be your all time favorite. In this recipe you will get a fruity surprise. You can celebrate with the goodness of dried mango, raisins, and cranberries. These are the natural source of vitamins, antioxidants, and dietary fiber. Also helps to improve digestion and boosts your immune system.

Ingredients:

  • 2 cups of flattened rice (chivda or poha)
  • ½ cup of mixed nuts (Almonds, Cashews, Apricots and Peanuts)
  • ¼ cup of dried fruits (dried mango, raisins, and cranberries)
  • 1 teaspoon of mustard seeds
  • Fresh Curry leaves
  • Salt to taste
  • Turmeric powder
  • Oil

Process: 

  • Take a pan and toast poha until it gets crisp. 
  • Take another pan and heat a bit of oil.
  • Put mustard seeds, curry leaves, nuts, turmeric powder, and salt in it. Saute it until aromatic. 
  • Add poha and toss it well. 
  • Let it cool down and ask your kiddos to sprinkle the dried fruits. Mix it well and enjoy.

To preserve it you should store it in airtight jars. It is a perfect school snack too!

4. Mini Chocolate Diyas or Rice Krispie Laddoos

Embrace your Diwali celebrations with a delicious chocolaty touch. If your kiddos love experimenting with food, it’s the perfect diwali snack for their sweet cravings. 

Ingredients:

  • 1 cup of dark or milk chocolate (melted)
  • 2 cups of puffed rice (rice cereal)
  • Sprinkles or your favorite nuts for garnishing

Process:

  • Take a bowl and put puffed rice and some melted chocolate in it. 
  • Ask your kiddos to mix it and mold them in different shapes like diyas or balls. Sprinkles nuts to decorate 
  • Keep it in the refrigerator for 20 minutes and it’s all done!

You can use silicon molds to shape the mixture easily.

5. Baked Samosa Bites (Little Hands, Big Flavors)

Yippee, now it’s time for Samosas. Keep them interesting and fun-sized! These are perfect for your little ones’ lunch boxes and festive platters.

samosas

Ingredients:

  • Make maida dough or get the readymade one or puff pastry sheets
  • Your favorite filling: mashed potato & peas, or cheese & corn
  • Butter or Oil for Brushing

Process:

  • Pick up the dough cut into small circles. 
  • Spoon in the filling.
  • Fold it properly and seal it with a fork. 
  • Ask your kid to brush them with butter.
  • Then keep them in a baking tray and bake at 180°C for 20 minutes.

You can serve it with a mint chutney or tangy tomato dip or any of your favorite chutney as a crowd-pleaser and palette cleanser.

Presentation, Packaging & Gifting Ideas

This diwali unveils culinary artists in you! Play around with colorful trays, brass bowls, or paper cones while cooking diwali snacks. Cherish the “cook with kiddos day” with some more creativity. Ask your kids to help you tie silk ribbons or paste cute doodled stickers on snack jars. You can also use eco-friendly wrapping options like fabric potlis or paper boxes with handwritten and personalised notes. For more delicious healthy recipes stay tuned with us at Chef’s Home Around!
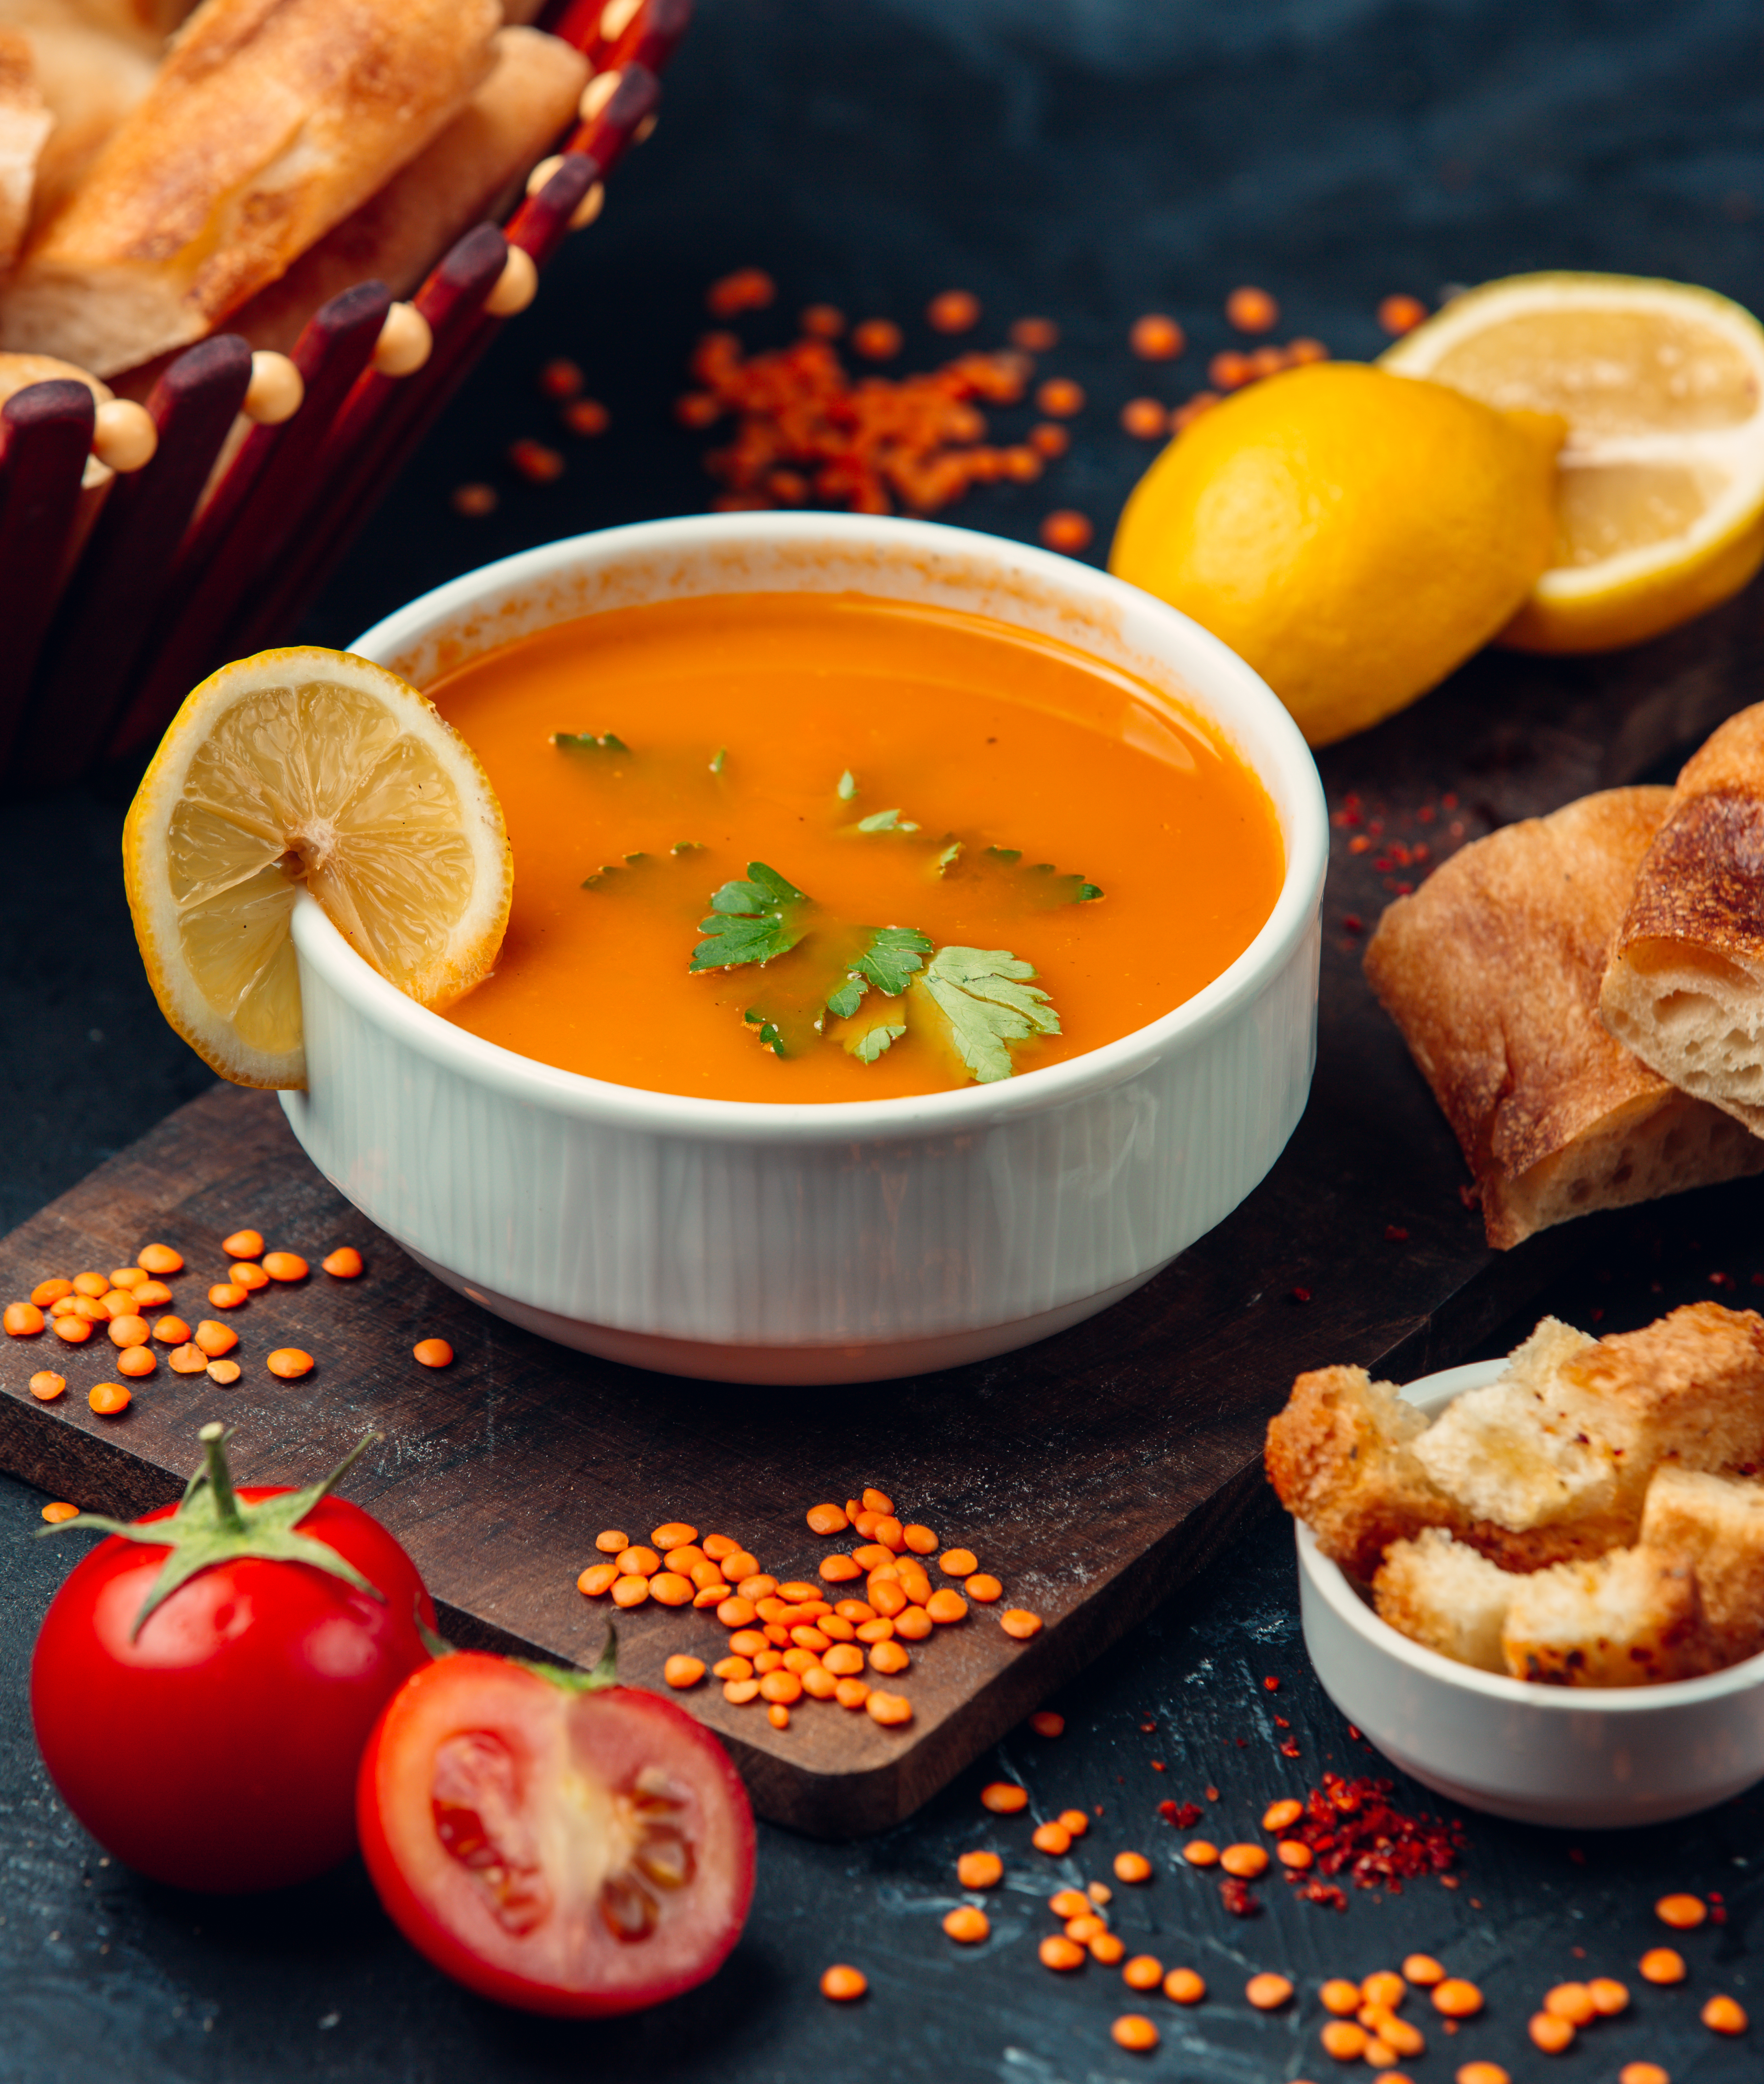
Must Read: Winter Treats: 7 Healthy & Tasty Homemade Protein Bar Recipes