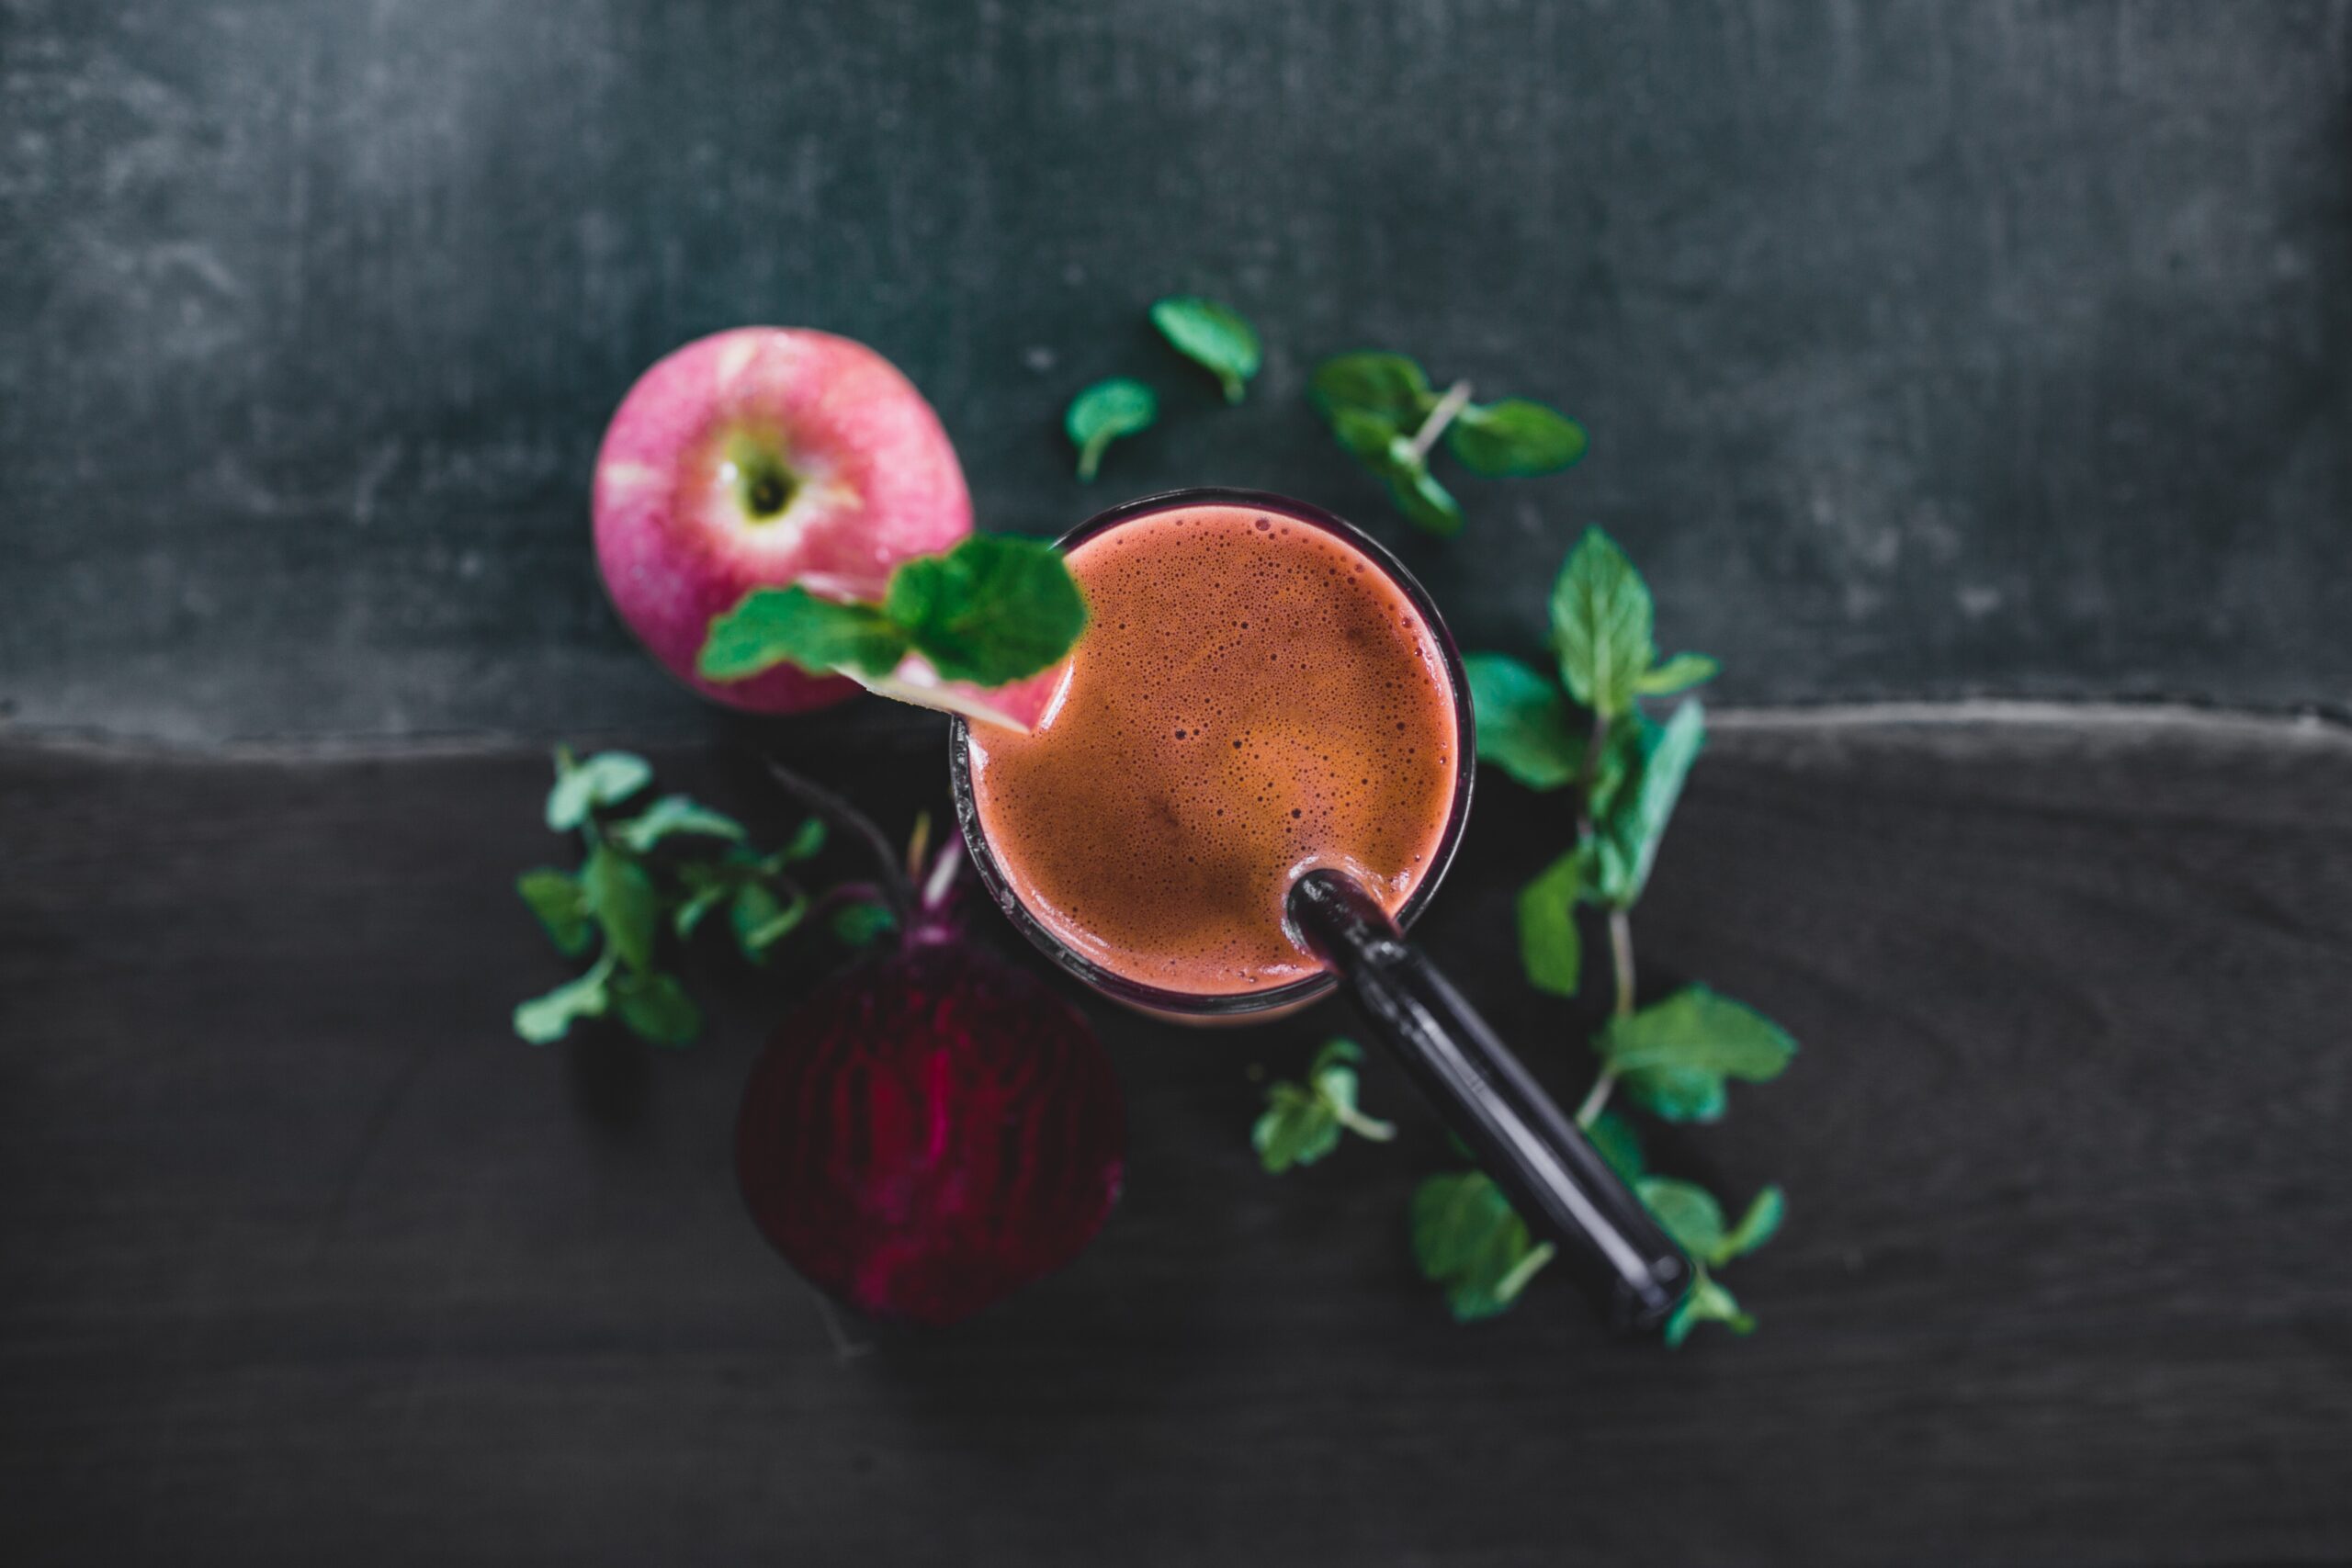
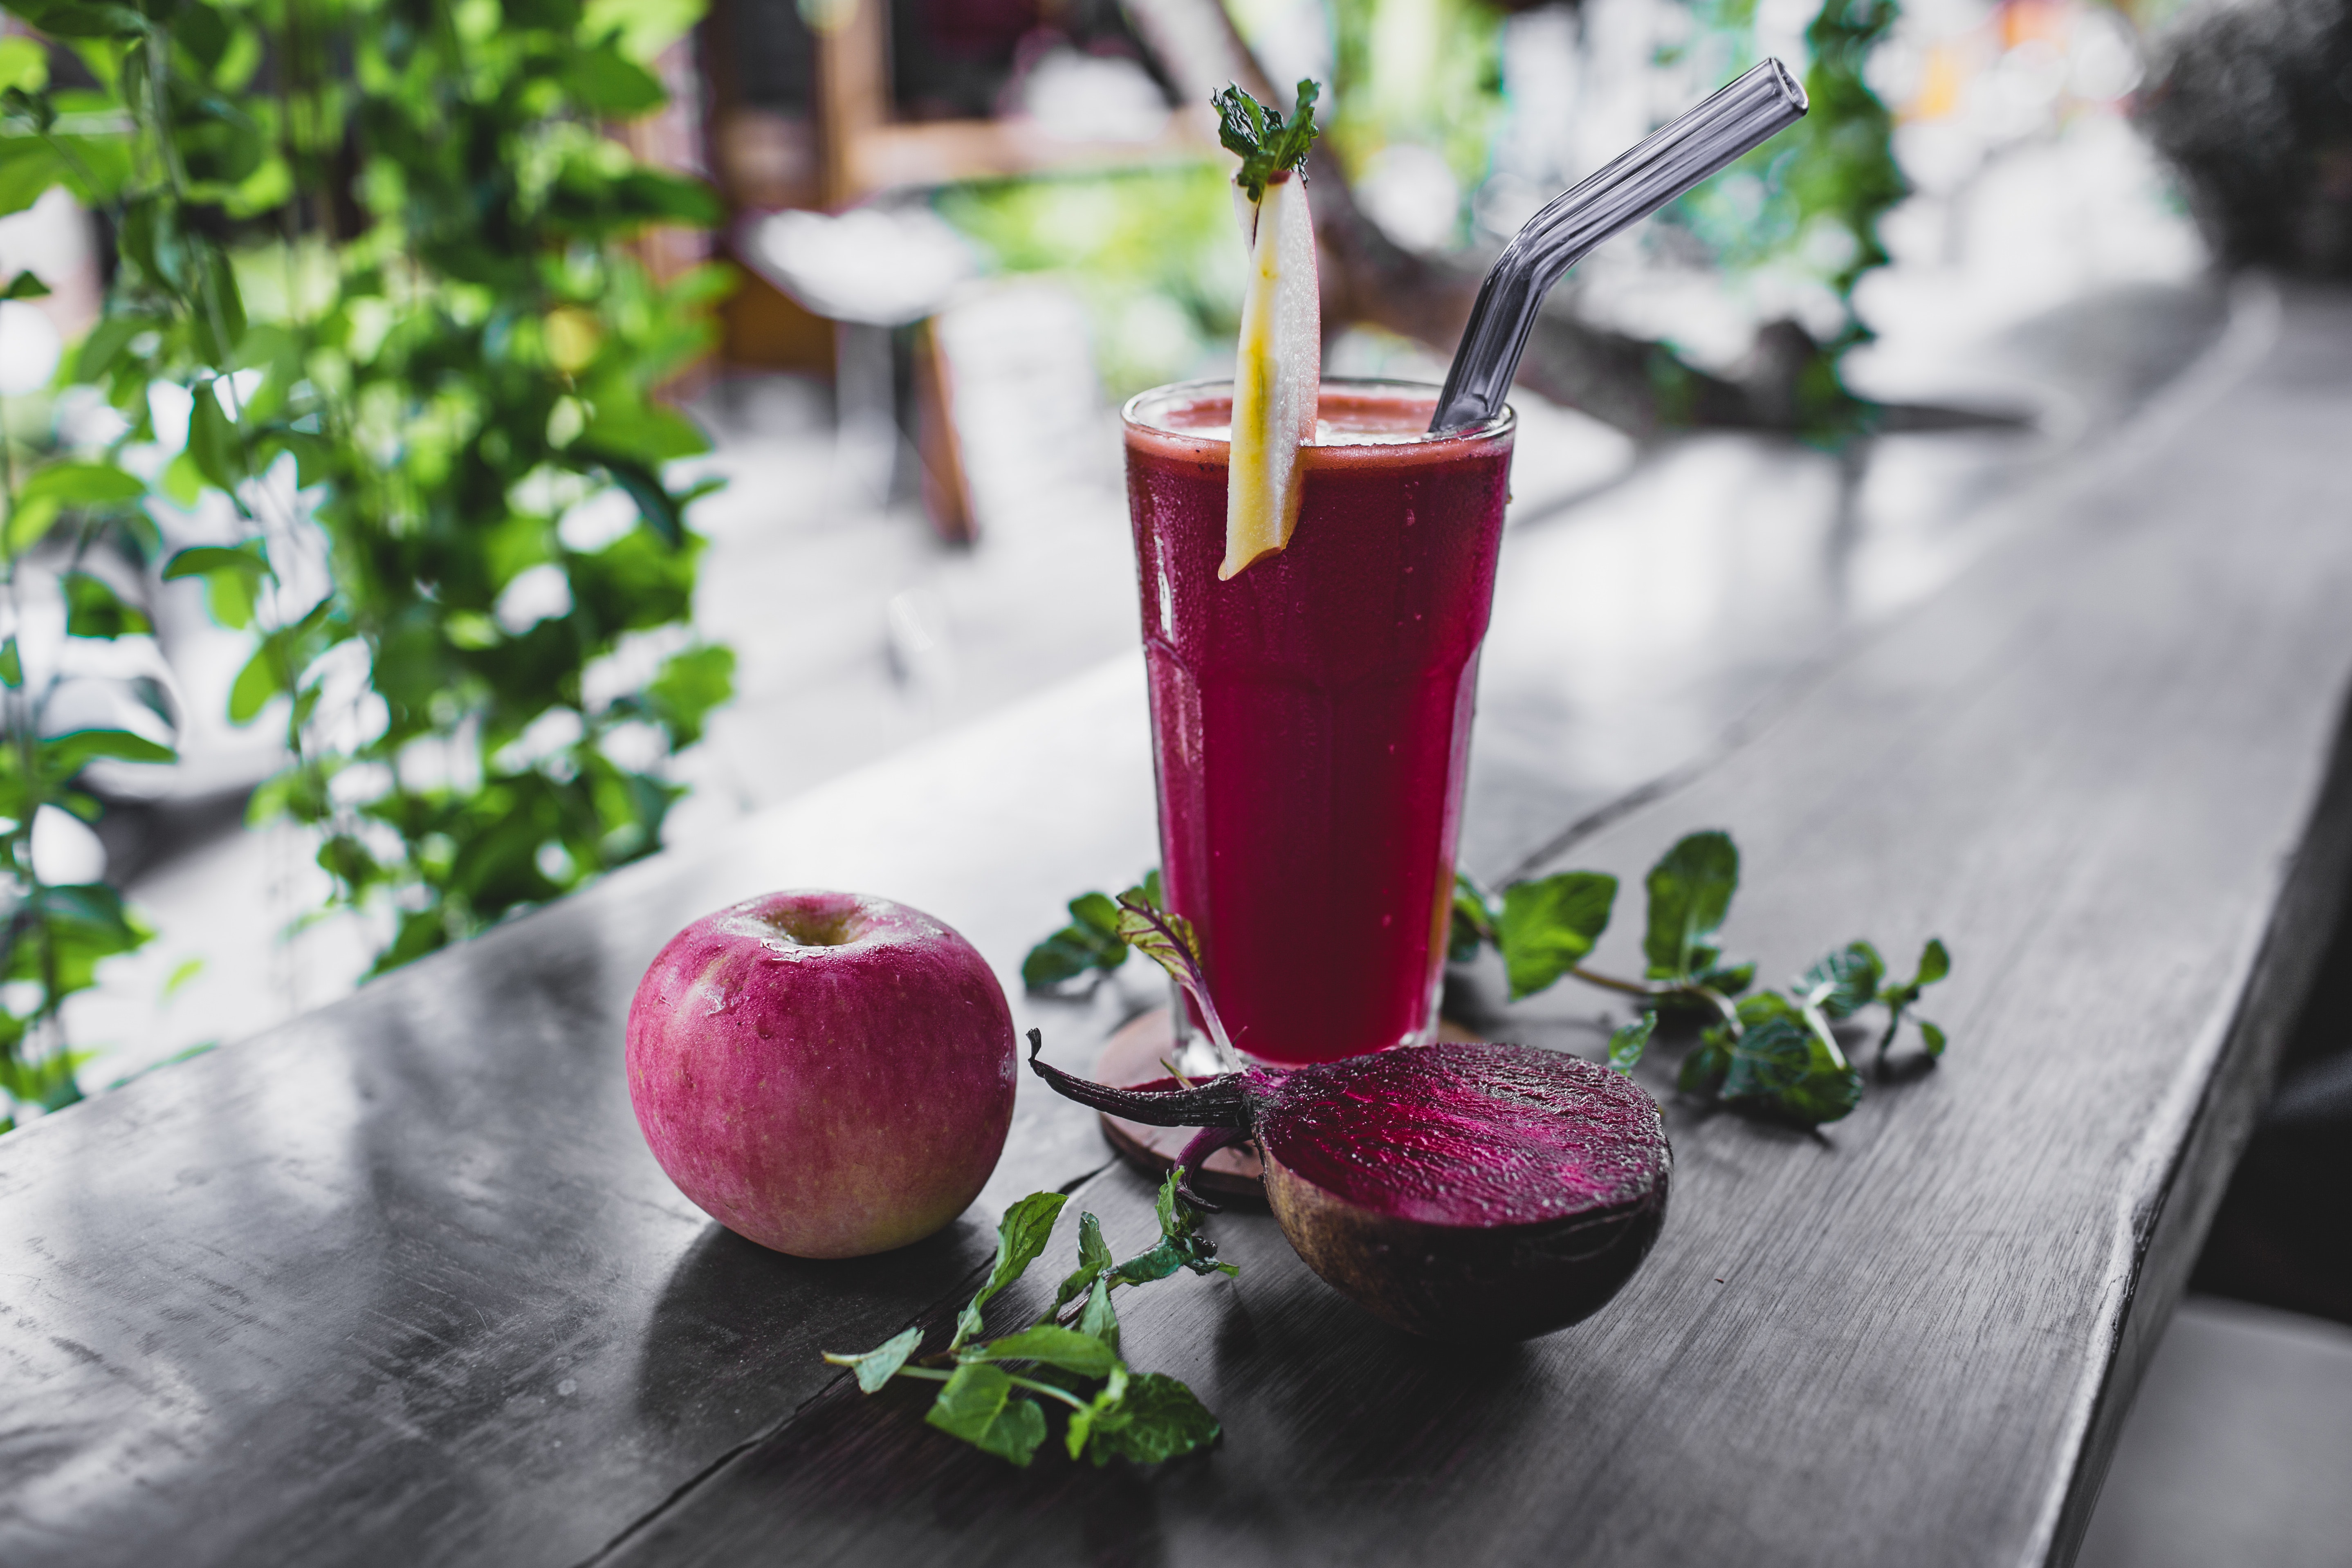
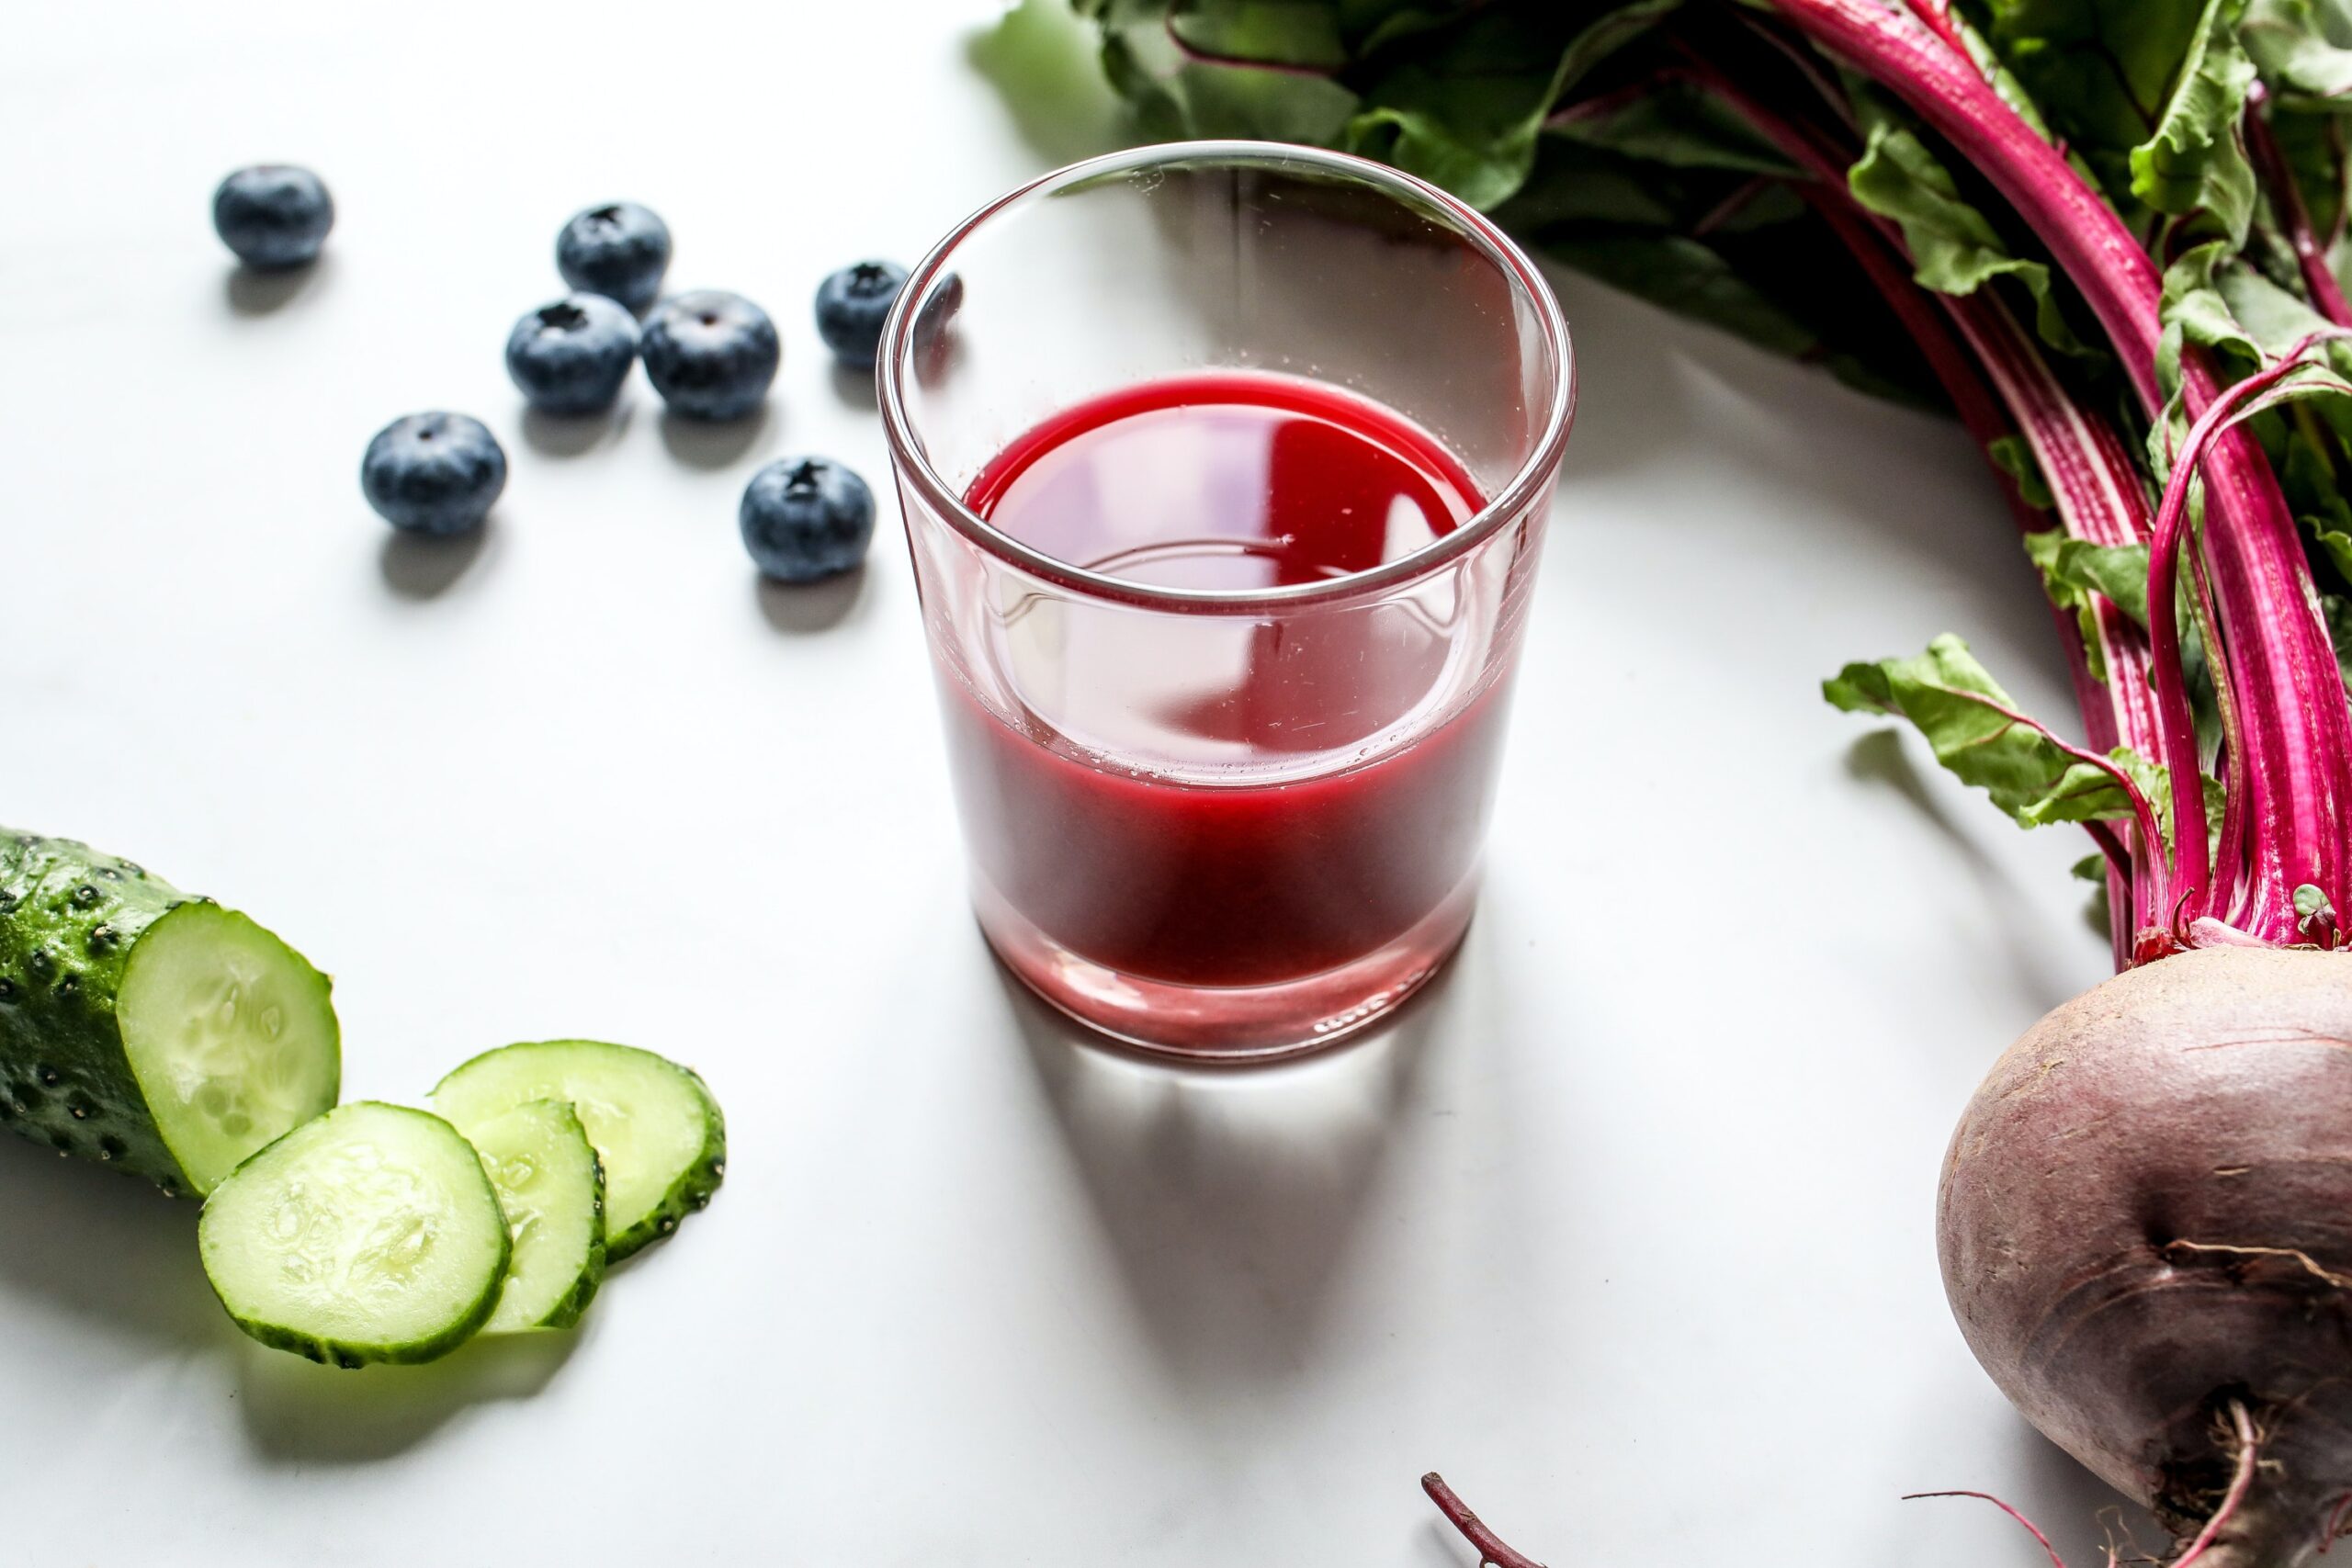
Are you looking for a nutritious (healthy) and delicious way to start your day? If so, you need to try this beetroot smoothie! It takes less than 5 minutes to make and is packed with vitamins, minerals, and antioxidants. Beetroots are a great source of iron, which is essential for energy levels. They also contain nitrates that can improve blood flow and lower blood pressure. And trust us, this smoothie tastes nothing like dirt!
Ingredients:
-1 cup of beets, peeled and diced
– One Banana, sliced
-1 cup of water or milk (dairy or non-dairy)
-1/2 cup frozen strawberries
-1/4 teaspoon ground cinnamon
Instructions:
Pop everything into a blender and mix until smooth.
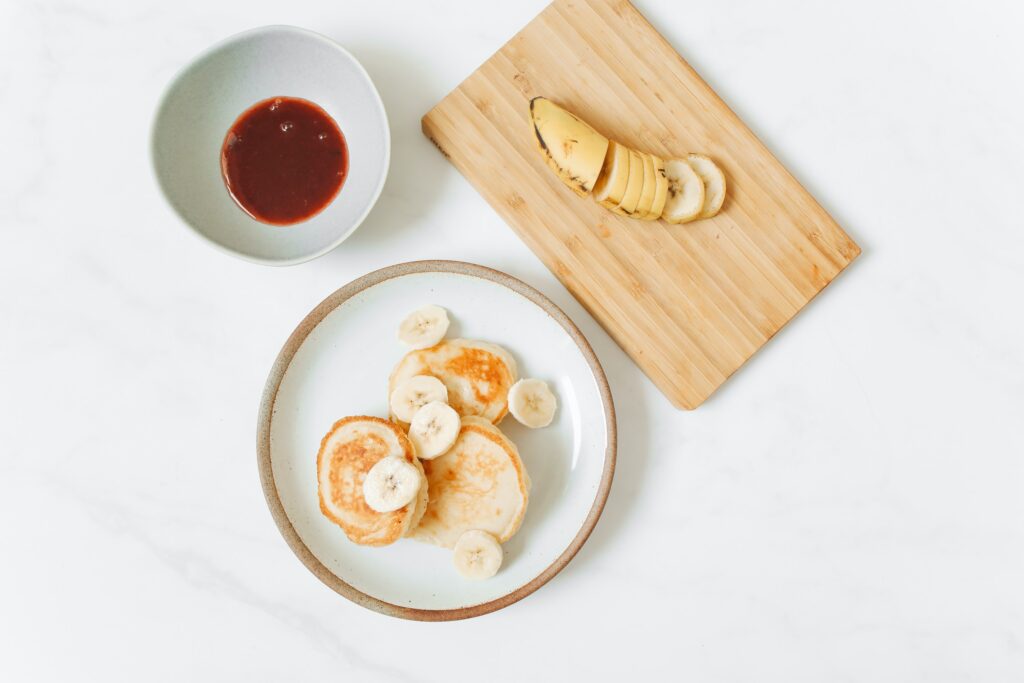
Serve with a little syrup and some extra fruit on the side.
This is a great recipe for kids and you can encourage them to eat beets because they will never know! To make the smoothie even more nutritious, you can add some fresh spinach too.
Beetroot smoothie is a delicious way to start your day
A smoothie is a blended drink that is usually thick, cold, and creamy. It is often made from fresh or frozen fruit and other ingredients like yogurt or honey. A smoothie is a popular breakfast drink. Other popular times to drink smoothies are as a snack and a meal replacement.
A beetroot smoothie is a great way to start your day. It is full of nutrients and is very delicious. There are many different ways to make a beetroot smoothie, but it is one of the easiest and tastiest recipes that you can try at home.
Tips you can follow:
If you don’t have a blender, you can grate the beets and blend them with some water or milk. The beets will easily grind if they are fresh and their skins are fresh.
To get more pink color, add some berries to the smoothie. – Add some dates, honey, or maple syrup to sweeten the taste.
Beetroot Nutrition & Health Benefits
Beetroots are one of the most nutritionally dense foods in the world, with an exceptional amino acid profile, and they’re especially good sources of iron and manganese. Recent research has shown that beetroots possess powerful antioxidant properties, which help protect against serious disease and premature aging.
If you’re looking for a way to mix up your morning routine, or just want to add more vegetables to your diet, then a beetroot smoothie is the perfect option! The earthy flavor of beetroot is actually quite refreshing and pairs well with other fruits and vegetables. The Red Velvet Beet Smoothie makes for a deliciously different way to start your day. If you’re still not convinced, give it a try and let me know what you think!
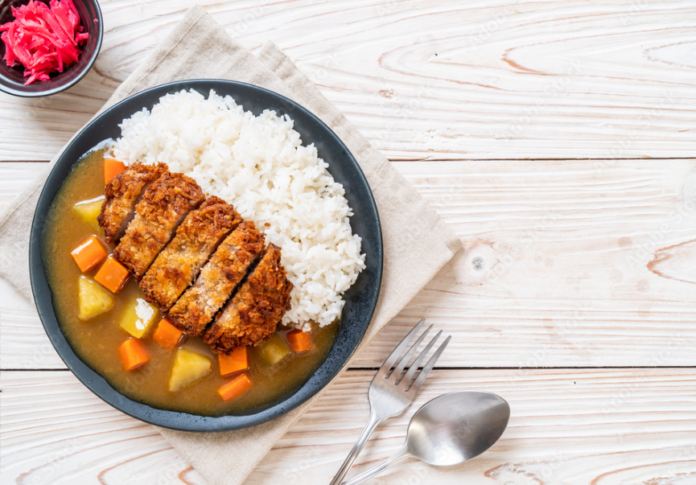
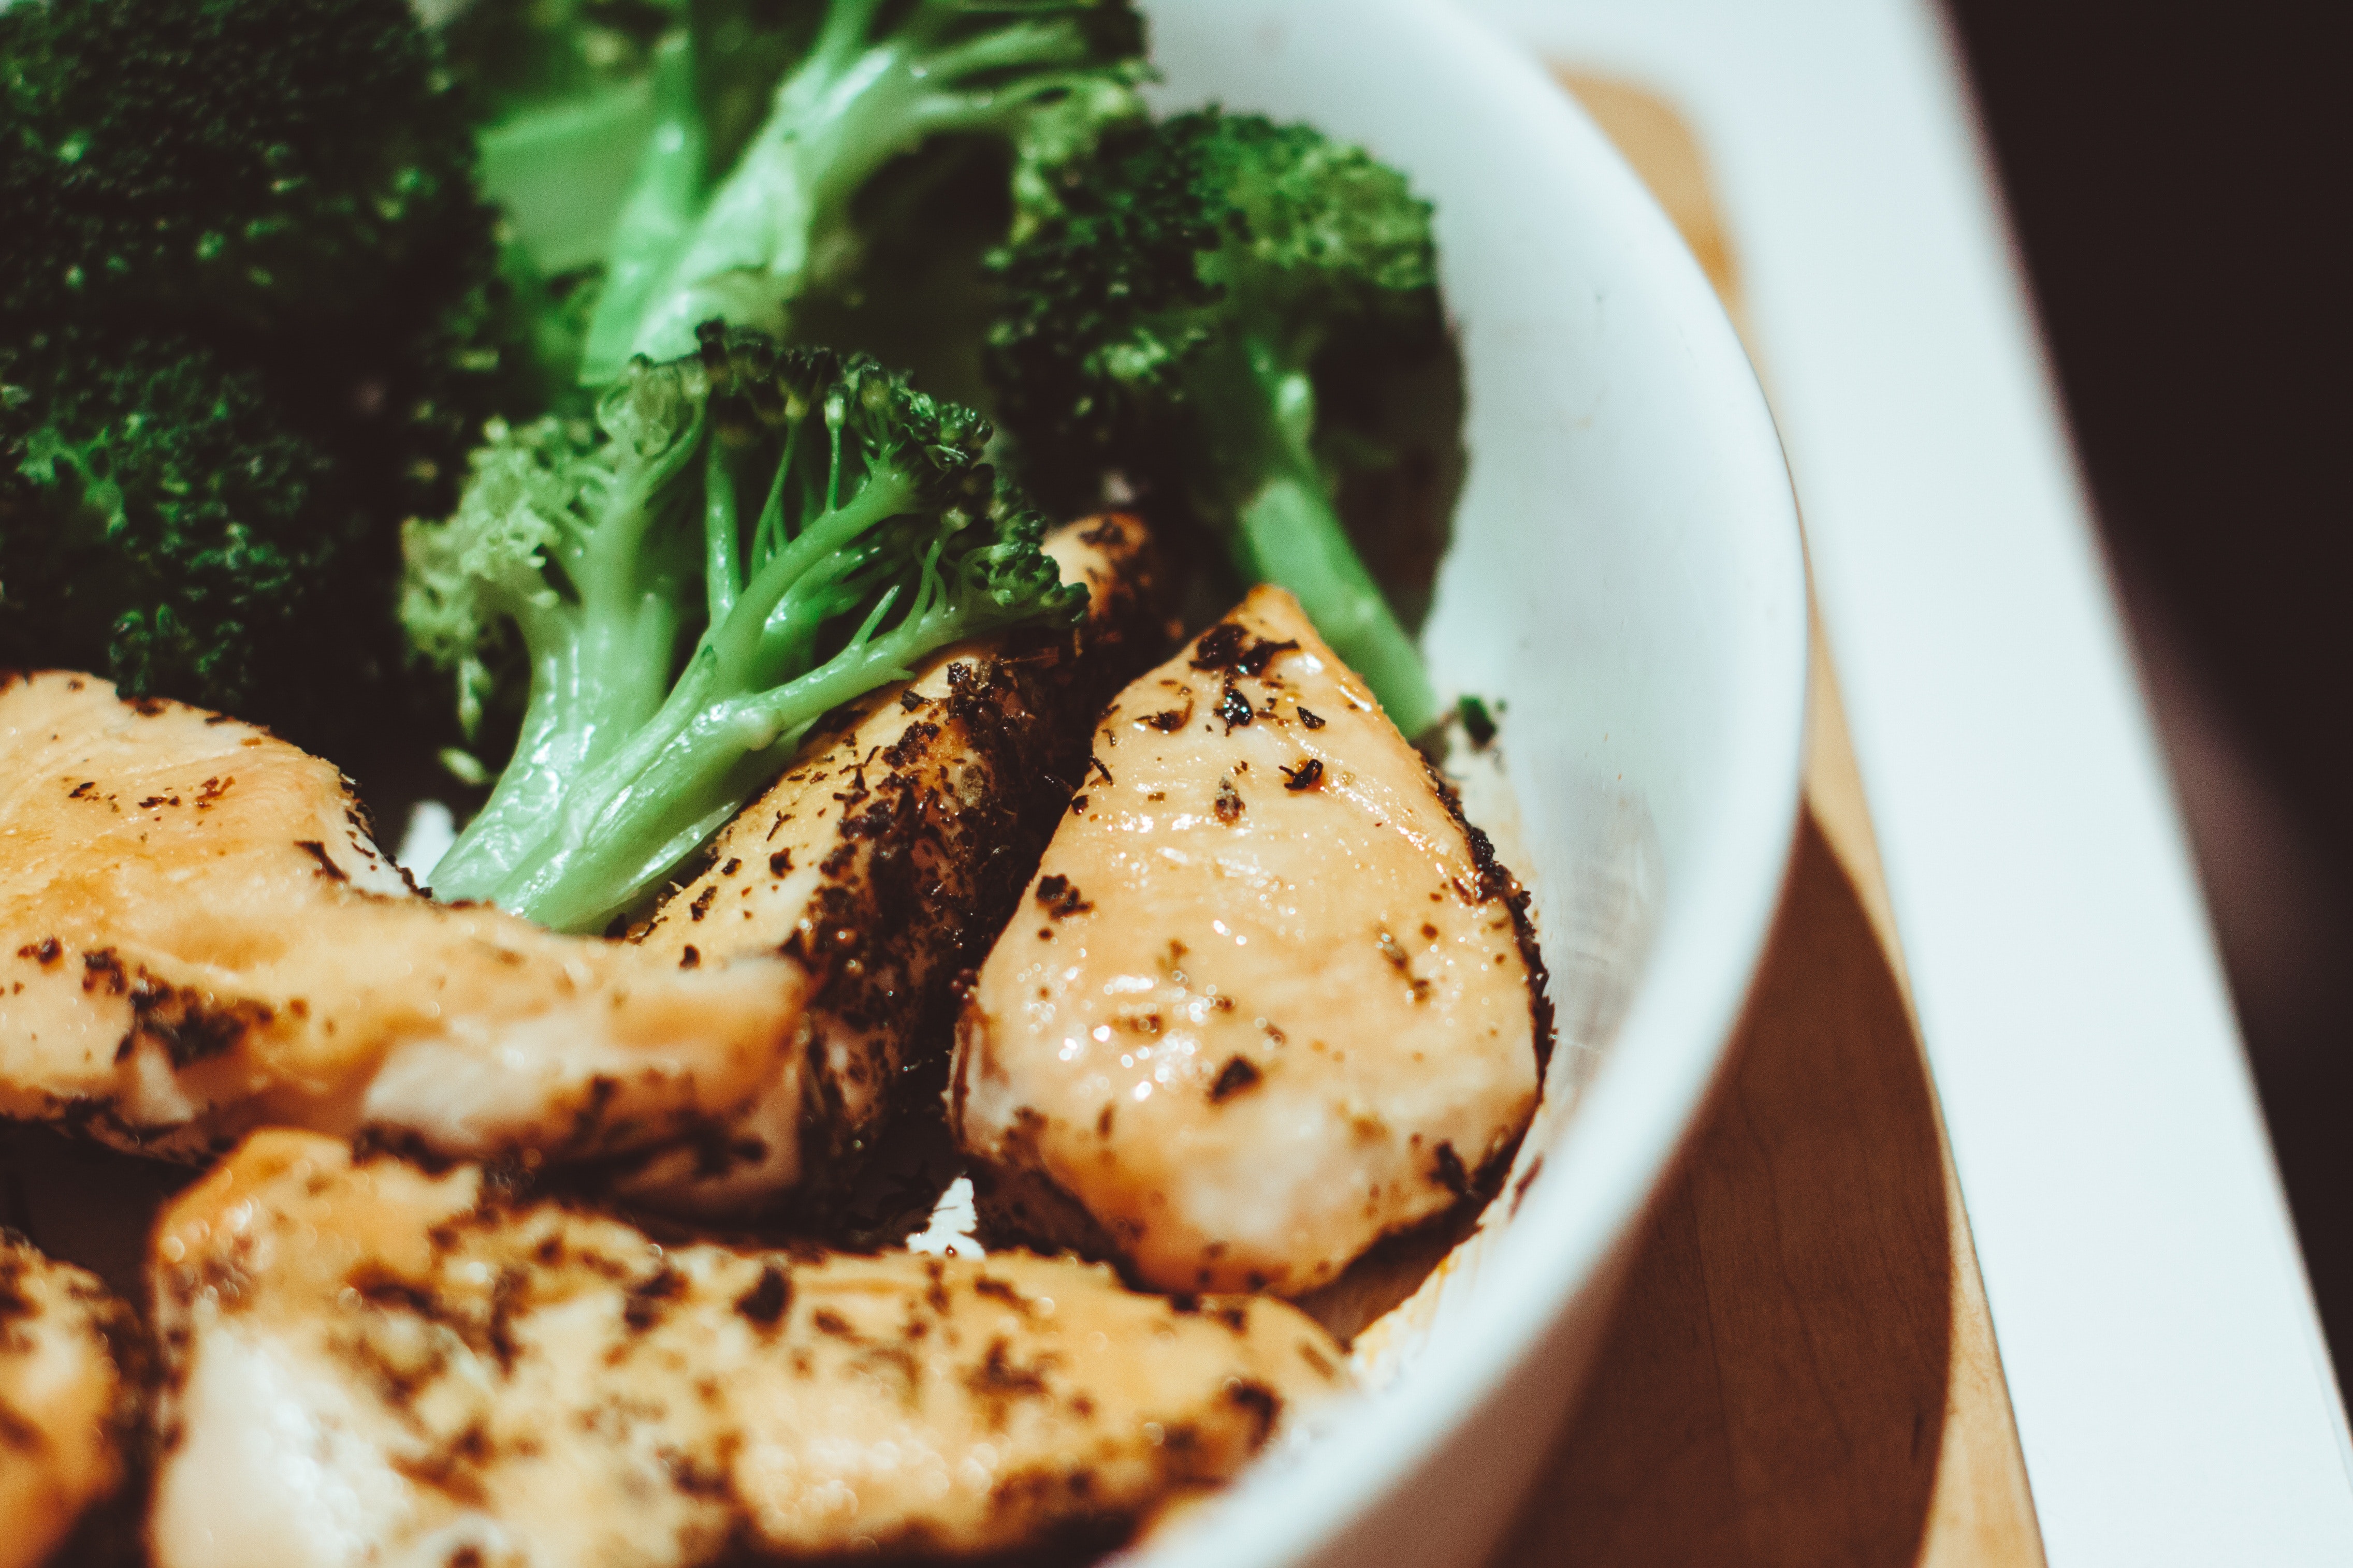
If you’re looking for a delicious, healthy meal, look no further than this chicken katsu curry. Healthy chicken katsu curry is a delicious and easy-to-make dish that’s perfect for a weeknight meal. Made with boneless, skinless chicken breast, this dish is coated in a light breadcrumb mixture and then fried or baked until crispy. The curry sauce is made with a blend of Indian spices and coconut milk, making it both flavorful and healthy. Serve with steamed rice or shredded cabbage, for a complete meal.
This dish is perfect for anyone looking for a healthier version of chicken katsu curry. The ingredients are simple and easily available, and the dish itself is packed full of flavor.
To make this dish, you will need:
-1 lb (500g) skinless, boneless chicken thighs
-1 tablespoon (15ml) vegetable oil
-4 cloves garlic, minced
-1 teaspoon freshly grated ginger
-2 tablespoons (30ml) of all-purpose flour
-1 teaspoon baking powder
-1/4 teaspoon kosher salt and some egg
-1/2 cup (120ml) panko bread crumbs
For the Curry Sauce:
-1 tablespoon (15ml) vegetable oil
-1 onion, diced ;3 cloves garlic, minced
-2 tablespoons (30ml) grated fresh ginger
-1 teaspoon ground cumin
-1/2 teaspoon ground turmeric
-1 teaspoon ground coriander
-2 tablespoons (30ml) tomato paste
-1 tablespoon (15ml) garam masala
-1/2 teaspoon red pepper flakes
Method :
First, preheat your oven to 400 degrees Fahrenheit.
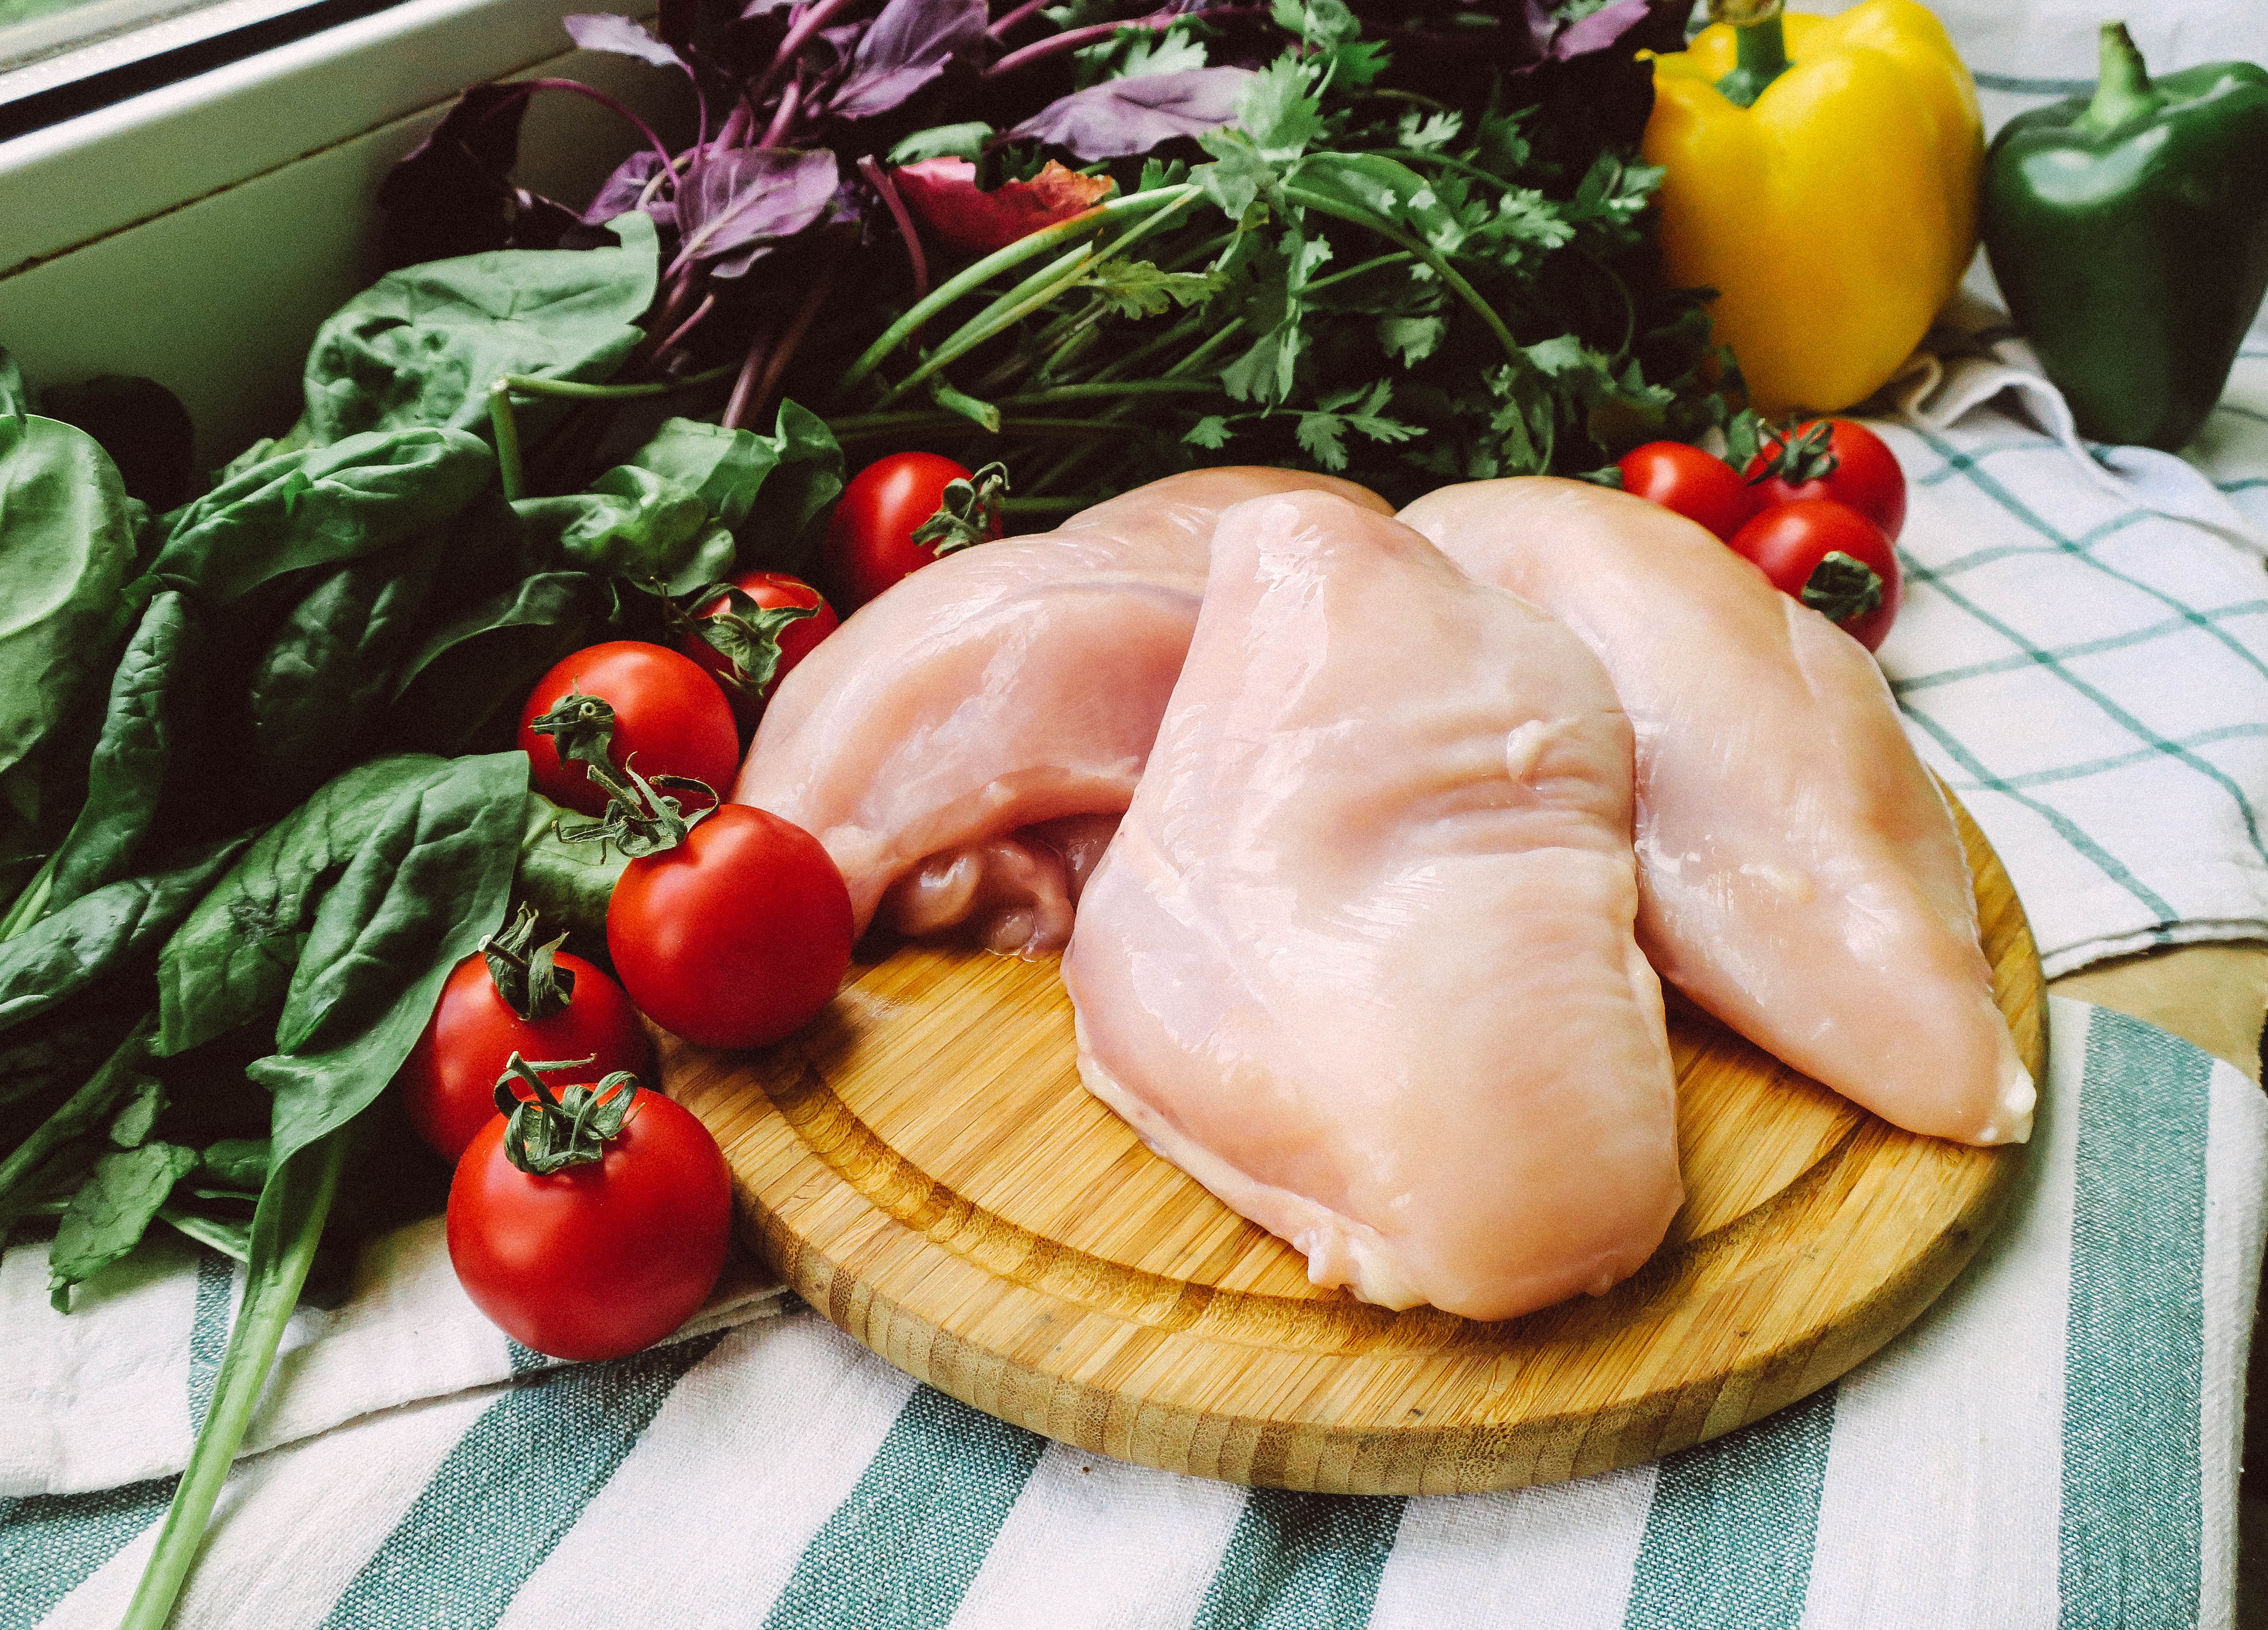
Next, cut your chicken breast into thin strips.
Season the chicken with salt and pepper.
In a shallow dish, whisk together some egg and flour.
Dip the chicken strips in the egg mixture, then coat in bread crumbs.
Place the chicken strips on a lightly oiled baking sheet and bake for 20 minutes.
To make the curry sauce, sauté some onion and garlic in olive oil.
Add canned tomatoes, salt, pepper, and curry powder or spices to taste.
Let the sauce simmer for 10 minutes.
Serve the chicken katsu over steamed rice and enjoy!
Plus, it’s a great way to use up any leftover chicken you might have. Chicken katsu is a Japanese dish that typically consists of deep-fried chicken cutlets. However, this version is baked, so it’s much healthier (and just as delicious).
Healthy Dish
The key to making this dish healthy is to use a light breadcrumb mixture and fry the chicken in vegetable oil or bake. This will make the chicken katsu curry less greasy and healthier overall.
Indian cuisine is known for its vibrant spices and flavorful dishes, but it can also be healthy. This chicken katsu curry is a perfect example. The curry sauce is made with a blend of Indian spices and coconut milk, making it both flavorful and healthy. The chicken is coated in a light batter and then fried to perfection. Serve this dish over steamed rice or naan bread for a good meal.
To sum up!
When it comes to chicken katsu curry, the possibilities are endless. You can make it as healthy or unhealthy as you like, depending on what ingredients you use. For a healthier version, try using lean chicken breast and whole-wheat breadcrumbs. This version is just as delicious as the original and will leave you feeling satisfied without all of the guilt. Serve over steamed rice or quinoa for a complete meal.
Who doesn’t love pancakes? They’re fluffy, delicious, and can be made with a variety of different ingredients. And what’s not to love about banana oat pancakes? They’re easy to make, healthy, and oh-so-tasty. Here is a recipe for those looking to make their own banana oat pancakes.
They are a great breakfast or snack option, and can be made with just a few simple ingredients. Here is a recipe for banana oat pancakes that you can try at home:
Ingredients:
-1 cup of oats
– one ripe banana
-1 egg (or 1/4 cup milk)
Instructions:
Just follow these simple instructions and you’ll have pancakes that will rival any café’s in no time.
1) Combine the dry ingredients in a bowl.
2) In a separate bowl, mash the bananas and add milk of choice until desired consistency is reached.
3) Add wet ingredients to dry ingredients and mix until combined.
4) Grease a frying pan with coconut oil or other oil of choice and medium heat.
5) Use 1/4 cup measures to scoop oatmeal and add to the frying pan. Cook until bubbles appear on top, around 2-3 minutes.
6) Flip to the other side and cook an additional 1-2 minutes.
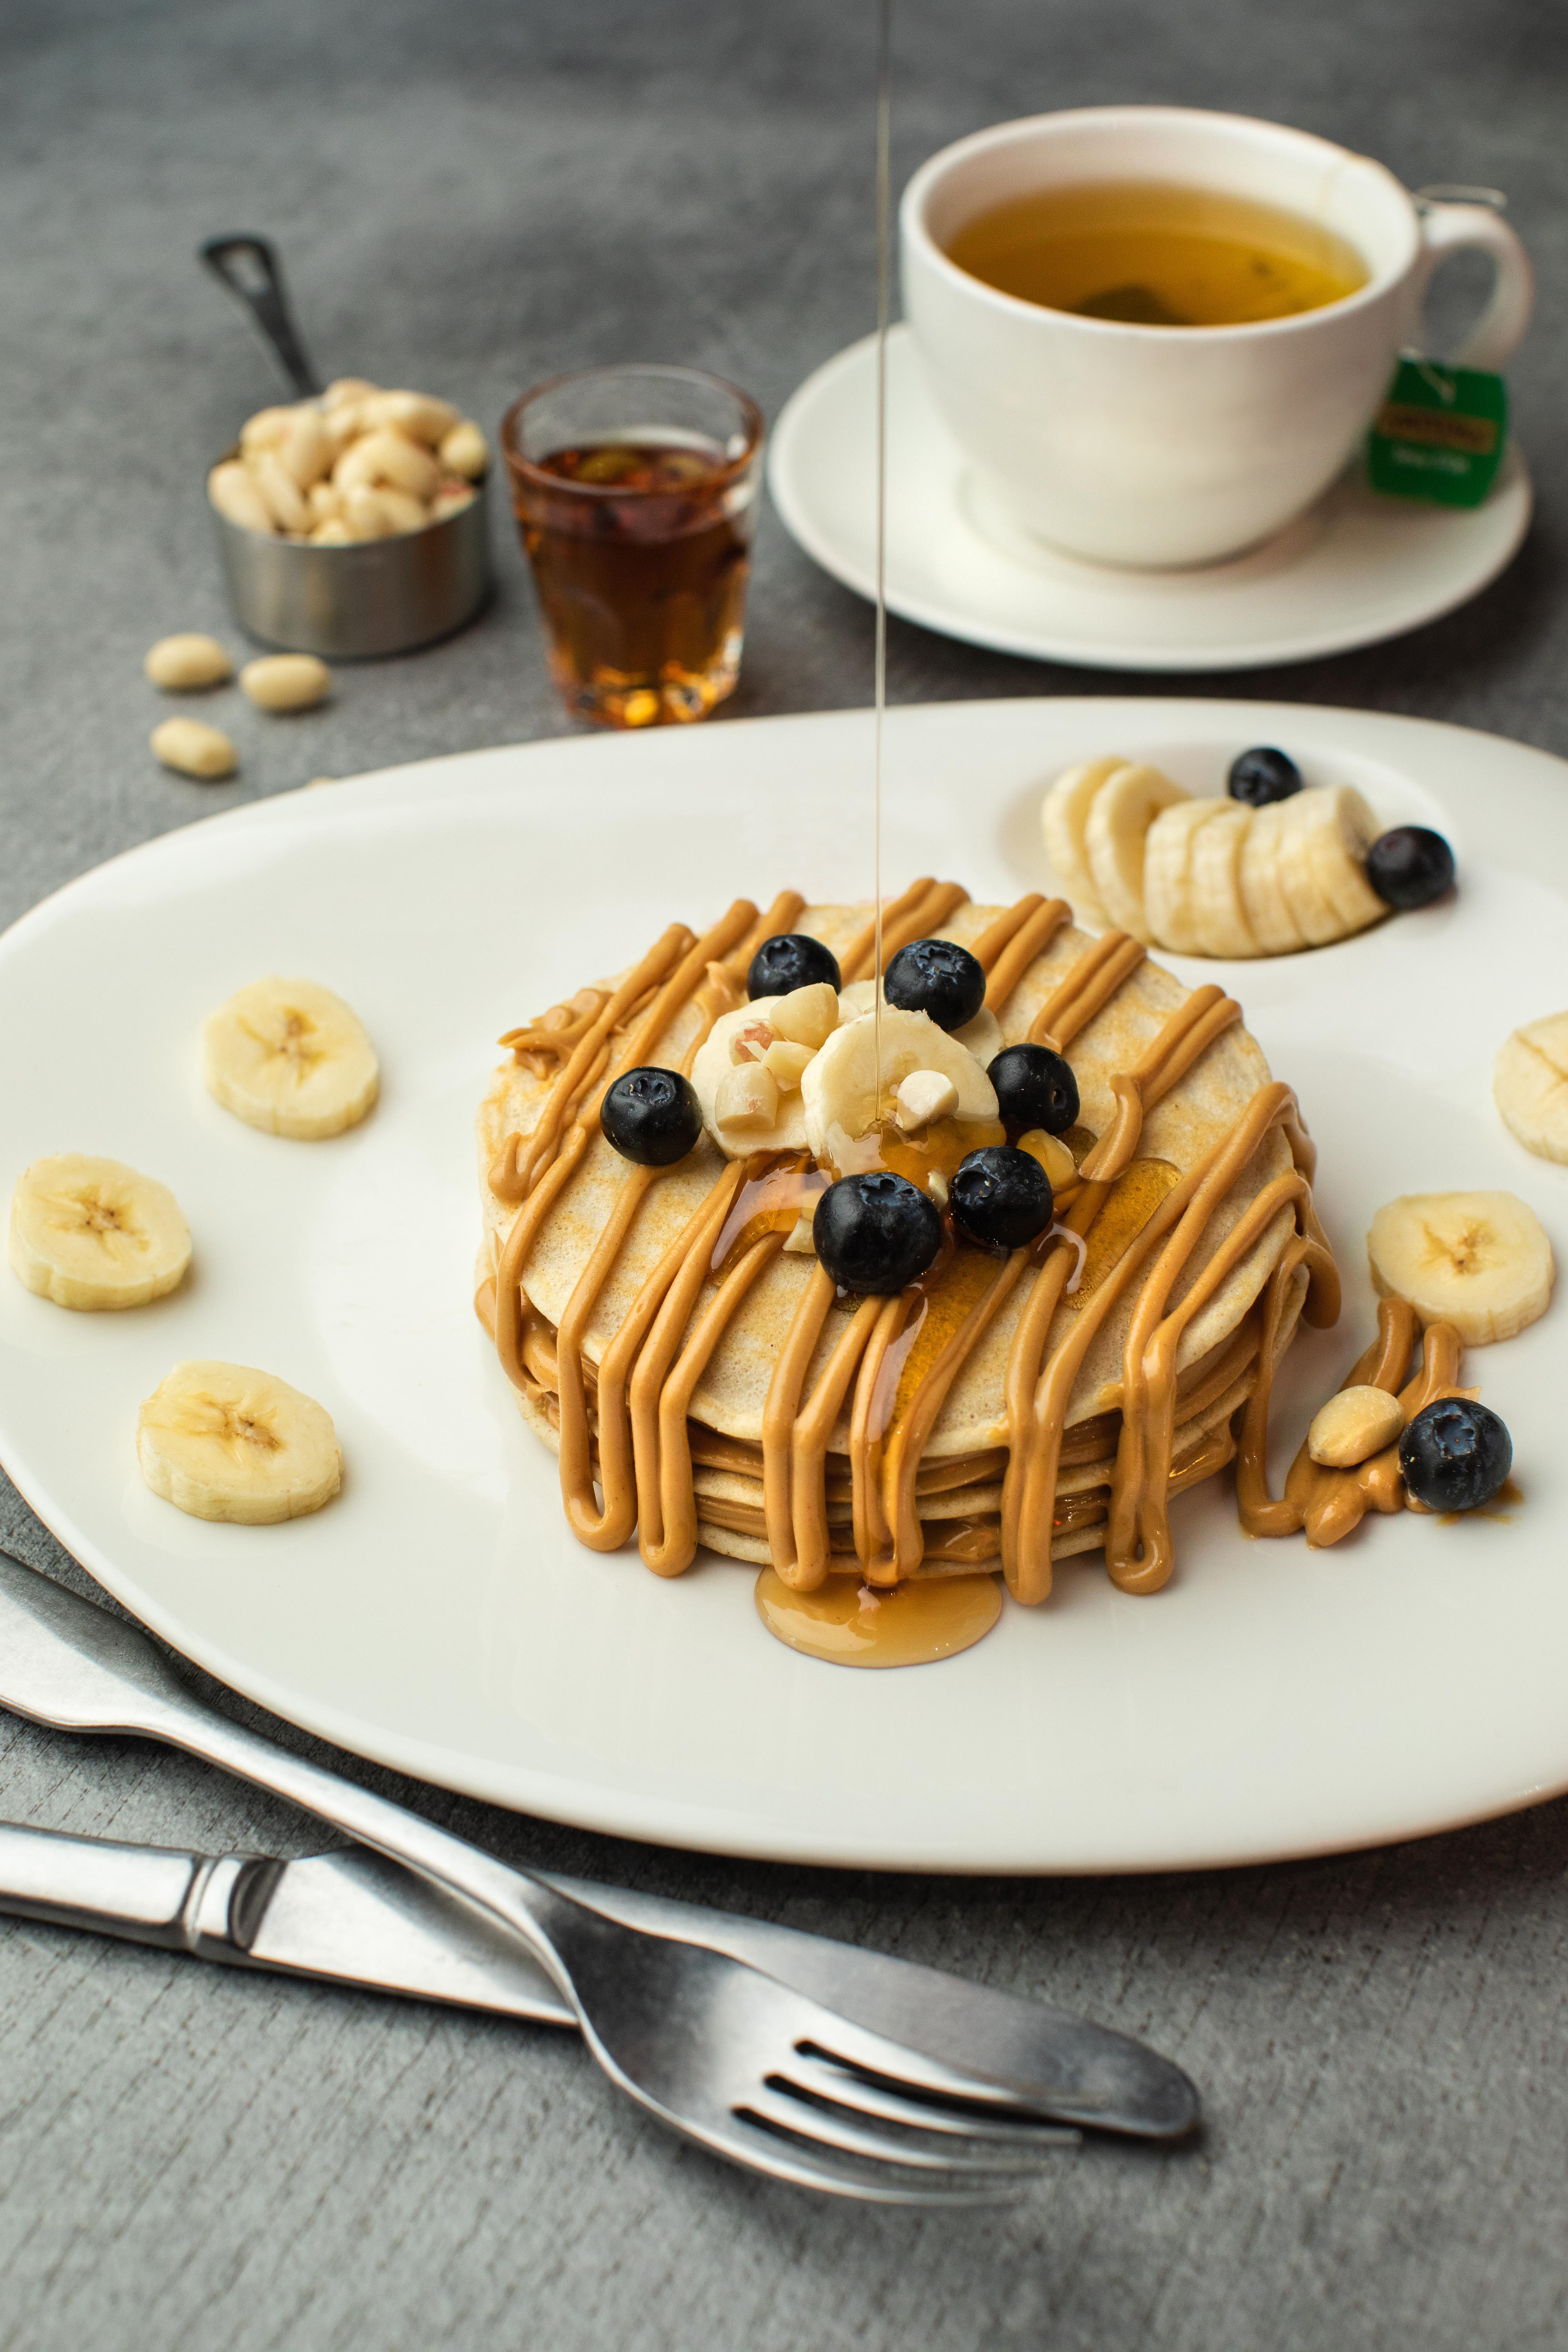
7) Top with favorite toppings, such as berries, bananas, or peanut butter!
These pancakes are a great breakfast on the go! Enjoy them at home, out camping, or wherever else you can imagine!
Wondering if oatmeal is safe ?
Waking up on a chilly morning, there’s nothing better than a bowl of warm oatmeal to start your day. But if you’re gluten-free, you might be wondering if oatmeal is safe for you to eat.
Here’s the good news:
Oats themselves are naturally gluten-free. The problem comes when the oats are processed in a factory or plant with wheat or other gluten-containing grains which can cause cross-contamination. Sojust make 100% sure your oatmeal is gluten free before proceeding.
These healthy blender pancakes also get a good boost of protein from the eggs (be sure to use free-range/organic eggs)
Making pancakes from scratch is a fun and easy way to show off your culinary skills. And, with our healthy banana oatmeal pancake recipe, you can do just that! Not to mention, these pancakes are easy to customize, so you can make them your own.
Here are some great ways to mix it up:
Add some diced fruit or chocolate chips into the batter for a tasty twist. For a real indulgence, top your pancakes with whipped cream, fresh berries and a drizzle of honey. If you’re feeling adventurous, try making savory pancakes by adding in some shredded cheese or chopped herbs. The possibilities are endless, so have fun and get creative!
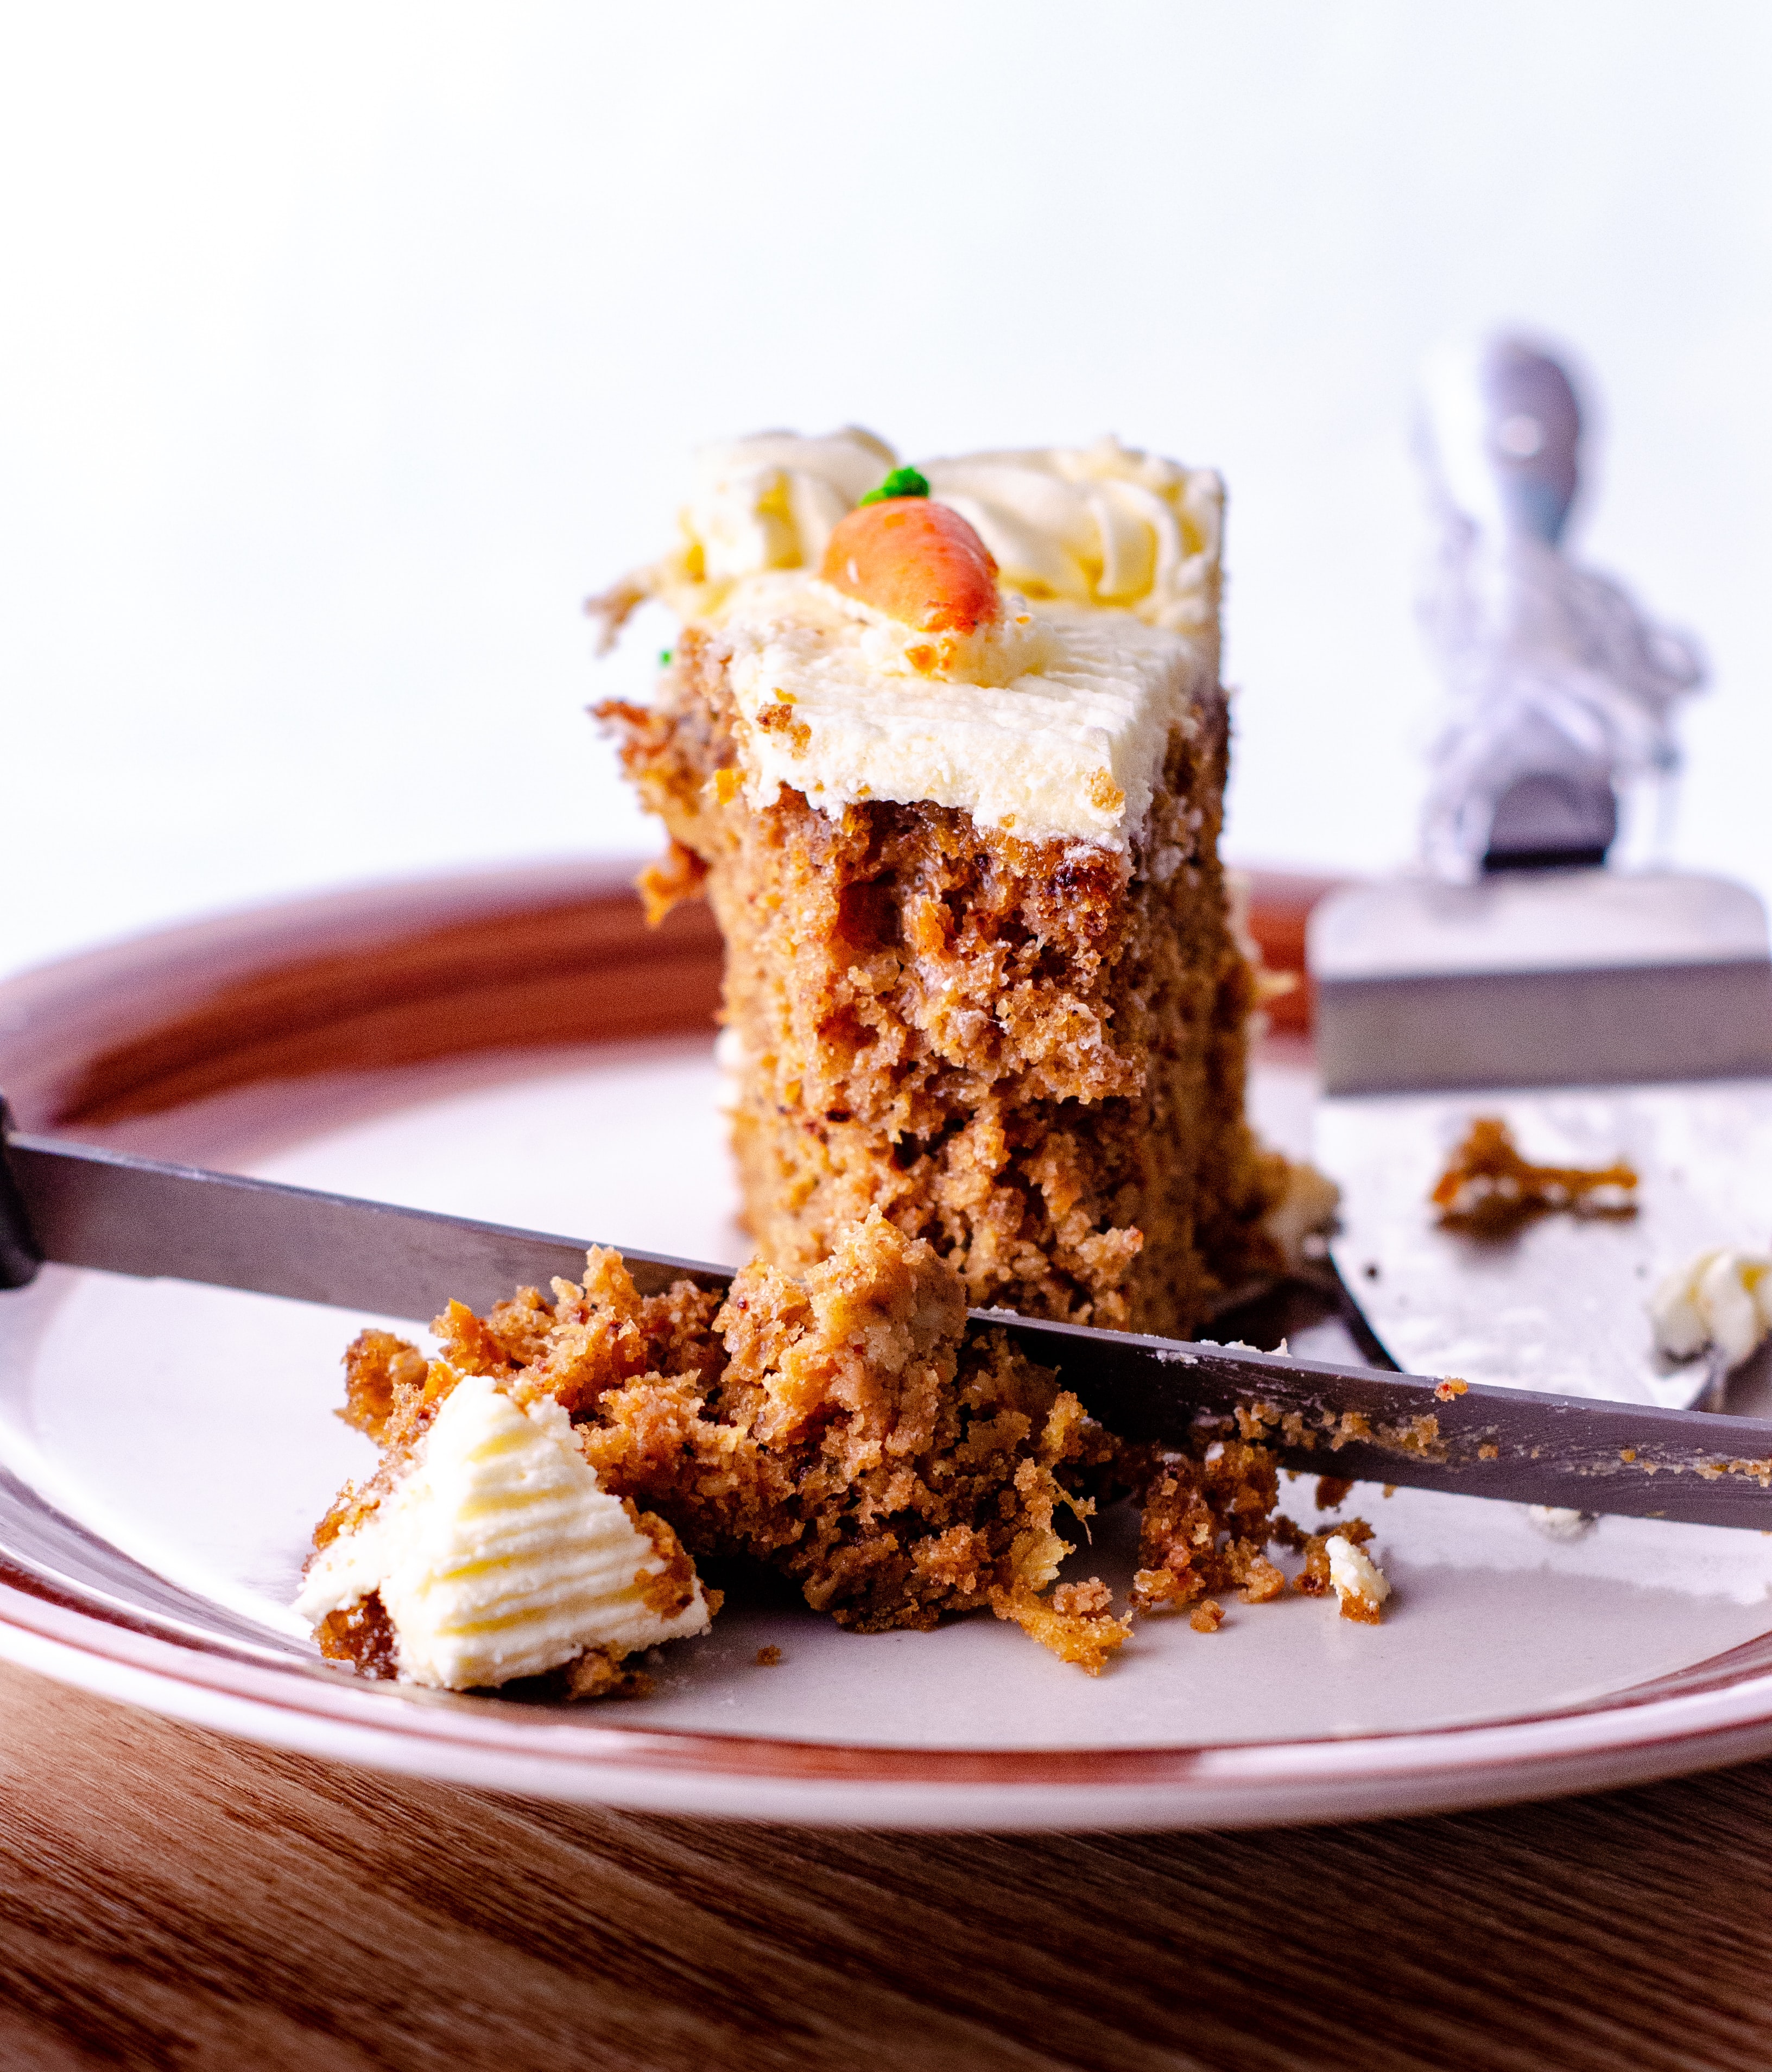
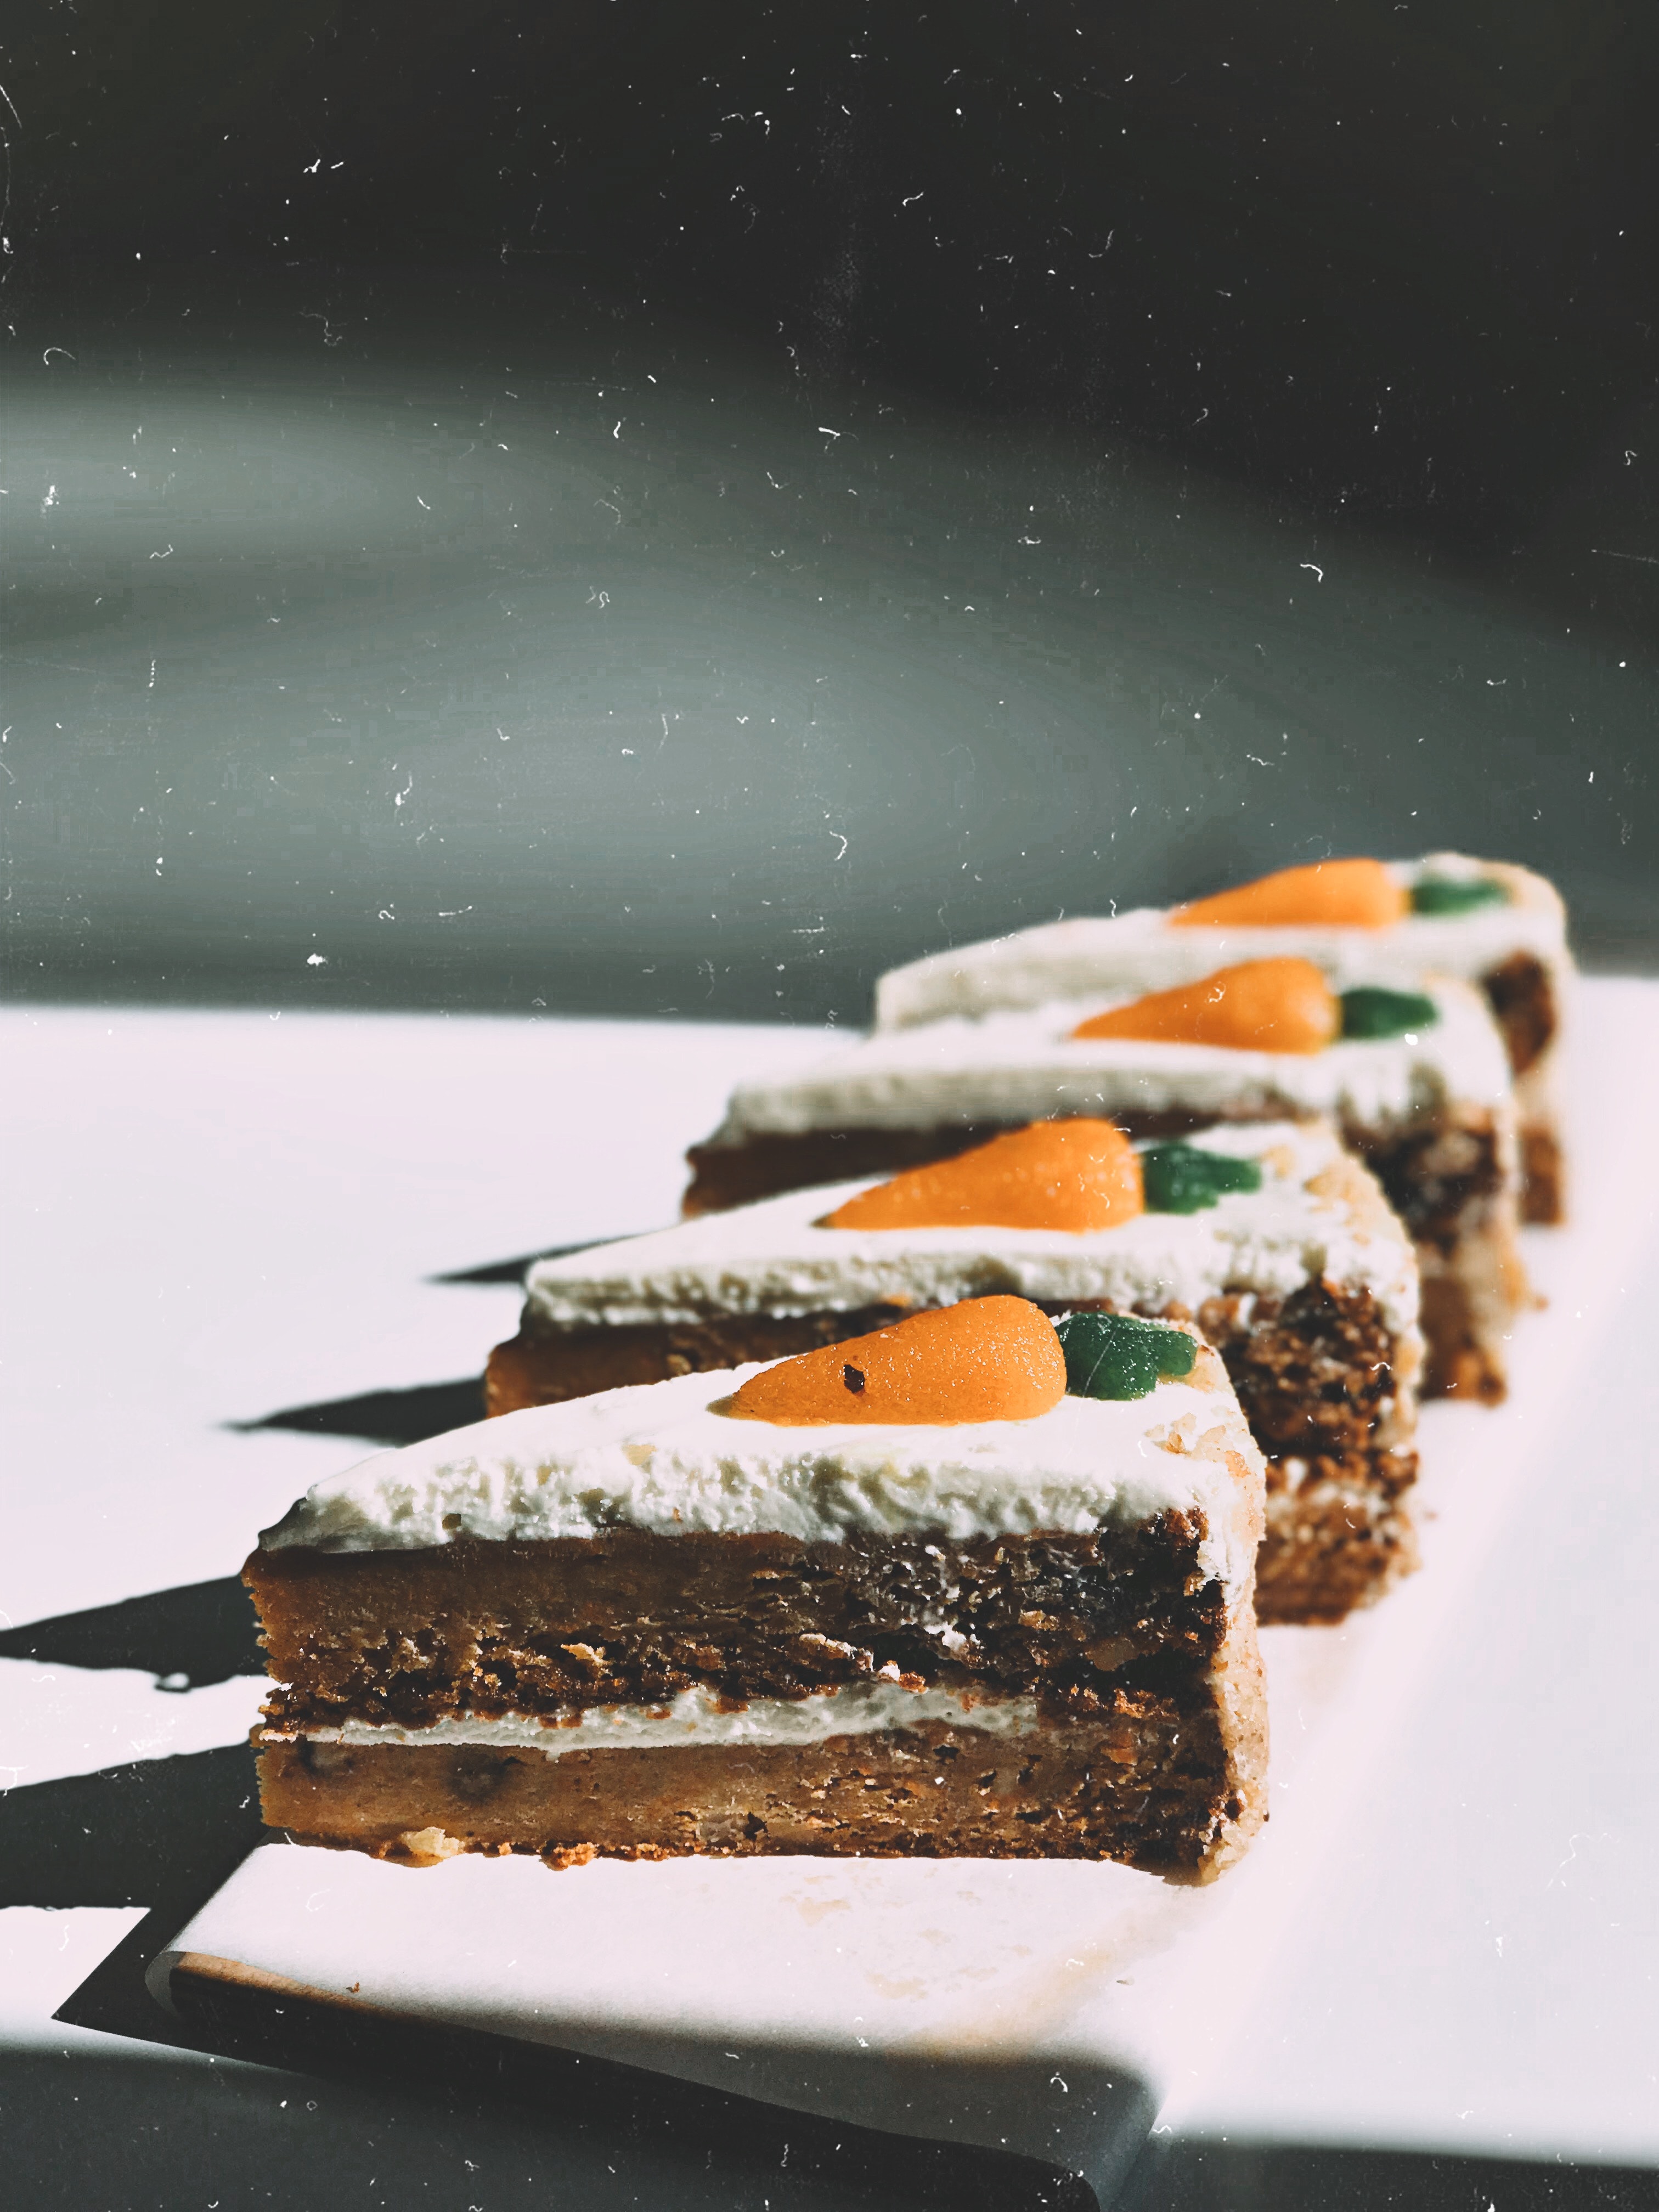
You’ll adore this magnificently moist, impeccably flavored Carrot Cake Recipe. This cake is quite easy to make. Finish everything off with a cream cheese frosting for what really may be the ideal cake.
Ingredients
2 ½ cups all-purpose flour (315g)
One cup granulated sugar (200g)
1 cup light or dark brown sugar (200g)
One and a half teaspoon baking soda
1 teaspoon baking powder
1 teaspoon salt
2 teaspoons ground cinnamon
½ teaspoon ground nutmeg
1 cup canola or vegetable oil (235ml)
½ cup unsalted butter melted (113g)
4 large eggs at room temperature
1 Tablespoon vanilla extract
3 cups grated carrots (340g)
1 cup chopped walnuts optional (125g)
Now that you know what to include in this moist carrot cake recipe, let’s get baking!
First, preheat the oven to 350 degrees Fahrenheit.
Then, coat a 9-inch round cake pan with cooking spray and set aside.
Next, place flour, sugar, and spices in a small bowl and whisk until combined.
In another bowl combine eggs, oil, and vanilla extract before mixing in the crushed pineapple until smooth.
Add wet ingredients to dry ones then spread evenly into the prepared pan before topping with walnuts (optional).
Bake for 40 minutes or until a toothpick inserted comes out clean before cooling completely on a wire rack then slice into 8 pieces per serving!
Baking powder & Baking soda
Baking powder is a leavening agent used to make baked goods rise. It’s made from an acid and a base, which react with one another when moistened by liquid. Baking soda can be used in combination with an acidic ingredient to create carbon dioxide gas bubbles (the main component of air). But it’s not as effective as baking powder at doing so.
In fact, when you add baking soda directly to this moist carrot cake recipe without any other acidic ingredients present. You’ll notice that your batter will get very foamy! This happens because the baking soda reacts with the moisture in your carrots and brown sugar both at once. It creates extra bubbles instead of just expanding those already present.
The result? A dense carrot cake that tastes like it’s been sitting out on the counter for days (not necessarily in a good way). It’s best to use baking powder instead here since it doesn’t foam up quite as much as its counterpart does when exposed to moisture. Leaving more room for fluffy crumbs instead of soggy ones!
If you are using salted butter, omit the salt in this recipe.
Alternatively, you can use unsalted butter and add small amounts of salt to taste.
Or, if you prefer to avoid salt in your diet, just use salted butter as directed in this recipe.
Ground Cinnamon
Ground cinnamon is a spice that comes from the bark of the tree Cinnamomum verum, commonly known as the “cassia” or Chinese cinnamon tree. It has a sweet, warm flavor and is used in many desserts and savory dishes. Ground cinnamon is also sometimes used to add an extra kick to curry sauces.
Cinnamon has been used as a medicinal herb for thousands of years in China, India, and elsewhere across Asia, Europe, and Africa. Because it contains natural antioxidants which have been shown to lower blood sugar levels in people with type 2 diabetes.
Butter
Room-temperature butter is essential for this moist carrot cake recipe. It’s easier to cream, spread, work with, measure, and mix with room-temperature butter. And—best of all—it bakes up beautifully in the oven!
I’ve included instructions on how to bring cold butter to room temperature quickly: just leave it out on the counter while you get everything else ready.
Granulated sugar
Granulated sugar is a type of sugar that comes in large, white crystals. It’s made from sugar cane and is often used in baking, coffee, and cocktails. If you’ve ever added a teaspoon of granulated sugar to your morning cup of joe or stirred it into your favorite cocktail recipe, you’re familiar with this ingredient.
Granulated sugar can be found anywhere from specialty shops to grocery stores. Some brands include demerara (a coarse-textured variety) and muscovado (which has a slightly bitter taste).
Brown sugar has more moisture than white sugar, which is why this recipe has a smaller amount of it.
Brown sugar also gives your cake a deeper caramel flavor and is less refined than white granulated sugar, so you can use less of it to sweeten your cakes without sacrificing their moistness or the richness of their taste.
Grated Carrots:
This recipe calls for 3/4 cup of grated carrots, which may seem like a lot. But if you have time to grate them yourself and drain off the pineapple juice (or buy pre-grated carrots that are already drained), you’ll be rewarded with a moist and rich cake.
If you’re short on time, the next best option is to use baby carrots that come packaged in their own juice; drain that off before adding it to your batter.
First, start by washing and drying your carrots thoroughly. Then peel them with a vegetable peeler or paring knife if they’re organic. Most grocery stores sell organic carrots these days!
Cut off the ends of each carrot with another paring knife; this will make it easier for you to hold onto as you grate. Grate one at a time using either an old-school box grater or food processor attachment for shredding purposes.
Use caution when working this way since there’s more potential for splashing than when using just about any other utensil. Make sure everyone around can see what’s going on so no one gets hit by flying carrot pulp!
Crushed pineapple
The secret ingredient in this moist carrot cake recipe is crushed pineapple. You can use fresh or canned pineapple, but be sure to drain it well if you’re using canned. You can also use any type of canned pineapple in this moist carrot cake recipe. I find that the flavor is best when I mix a variety of different brands together. If you want to add some extra sweetness, feel free to add a little bit of sugar as well!
For those looking for an even healthier option: try using unsweetened apple juice instead of pineapple juice!
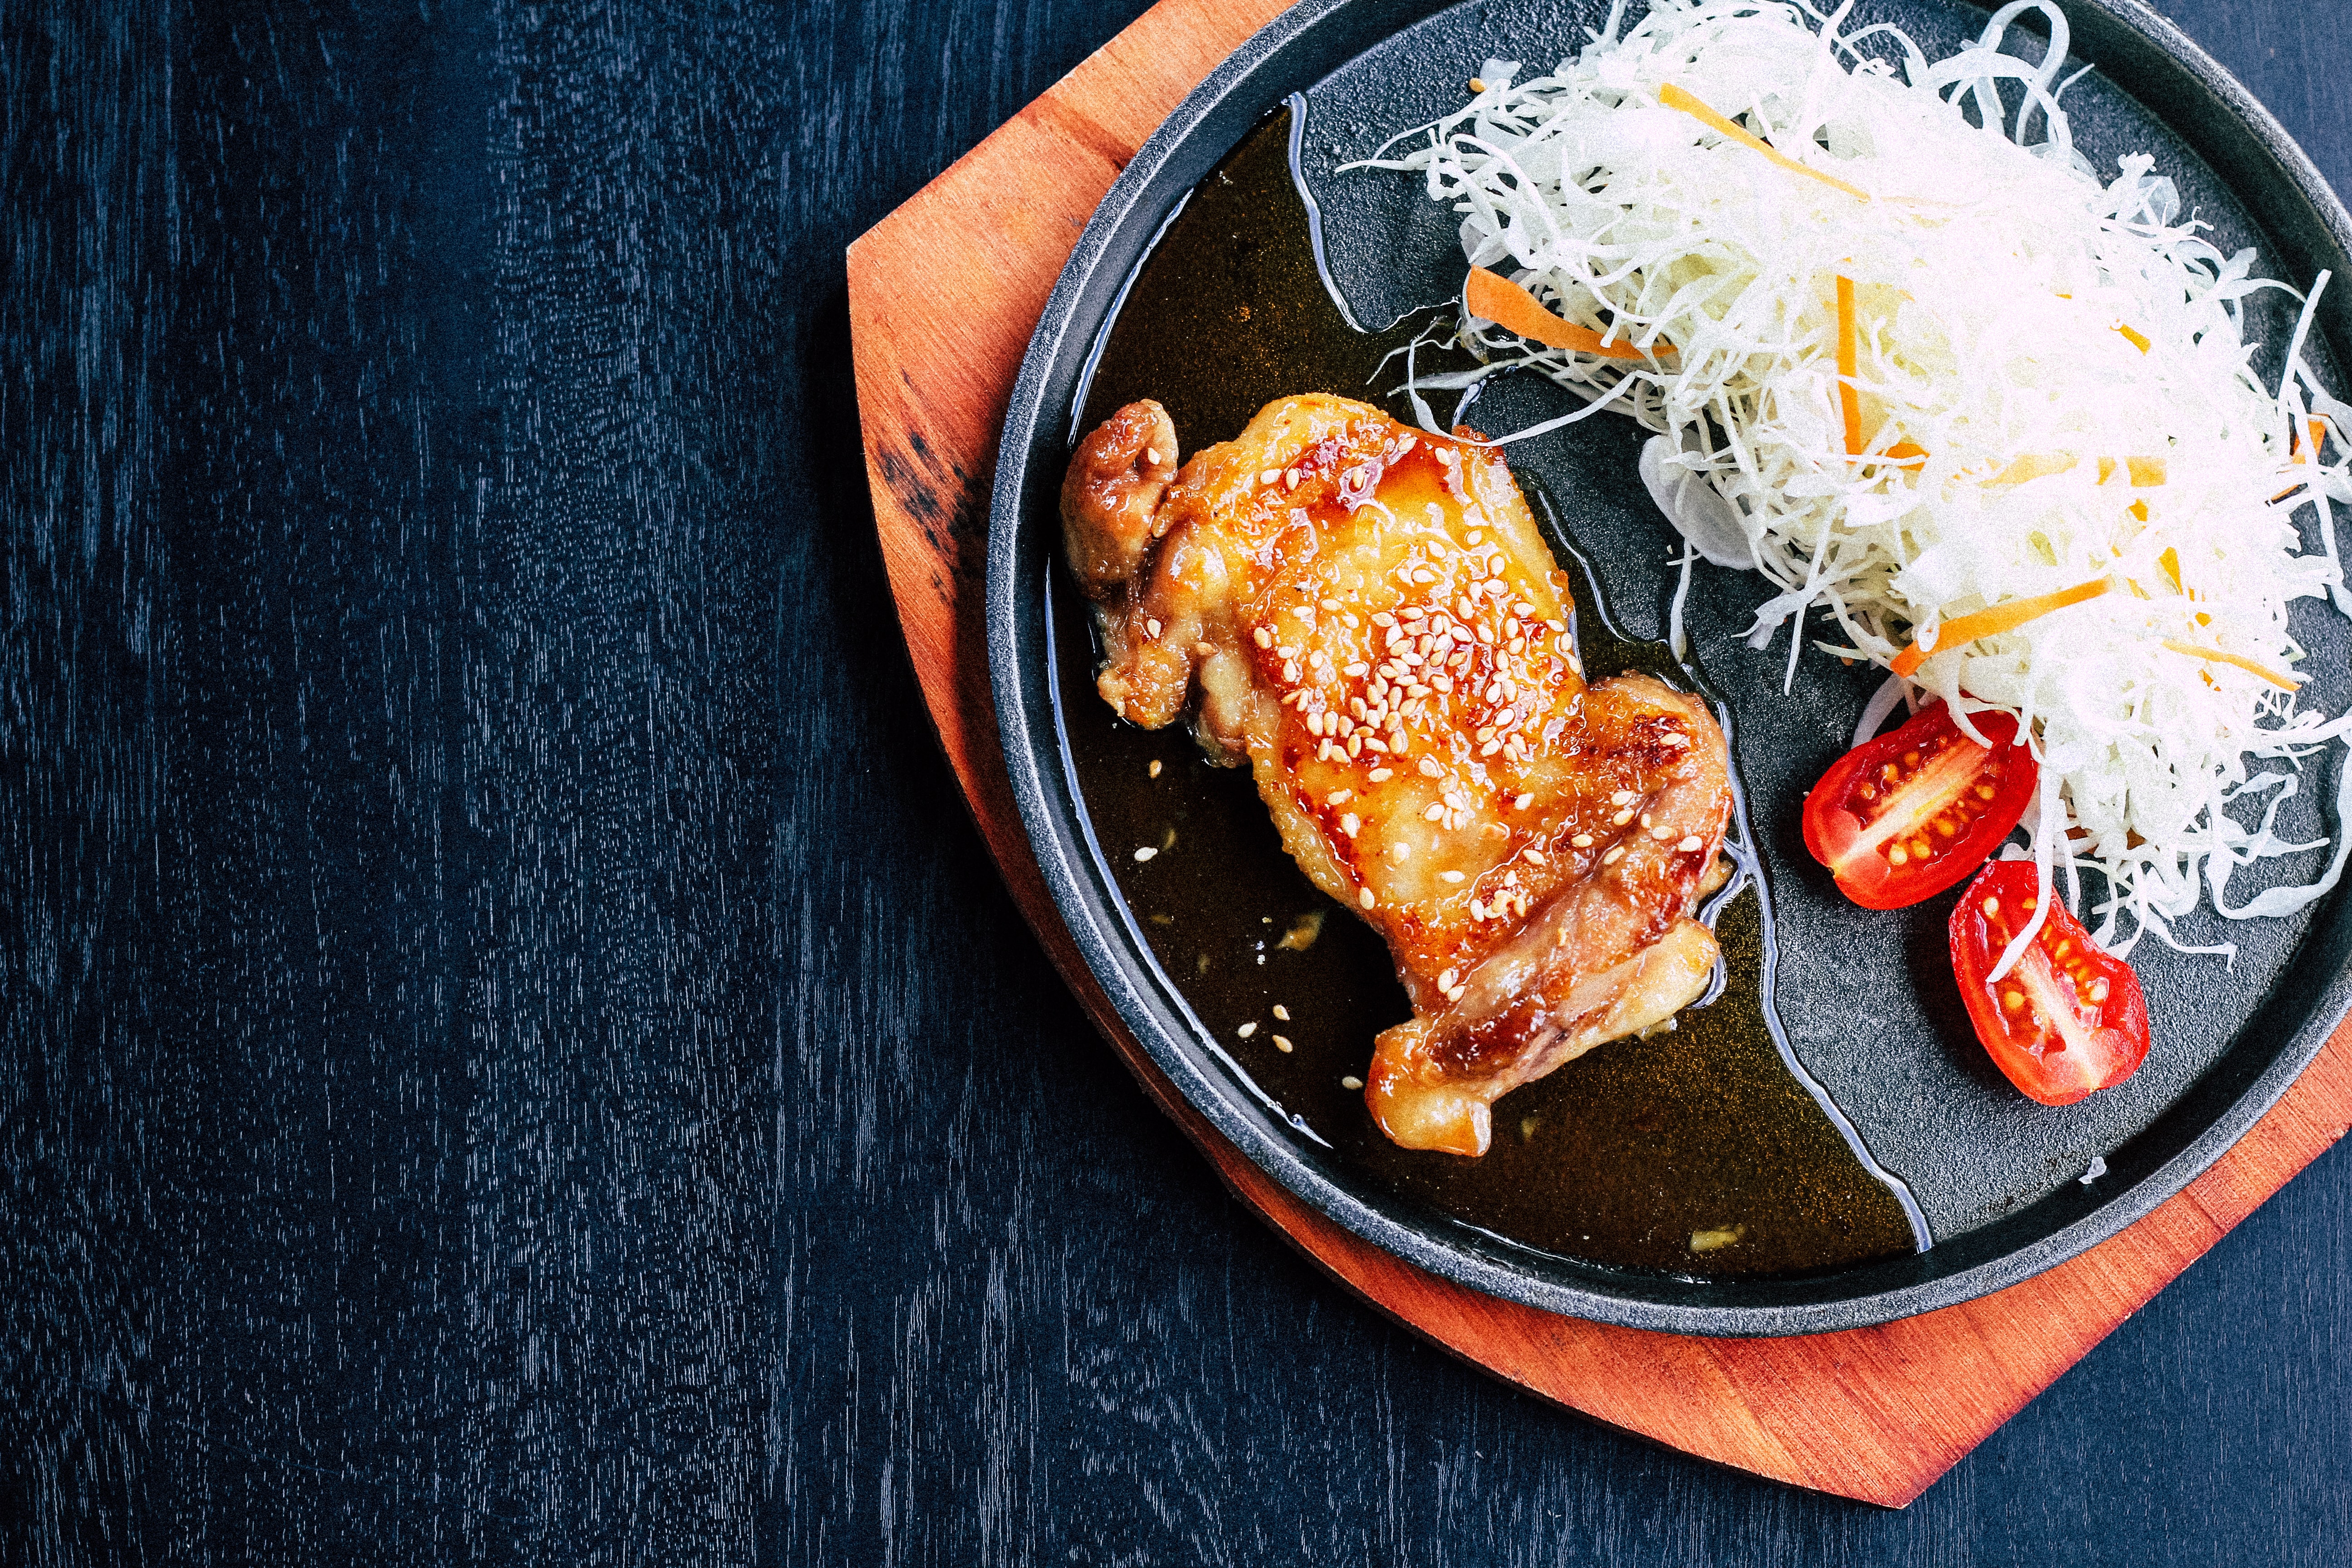
Teriyaki chicken -This dish is super easy to make and only takes 10 minutes to cook. Plus, there’s no need to marinate the chicken beforehand. The key to making this dish is to use skinless chicken thighs. When stir-fried, they create a crispy texture that pairs perfectly with the homemade teriyaki sauce.
Ingredients
The first step is to gather all of the ingredients. You will need:
– chicken breasts
– soy sauce
– honey
– rice vinegar
– garlic
– ginger
Instructions:
To make the sauce, simply combine soy sauce, honey, rice vinegar, and garlic.
Then, add in a touch of sesame oil for flavor. Once the sauce is mixed, set it aside.
Next, heat up a pan on high heat and add some oil. Once the pan is hot, add in the chicken and cook for about 5 minutes per side.
Once the chicken is cooked through, add in the teriyaki sauce and toss to coat. Let the sauce cook until thickened. Serve it warm. Enjoy!
What to serve?
It’s a delicious and easy dish to make, and it goes great with a variety of side dishes.
If you’re looking for some inspiration on what to serve with your teriyaki chicken, here are some of my favorite options:
1. White or brown rice
2. Stir-fried vegetables
3. Salad
4. steamed buns
5. Noodles
No matter what you choose to serve with your teriyaki chicken, it’s sure to be a hit!
Making your own teriyaki chicken is not as difficult as you might think. With just a few simple ingredients, you can create a delicious dish that is perfect for any occasion.
Helpful tips :
If you’re looking to add some flavor to your chicken dish, here are a few helpful tips.
First, season the sauce as desired. If you want a milder salt flavor, you can replace some of the soy sauce with water. Or, if you prefer a saltier taste, simply add some salt.
Second, sesame oil is an optional ingredient. You can omit it altogether and still have a delicious meal. Or, if you love the sesame flavor, feel free to add more.
Third, when cutting the chicken into pieces, try to make them all even in size so they’ll cook evenly. And finally, be careful not to overcook the chicken or it will become dry.
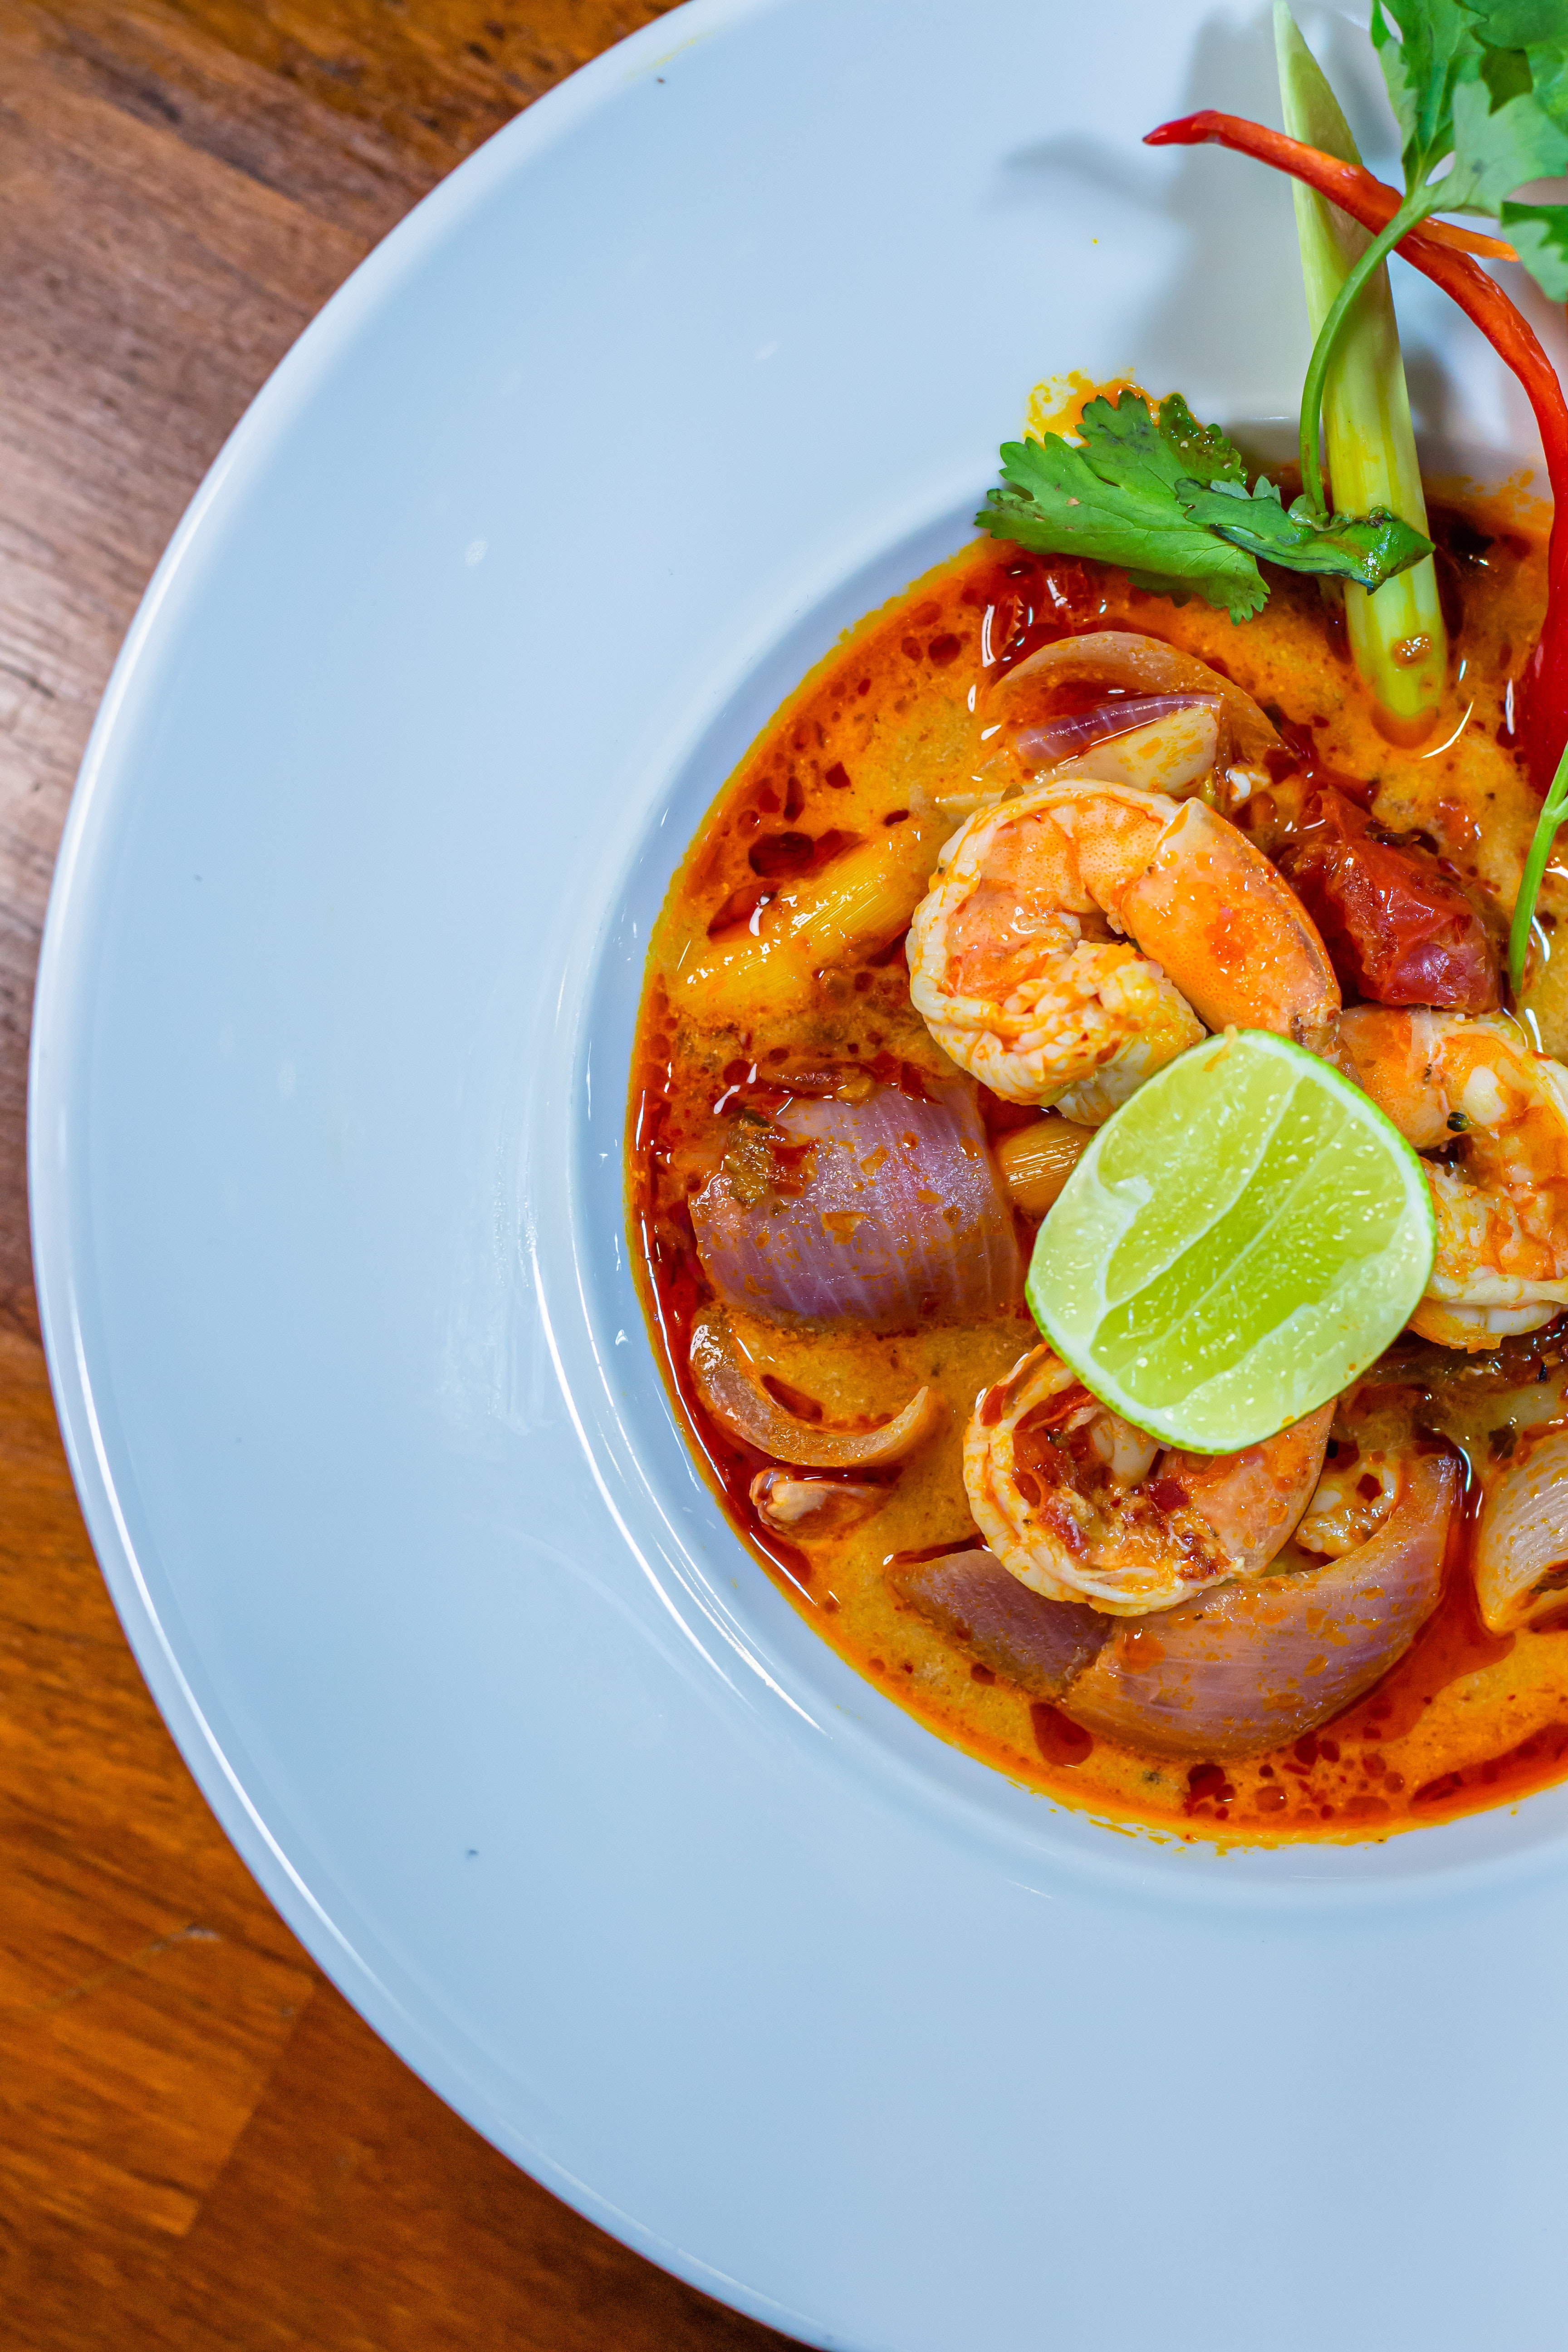
Thai prawn curry is a delicious, easy-to-make dish that is perfect for a weeknight supper. Our Thai Prawn Curry recipe is loaded with flavor and can be ready in only 30 minutes. It includes cooking prawns in a rich red Thai curry paste. The smell of this dish is enticing and the simple preparation will make you think about why you order Thai prawns as take-out. Try out our Thai Prawn Curry recipe and become smitten with simple cooking.
If you love Thai food, you’ll love this Thai prawn curry recipe! This dish is quickly becoming a family favorite made with just a few simple ingredients.
1. In a large skillet or wok, sauté garlic and ginger in oil until fragrant.
2. Add prawns and cook until pink.
3. Add curry paste and cook for 1 minute.
4. Add coconut milk, fish sauce, brown sugar, and lime juice. Simmer for 5 minutes.
5. Serve over steamed rice and garnish with cilantro.
Making your own Thai curry paste is surprisingly easy, and the result is a far fresher and more flavourful paste than anything you could buy from a store. This recipe makes enough paste for one curry, but can easily be doubled or tripled and the paste can be stored in the fridge for future use.
To make the curry paste, simply combine all of the ingredients in a food processor or blender and blitz until you have a smooth paste. If you find the paste is a little too thick, add a tablespoon or two of water to thin it out.
To make the curry, simply fry the paste in a bit of oil until fragrant. Then add your choice of protein (prawns, chicken, beef, etc) and vegetables. Cook until everything is cooked through. Serve with steamed rice.
This Thai prawn curry paste recipe is so easy to make and it’s packed with flavor. All you need is a food processor and a few simple ingredients. Once you have your paste, the sky is the limit in terms of what you can do with it.
We hope you’ve enjoyed learning about how to make this delicious dish!
If you’re looking for more recipe ideas, be sure to check out our other blogson our website. And as always, if you have any questions, feel free to reach out to us!
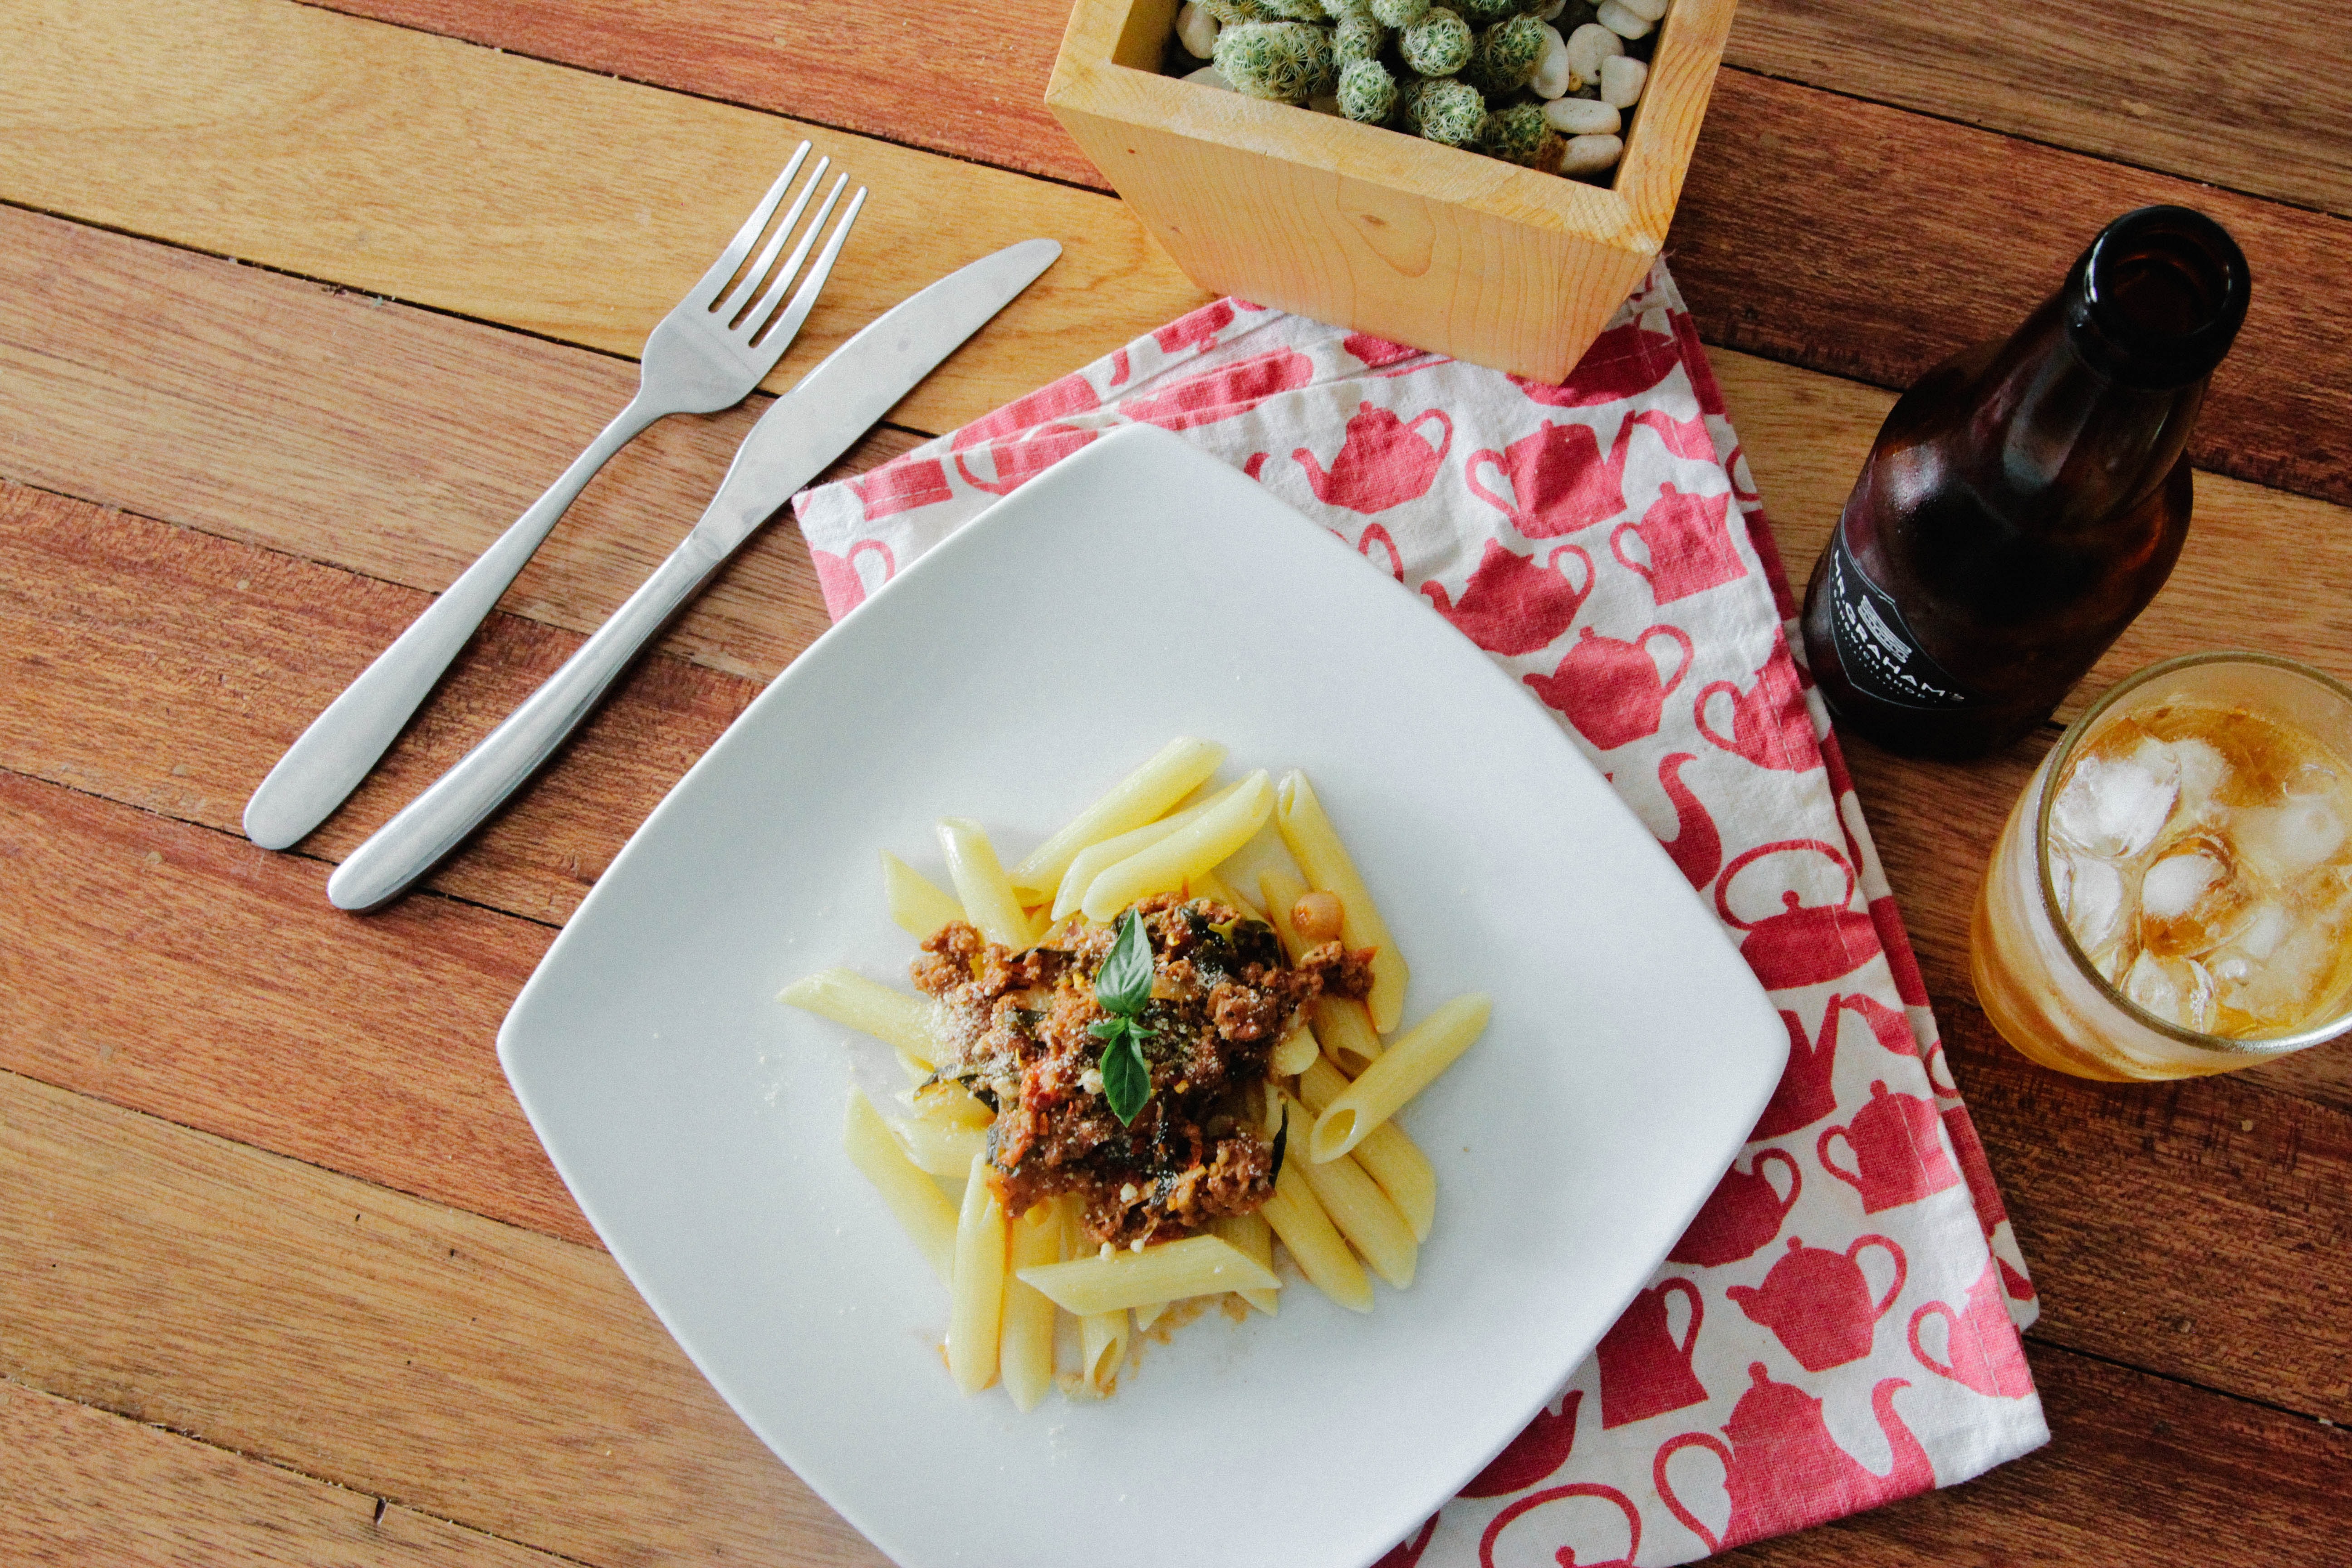
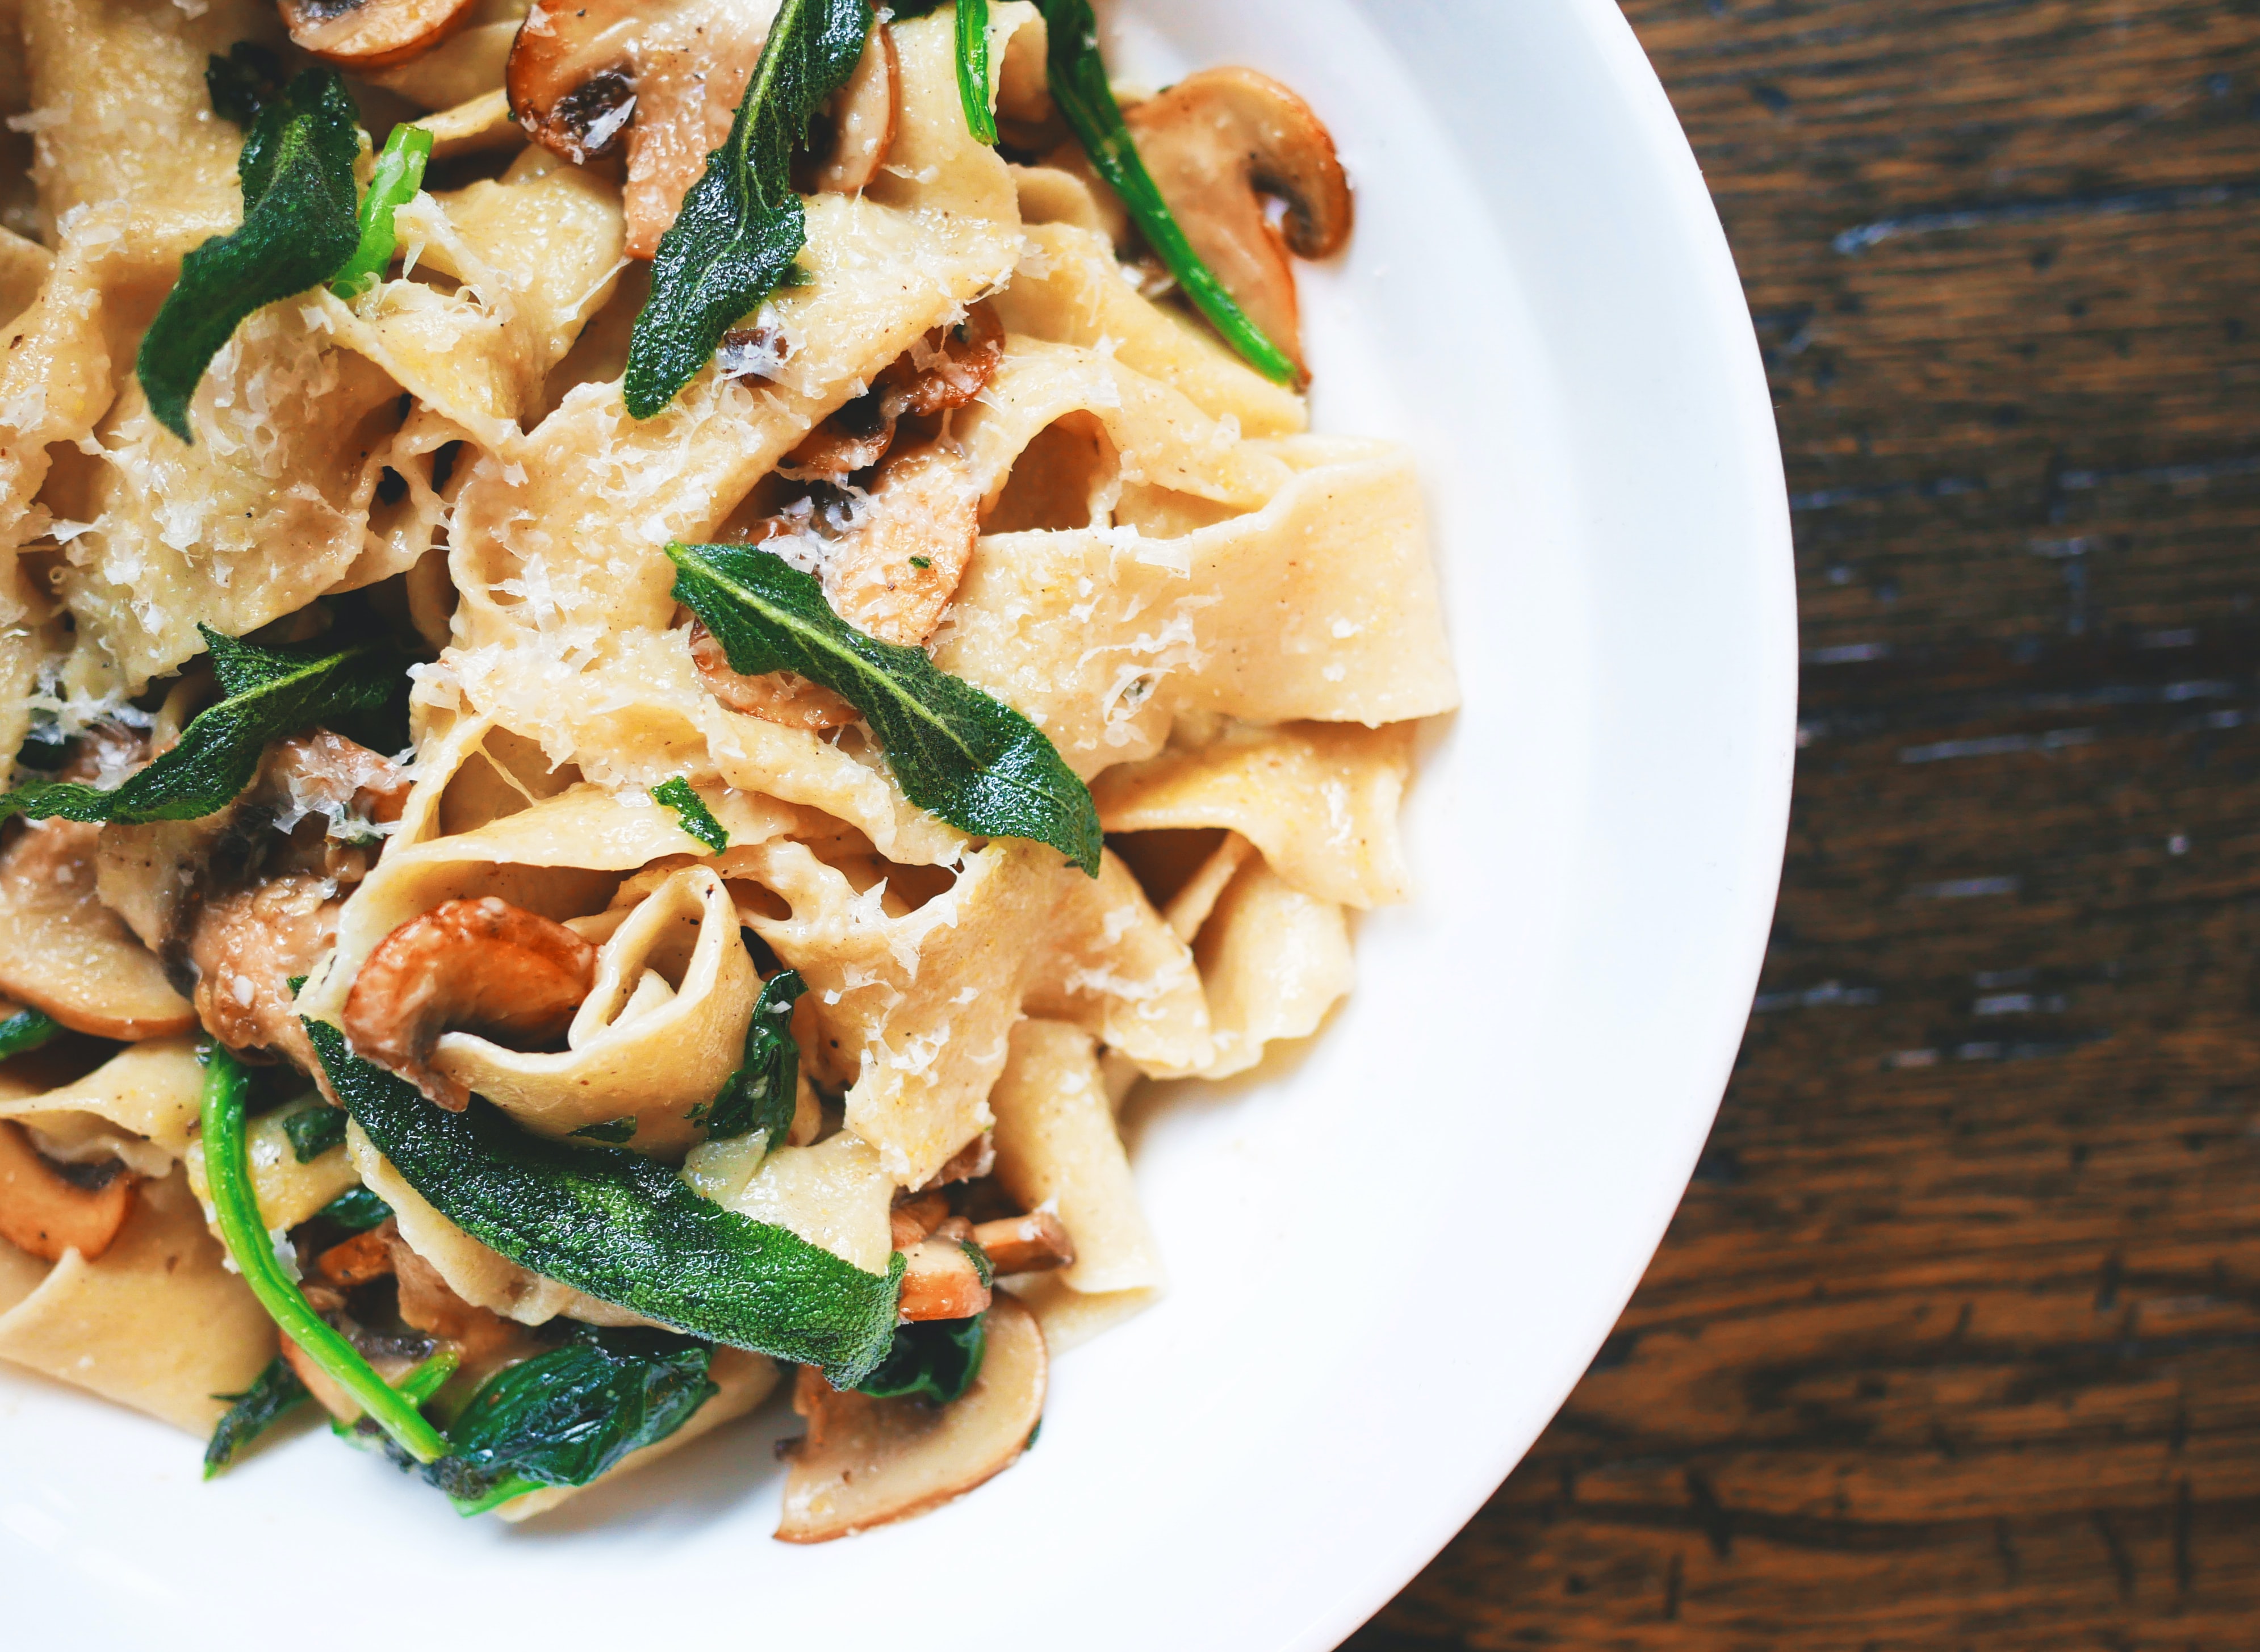
The humble caponata is a delicious sweet-and-sour Sicilian vegetable stew. Caponata is a sweet and tart Sicilian staple that changes the underestimated eggplant into a superstar. There are many caponata varieties, each highlighting ingredients from Palermo to Catania. Eggplant can absorb anything whatever flavors are tossed at it, making it one of the most outstanding vegetables to keep nearby this season. Try out the quick and easy recipe for Caponata pasta.
Ingredients
4 tbsp olive oil
1 large onion, finely chopped
4 garlic cloves, finely sliced
250g chargrilled Mediterranean veg (peppers and aubergines,) and roughly chopped
400g can of chopped tomatoes
1 tbsp small capers
350g rigatoni, penne, or any other short pasta shape
bunch basil leaves, picked
parmesan (or vegetarian alternative), shaved, to serve
Method:
Heat the oil in a large sauté pan over medium heat and fry the onion, garlic, and celery for 5 minutes. Add the eggplant, aubergine, and tomato purée and cook for a further 5 minutes.
Then, add salt to taste then add black pepper before serving with your pasta of choice.
Add the vinegar and sugar to the pan and mix well. Stir in the tomatoes, capers, olives, and basil, then season with salt and pepper. If you like you can add a little more sugar or vinegar to taste, to balance out the flavors more to your liking. Cover & cook over low heat for around 10 minutes, until softened.
Meanwhile, boil the pasta according to pack instructions then drain well. Serve with caponata spooned generously on top and grated Parmesan if you like.
Make sure the pasta is cooked al dente ( to the tooth).
Make sure the caponata is warm, not hot, or too runny. It should be thick enough to coat the pasta but not so thick that it’s dry and gloopy – a good test is to see how much sauce you need before adding extra water.
Don’t overdo the sugar: 1 tablespoon should be enough for 4 servings of pasta; if you’re using dried tomatoes instead of fresh ones, add another teaspoon or so because they’re sweeter than sun-dried tomatoes.
To sum up
And there you have it! This is a delicious recipe that will make you feel like you’re in Italy. It’s perfect for this time of year when your garden is full of fresh tomatoes and basil and all the makings of a great caponata. This is the sort of supper to appreciate on a Saturday night with your favorite wine, however, it’s so easy you can pull it off midweek, as well. If you want to learn more about Italian food, check out some other recipes on our site–there are lots available!
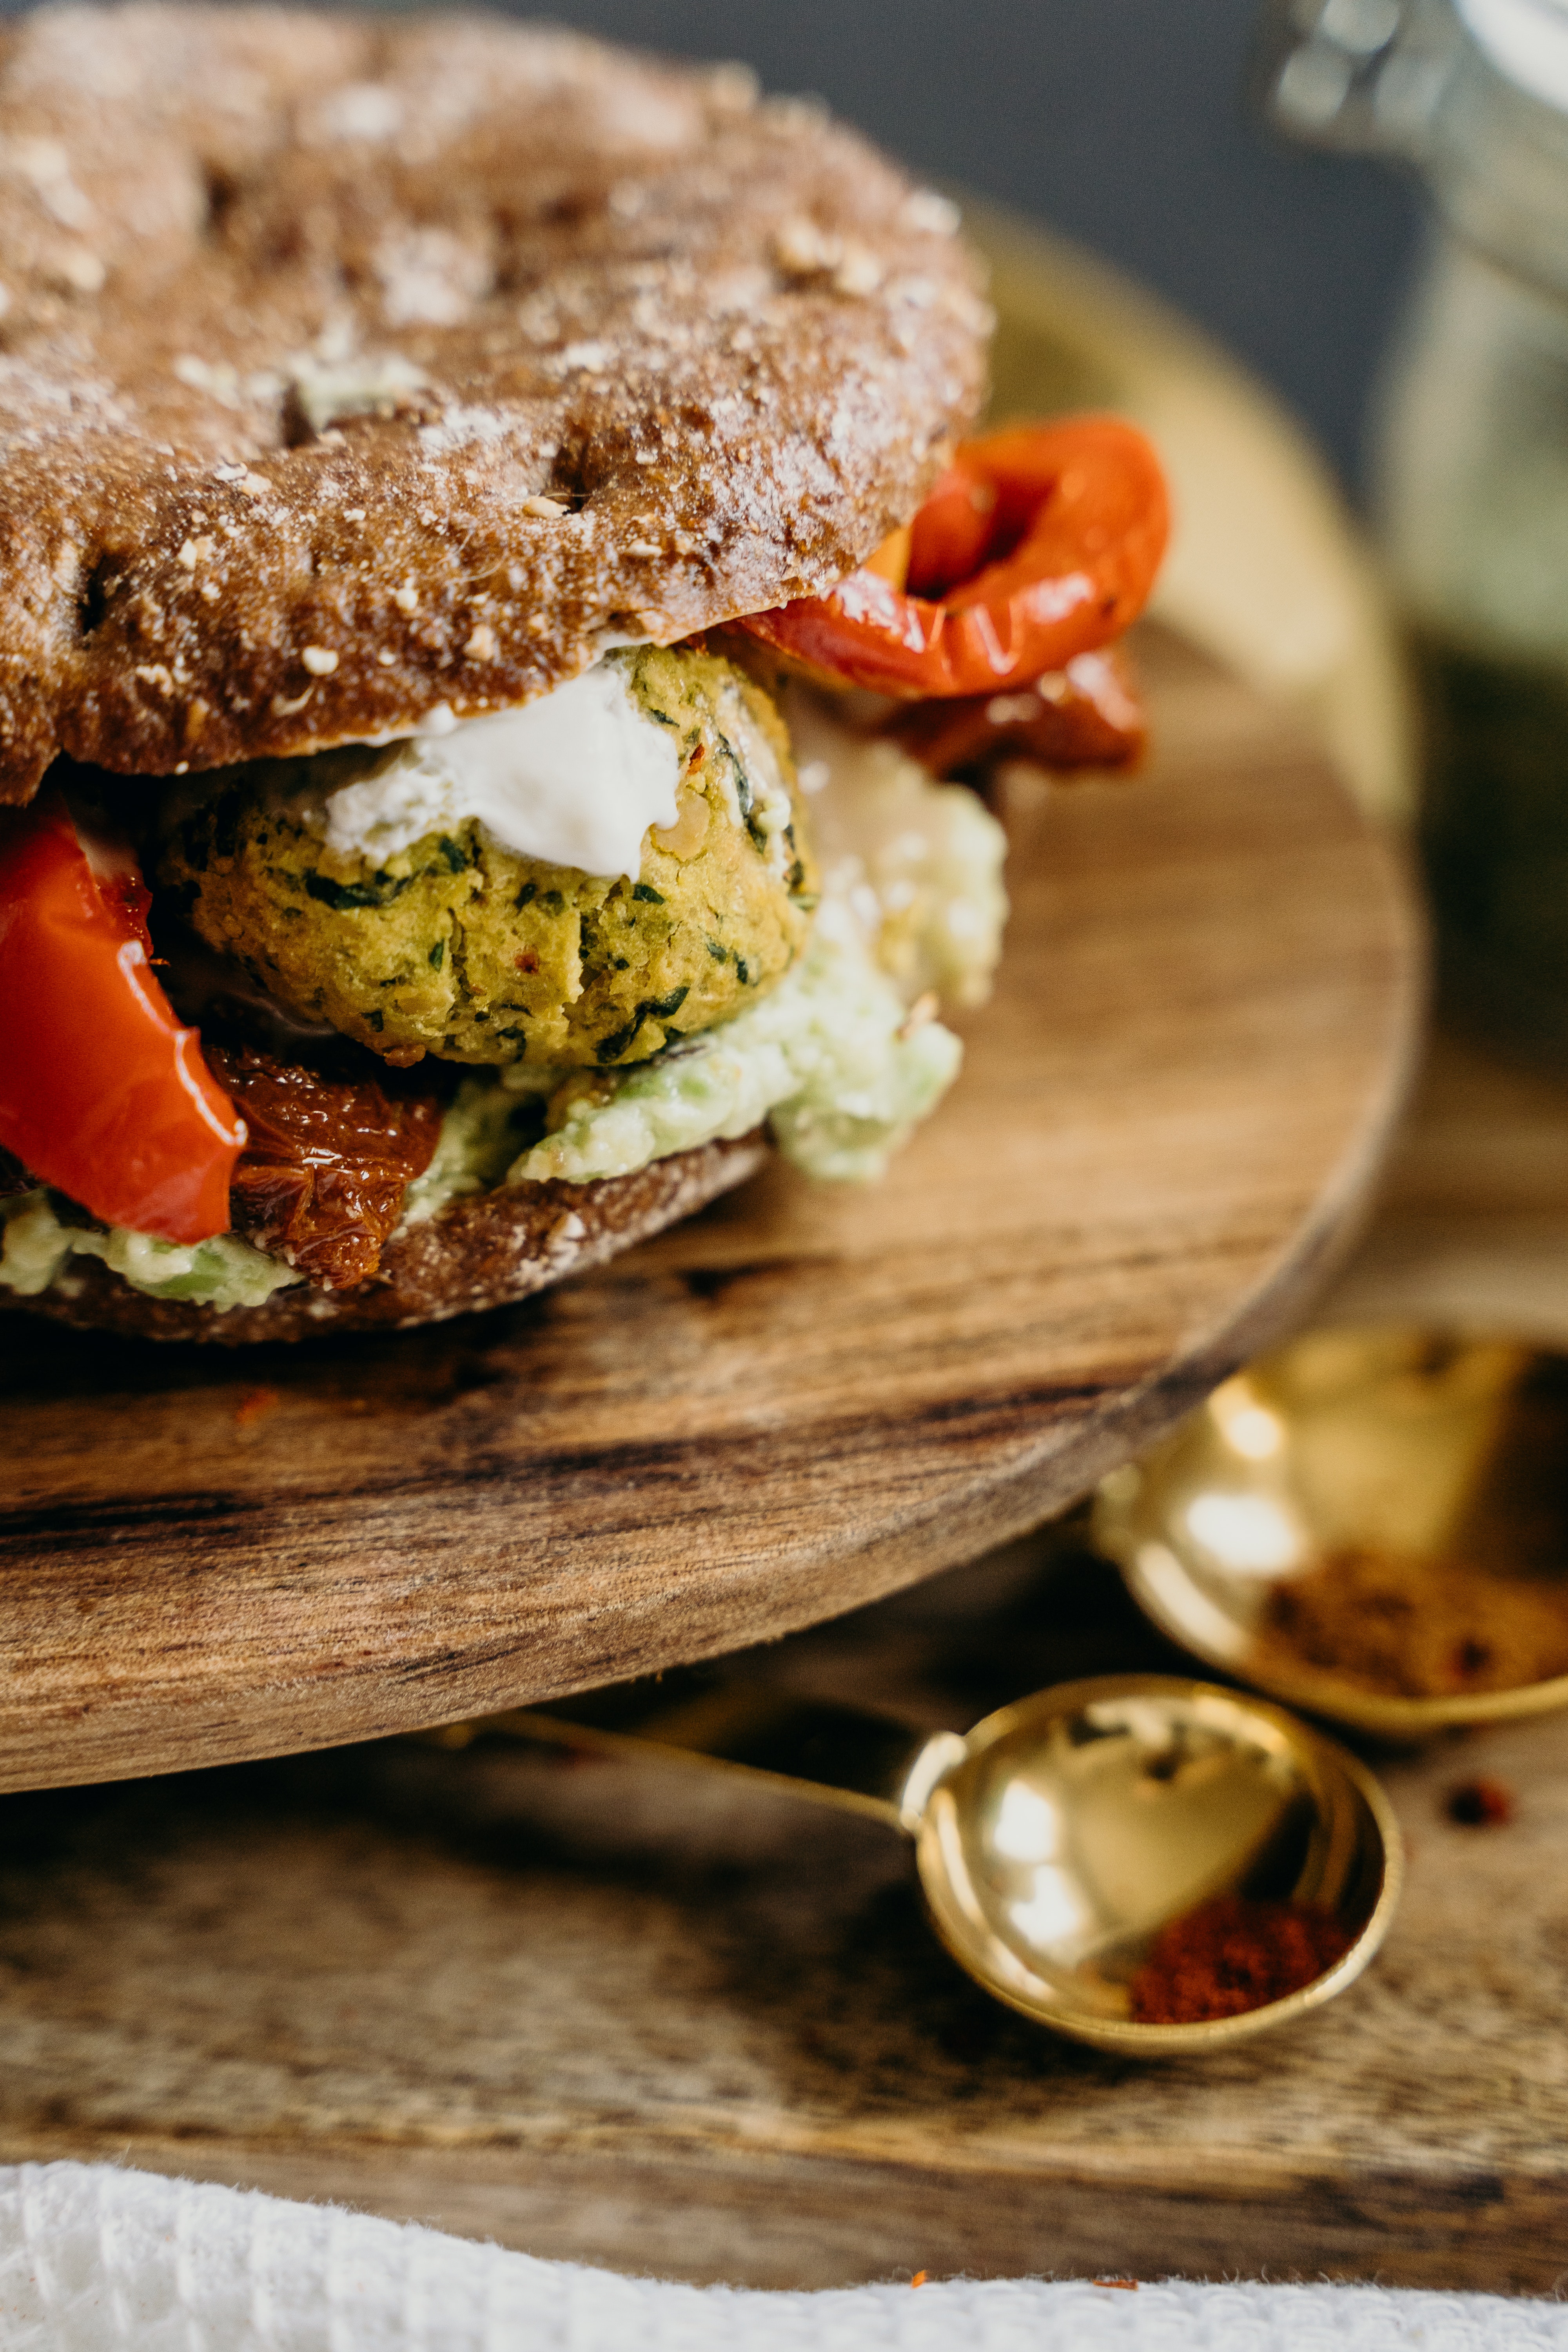
Falafel burgers are a delicious take on traditional falafel! They’re very easy to make and great for lunch or dinner. Be sure to mix the dough thoroughly before baking—the patties won’t stick together if the mixture isn’t blended well enough.
Ingredients
400g chickpeas, rinsed and drained
1 small red onion, roughly chopped
1 garlic clove, chopped
a couple of flat-leaf parsley or curly parsley
1 tsp ground cumin
1 tsp ground coriander
½ tsp harissa paste or chili powder
2 tbsp plain flour
2 tbsp sunflower oil
toasted pitta bread, to serve
200g tub tomato salsa, to serve
green salad, to serve
Method:
Soak the onion in a cup of water for 5 minutes. This step is optional, but I find that it helps prevent my falafel burgers from burning and being too dry.
Drain and squeeze out the excess water from onions using your hands. Use a paper towel to soak up the remaining water. Squeeze the water out of the paper towel with your hands.
Put the chickpeas in a bowl and mash with a fork. Mash and crush them until they are smooth and creamy.
Add the garbanzo beans, garlic, parsley or cilantro (if using), tahini, lemon juice, and salt to the bowl with the chickpeas. Mash everything together with a fork until well incorporated. Add a little at a time to get just enough water to make it stick together in balls. You may not need all of it—or you may need more.
Add the baking powder and mix well again until it’s evenly distributed throughout your falafel mixture.
Mix until everything is well blended together. Don’t over-mix, or it will be too mushy. Don’t under-mix, or it will be too dry and crumbly (and therefore not a burger at all). But don’t worry—you can always fix that by adding more chickpeas!
Roll into balls
Form the dough into small balls about 1-inch in diameter each. Use a small scoop or spoon to get the right size and shape, and make sure your hands are dry before starting so that you don’t accidentally stick to the dough. If you need to, wet your hands with water from a small bowl (just enough for them not to stick).
If you’re using a cookie scoop, it’s important that all of your balls are the same size; otherwise, they will bake unevenly and fall apart when eating!
Next, you’re going to flatten each ball into patties about 3/4-inch thick. Do not make them too thin or they will fall apart when you bake them. You can make them as big as you want or as small as you want and they won’t matter if they are round or oval-shaped, but try to keep it consistent so all of your patties are the same thickness and size.
Preheat the oven to 375°F.
Line a baking sheet with parchment paper.
Place falafel patties on a baking sheet and bake for 20 minutes i.e. (Bake for 10 minutes, then flip over and bake for another 10 minutes or until firm throughout but still soft on top), flipping halfway through baking time. Bake until golden brown.
Falafel burgers are easy to make!
Falafel burgers are easy to make! They’re healthy, delicious, and can be enjoyed in various ways.
Falafel is a traditional Middle Eastern food made from ground chickpeas (usually fava beans) or fava beans and spices. Chickpeas themselves are a great source of protein and fiber, making falafels a good choice if you’re trying to watch your weight or eat healthier. The spices used in this recipe—coriander (cilantro), cumin, paprika, and turmeric—give it its distinct flavor while also providing many health benefits:
Cilantro has been shown to reduce inflammation by inhibiting the production of histamine when consumed;
Turmeric contains curcuminoids that have anti-inflammatory properties;
Cumin may help manage diabetes by controlling blood sugar levels while lowering cholesterol;
So, there it is – a simple and delicious recipe for falafel burgers. Once you’ve tried them, let me know what you think in the comments below!
Chicken Jalfrezi is a classic Indian dish that can be made at home with ease! It’s made with chicken, bell peppers, tomatoes, and spices. This recipe is sure to please the whole family! Meals are always better with friends, and this dish is no exception. It’s easy to make, delicious, and healthy!
Ingredients:
For the sauce-
½ large onion, roughly chopped
2 garlic cloves, chopped
1 green chili, finely chopped
vegetable oil, for frying
400g can plum tomatoes
1 tbsp coriander and turmeric
1 tbsp of cumin
For the meat & veg-
2-3 chicken breasts, diced
1 tsp cumin, coriander, turmeric
½ large onion, sliced
1 red pepper, chopped
2 tsp garam masala
Method :
Cut chicken into pieces perfectly,
Now that the chicken is cut into pieces, it’s time to cook them. Add the chicken to a pot of boiling water and cook for about 8-10 minutes or until the pieces turn opaque. You want to make sure that the chicken is cooked through and tender.
If you want a more flavorful dish, try adding some spices like ginger, garlic, peppers, and onions while cooking your chicken!
Drain the chicken pieces and set them aside. Do not wash the chicken; we want to keep all of that flavor in there!
Heat oil in a pan over medium-high heat. The oil should be hot enough to sizzle when you add the onions, ginger, and green chilies. If you don’t have an electric stove, use a long match to test whether or not the oil is hot enough (it will dance around if it’s ready).
Add the onions, ginger, and green chilies to the pan. Stir occasionally until translucent – about 3 minutes
Add chicken pieces to the pot and cook on medium heat for 5-10 minutes until it is cooked through.
Add the bell peppers, tomatoes, garam masala, turmeric, and chili powder to the onions. Stir to combine and cook for 5 minutes or until peppers start to soften slightly.
Add the chicken to the onion mixture, sprinkle with salt and add tomato paste. Stir to combine.
Stir the mixture and cook for 5 minutes on medium heat. Now your chicken jalfrezi is ready, you can enjoy it with Vegetable fried rice, Paratha, roti, or naan.
Is Chicken Jalfrezi healthy?
When it comes to choosing a healthy curry, chicken jalfrezi is a great option. This dish is low in calories and carbohydrates, making it a healthier choice than some other options. Plus, chicken jalfrezi is packed with protein and nutrients, so you’ll be getting plenty of health benefits from this dish.
If you’re watching your calorie intake, then you might want to skip the oil and go for a leaner version. But if you’re not too worried about calories, then Chicken Jalfrezi can be a healthy option. Just be sure to watch the amount of oil you use.
To sum up!
When it comes to curries, there are endless possibilities. You can make them as simple or as complex as you like. But one thing that makes a Chicken Jalfrezi stand out is the addition of vinegar at the end. This gives it a slightly tangy flavor that sets it apart from other curries.
This recipe is easy to make and delicious. If you are looking for more protein, try adding some beans or lentils to your meal. This dish can be served with rice or naan bread. Happy cooking! enjoy.
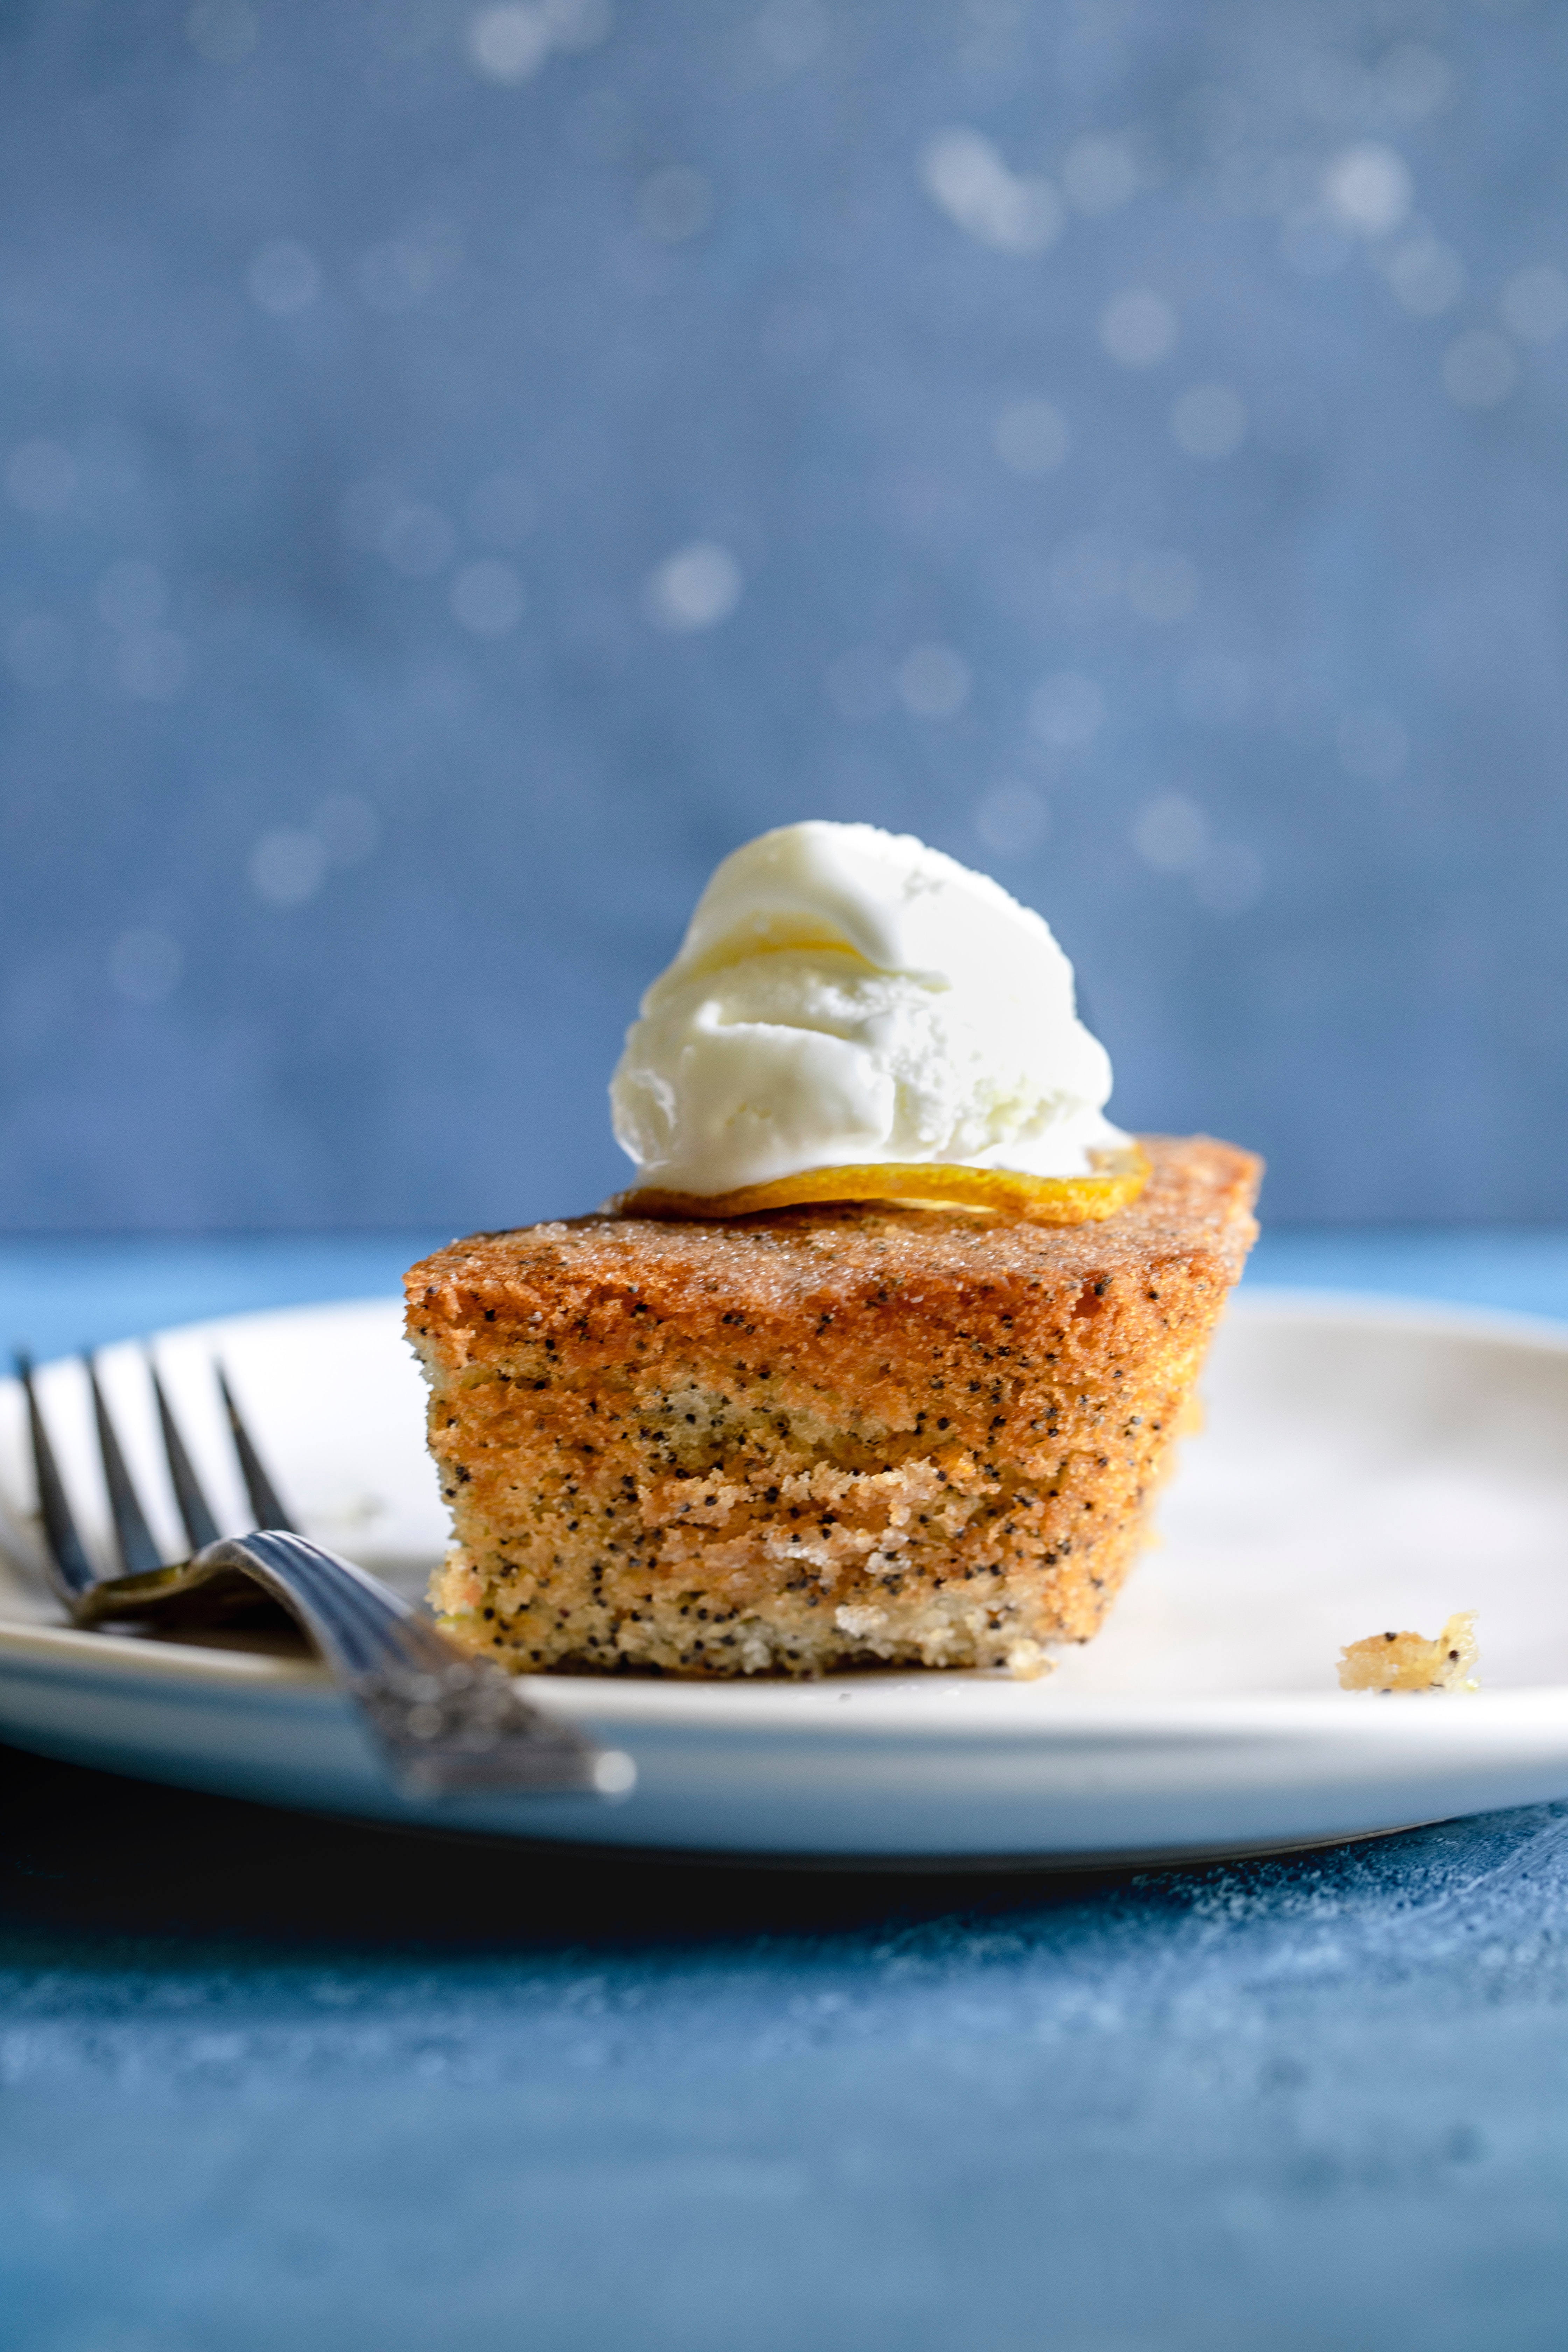
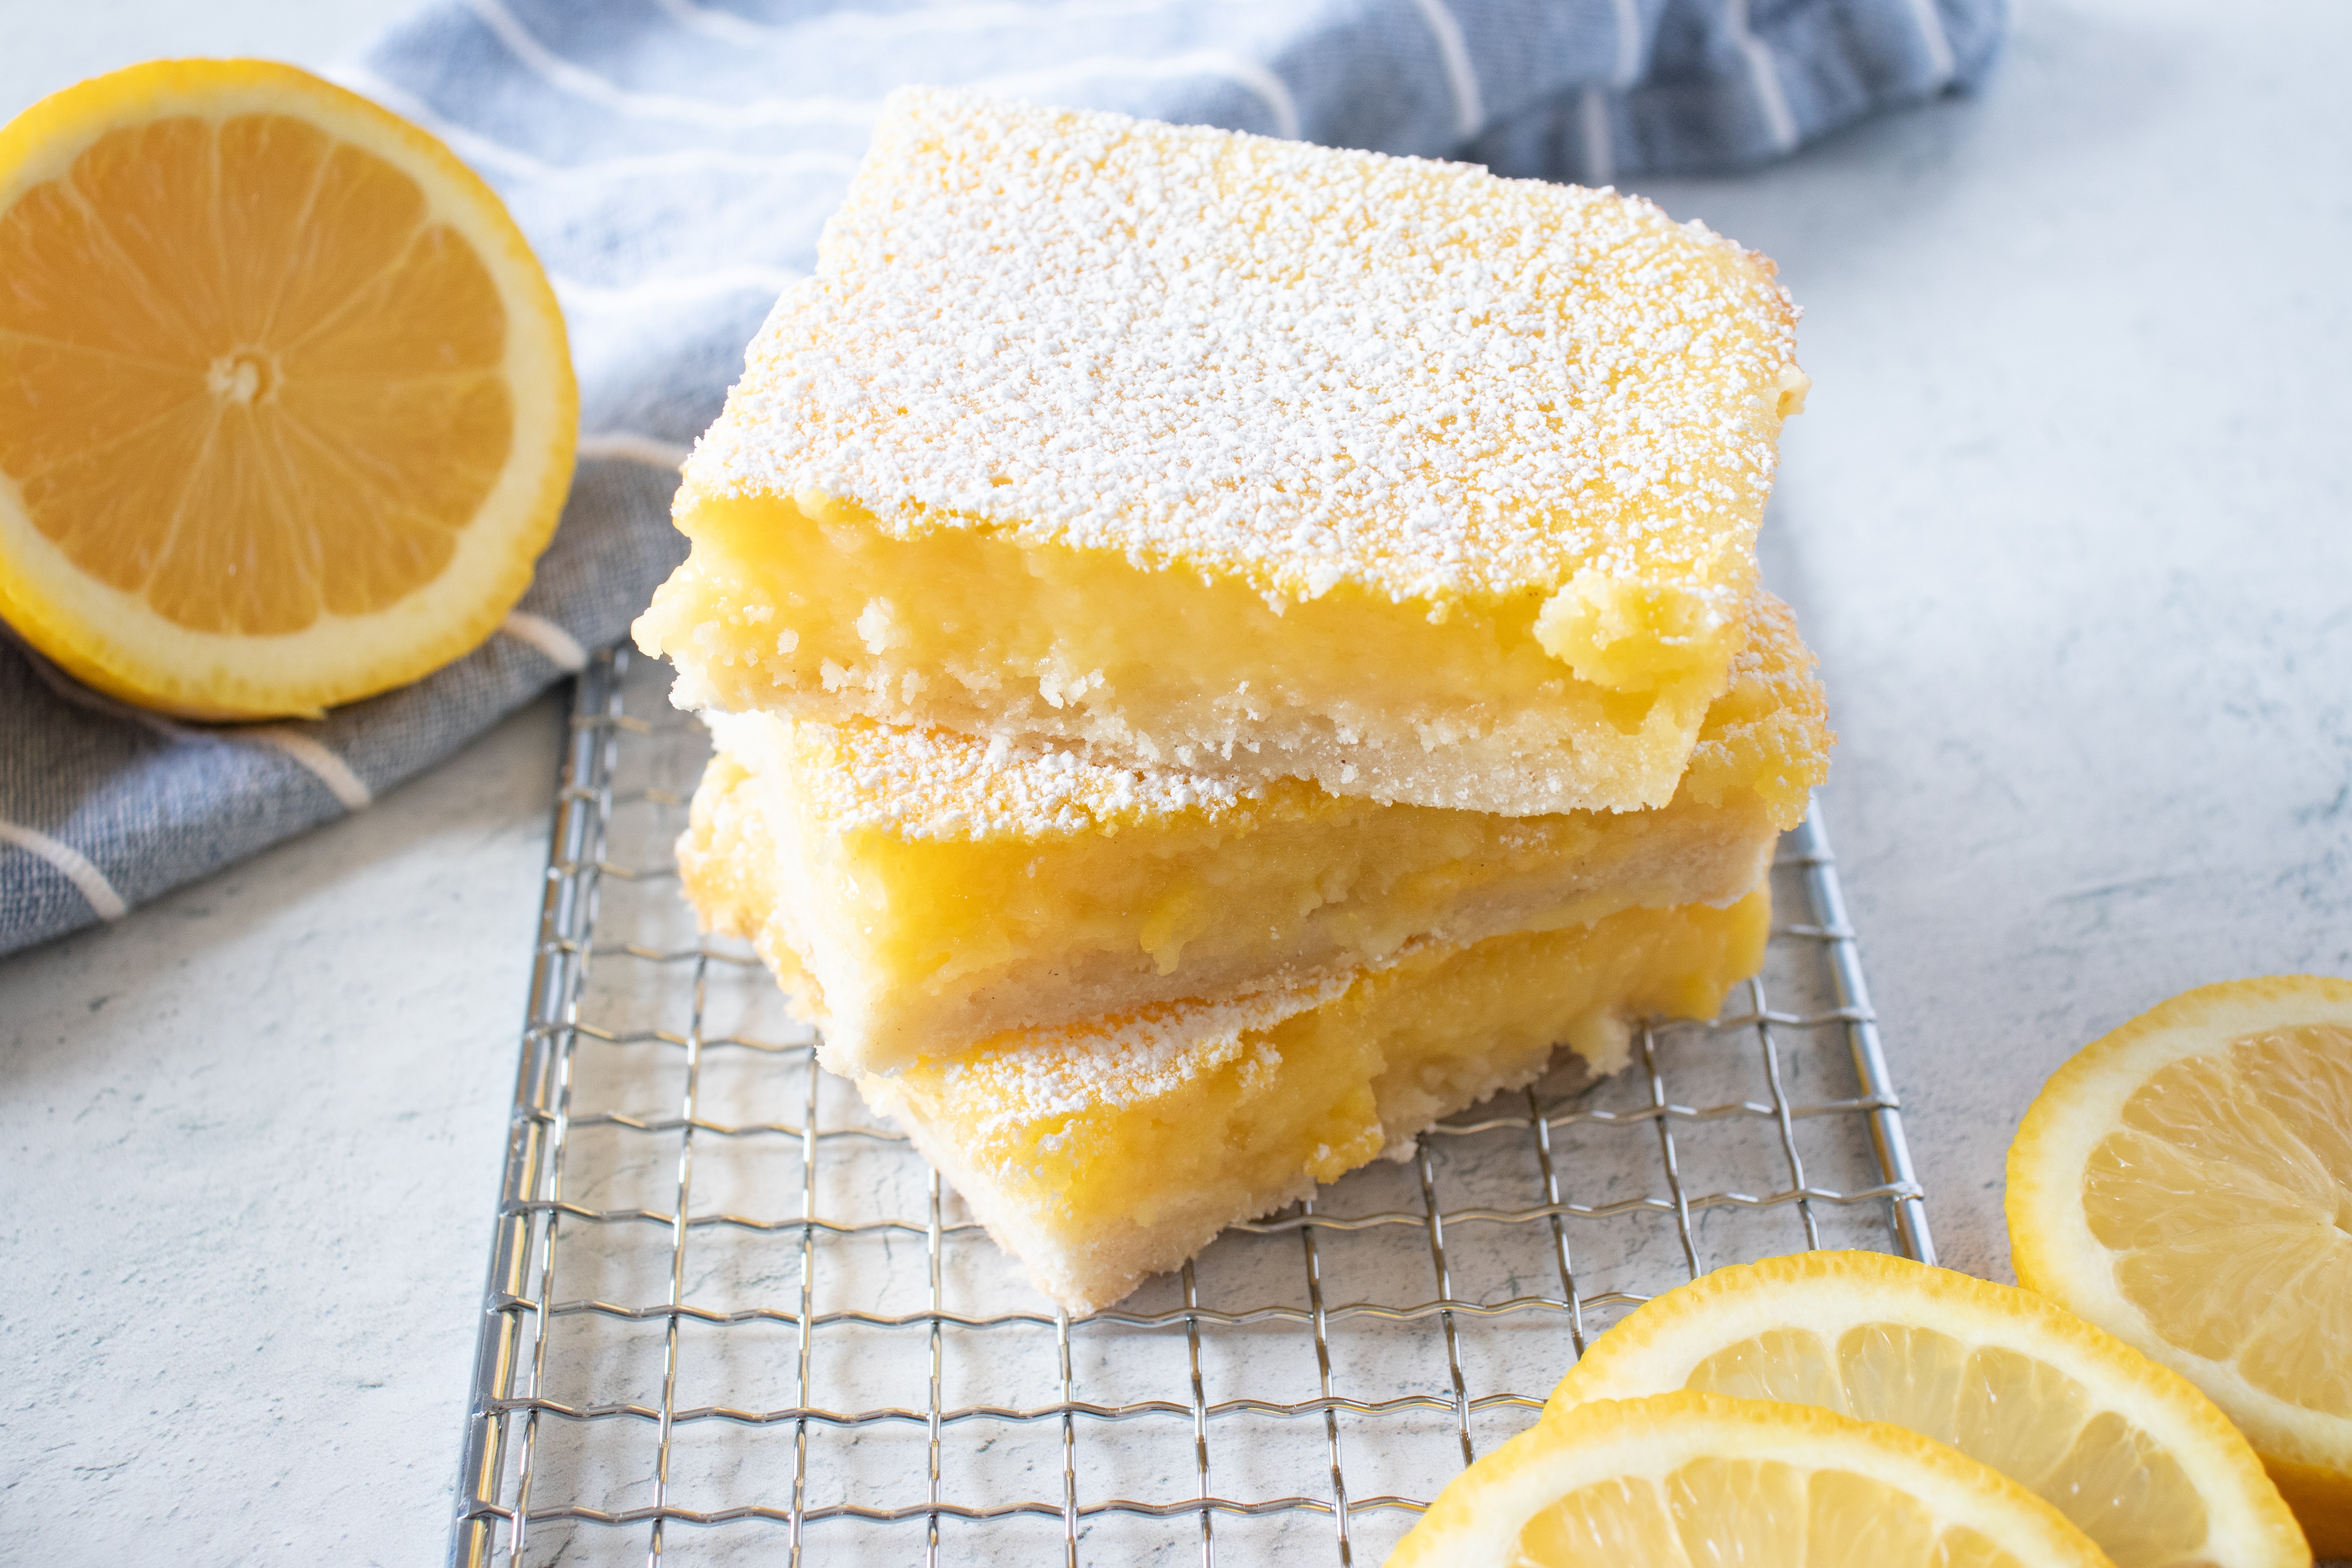
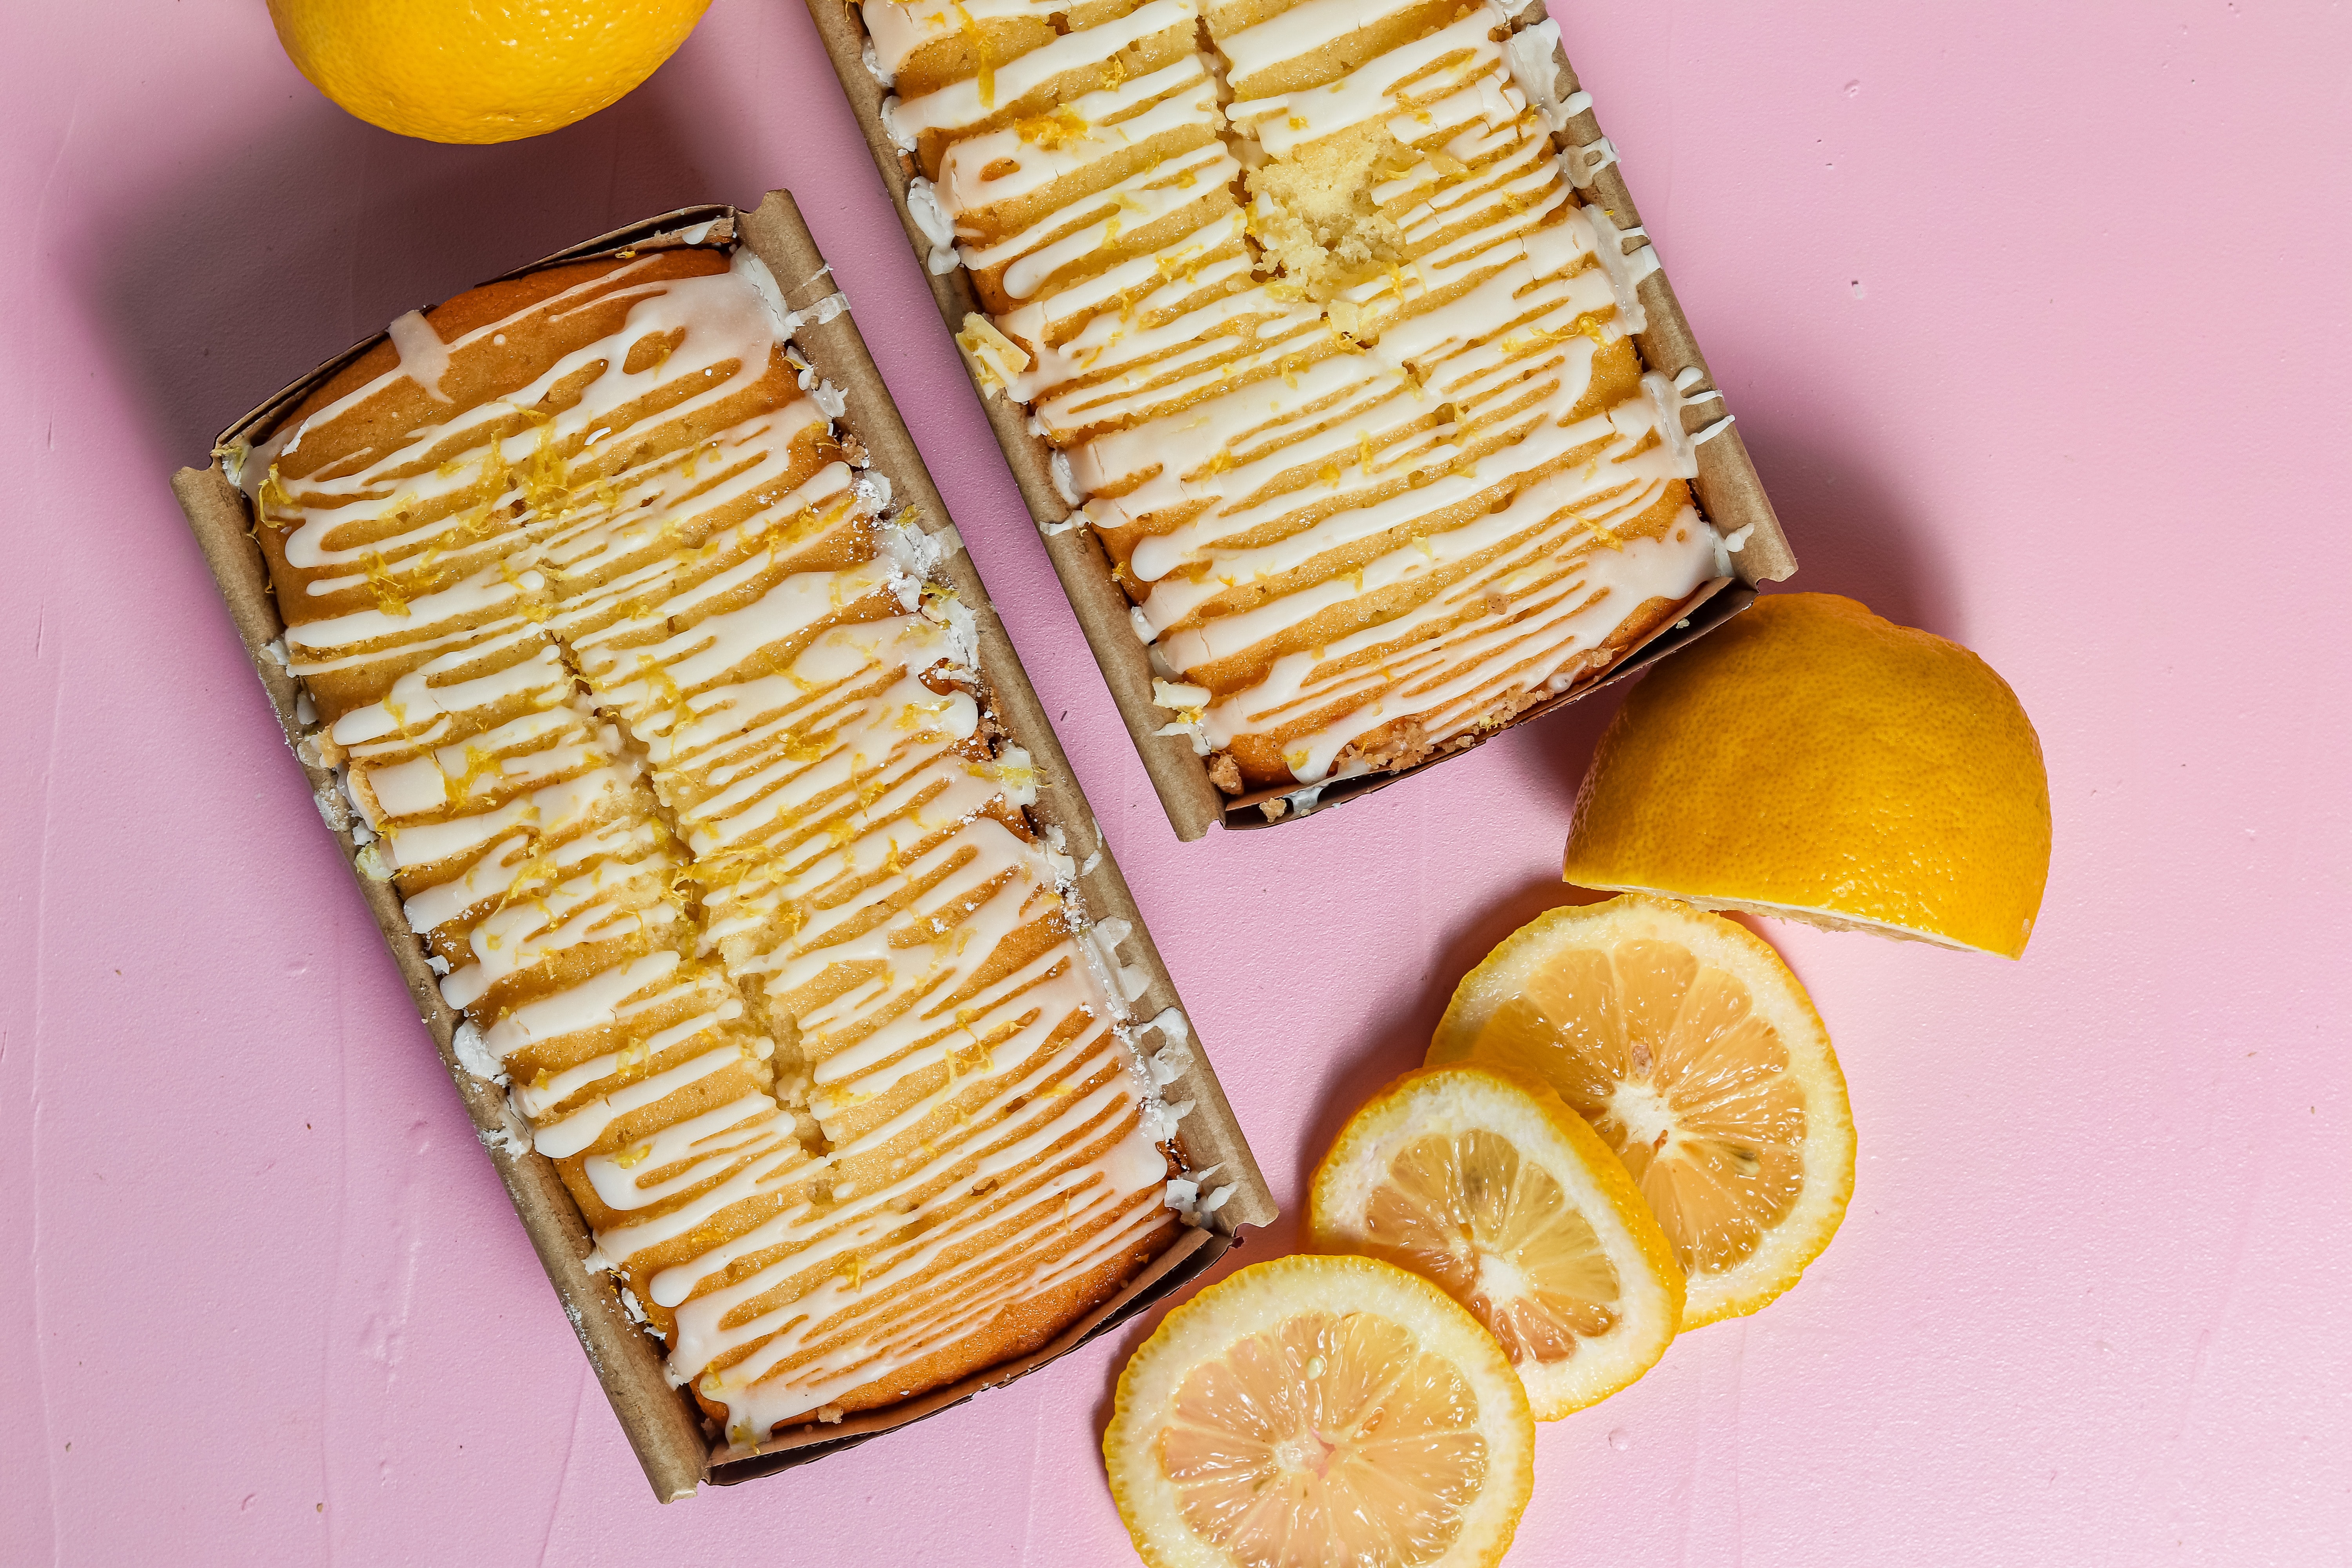
Lemon drizzle cake is the best of all the cakes. It’s so moist, with a perfect balance between tart and sweet. If you’ve never tried lemon drizzle cake before, you’re in for a real treat. This delicious dessert is made with a lemony cake base that’s topped with a sweet and tangy lemon syrup. Whether you’re a cook or a consumer, you’re sure to love this tasty treat. I make it for birthdays and potlucks, but to be honest, sometimes I make it just for me! Try this recipe out for yourself and taste the magic.
Ingredients:
175g unsalted butter
175g caster sugar
3 eggs
175g self-raising flour
1 tbsp lemon juice
zest of 1 lemon
For the syrup:
75g caster sugar
juice of 1 lemon
This cake serves 6 people.
You’ll need 2 lemons, icing sugar for dusting, 200g self-raising flour, and 50g unsalted butter.
The preparation time is 20 minutes and the cooking time is 40-45 minutes.
It stores well for 2 days in an airtight container at room temperature, but it will last longer if wrapped in foil or kept in a tin.
The ingredients are easy to obtain and the recipe is simple enough that anyone can follow it! All you need to do is mix all of your ingredients together before baking so that once everything has cooled down you can enjoy some delicious lemon drizzle cake!
Method:
Preheat the oven to 180°C/350°F/Gas Mark 4.
Grease and line the base of a 20cm/8inch round cake tin with baking parchment.
Cream the butter and sugar together until pale and fluffy, then beat in the eggs, one at a time until completely incorporated before adding the lemon zest and juice (if using). Sift in the self-raising flour and fold in until well combined.
Add the lemon juice and lemon zest and mix well. Pour the mixture into the prepared cake tin and bake for 45-50 minutes until a skewer inserted into the center comes out clean.
Try this cake out for yourself and taste the magic!
Lemon drizzle cake is a classic English dessert, perfect for a birthday party or any other celebration. This recipe is easy to follow and tastes incredible! The crumb is soft and tender, the cake moist and delicious.
If you’re looking for a great example of this classic British treat, give this recipe a go!
Final thoughts!
This is truly the zingiest, most delicious, and moreish lemon drizzle cake you’ll ever make. The recipe is easy to follow and the crumb is super soft and tender. You’ll be licking your fingers after just one bite!
If you’re looking for a show-stopping cake that’s sure to impress, look no further than this lemon drizzle cake. Trust us, it’s worth the effort!