Home Blog Page 18

Best Classic Stuffed Peppers Recipe

0
Stuffed Peppers Recipe

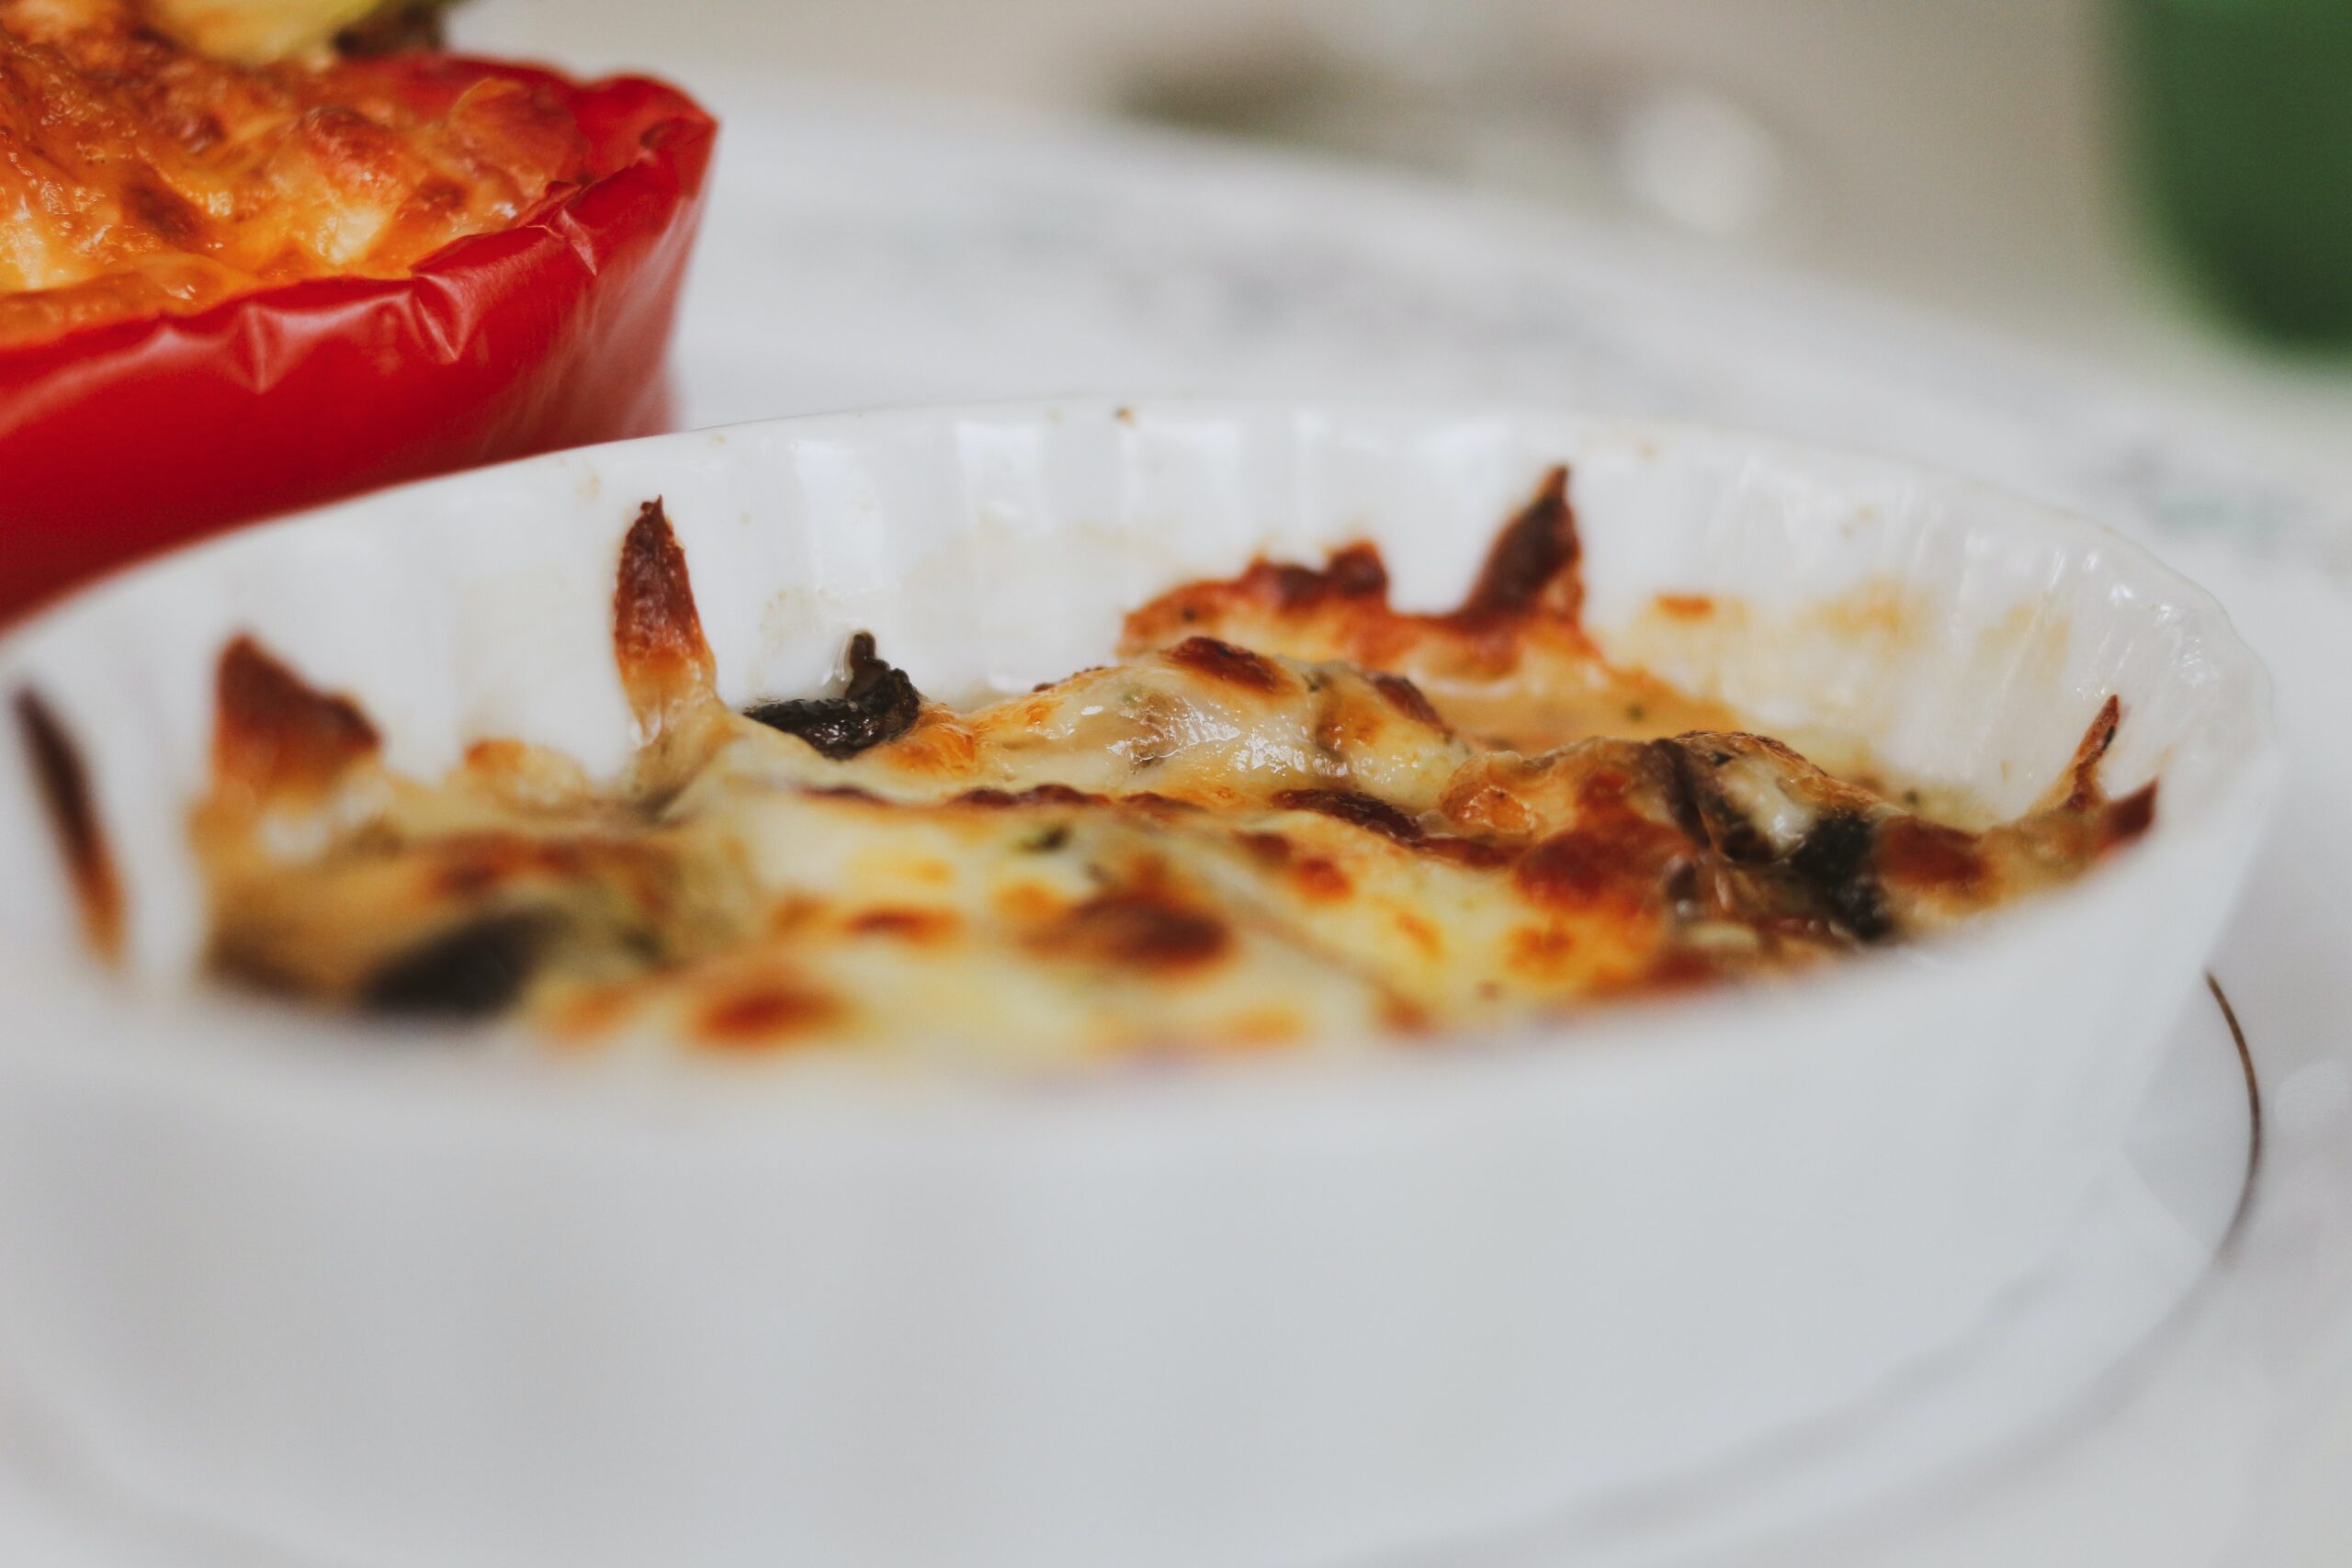
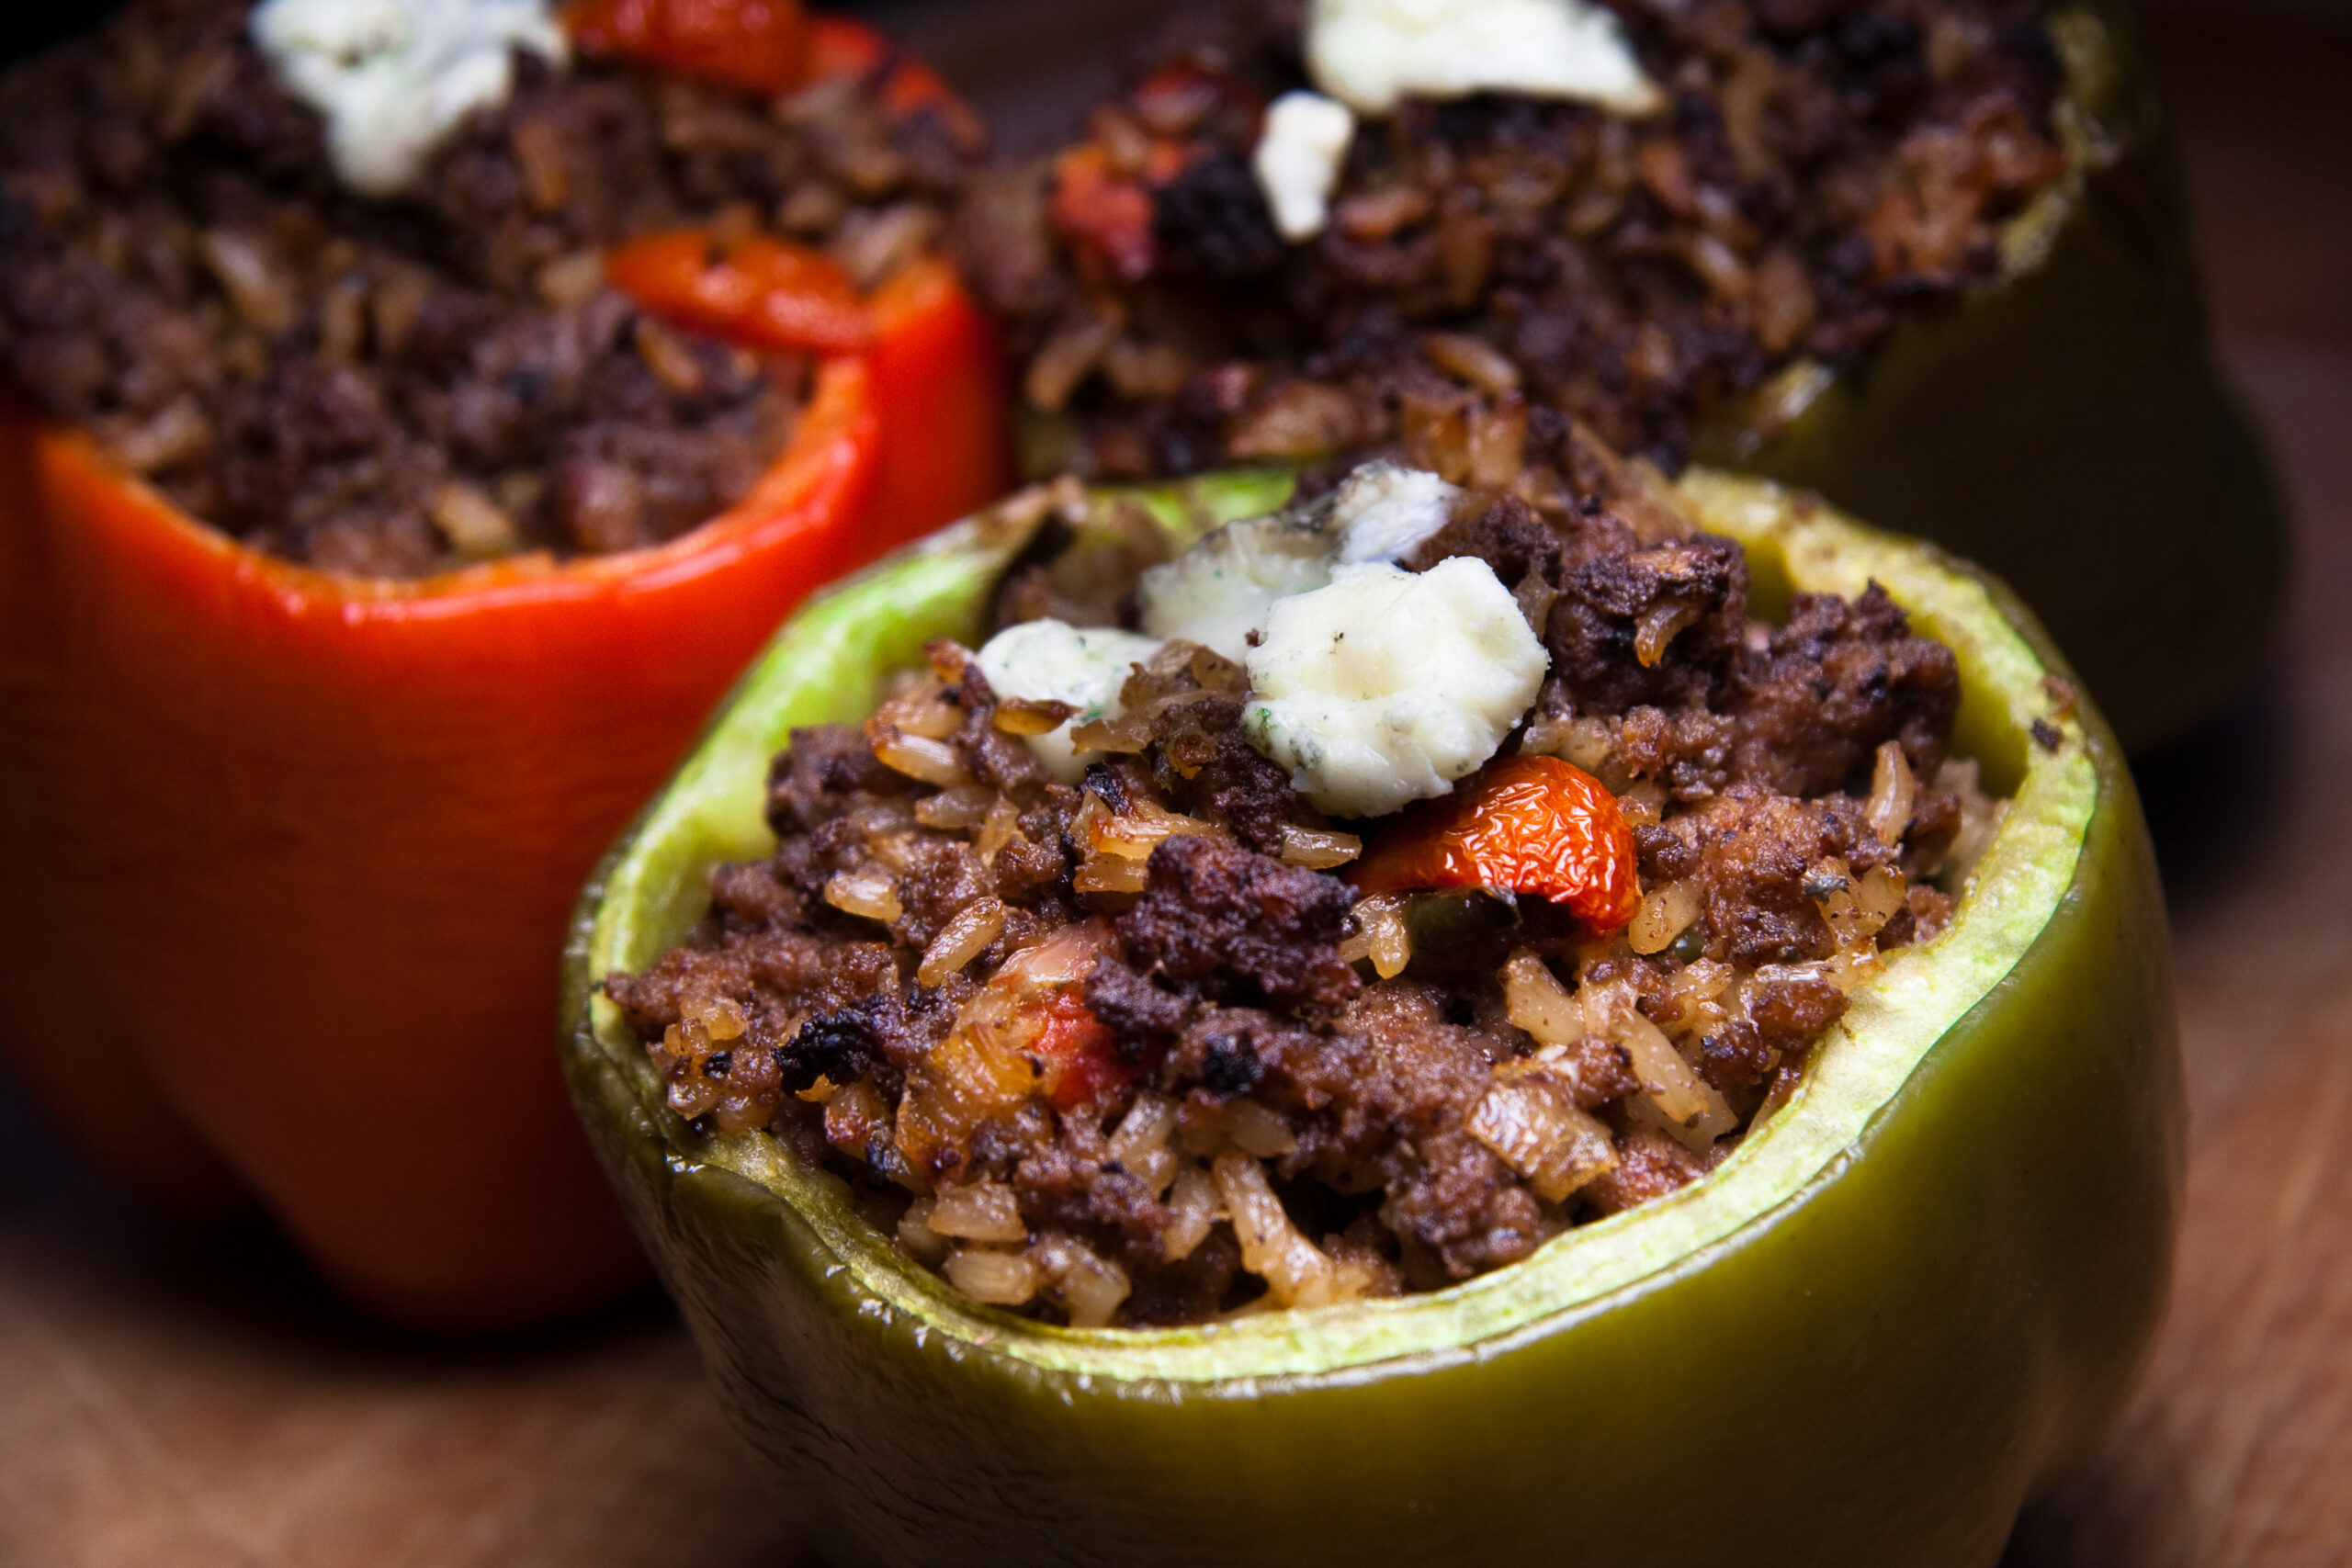
Classic stuffed peppers are a great dish to make for a family dinner. This dish is hearty and filling, yet light and healthy. Plus, it’s easy to make and can be customized to your liking.

Bell peppers are large enough to hold a lot, hard enough to keep their shape in the oven, and tender enough in flavor to go with just about anything. In other words, they’re the perfect vessel to hold a variety of different ingredients and fillings.

To prep the peppers for stuffing, you’ll want to first cut off the top of the pepper, and then remove the seeds and ribs from the inside. Once the peppers are prepped, you can stuff them with whatever ingredients you like. Some popular options include rice, ground beef, and cheese.
 Stuffed Peppers Recipe

After the peppers are stuffed, they can be baked in the oven until the filling is cooked through. This usually takes about 30 minutes. Once they’re done, you can serve them with a side of vegetables or a salad.

Ingredients:

•6 large bell peppers, any color

•1 pound ground beef

• One cup of uncooked rice

•1 can or (15 ounces) tomato sauce

•1/2 cup of water

•1 teaspoon garlic powder

•1 teaspoon salt

•1/4 teaspoon black pepper

Directions:

1. Preheat the oven to 350°F.

2. Cut the tops off the peppers, and remove the seeds and ribs.

3. In a large saucepan, cook the beef over medium heat until it is no longer pink.

4. Add the rice, tomato sauce, water, garlic powder, salt, and black pepper, and stir until well mixed.

5. Spoon the mixture into the peppers, and place the peppers in a baking dish.

6. Cover the dish with foil, and bake for an hour.

7. Remove the foil, and bake for an additional 15 minutes.

8. Serve immediately.

 Stuffed Peppers Recipe

Few Key Tips to keep in mind:

  • When it comes to stuffing peppers, there are a few key things to keep in mind.
  • First, you want to choose bell peppers that are large enough to hold a good amount of stuffing. 
  • Second, you want to make sure the peppers are strong enough to keep their shape in the oven. 
  • And third, you want to pick a stuffing that has a mild flavor so it doesn’t overpower the peppers.

With these tips in mind, you’re sure to create the best classic stuffed peppers recipe.

Conclusion

What’s not to love about this recipe? Peppers are stuffed with a flavorful mixture of rice, ground beef, and tomato sauce. Then, they’re baked to perfection. Serve them with a side of salad or roasted vegetables and you’ve got a complete meal.

This classic stuffed peppers recipe is a great way to use up some of your garden vegetables. And, it’s a dish that the whole family will enjoy. So, give it a try the next time you’re looking for a new recipe to try.
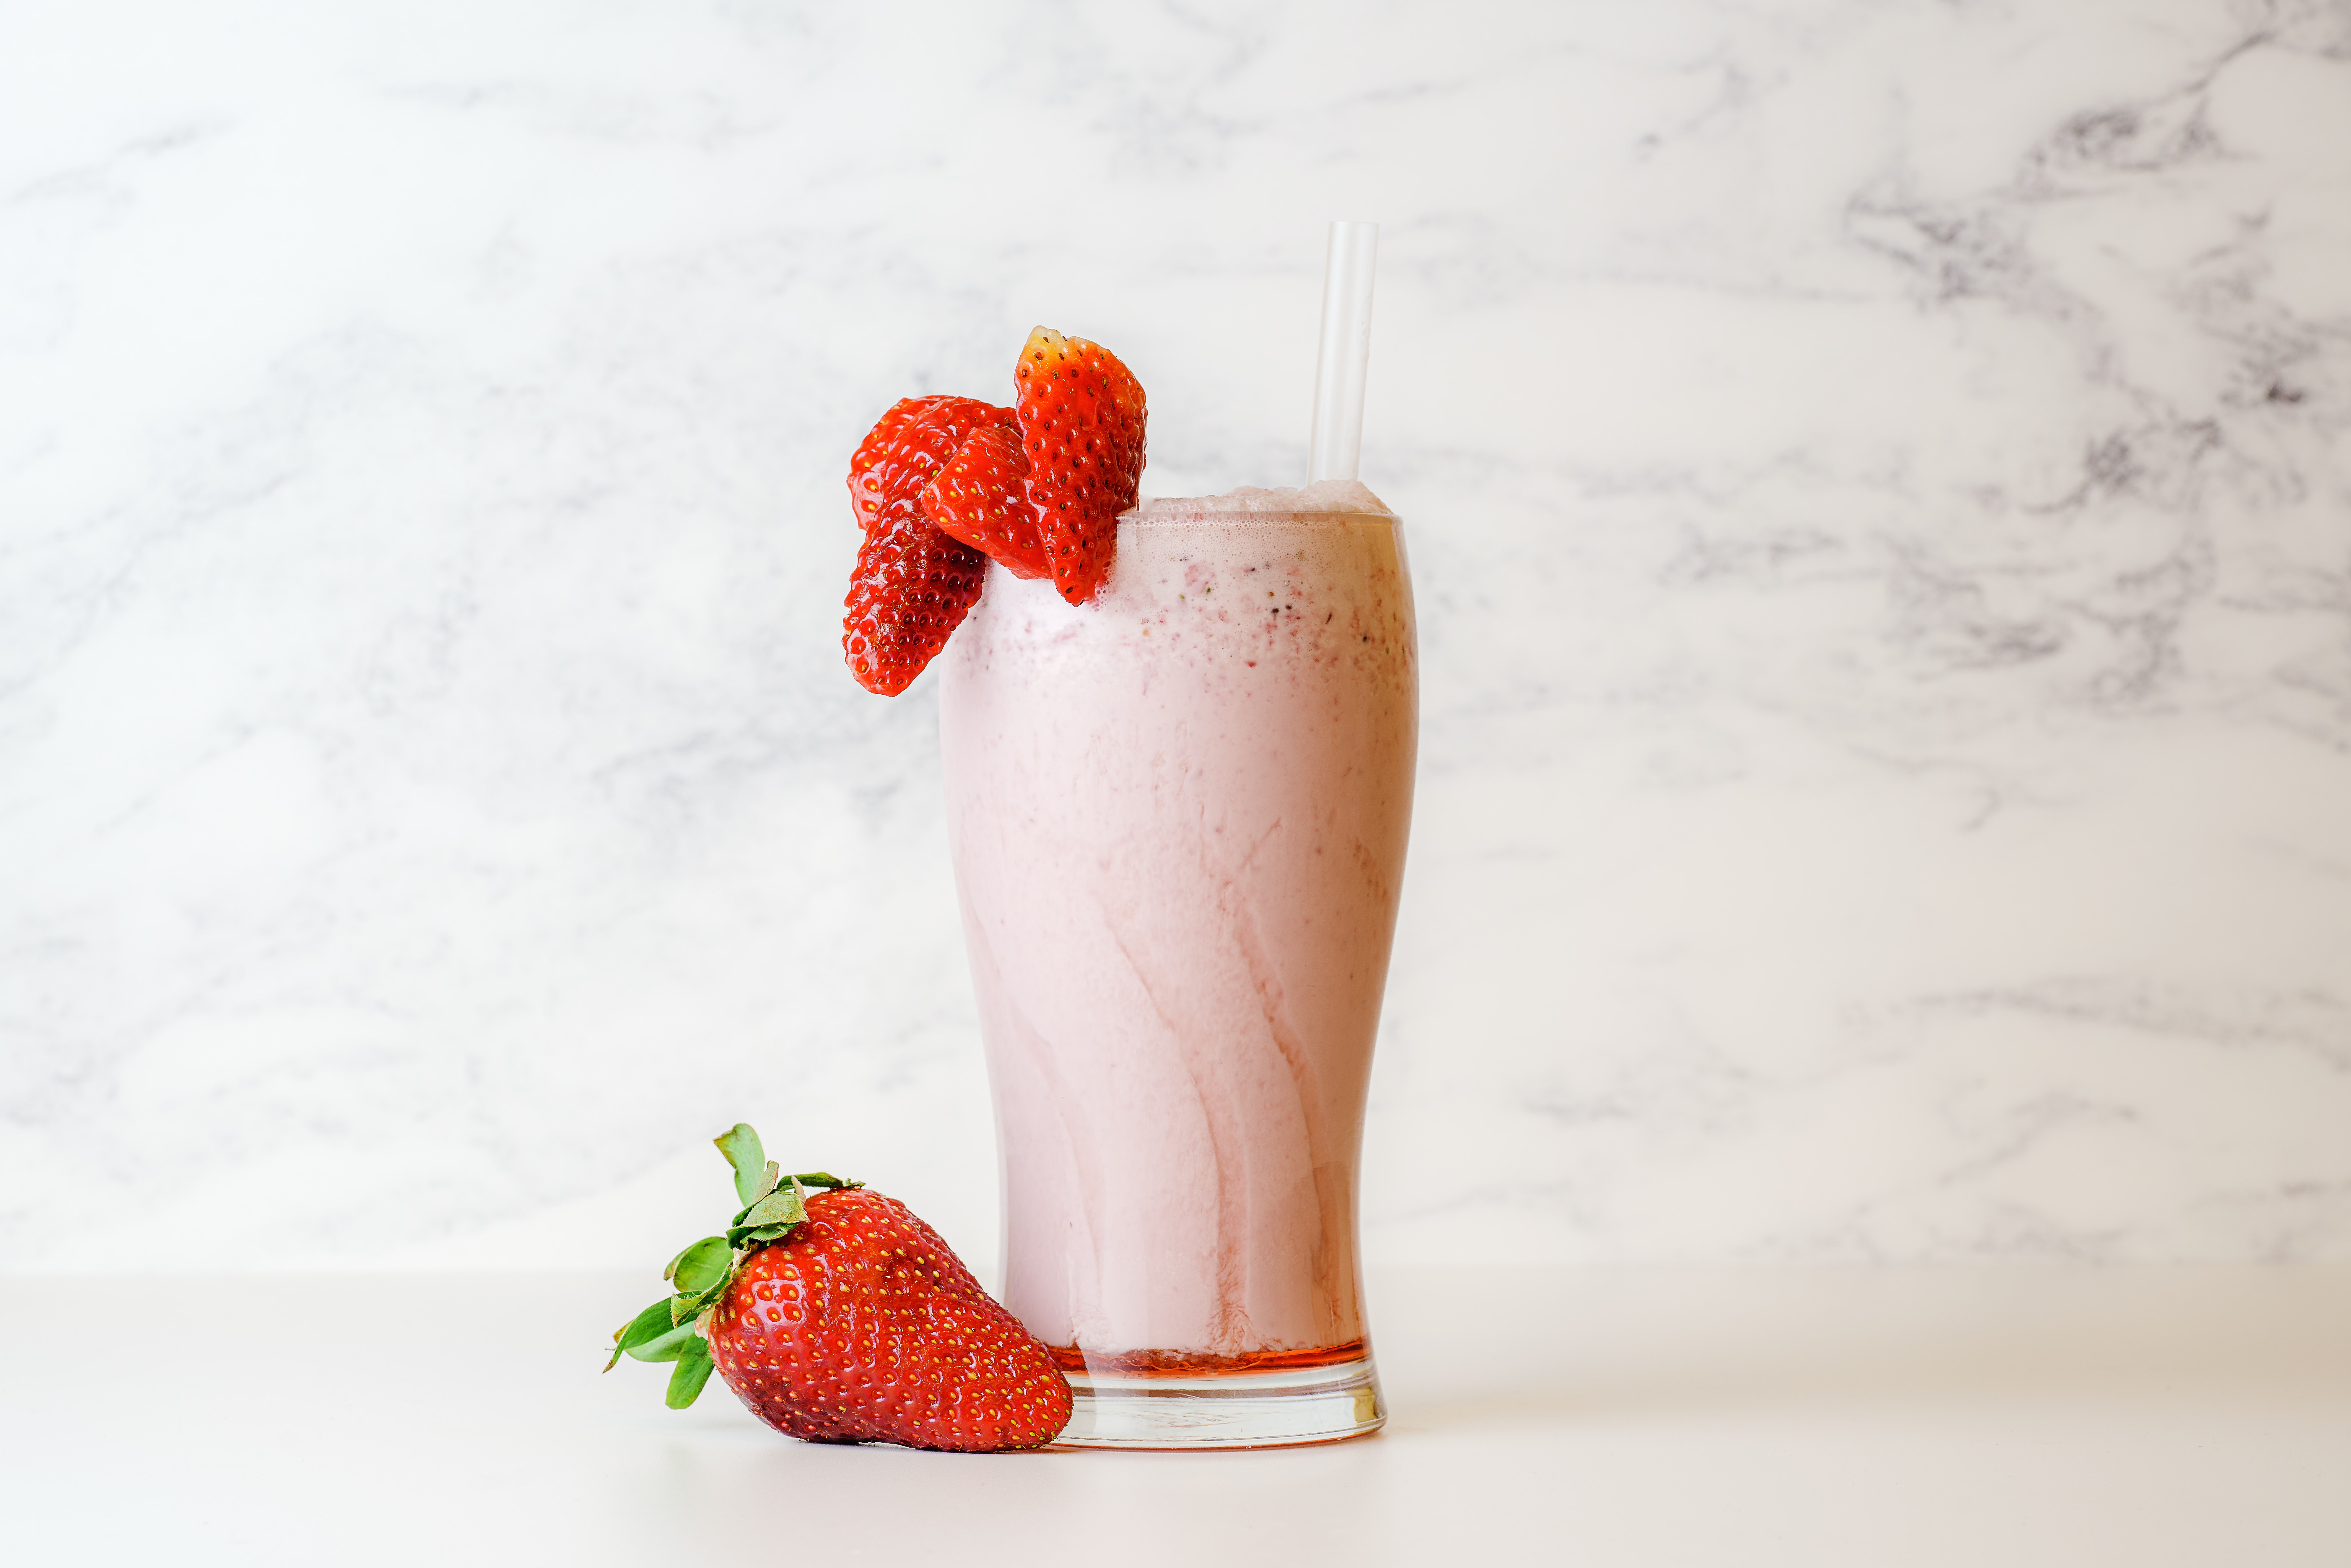
Healthy Strawberry Smoothie Recipe: 3 ingredient

0
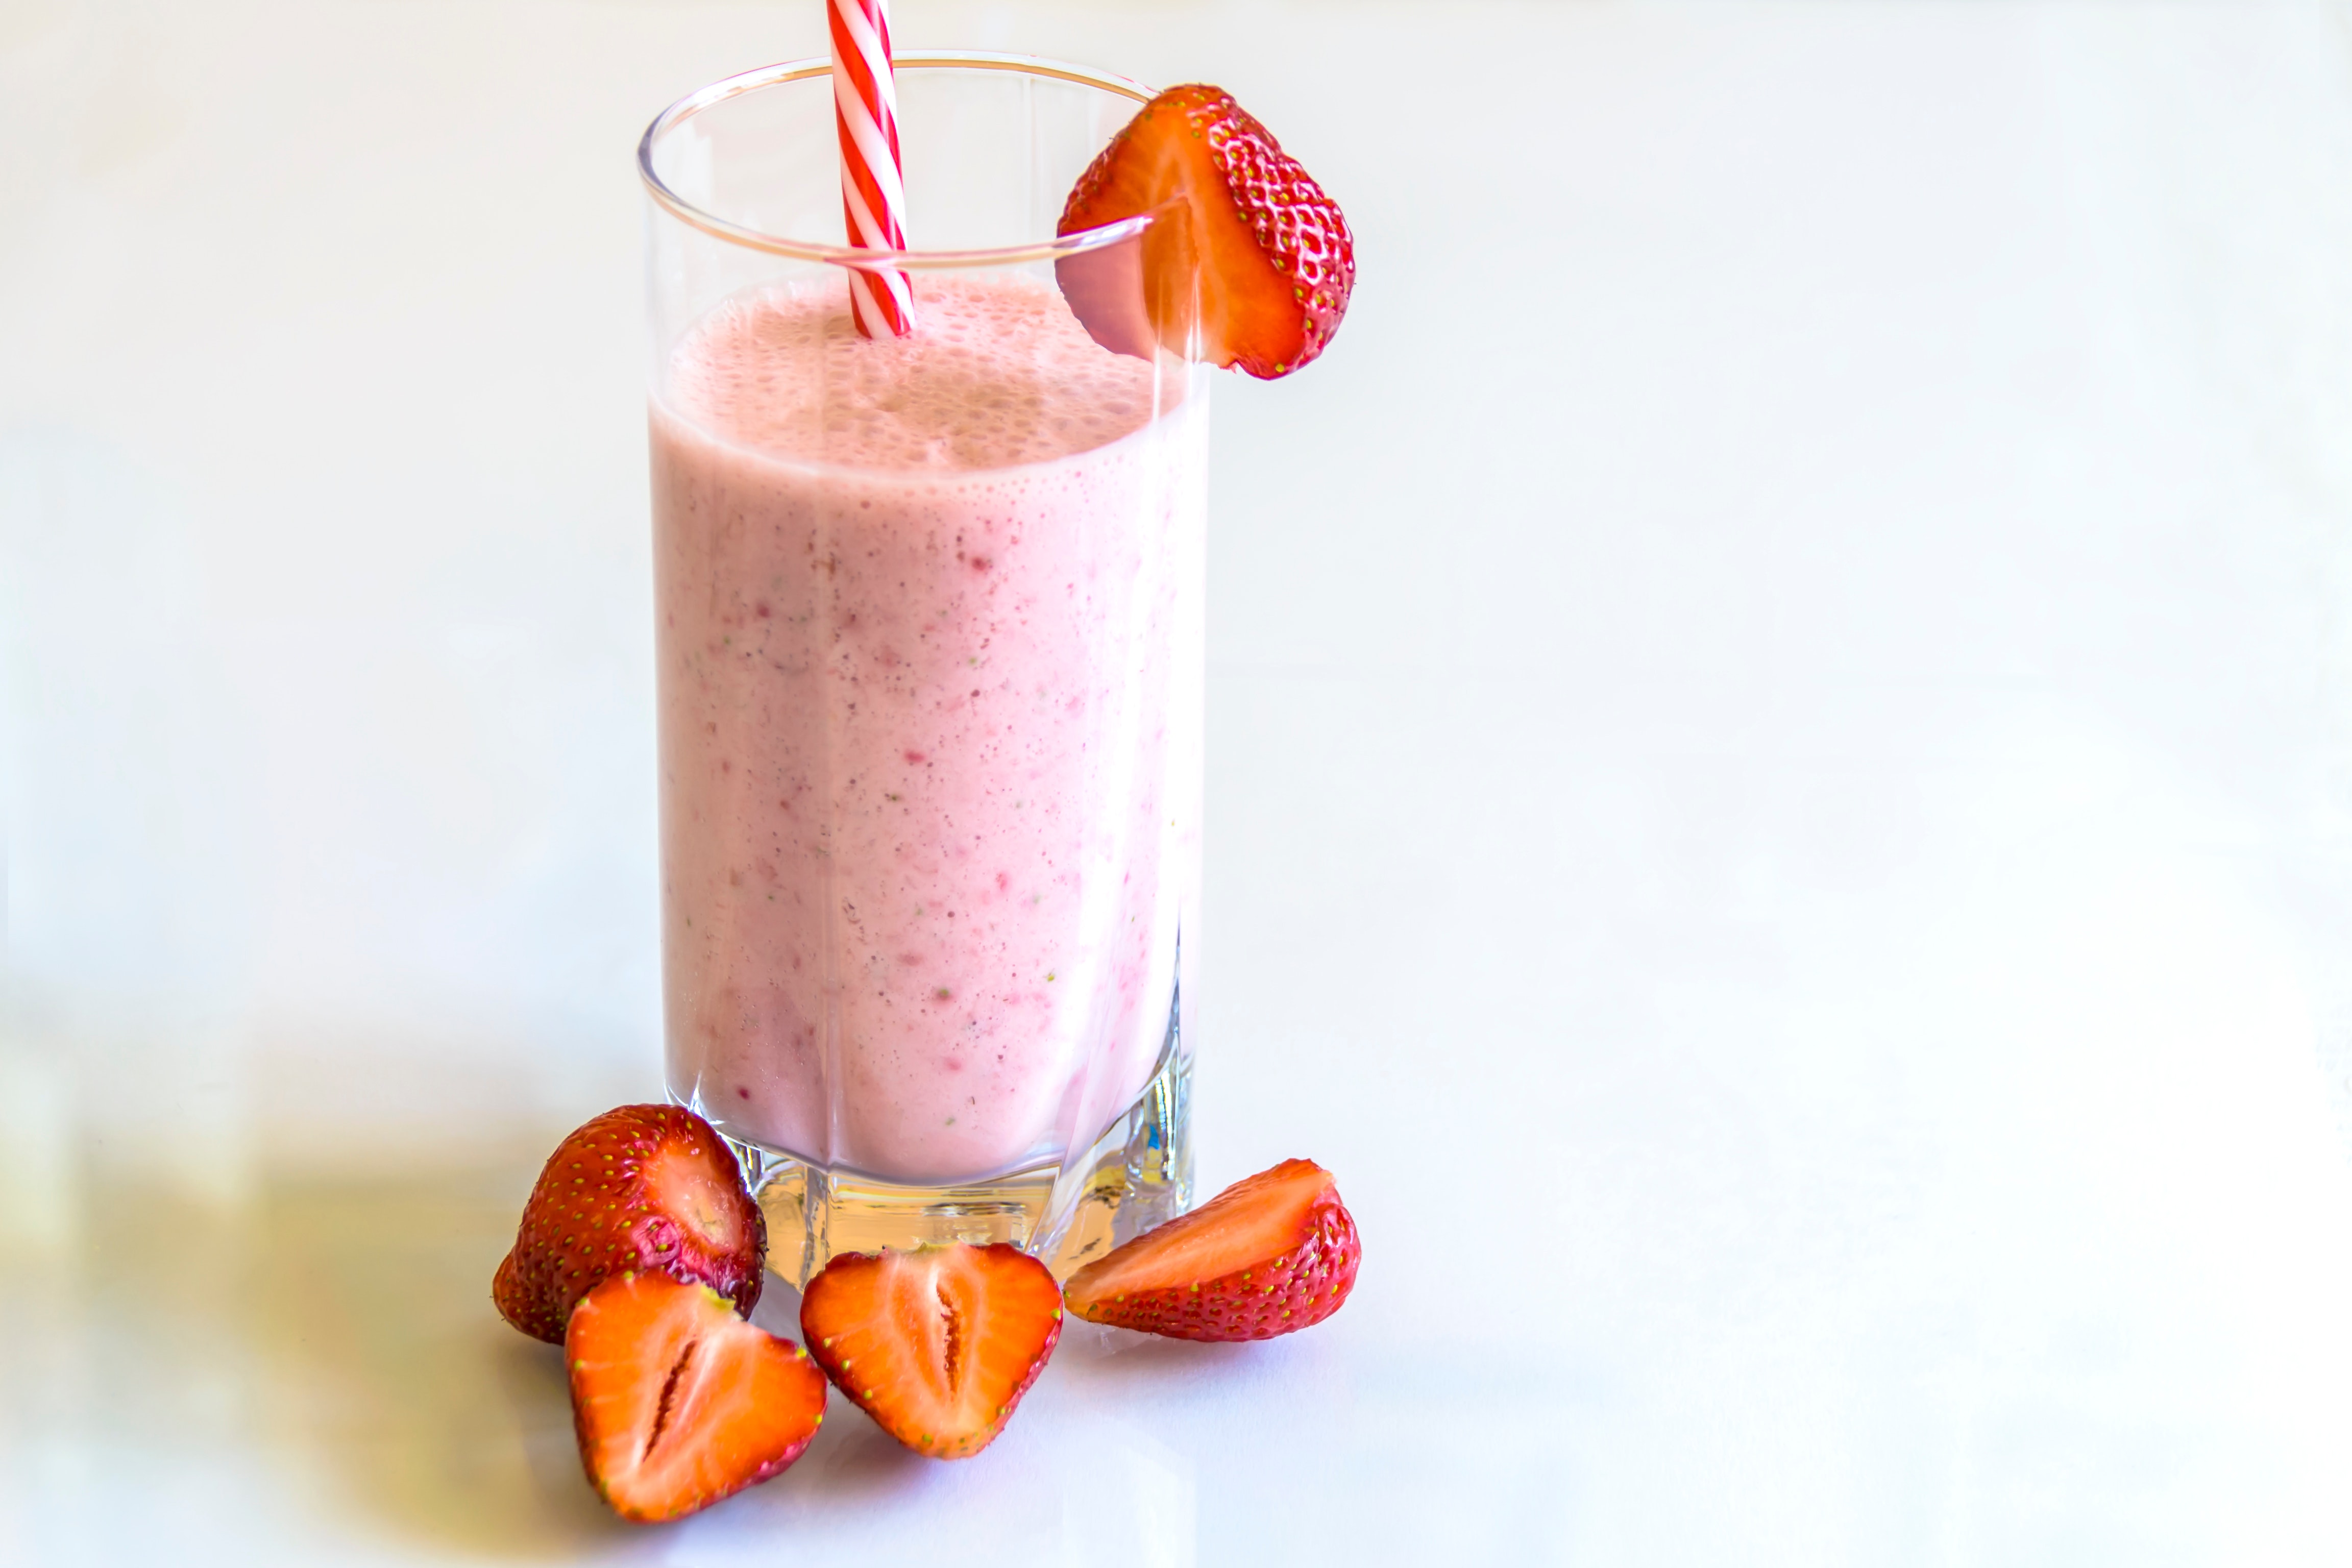
Strawberry Smoothie Recipe

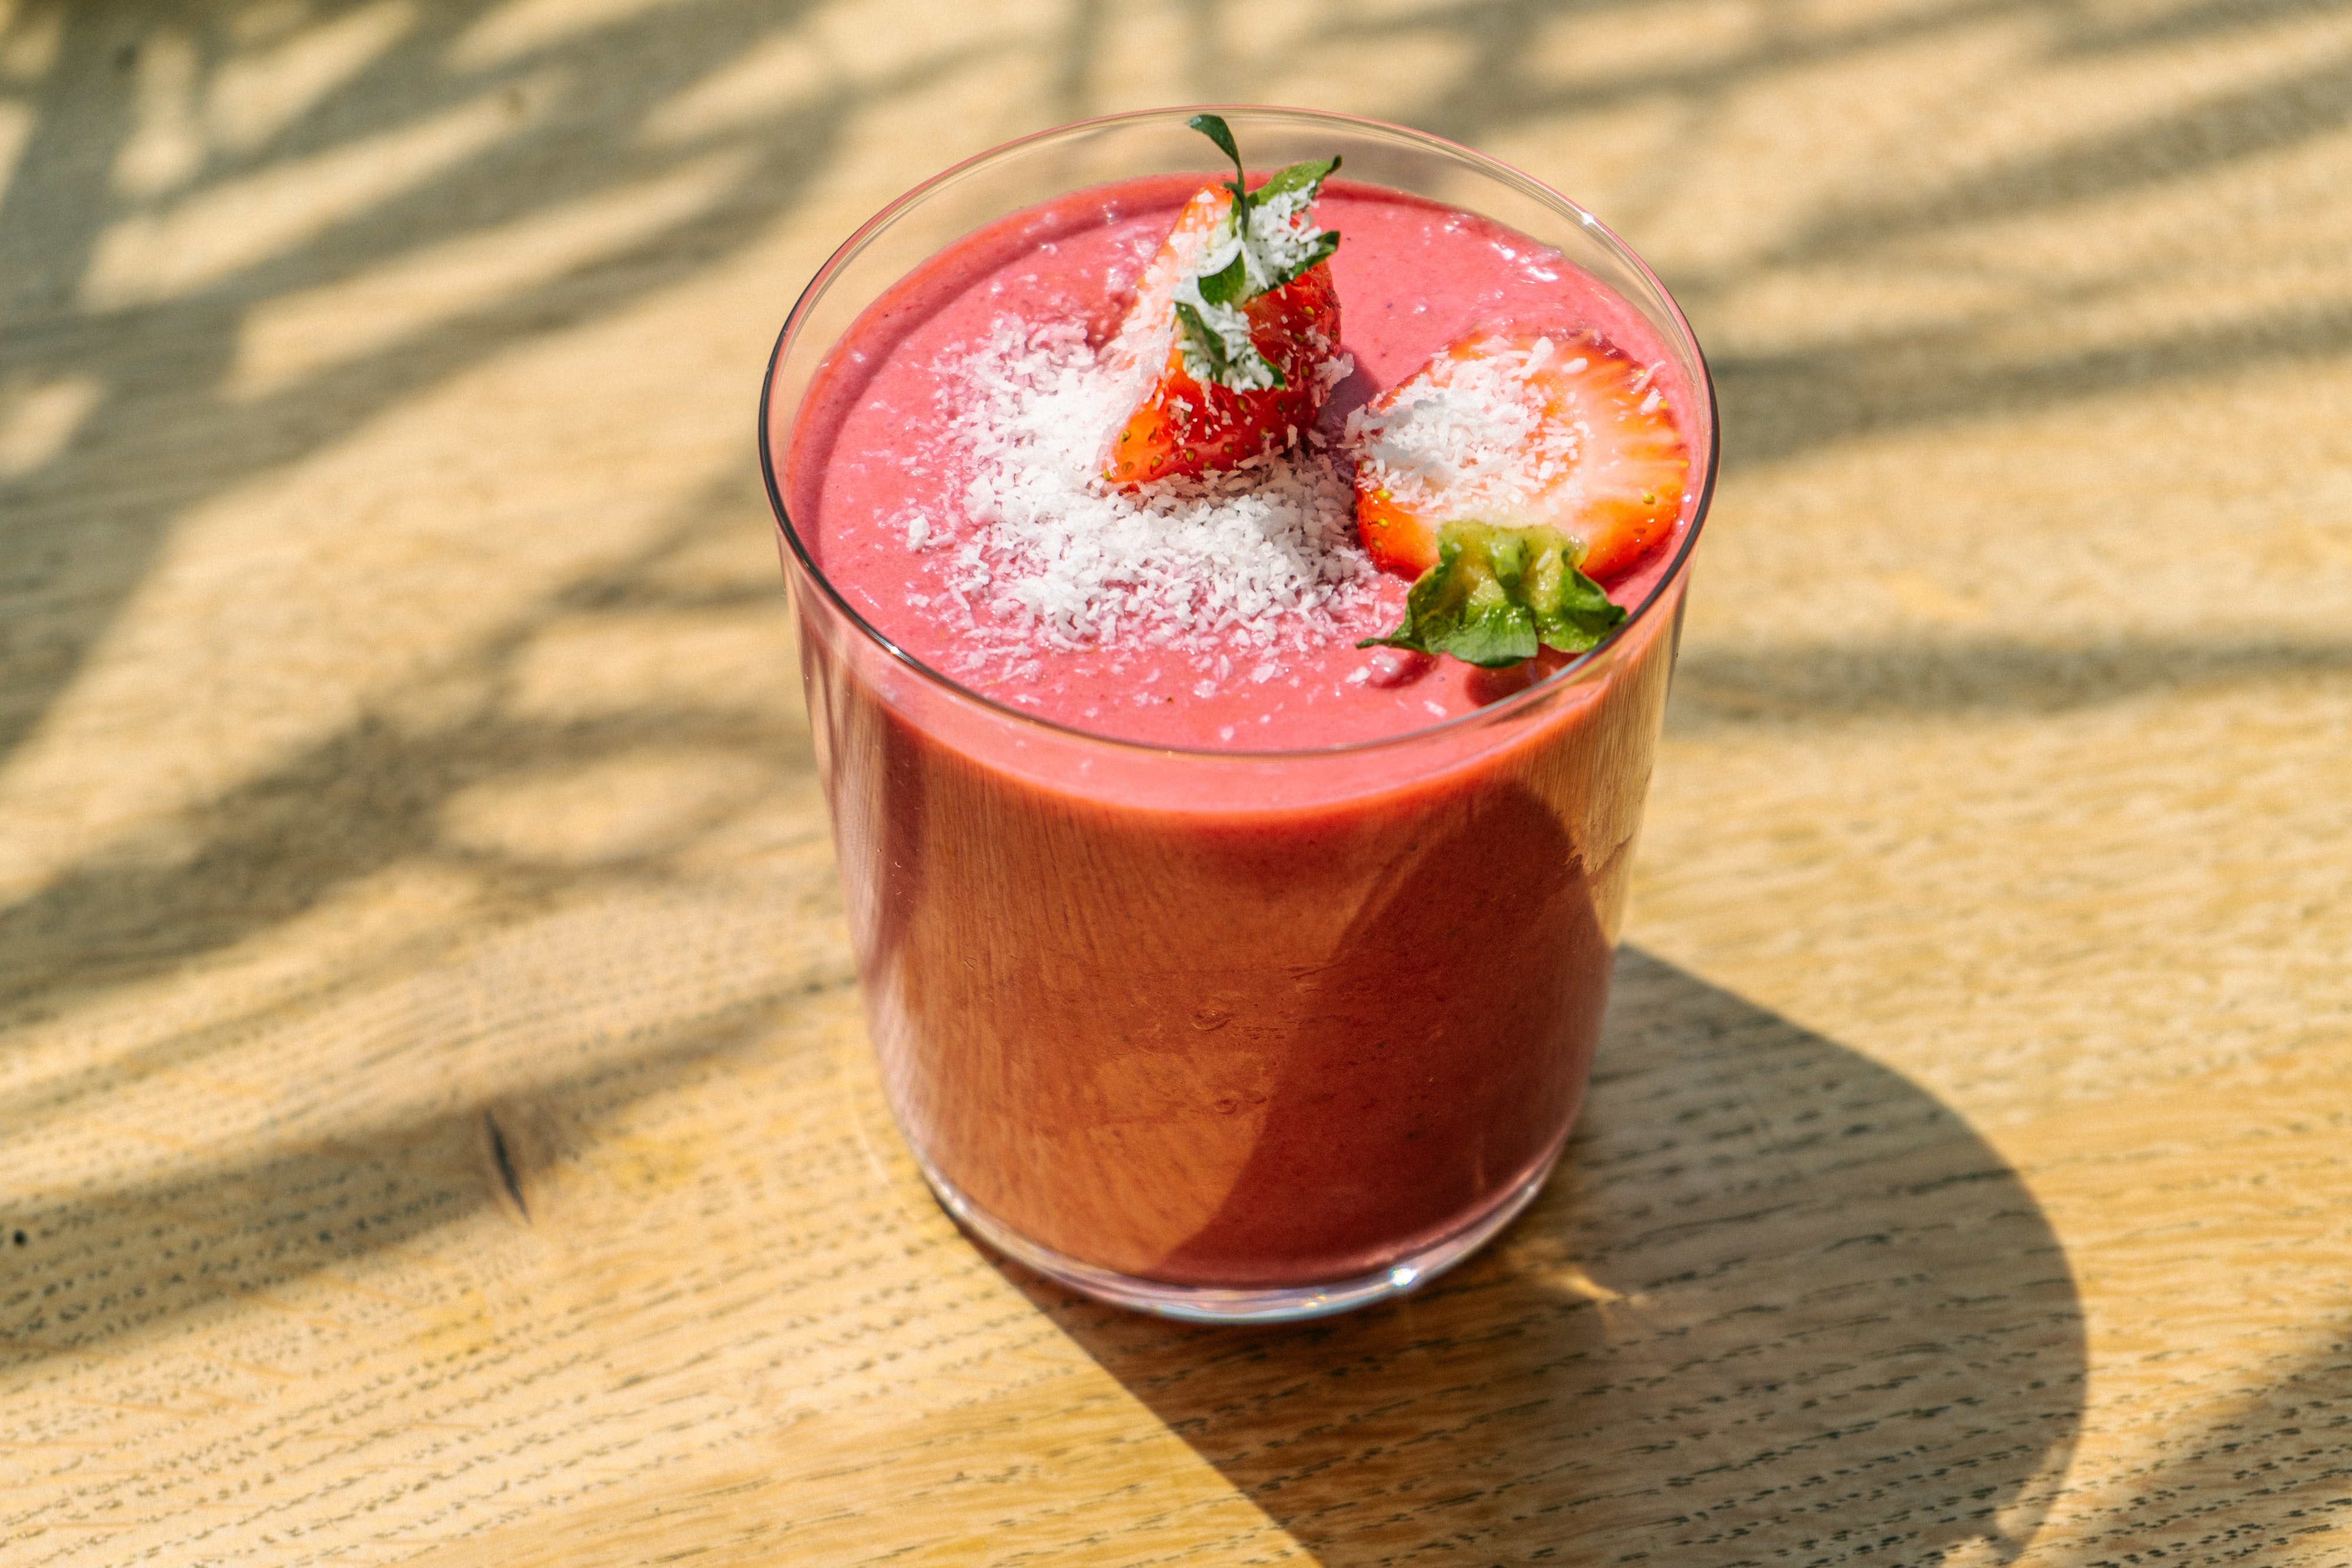
Looking for a delicious and healthy strawberry smoothie recipe? Look no further! This 3 ingredient strawberry smoothie is vegan, gluten-free, and easy to prepare. Simply follow step-by-step instructions and you’ll have a yummy smoothie in no time.

To make this smoothie, you will need:

  • 1 cup strawberries
  • 1 banana
  • 1 cup almond milk

How to make it?

  • Simply place all ingredients into a blender and blend until smooth. 
  • If you find your smoothie is too thick, simply add more almond milk until desired consistency is reached.
  • Enjoy your strawberry banana smoothie immediately or store it in a sealed container in the fridge for later.
Strawberry Smoothie Recipe

Can I use dairy milk to make a strawberry banana smoothie recipe?

Yes, you can! Any type of milk will work in this recipe, so feel free to use whatever you have on hand. Dairy milk will make the smoothie richer and creamier, while non-dairy milk will make it lighter.

If you’re looking for a thicker smoothie, you can add a little ice to the blender. People like to add a handful of fresh strawberries and a banana to a smoothie, but you can use any fruit you like. Just be sure to adjust the amount of liquid accordingly. And that’s it! A quick and healthy strawberry smoothie that’s perfect for on the go.

Also try: How To Make A Beetroot Smoothie In Under 5 Minutes

Few Tips :

  • First, make sure to use ripe strawberries for your smoothie. Ripe strawberries are sweeter and will give your smoothie a delicious flavor. If your strawberries are not ripe, you can add a little bit of honey or agave nectar to sweeten the smoothie.
  • Second, use frozen bananas instead of fresh bananas for a creamier smoothie. Simply slice the bananas before freezing them and then add them to the blender with the strawberries and almond milk.
  • Third, use almond milk instead of cow’s milk for a healthier smoothie. Almond milk is lower in calories and fat than cow’s milk and it will also give your smoothie a delicious nutty flavor.
Strawberry Smoothie Recipe

Now that you know tips for making a delicious and healthy strawberry smoothie, give this recipe a try. I’m sure you’ll love it!

Conclusion

When it comes to smoothies, there are endless possibilities. But one of our all-time favorites has to be the strawberry smoothie. Not only is it delicious, but it’s also super easy to make. And the best part? You can sweeten it any way you like.

Whether you use raw sugar, maple syrup, jaggery, or coconut sugar, the strawberry smoothie is sure to be a hit. But we recommend trying it as-is first since the strawberries and banana are naturally sweet together. So go ahead and give it a try.

Also check: Banana Walnut Smoothie Recipe

Instant Pot Chicken and Dumplings Recipe

0
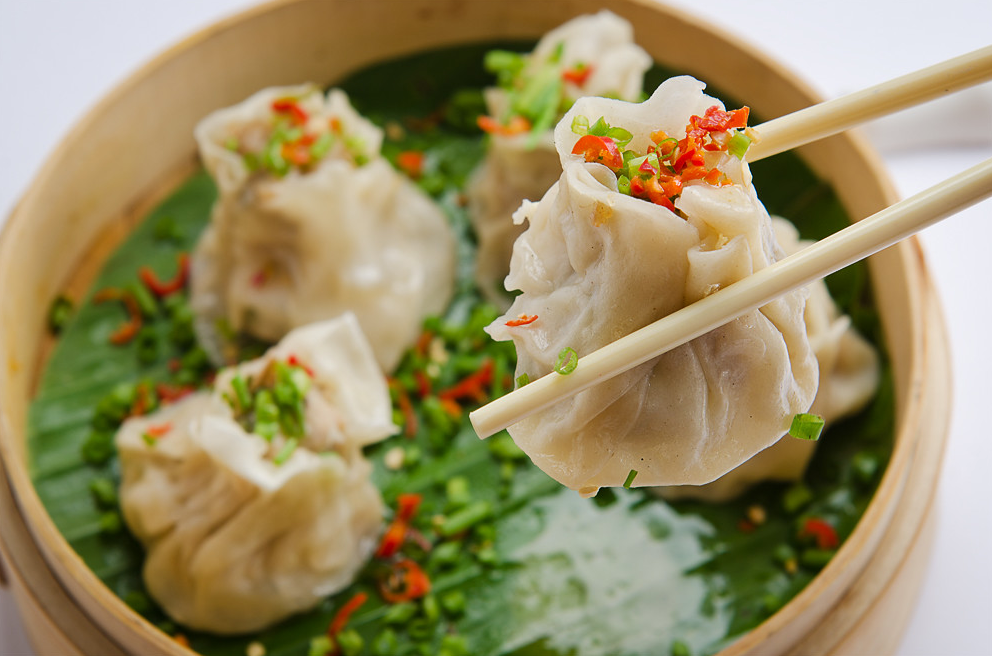
Instant Pot Chicken and Dumplings Recipe

If you’re looking for a delicious and comforting chicken and dumplings recipe, this Instant Pot chicken and dumplings recipe is a great option. Made from scratch, the dumplings are quite similar to drop biscuits and are so soft and tender. Plus, pressure cooking the dumplings in the Instant Pot keeps them moist.

How to Make Instant Pot Chicken and Dumplings

Chicken and dumplings are one of the ultimate comfort foods. This Instant Pot chicken and dumplings recipe is made from scratch and is so easy to make. It’s just as delicious! 

The pressure cooking process tenderizes the chicken, and the dumplings cook perfectly in the broth. Serve this dish with a side of steamed veggies and you have a complete meal that your whole family will love.

To make the chicken and dumplings, you will need:

1 lb. boneless, skinless chicken breasts

1 onion, diced

3 carrots, diced

3 celery stalks, diced

1 tsp. dried thyme

1/2 tsp. salt

1/4 tsp. black pepper

1 bay leaf

1/2 cup all-purpose flour

2 cups chicken broth

1 can of condensed cream of chicken soup

1 (12 oz.) package of frozen dumplings

Chicken and Dumplings Recipe

To make the dumplings-

  • Simply combine the flour, salt, and pepper in a large bowl. Stir in the chicken broth until well combined. Fold in the frozen dumplings.
  • To make the chicken and dumplings, simply add all of the ingredients to the Instant Pot. Set the Instant Pot to the “ stew” setting and cook for 30 minutes. Once the timer goes off, let the pressure release naturally for 10 minutes, then use the quick release to release any remaining pressure.
  • Remove the lid and stir in the dumplings. Let the dumplings cook in the pot for about 5 minutes, or until they are cooked through. Serve warm and enjoy!

Here are a few tips to follow when making this recipe:

1. Be sure to use boneless, skinless chicken breasts for the best results.

2. The dumplings will cook quickly, so watch them closely so they don’t overcook.

Chicken and Dumplings Recipe

3. Be sure to add enough liquid to the pot so the dumplings can cook properly.

4. Serve the chicken and dumplings with a side of vegetables for a complete meal.

To sum up

If you’re looking for an easy and delicious way to make chicken and dumplings, pressure cooking is the way to go. In just 8 minutes at high pressure, you can have tender chicken and dumplings that are cooked to perfection. Plus, there’s no need to watch over them while they cook, so you can relax and enjoy your meal.

So, why not give Instant Pot chicken and dumplings a try tonight? You’ll be glad you did!

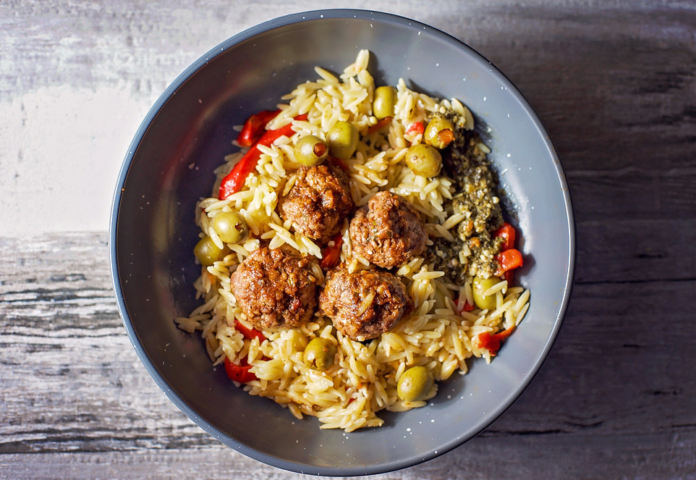
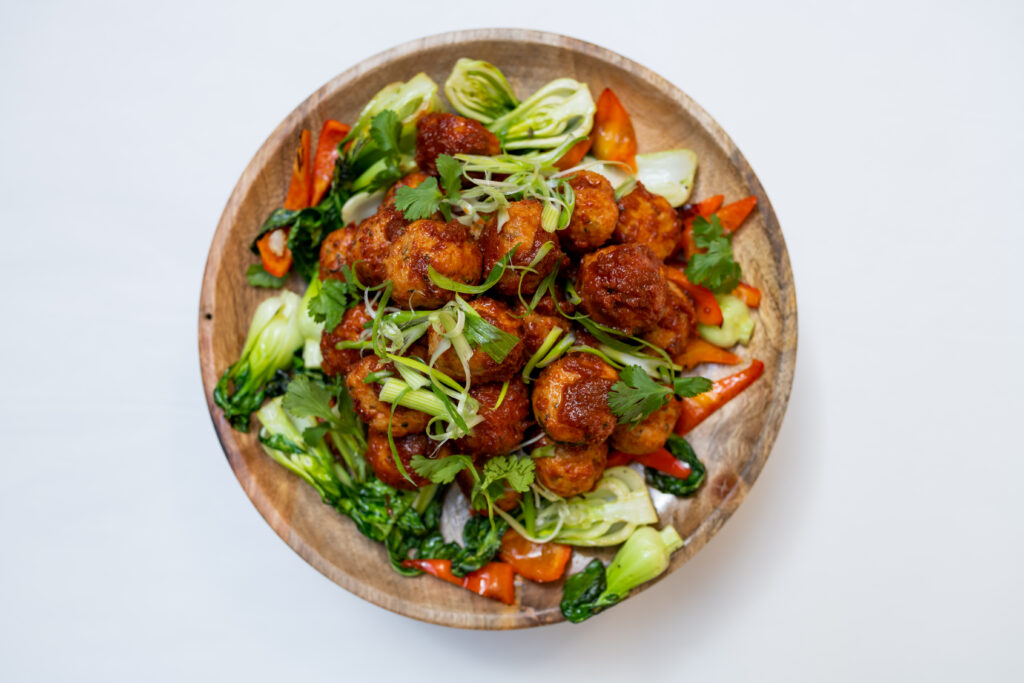
Chicken Meatballs with Peppers and Orzo

0
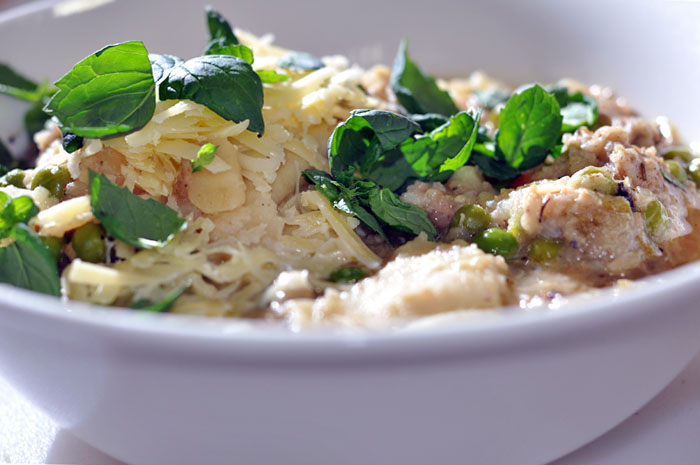
chicken-meatballs

It’s easy to make and it’s so delicious! It is also very healthy because chicken meatballs are made of turkey. And Chicken Meatballs with Peppers and Orzo! It’s the BEST combo.

Let’s start with the meatballs. In this recipe, we’re going to use ground chicken and breadcrumbs (because it’s easy). You can also cut up some veggies and stuff them into the meatball mixture if you like. 

After they’re formed into balls, they go onto a baking sheet along their side so they don’t fall apart when cooking them in an oven or frying pan on top of the stovetop burner during this step!

Next comes adding some tomato sauce (or salsa), garlic powder (to give flavor), salt/pepper, and then finally parmesan cheese for extra cheesiness – this part might be optional depending on how much time you have because it makes everything taste better.

Basically, this recipe has two preparation steps. 

The first step is to roll your chicken meatballs. This is a simple process that can be done in advance and then refrigerated until you’re ready to cook them.

Next, you’ll chop your peppers and sauté them for about five minutes on medium heat with some olive oil, garlic powder, and black pepper.

Chicken Meatballs

How to make Chicken Meatballs with Peppers and Orzo?

Quick and easy chicken meatballs with peppers and orzo – the perfect meal for any night of the week! This dish is packed with flavor and is sure to become a family favorite. 

Ingredients:

-1 pound of ground chicken

-Half cup chopped onion

-1/2 cup chopped red pepper

-Half cup chopped green pepper

-1/3 cup orzo pasta

-1/4 cup grated Parmesan cheese

-One egg

-1 tablespoon minced garlic

-One teaspoon dried oregano

-1/2 teaspoon salt

-1/4 teaspoon black pepper

Instructions:

1. Preheat the oven to 375 degrees F.

2. In a large bowl, combine ground chicken, onion, red pepper, green pepper, orzo, Parmesan cheese, garlic powder, salt, and black pepper. Mix well.

3. Shape the mixture into 24 meatballs or 1-inch meatballs.

4. In a large skillet, heat olive oil over medium heat. Add meatballs and cook until browned, about 5 minutes per side.

5. Transfer the skillet to the oven and bake for 15 minutes.

6. Remove from oven and stir in chicken broth. Sprinkle with fresh parsley.

chicken meatballs

Key Tips

When it comes to cooking, there are a few key tips to follow in order to create a successful dish. 

  • First, it is important to brown the chicken meatballs in a pan before adding them to the Orzo. This will help to create a crispy exterior on the meatballs and add flavor to the dish. 
  • The Orzo should be cooked in chicken broth instead of water for added flavor. Be sure to add plenty of fresh herbs and spices to the dish before serving. This will help to give it a bright and flavorful taste that everyone will enjoy. 
  • It’s important to roll the chicken meatballs evenly. This will ensure that they cook evenly and are the right size.

By following these simple tips, you’ll be well on your way to creating a delicious and healthy dish that the whole family will love.

Rich New York Cheesecake

0
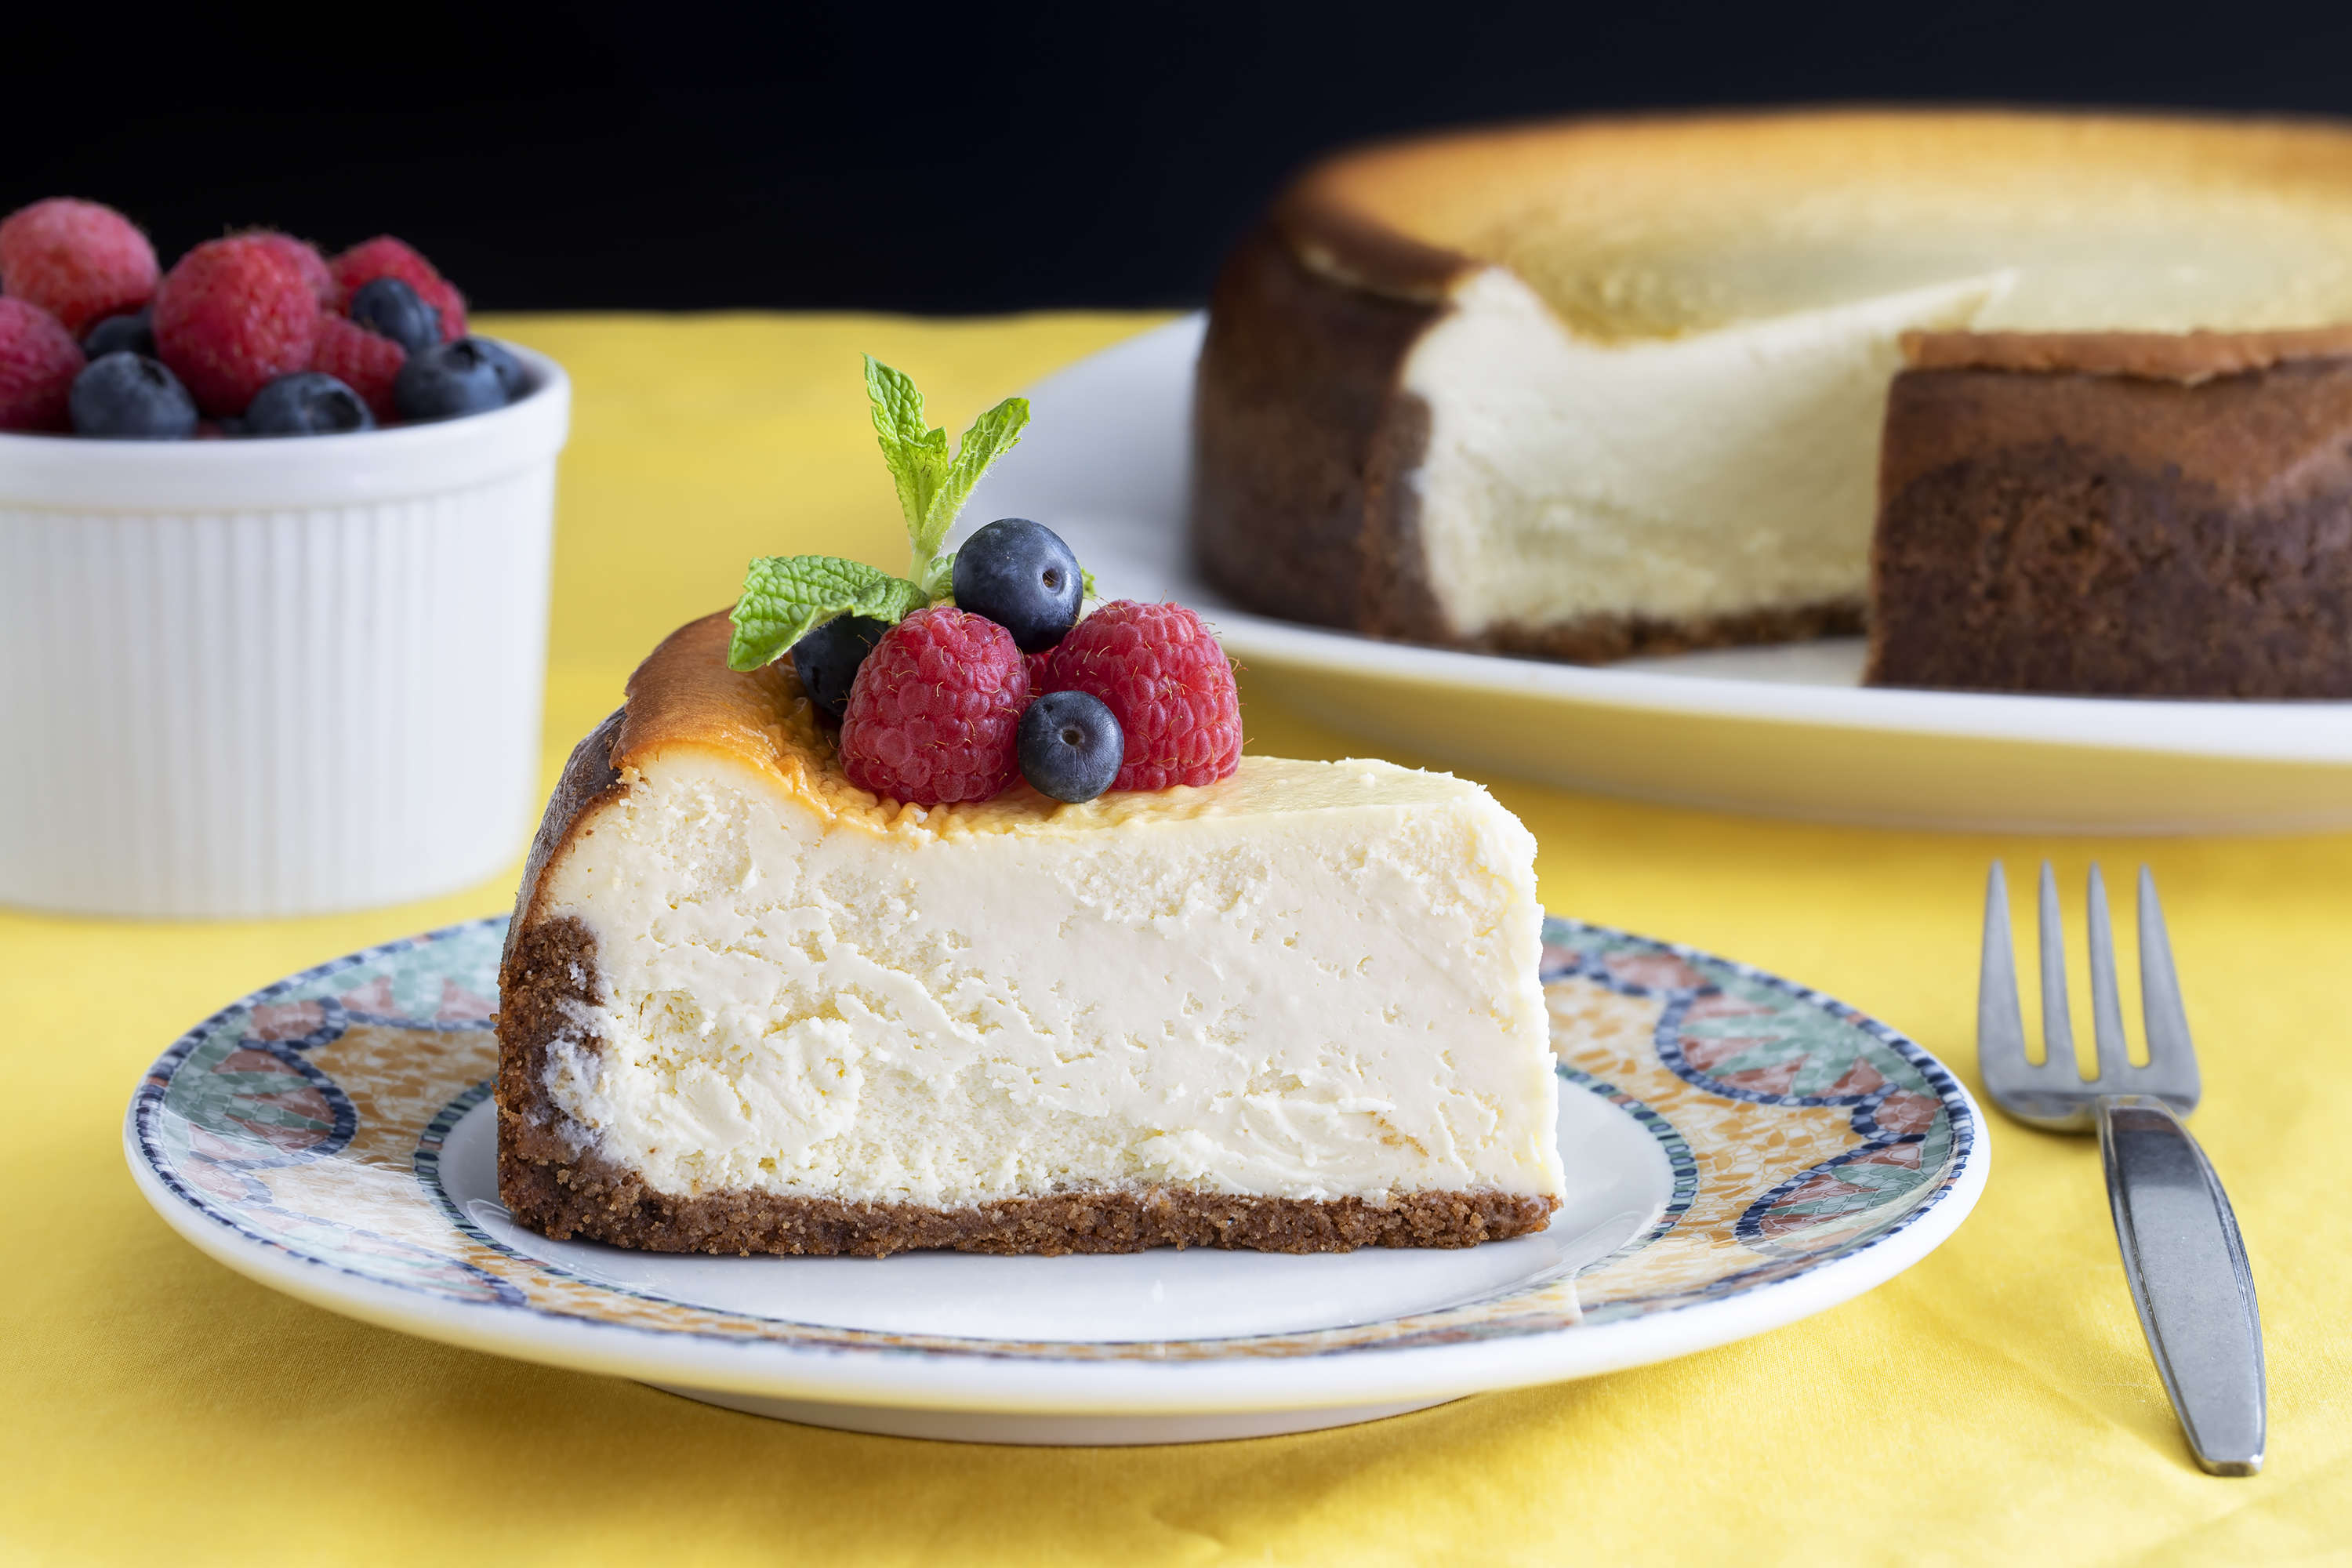
New York Cheesecake

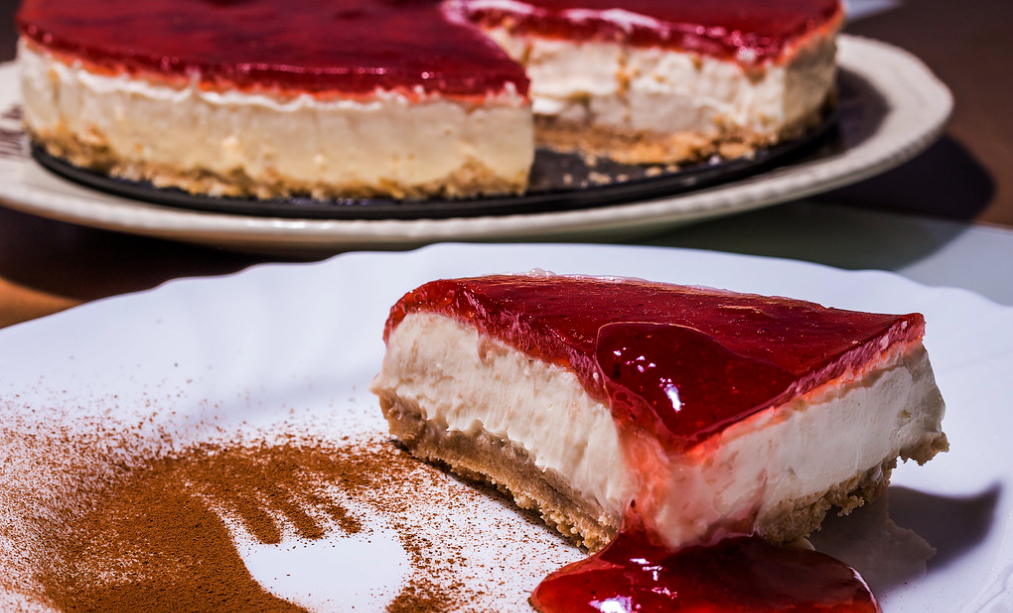
If you’re looking for a delicious and classic cheesecake recipe, you can’t go wrong with New York cheesecake. This style of cheesecake is rich and creamy and has the perfect balance of sweet and tangy. The key to making a perfect New York cheesecake is in the filling ingredients.

Ingredients:

1. Graham Crackers

2. Cream Cheese

3. Sugar

4. Sour Cream

5. Vanilla Extract

6. Unsalted butter, melted

7. Eggs

To make the filling, you’ll need cream cheese, sour cream, eggs, sugar, and vanilla extract.

New York Cheesecake

Instructions:

1. Preheat the oven to 350 degrees F (175 degrees C).

2. In a medium bowl, combine graham cracker crumbs, 3 tablespoons sugar, and melted butter. Press batter into the bottom of a 9-inch springform pan.

3. In a large bowl, beat cream cheese until smooth. Gently add 1 cup sugar, beating until well blended. Add some sour cream and vanilla extract; blend well. Pour over crust.

4. Bake for 45 minutes. Remove from the oven, and let it cool for 10 minutes. Run a knife all around the edge of the cake to loosen it. Cover it up and refrigerate for at least 4 hours, or overnight.

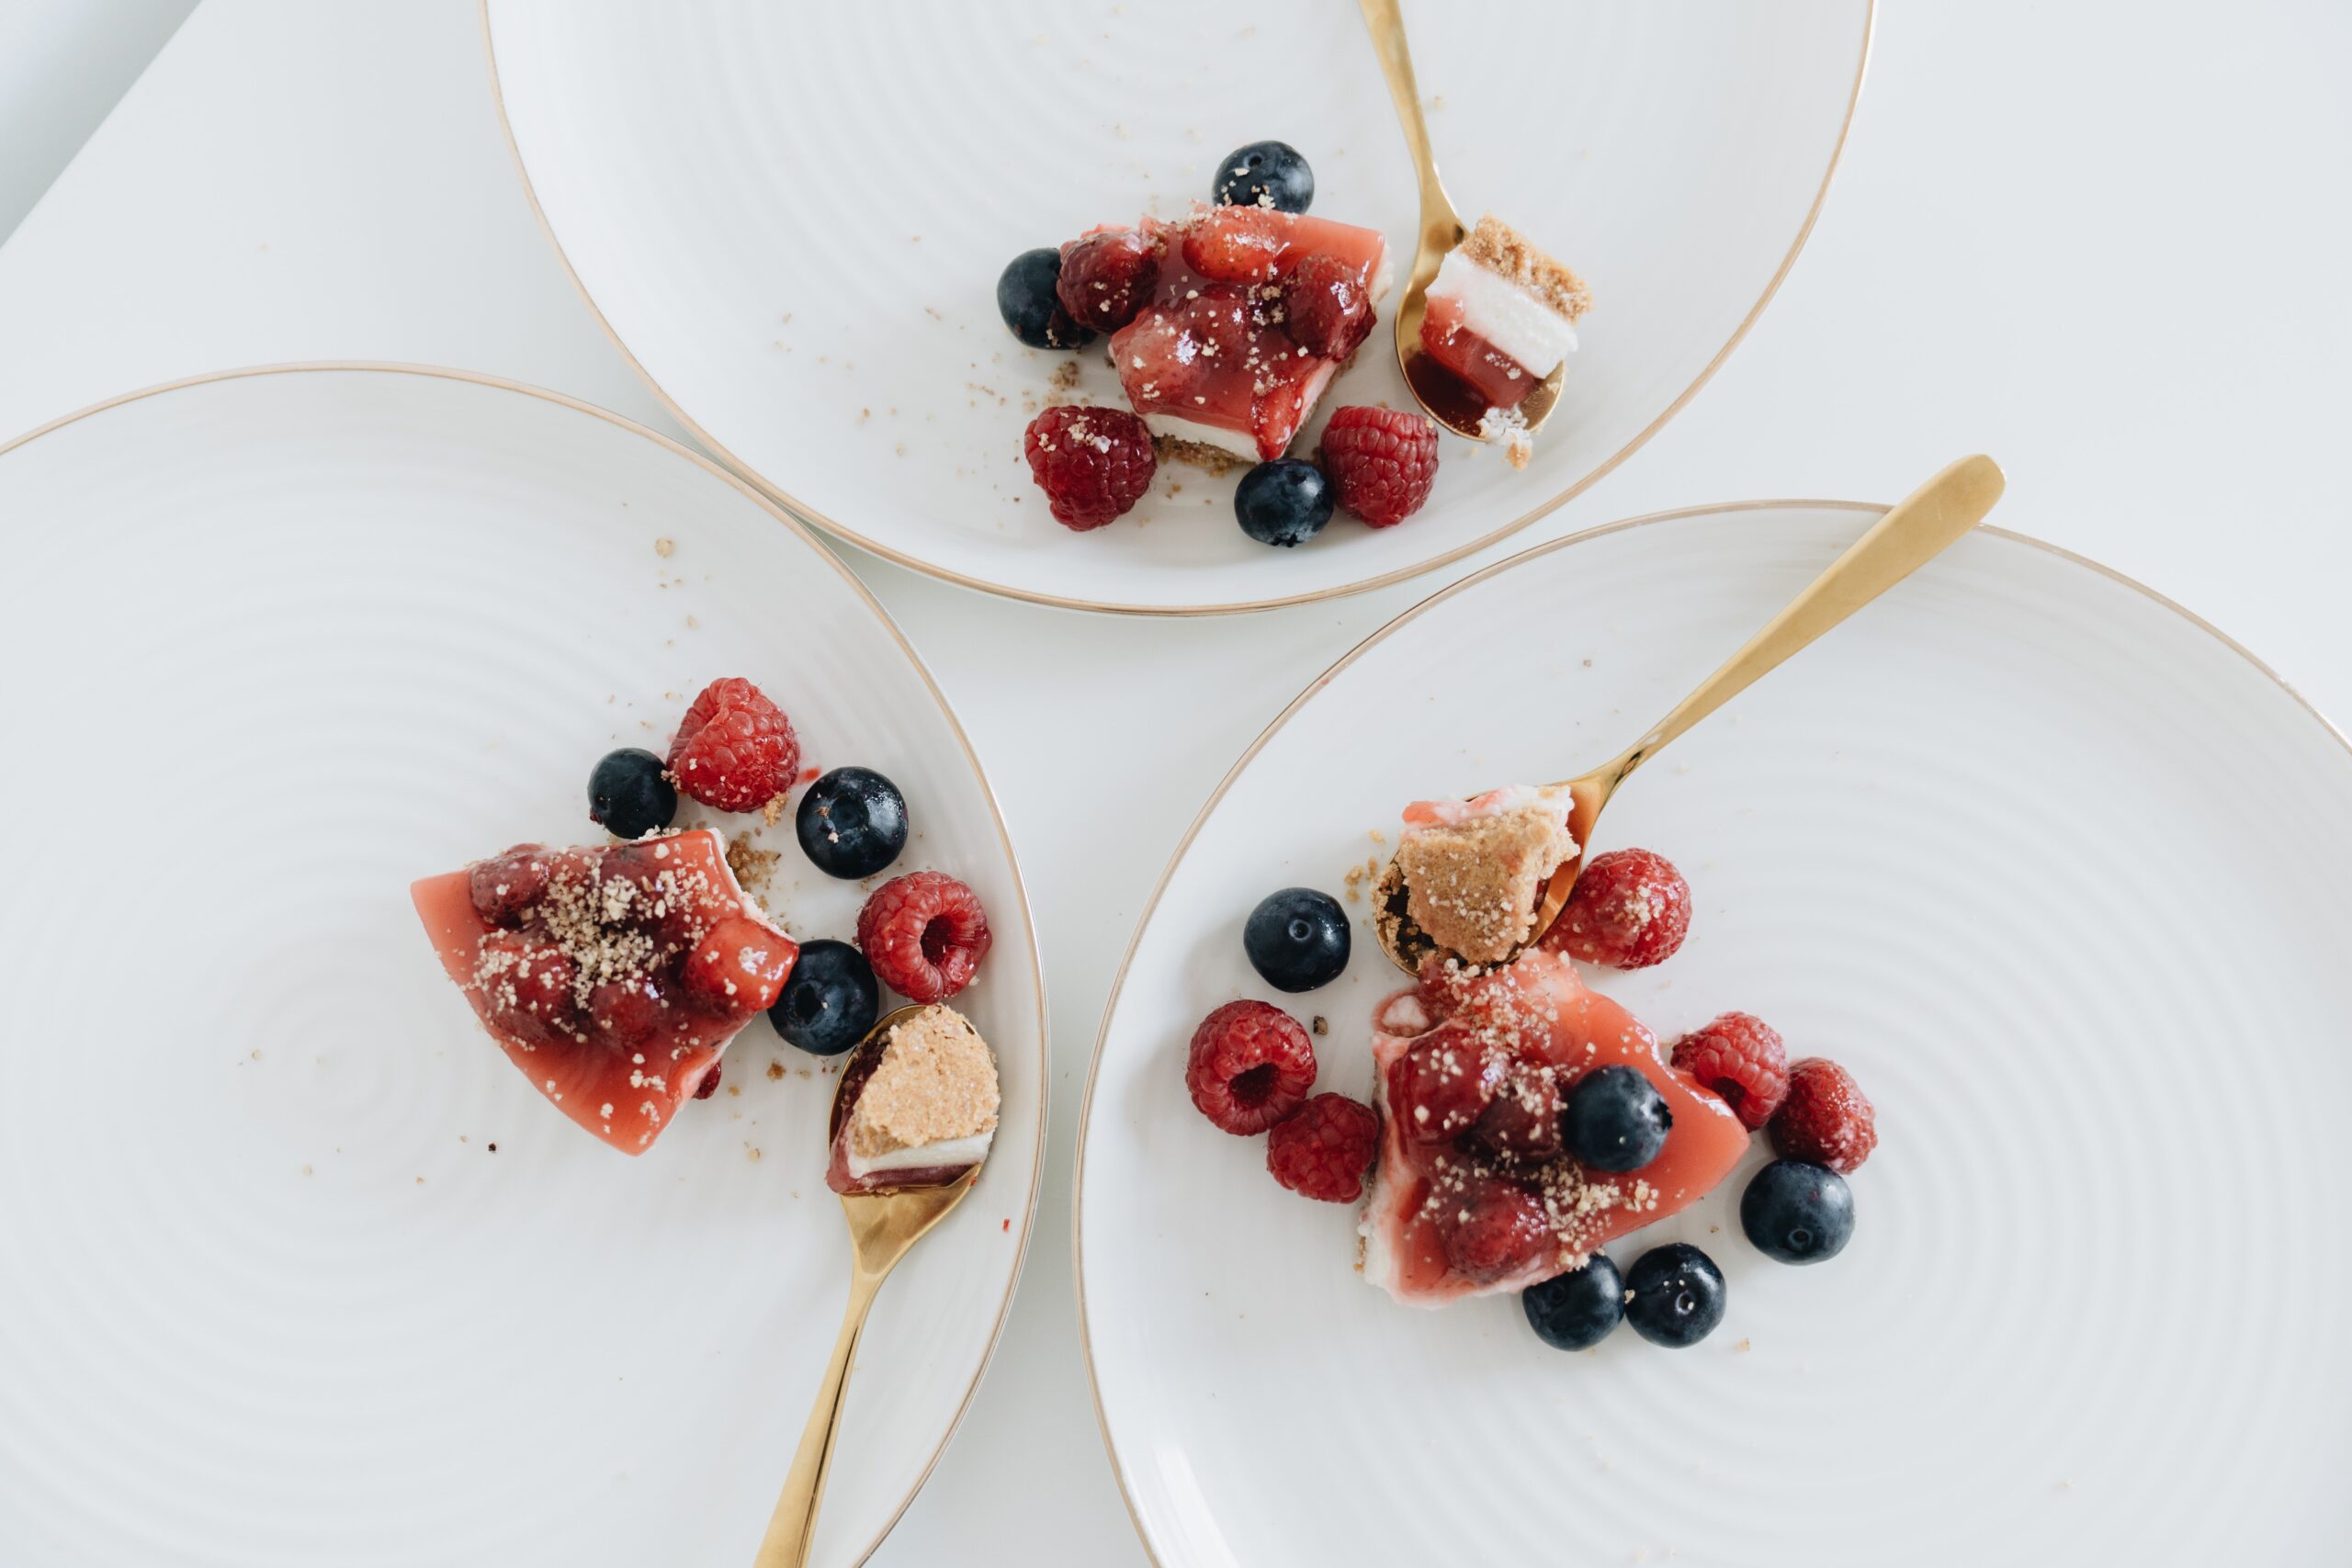
5. To serve, take out or remove the sides of the pan. Serve with fresh berries or fruit sauce, if desired.

What’s a cheesecake without a creamy topping?

When it comes to New York cheesecake, the topping is just as important as the cake itself. After all, what’s a cheesecake without a delicious, creamy topping?

Fortunately, you don’t need much to make a great topping for your New York cheesecake. All you need is sour cream, sugar, and vanilla extract. Simply combine these ingredients in a small bowl, spread over the warm cheesecake, and return to the oven to bake for 15 minutes.

Remove from the oven and place on a wire rack. Immediately run a knife or spatula around the inside edge of the pan to loosen the cheesecake (this helps prevent the surface from cracking as it cools). Let cool completely at room temperature and then place in the refrigerator, uncovered, to chill.

And there you have it! A delicious, easy-to-make topping for your New York cheesecake. 

There’s nothing quite like a classic New York cheesecake. The creamy, rich filling, the crispy graham cracker crust, it’s a true delight. One of the best things about New York cheesecake is the topping. A simple mixture of sour cream, sugar, and vanilla extract, it’s the perfect finishing touch to this delicious dessert.

New York Cheesecake

Few tips

If you’re looking for the best New York cheesecake, there are a few things you can do to ensure a delicious result. 

  • First, make sure to use high-quality cream cheese – it really makes a difference in the final product. 
  • Secondly, don’t be afraid to experiment with different toppings. A classic sour cream topping is always delicious, but you could also try something a little different like a fruit compote or even chocolate ganache. 
  • Finally, make sure to let the cheesecake cool completely before refrigerating it – this will help prevent cracks from forming on the surface.

What Makes New York Cheesecake So Special?

There are few desserts more iconic than New York cheesecake. This rich and creamy treat is the perfect finishing touch to any meal. But what makes New York cheesecake so special?

For starters, it’s all about the quality of the ingredients. The best New York cheesecakes are made with rich, creamy cheese and fresh eggs. This combination creates a velvety texture that’s absolutely irresistible.

In addition, New York cheesecakes are usually baked in a water bath. This helps to prevent the cheesecake from cracking and ensures a perfectly smooth surface.

Finally, the topping is what really sets New York cheesecake apart. Most commonly, it’s simply a layer of sour cream. But you can also find cheesecakes topped with fruit, chocolate, or even caramel.

No matter how you enjoy it, New York cheesecake is the perfect way to end any meal. So next time you’re looking for a show-stopping dessert, be sure to give this classic a try.

For more cake recipes:

Perfect Desert : Apple Pie

0
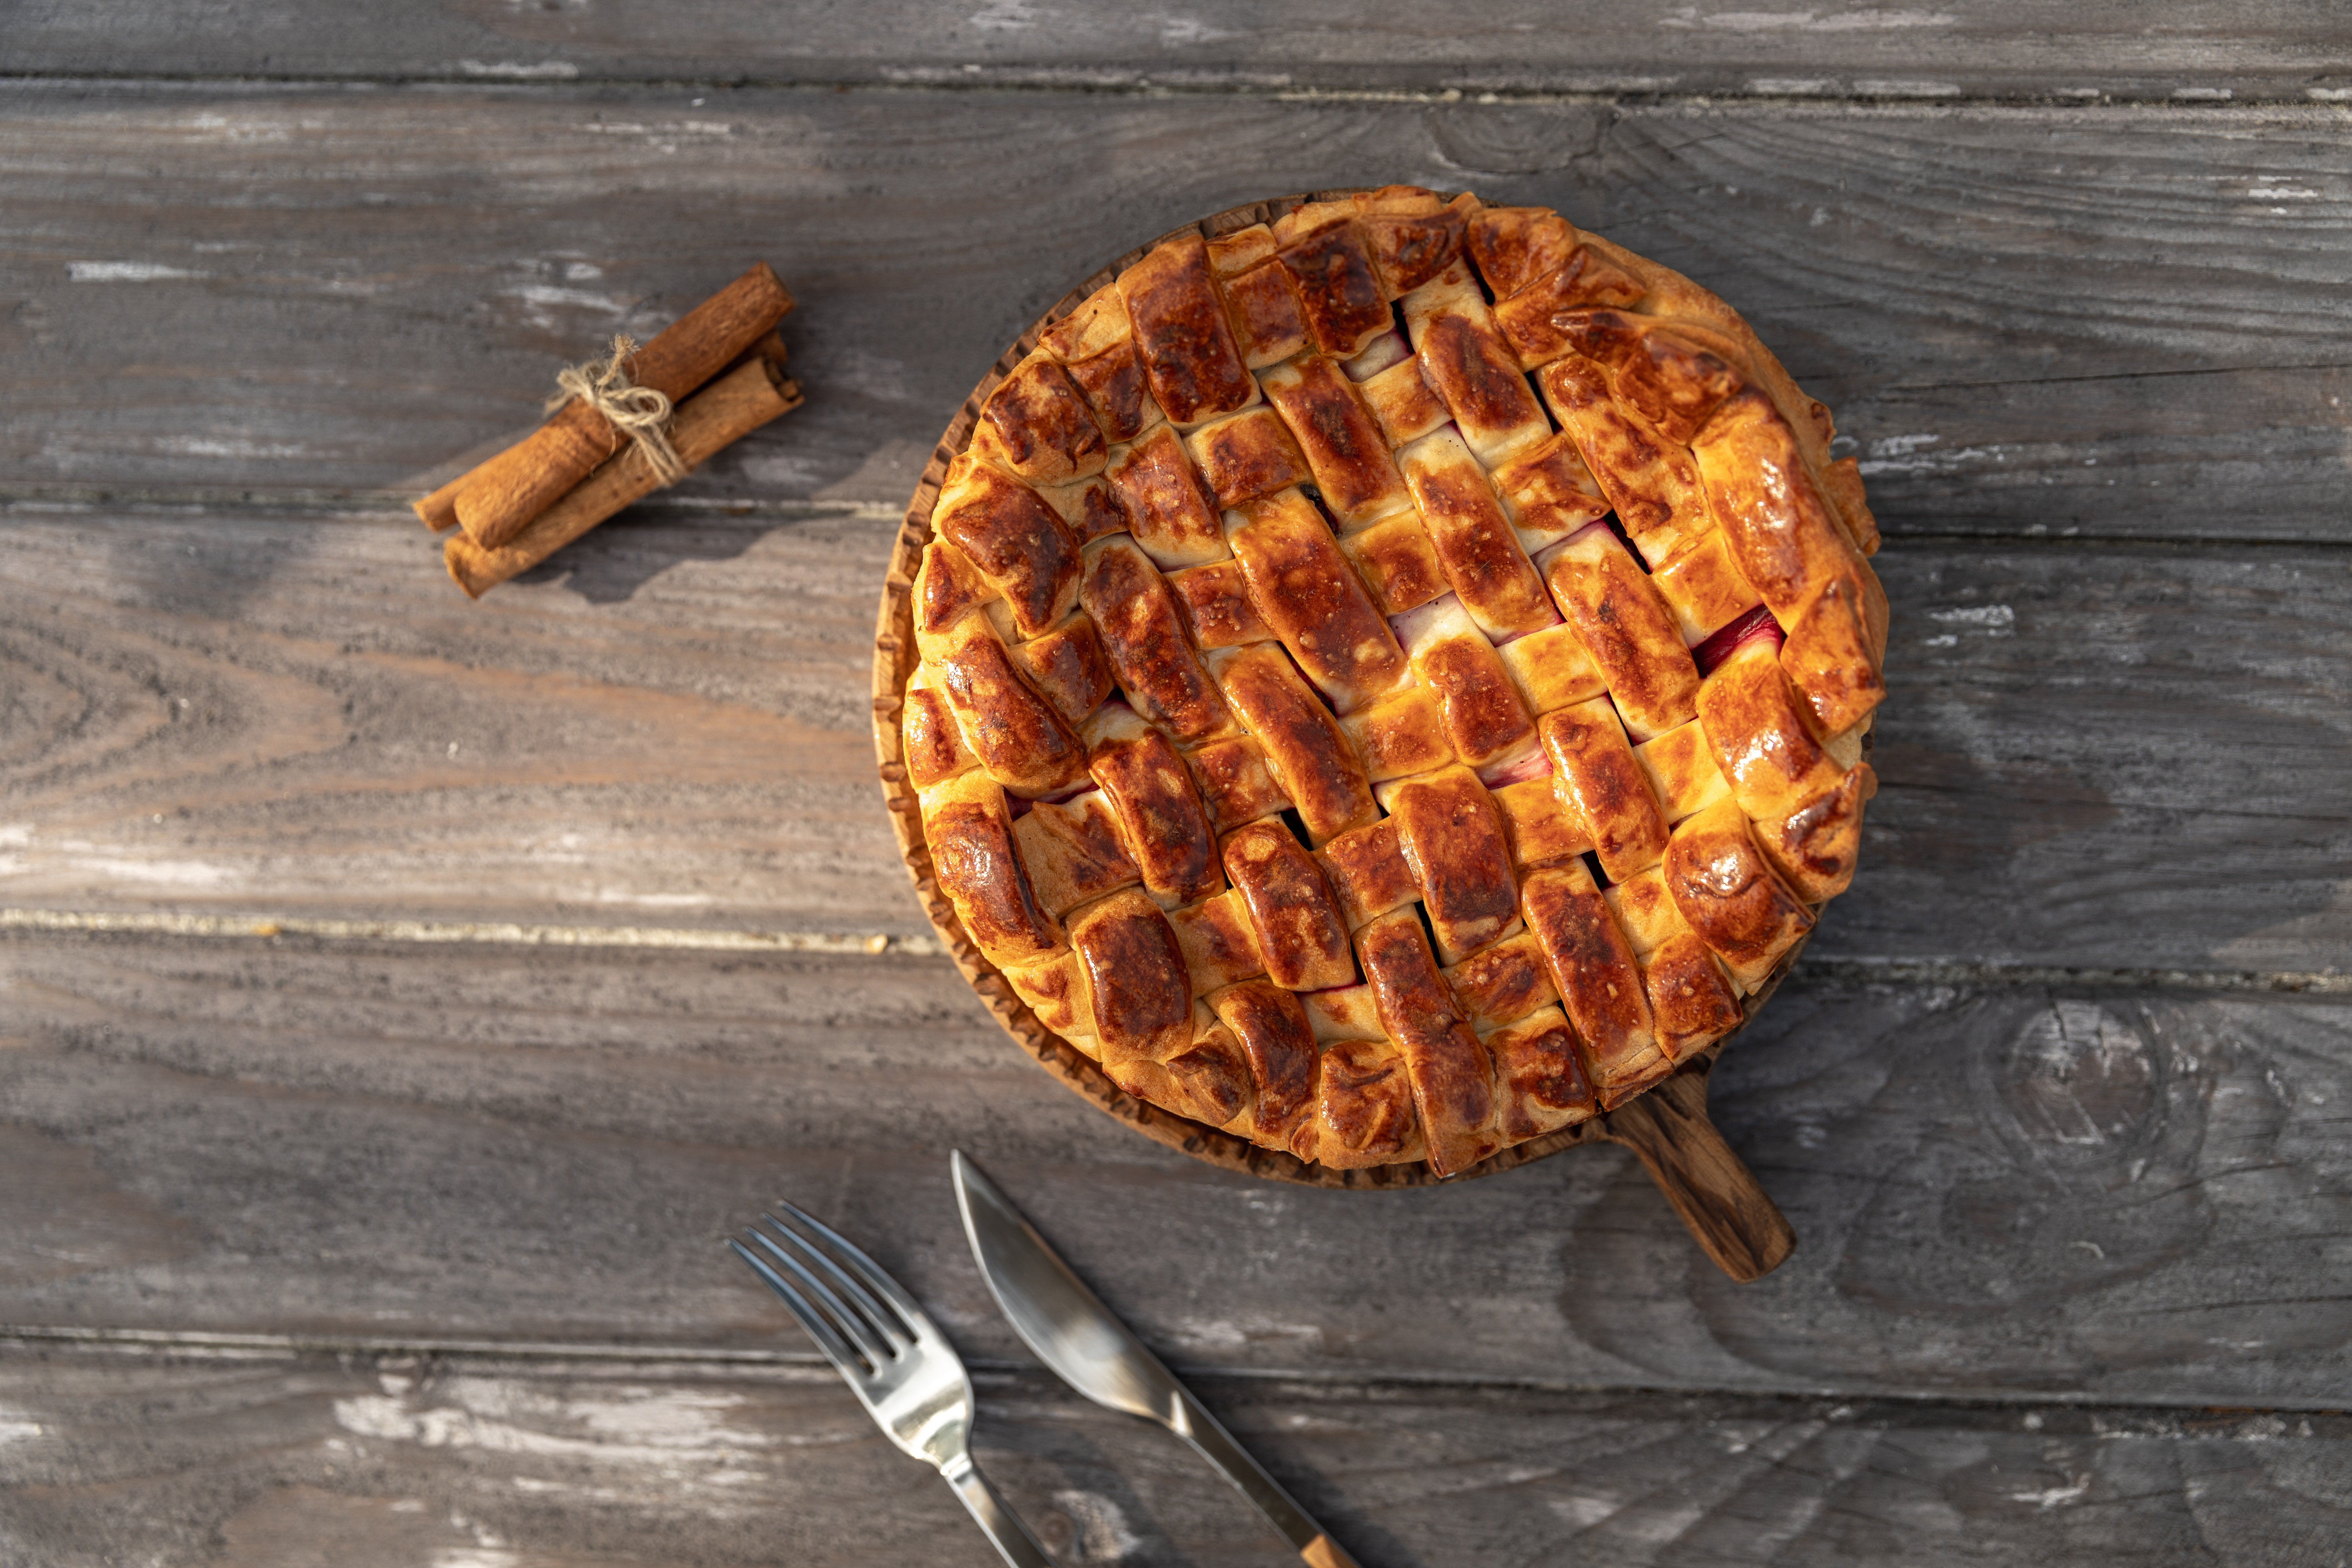
Apple Pie recipe

Apple pie is a traditional American dessert that has been around since colonial times. It’s best to use a mix of different types of apples in your pie. The best way to make apple pie is by using quality apples like Granny Smith.

A traditional apple pie has an all-butter crust, but you can also use shortening or margarine if you prefer. Some people like to use lard or vegetable shortening, which can give the crust a more flaky texture.

Apple pies are usually served with whipped cream or vanilla ice cream, either on the side or on top of the slice itself.

For the Pie Crust:

-1 1/2 cups all-purpose flour

-1 teaspoon salt

-1/2 teaspoon sugar

-1 cup (2 sticks) cold unsalted butter, cut into pieces

-3 tablespoons cold water

The first step is to make the pie crust. 

You will need flour, salt, butter, and cold water. In a food processor, combine flour, salt, and sugar. Add the butter and process until it resembles a coarse meal. Add the water and pulse just until moist clumps form. Transfer to a bowl and refrigerate for at least 30 minutes. Roll out on a lightly floured surface to about 12 inches in diameter and transfer to your pie dish.

Apple Pie recipe

For the filling :

You can use apple pie filling or make your own.For the apple pie filling, you will need to peel and slice the apples and then cook them until they’re soft. You can also add sugar and spices like cinnamon or nutmeg if you want it to taste more like traditional apple pie filling. Add some water or juice if needed so that the apples are covered in liquid while they’re cooking.

In order to make the perfect apple pie, you will need:

-a pie crust

-5 cups of apples, peeled and sliced

-1/4 cup of lemon juice

-1 tsp. ground cinnamon

-2 tbsp. sugar

-1/4 tsp salt

-2 tbsp. flour or cornstarch mixed with 1 tbsp water.

How to bake an apple pie?

  1. First, preheat the oven to 425 degrees Fahrenheit with a large baking sheet. 
  2. Then, peel and slice the apples and put them in a bowl with sugar, cinnamon, nutmeg, and salt. Mix it all together so that the apples are coated in sugar and spices.
  3. Put the mixture into a deep-dish pie crust that has been lightly greased with butter or cooking spray.
  4. Place it on the baking sheet inside of the oven for 45-50 minutes or until it’s golden brown on top and bubbling around the edges of the crust.
  5. Let it cool for around 2 hours before serving.
Apple Pie recipe

Few Key Tips

When it comes to baking apple pie, there are a few key tips to keep in mind in order to ensure a perfect result. 

  • First, be sure to use the right type of apples – a mix of sweet and tart apples will give the pie the best flavor. 
  • Second, don’t skimp on the sugar – a good apple pie should be nice and sweet. 
  • Third, be sure to use enough flour in the crust – this will help to make it nice and flaky. 
  • Bake the pie at 425 degrees Fahrenheit for 15 minutes, then reduce the temperature to 375 and bake for 45 minutes to an hour, until the crust is golden brown and the juices are bubbling.

Follow these tips and you’ll be sure to bake a perfect apple pie!

For more desert recipes:

Best-ever Chocolate Brownie Recipe

0
Chocolate Brownie Recipe

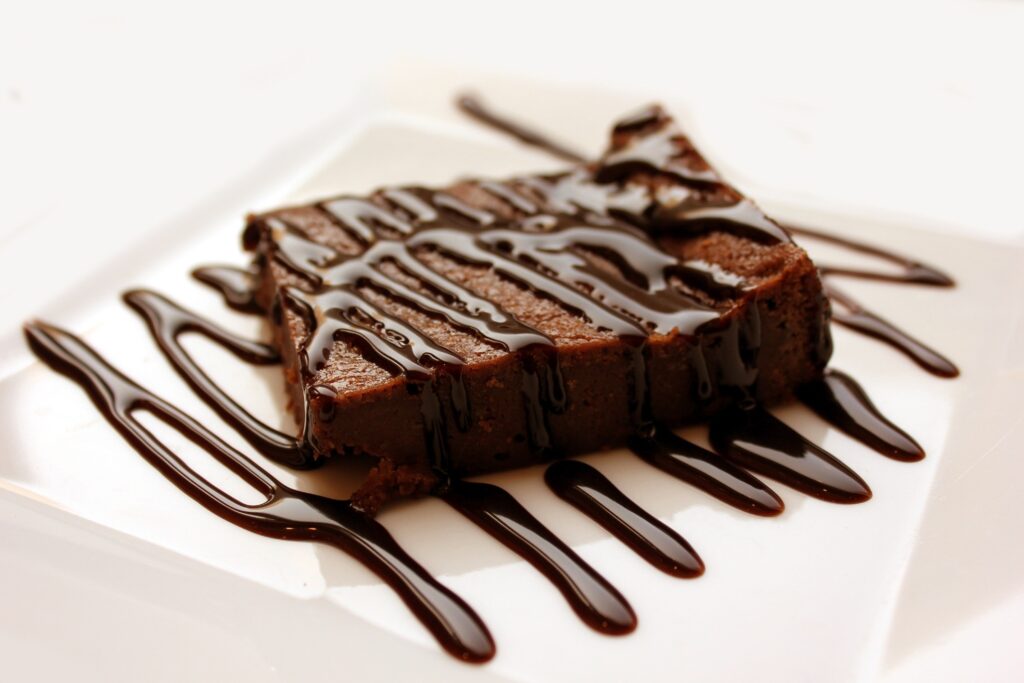
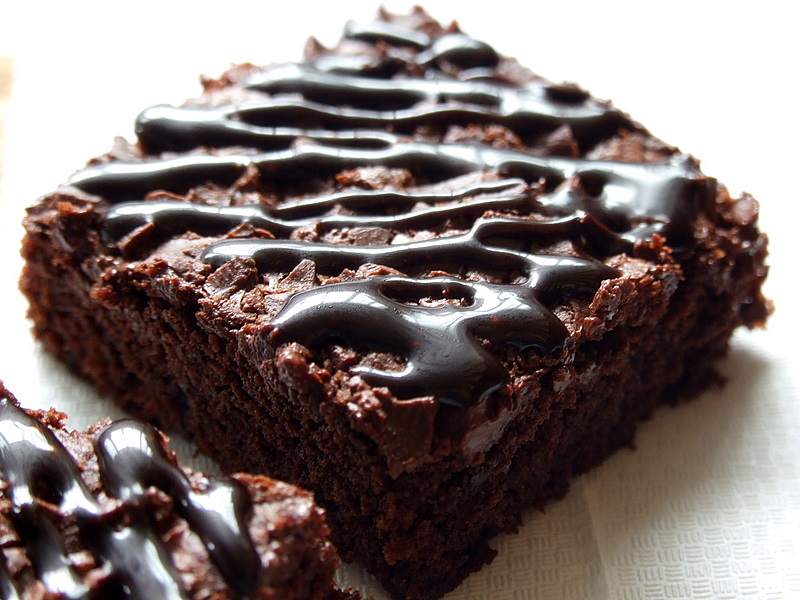
Looking for the best-ever chocolate brownie recipe? You’ve come to the right place! Our easy recipe gives you perfect results every time and is so simple to follow. This chocolate brownie recipe is the only one you’ll ever need! Made with just a few ingredients, it’s perfect for a squidgy, chocolatey treat. 

Ingredients:

– 200g dark chocolate

– 150g butter

– 3 eggs

– 150g sugar

– 100g self-raising flour

Chocolate Brownie Recipe

Method:

  1. Preheat your oven to 180C/160C Fan/Gas 4. Line a baking tray with baking paper.
  2. Break the chocolate into pieces and put it into a bowl with the butter. Melt over a pan of simmering water, stirring occasionally until smooth.
  3. In a separate bowl, whisk together the eggs and sugar until pale and fluffy.
  4. Add the melted chocolate and butter to the eggs and sugar, and mix until combined.
  5. Add the flour to the mixture and fold in until everything is combined.
  6. Pour the brownie mixture into the prepared tin and bake for 25-30 minutes, or until firm to the touch.
  7. Allow it to cool completely in the tin before cutting into squares.

Enjoy your perfect chocolate brownies!

Few Tips:

Here are a few tips to follow while making your brownies:

– Use good quality chocolate. This will make a big difference to the taste of your brownies.

– Melt the butter and chocolate together. This will help to create a smooth texture.

– Be careful not to over-mix the batter. Over-mixing will result in tough brownies.

– Bake the brownies until they are just set. They should still be slightly gooey in the middle.

– Allow the brownies to cool completely before cutting into them. This will help them to firm up.

How To Tell When Brownies Are Done 

The best way to tell when brownies are done is to insert a toothpick or cake tester into the center of the brownies. If it comes out clean, the brownies are done. If there is batter on the toothpick or cake tester, the brownies need to bake for a few minutes longer.

Easy, fudgy, moist, and chewy delicious brownies you can easily make with the given recipe and enjoy with your family.

Chocolate Brownie Recipe

Final Thoughts

These brownies are made with real chocolate, ensuring a rich and decadent flavor. They’re also nice and moist, thanks to the addition of olive oil. Plus, they’re super easy to make.

Whether you’re making them for a special occasion or just because you’re craving something sweet, these brownies are sure to hit the spot. Give them a try and let us know how you like them!

For more chocolate recipes:

Delicious Apple Crumble Recipe: Classic Dessert

0
Apple Crumble Recipe

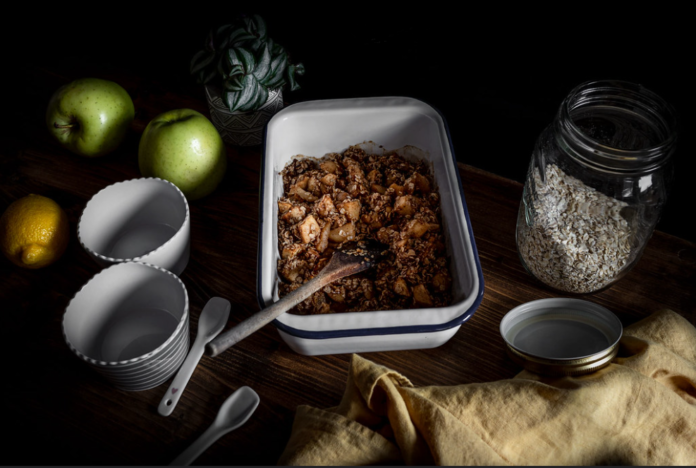
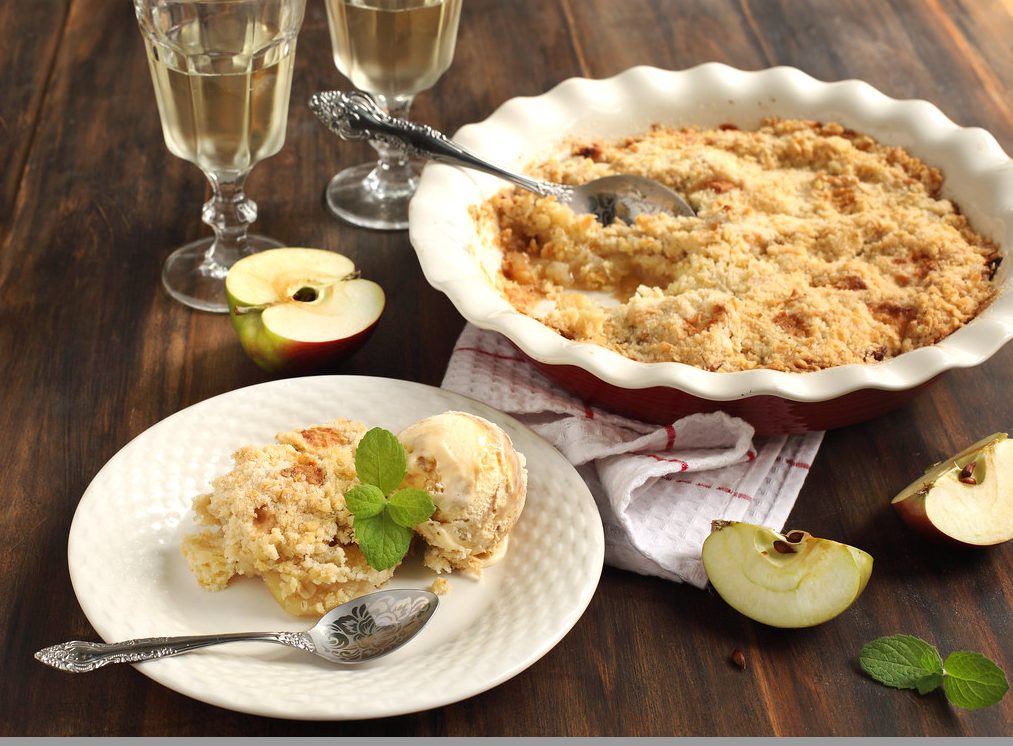
Looking for the perfect comfort food to enjoy during apple season? Then look no further than this delicious Apple Crumble recipe! This classic dessert is made with sweet, caramelized apples and a crispy, buttery crumble topping – it’s simply irresistible! Serve warm from the oven with a scoop of vanilla ice cream and you’ll have everyone asking for seconds.

Ingredients:

-6 cups of apples, peeled and thinly sliced

-1/2 cup of sugar

-1/2 teaspoon of ground cinnamon

-1/4 teaspoon of ground nutmeg

-half cup of all-purpose flour

-half cup of packed brown sugar

-1/2 cup of cold butter

-1 cup of rolled oats

 Apple Crumble

How do you make this delicious apple crumble? 

  1. Preheat the oven to 375 degrees F (190 degrees C).
  2. First, you need to make the filling. Begin by peeling and slicing your apples.
  3. In a large bowl, combine the apples, sugar, cinnamon, nutmeg, and flour.
  4. Pour into a 13×9-inch baking dish.
  5. It’s time to make the crumble topping. In a medium bowl, combine the brown sugar, butter, oats, and flour.
  6. Cut in the butter until it resembles coarse crumbs.
  7. Sprinkle over the apple mixture.
  8. Bake for 30 minutes or until the topping is golden brown and the apples are tender.

 What Is The Difference Between a Crumble, Cobbler, and Crisp?

Apple crumbles, apple crisp, and apple cobbler are all essentially the same dessert. They are all fruit-based desserts that are baked in a single dish and topped with a streusel or crumb topping. So, what is the difference between these three popular desserts?

Simply put, a cobbler is a fruit baked with a biscuit-like dough on top, while a crisp is a fruit baked with a streusel topping. A crumble, on the other hand, is fruit baked with a streusel topping that contains both flour and butter.

So, if you’re looking for a fruit-based dessert that is easy to make and can be tailored to your liking, then any of these three would be a great option. But, if you’re looking for a dessert that is a little more unique, then you might want to try a cobbler or a crisp.

 Apple Crumble

Top Tips:

Making the perfect apple crumble is all about getting the ratio of ingredients right. Here are our top tips to help you achieve the perfect dish:

  1. Use a high ratio of apples to flour for the filling. This will ensure that your filling is nice and moist.
  2. Use good quality butter for the crumble topping. This will make all the difference to the taste and texture.
  3. When adding the topping, make sure to evenly distribute it over the surface of the apples. This will ensure even cooking.
  4. Cook the crumble until the topping is golden brown and bubbling. This will ensure that the flavors have had time to develop and the apples are cooked through.
  5. Serve warm with a thickened cream or custard. This is the perfect way to enjoy this classic comfort food!

To Sum Up!

This easy homemade Apple Crumble is our favorite dessert for apple season! With its sweet, caramelized apple filling and crumbly topping this simple, comforting dessert is most definitely a crowd-pleaser! Serve warm and bubbling from the oven with custard or a scoop of vanilla ice cream for a memorable, easy dessert!


Chicken Tikka Masala: Spicy and Flavorful

0
Chicken Tikka Masala

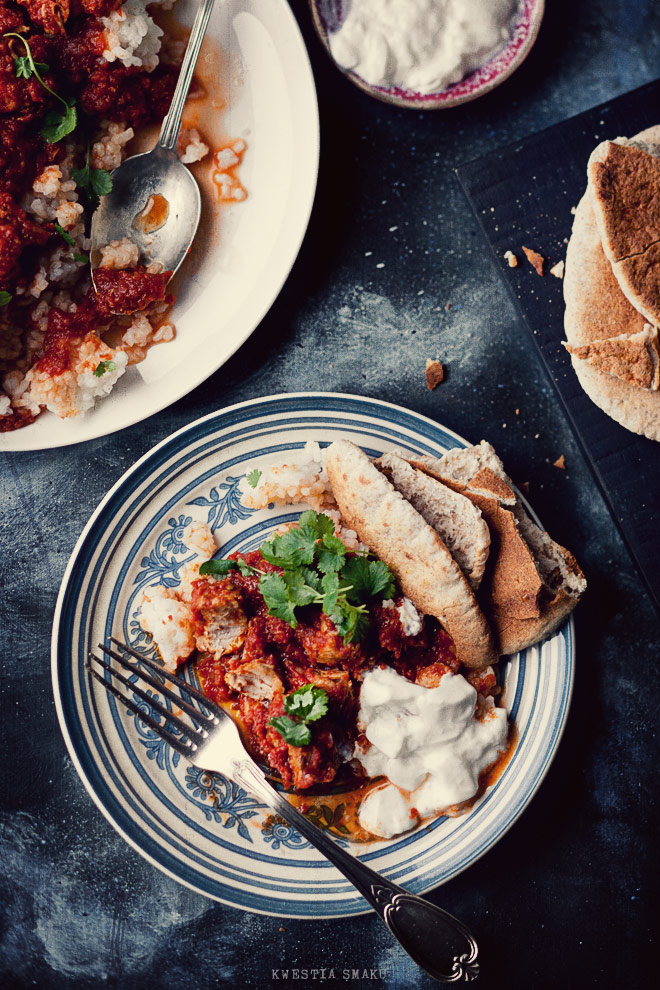
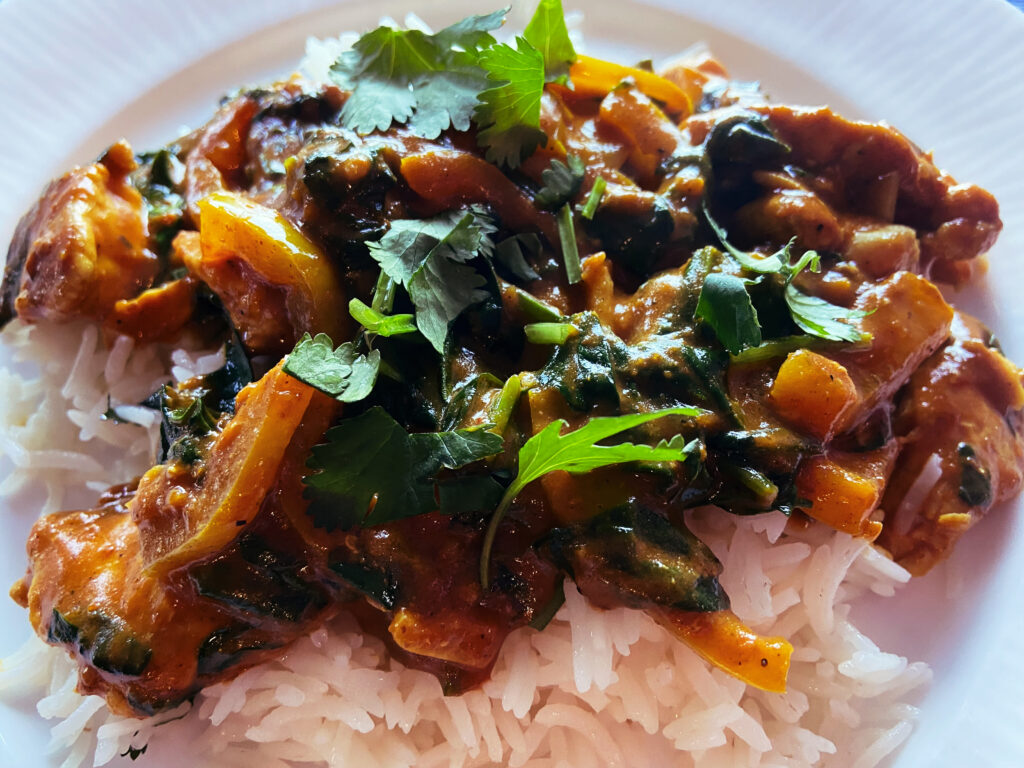
Tikka Masala is a staple in Indian cuisine and it’s no wonder—it’s delicious! Tikka Masala translates to “mixed pieces,” which refers to the chunks of meat or vegetables that are cooked in a creamy, tomato-based sauce. While Chicken Tikka Masala is typically made with boneless chicken breasts, I prefer using boneless skinless thighs because they stay juicy and tender when grilled. This stew-like dish can be served over rice or with naan for an indulgent meal on its own!

Ingredients :

1 pound boneless, skinless chicken breasts

2 cups plain yogurt

1 tablespoon minced fresh ginger root

2 cloves garlic, minced

2 teaspoons garam masala

1/2 cup vegetable oil, divided

2 onions, diced 1-inch pieces

3 teaspoons paprika

1 teaspoon cayenne pepper, or to taste

one (28 ounces) can of crushed tomatoes

1 tablespoon honey

2 cups heavy cream

salt and pepper to taste

Chicken Tikka Masala

How to make chicken tikka masala ?

  1. In a small bowl, mix together the yogurt, ginger, garlic, garam masala, and 1/2 cup vegetable oil.
  2. Cook chicken breasts in a nonstick skillet over medium heat until cooked through, about 5-7 minutes per side (4 minutes for frozen breasts). Set aside to cool slightly.
  3. Heat the remaining 1/4 cup vegetable oil in a large saucepan over medium heat until hot but not smoking. Add onions and cook until softened, stirring occasionally, about 10 minutes or until caramelized and golden brown (add more oil if necessary). 
  4. Stir in paprika, cayenne pepper, crushed tomatoes, and honey; bring to a simmer over medium heat; reduce heat to low; cover with an inverted lid. Cook until thickened slightly and bubbly around the edges of the pan, stirring occasionally once the first boil begins (about 30 minutes).
  5. Meanwhile, add chicken to a saucepan along with cooled yogurt marinade mixture; stir well to combine ingredients evenly throughout saucepan contents (do not stir too vigorously or else yogurt mixture will break apart); simmer uncovered another 10-15 minutes or until thickened slightly.
Chicken Tikka Masala

Honey & Heavy cream

1 tablespoon of honey is a good way to get more antioxidants, vitamins, and nutrients into your diet. Honey is also a natural preservative.

2 cups heavy cream

  • Use heavy cream, not light cream. The fat content of heavier creams will help thicken the sauce and give it a beautiful satiny finish. You can also use sour cream or half-and-half, but these don’t have as much fat content as regular heavy cream and may not get as thick and creamy.
  • Add the heavy cream at the end of cooking—not at the beginning. If you add it too early, it will just melt into your dish and turn everything soupy again!

To Sum Up!

The best thing about chicken tikka masala – you can use boneless chicken breasts or skinless thighs. Also, the prep time varies depending on how quickly you can chop the vegetables. This recipe is easy to follow, and you can enjoy it with Steamed Basmati Rice, green leaf salad, and tandoori roti.

For more chicken recipes :

Cottage Pie Recipe: Ultimate and Delicious

0
Cottage Pie Recipe

This cottage pie recipe is the ultimate comfort food and can be frozen for up to 3 months. Serve with mashed potatoes and peas.

Cottage pie is a traditional British dish that can be made with either beef or chicken. The filling is made from minced meat, onion, and mashed potato, topped with cheddar cheese. This cottage pie recipe uses ready-made puff pastry for the base of the pie to make it more convenient.

INGREDIENTS:

  • 2 lbs (1 kg) lean beef, diced
  • 1 onion, finely chopped
  • 1 carrot, thinly sliced
  • 1 celery stick, chopped
  • 3 garlic cloves, crushed
  • 1 tin of plum tomatoes with juice or 500g fresh tomatoes chopped
  • 6fl oz (175ml) liquid stock or water – you can use chicken or vegetable stock here if you wish to make this vegetarian-friendly! Just use enough liquid so that the final mixture is moist.
Cottage Pie Recipe

HOW TO MAKE COTTAGE PIE?

  1. To make cottage pie, heat the oven to 180C/160C fan/gas 4. 
  2. Heat the oil in a large frying pan then fry the onion and garlic for 5 mins until softened. 
  3. Add beef or turkey mince and stir until well coated with oil.
  4. Add potatoes, carrots, and stock then bring to the boil then reduce heat, and simmer for 20 mins until tender. 
  5. Stir in thyme leaves and season with salt & pepper to taste

TIPS TO FOLLOW

Making a cottage pie is a great way to use up leftover meat and potatoes. Here are some tips to follow while making your own cottage pie:

  • Use any type of minced meat – beef or chicken.
  • Add some chopped onion to the filling.
  • Use mashed potato for the topping, and top with cheddar cheese.
  • For a more convenient option, use ready-made puff pastry for the base of the pie.
  • Make sure you cook the meat thoroughly. It’s important to ensure that your meat is cooked. You can use a meat thermometer to check if the meat is cooked properly.

Following these tips, you’ll be sure to create a delicious cottage pie that everyone will love.

WHAT TO SERVE?

If you’re looking for a hearty and filling meal, cottage pie is a great option. It’s also a dish that’s easy to make ahead of time, which is always a bonus. But what should you serve with it? Here are a few ideas.

  • One classic option is to serve cottage pie with peas. This is a simple and classic combination that is sure to please everyone at the table.
  • Another option is to serve it with a side of carrots. This is a great way to add some extra veg to the meal.
  • If you want to keep things simple, you could just serve cottage pie on its own. It’s a complete meal in itself, so you don’t need to worry about side dishes.

Whatever you decide to serve with your cottage pie, it’s sure to be a hit with the whole family. 

Cottage Pie Recipe

HOW DO YOU STORE LEFTOVER COTTAGE PIE?

If you have leftover cottage pie, it’s important to store it properly to ensure that it stays fresh and tasty. The first thing to do is to make sure that the pie is cooled completely. Once it’s cooled, you can store it in the fridge for up to three days.

If you want to keep the pie for longer than that, you can freeze it. When you’re ready to eat it, defrost the pie overnight in the fridge and then reheat it in the oven until it’s piping hot. Enjoy your leftover cottage pie!

WHAT IS THE DIFFERENCE BETWEEN COTTAGE PIE AND SHEPHERD’S PIE?

Cottage pie and shepherd’s pie are both traditional British dishes made with minced meat and mashed potatoes. The difference between the two is that shepherd’s pie is made with lamb, while cottage pie can be made with beef or chicken. Both pies are typically topped with cheddar cheese.