Home Blog Page 20

Easy Chocolate Fudge Cake

0
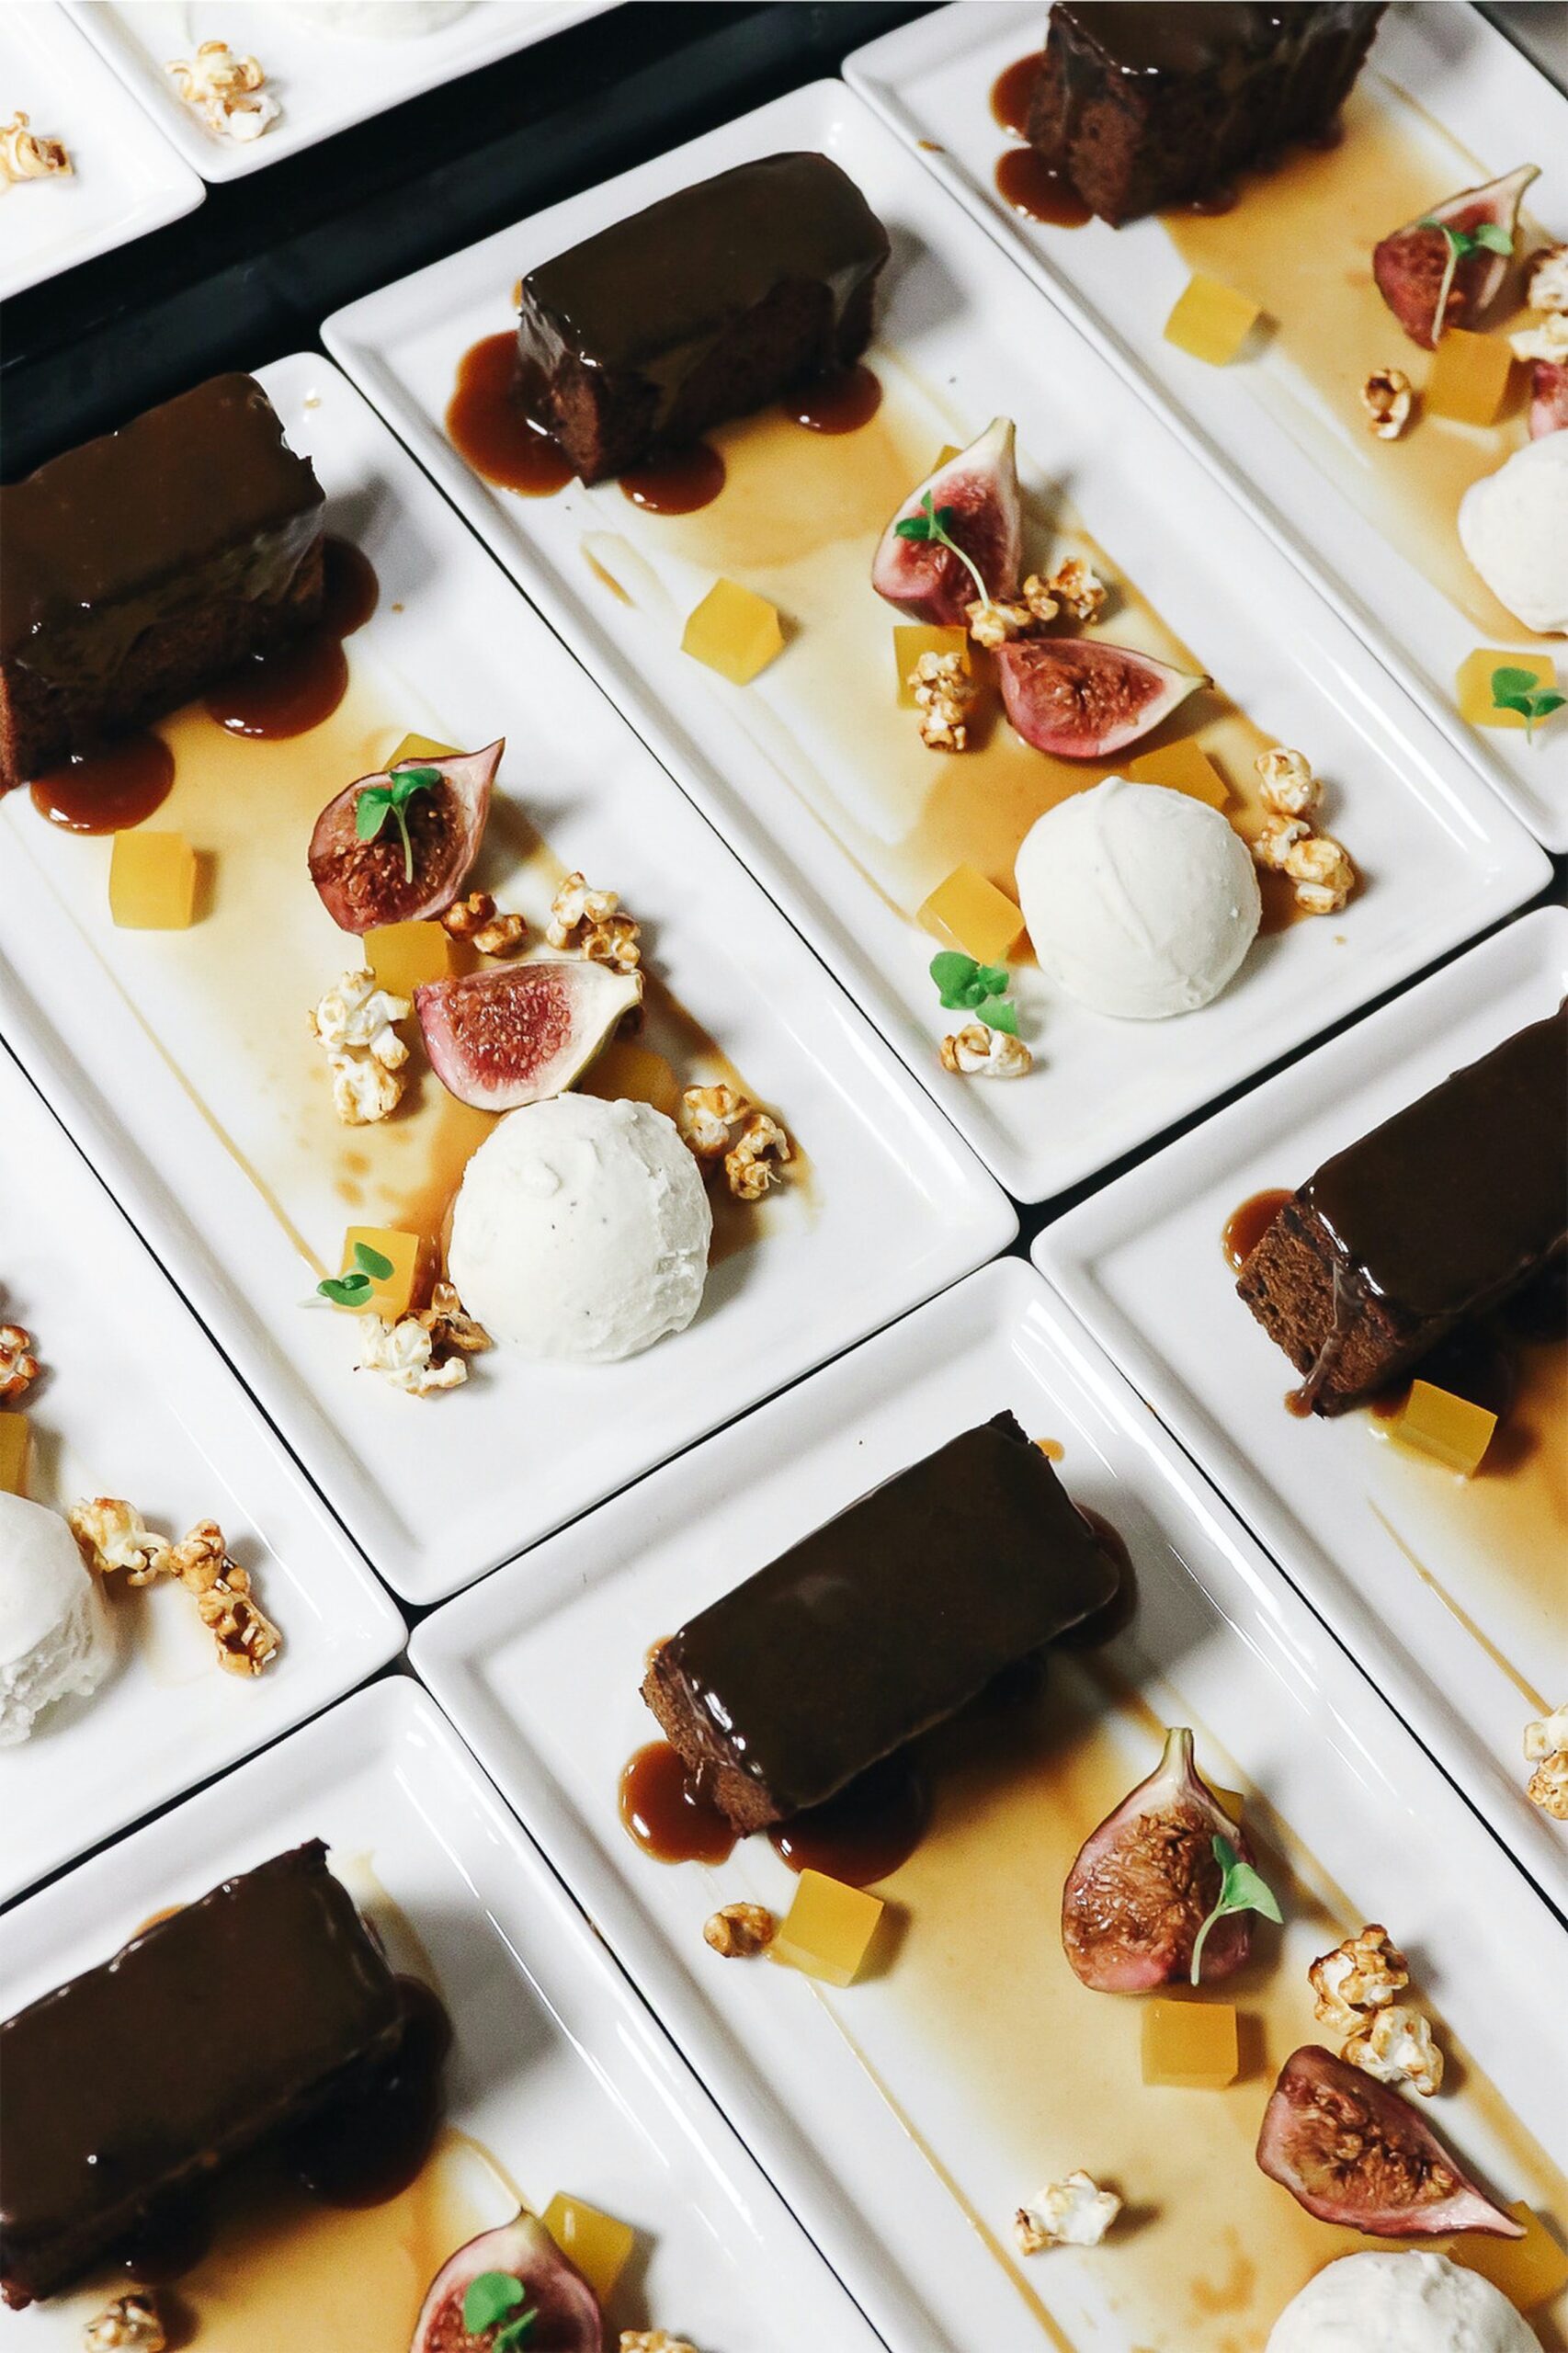
easy chocolate fudge cake

Looking for an easy chocolate fudge cake recipe? This one is sure to please! This cake is made with simple ingredients and is perfect for any occasion.

This cake is so moist and fudgy, you won’t be able to resist! The chocolate fudge icing is the perfect finishing touch to this delectable cake. You’ll want to make this one over and over again!

This fudge cake is so easy to make and so chocolatey and fudgy! It’s made with simple ingredients that you probably already have in your pantry and it comes together in just a few minutes. It’s the perfect cake for any chocolate lover!

A chocolate cake is a classic dessert that is loved by many. There are many different ways to make a chocolate cake, but one of the most popular is to start with a basic chocolate cake recipe and then add buttercream icing. Some people prefer to use white frosting for their cake, but black is more traditional. You can also add chopped nuts to the top of the cake before you decorate it. Chocolate fudge frosting is a great finishing touch.
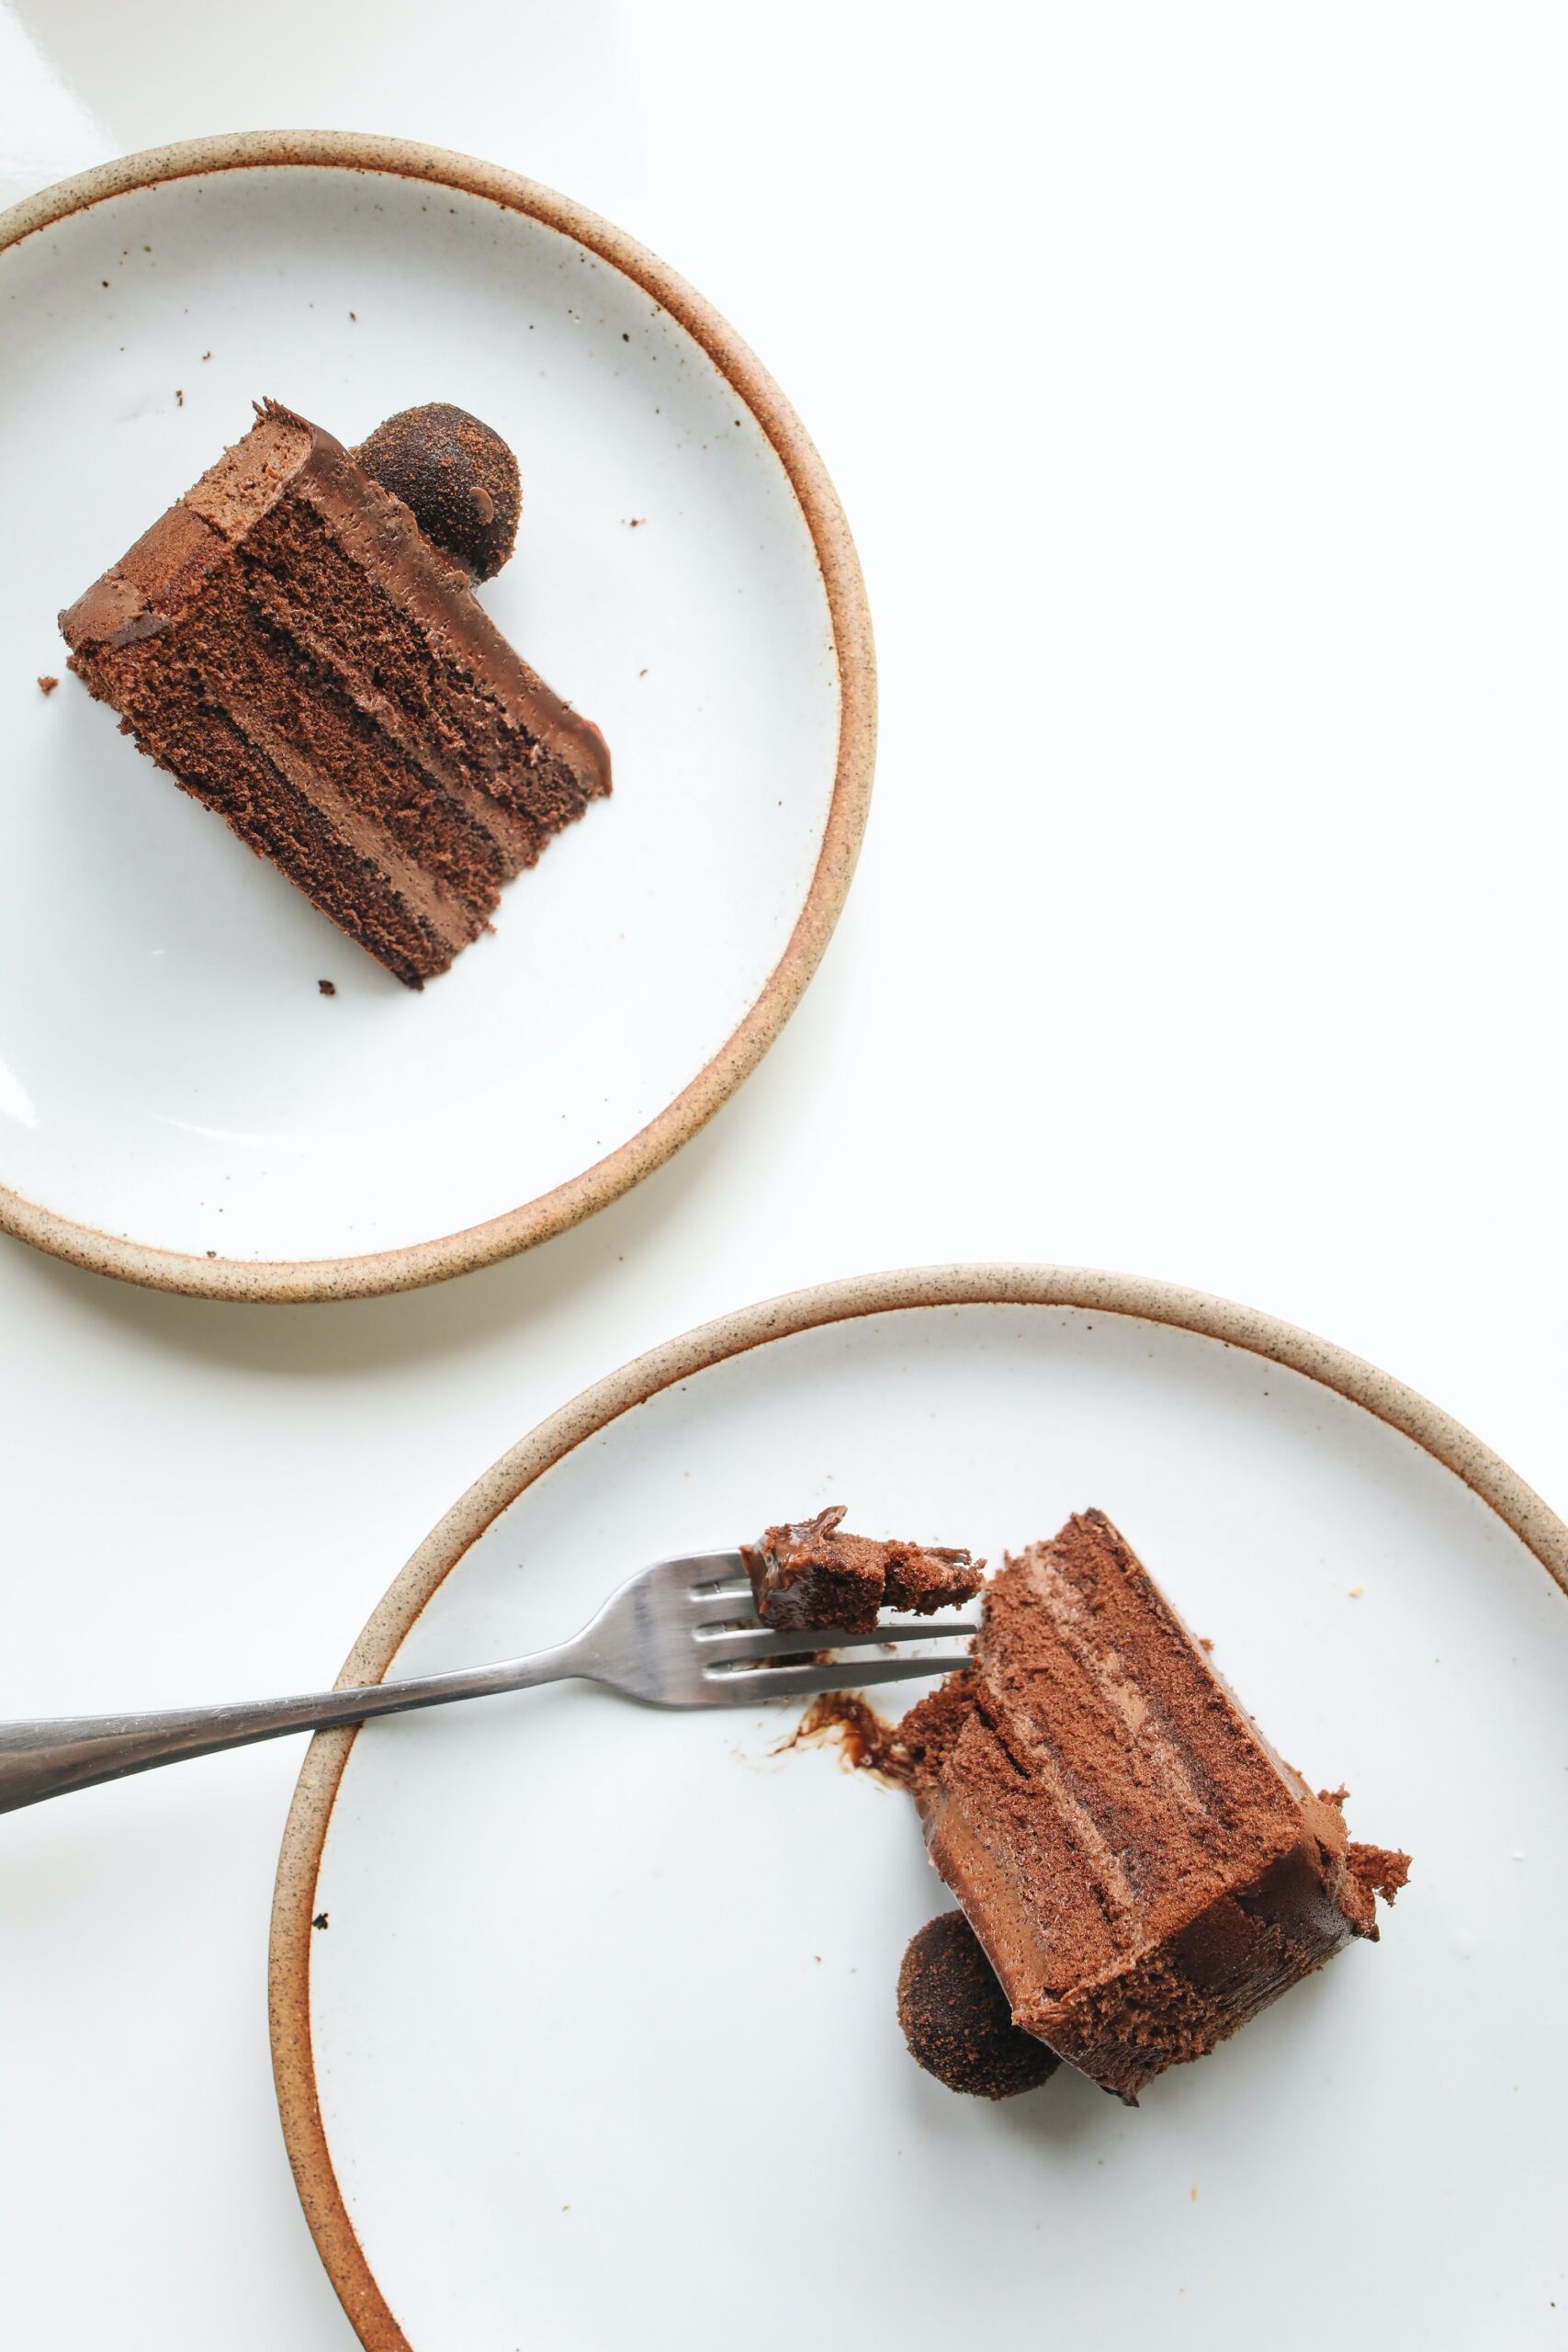
easy chocolate fudge cake

Cakes are yummy, and they’re even better when they’re easy to make. So here’s an easy chocolate fudge cake recipe that anyone can make and everyone will love!

Ingredients

  • 150 ml sunflower oil, plus extra for the tin
  • 175 g all-purpose flour
  • 2 tbsp Unsweetened cocoa powder
  • 1 tsp bicarbonate of soda
  • 150 g sugar
  • 1/2 cup chopped walnuts
  • 2 tbsp golden syrup
  • 2 eggs, lightly beaten
  • 150 ml semi-skimmed milk

Icing:

  • 100 g unsalted butter
  • 225 g icing sugar
  • 40 g cocoa powder
  • 2½ tbsp milk

METHOD

  • Heat the oven up to 180C/160C fan. Put Oil and line the base of two sandwich tins. Filter the flour, cocoa powder, and bicarbonate of soda into a bowl. Add the sugar and mix well.
  • Add the golden syrup, eggs, sunflower oil, and milk. Beat them well with an electric whisk until smooth.
  • Then Pour the batter/mixture into the two tins and bake for around 25-30 mins until risen and firm to the touch. Remove it from the oven, and leave it to cool for 10 mins before turning it out onto a cooling tray.
  • To make the icing, beat together all ingredients in a bowl until fluffy (about 5 minutes). Spread over one side of each cake using an icing knife or spoon then sandwich with another layer of cake on top before drizzling more icing over all sides (this will keep your cake moist).

Unsweetened cocoa powder

  • Unsweetened cocoa powder is made from the husk of the cocoa bean.
  • It’s used in baking and in chocolate drinks.
  • And it’s a source of antioxidants

All-purpose flour

  • Flour is a binder. It makes the cake moist, and it helps it hold together when you cut it into the cake.
  • Flour is a leavening agent. When you bake this cake, the flour will trap some of the CO2 produced by baking soda and baking powder, causing your cake to rise like a breakfast pastry!
  • Flour is a thickener. The more flour you add to a batter or dough recipe, the thicker it will become (though there’s a limit). 
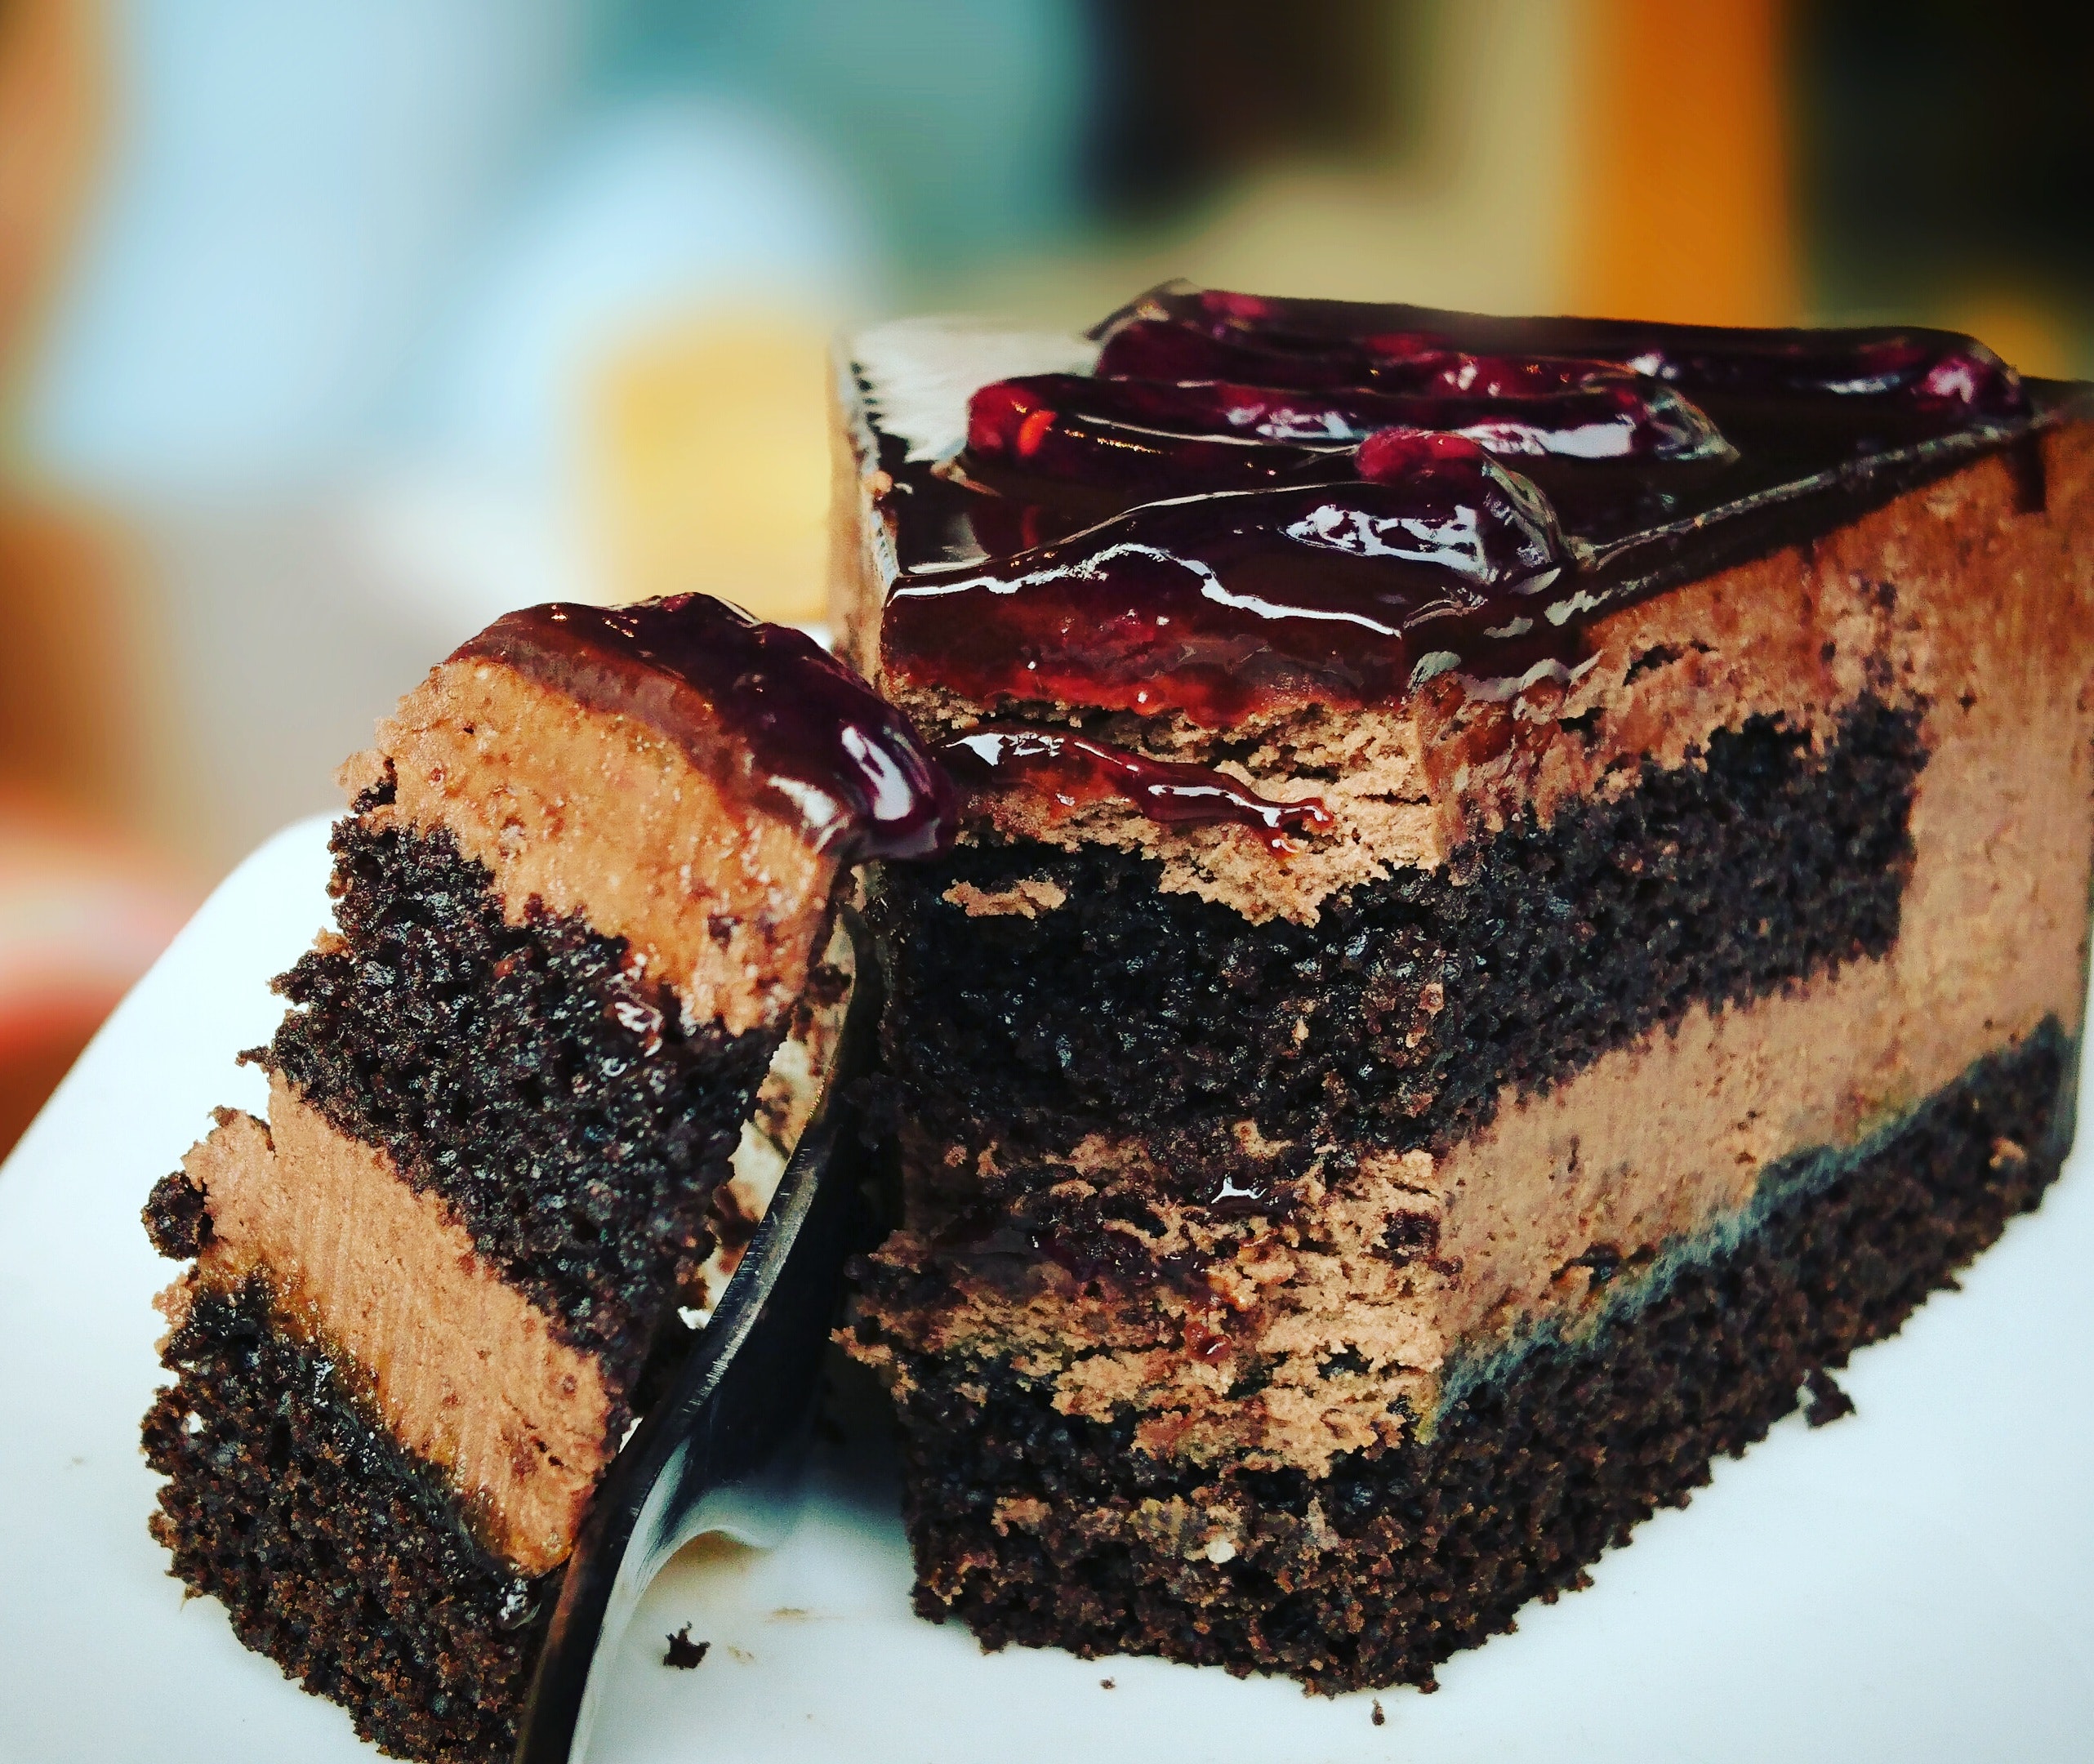
easy chocolate fudge cake

Butter

1/2 stick of butter is almost equal to 1/2 cup. If you don’t have a kitchen scale, feel free to use 1 stick rather than measuring it out with cups. You may also use 1/2 pound of butter instead—just remember that it will be easier to work with if you add it in chunks rather than trying to measure out half a pound at once!

Eggs are healthy

Eggs are a great source of protein and other vitamins, minerals, and nutrients. Their high-quality proteins help build muscle mass and maintain healthy skin, hair, and nails. Eggs contain vitamin A, which is essential for good vision and growth; vitamin D helps you absorb calcium to keep your bones strong; vitamin B12 helps red blood cells produce the energy needed for a healthy metabolism; choline supports brain function as well as liver health.

Vanilla extract

Add a teaspoon of vanilla extract to the batter. Vanilla is responsible for adding flavor and moisture, which helps keep your cake moist and fluffy. It also helps with the texture of your cake.

To add the vanilla extract to your batter after it’s been mixed together, stir in about one tablespoon at a time until you reach your desired level of spice (you can always add more later!).
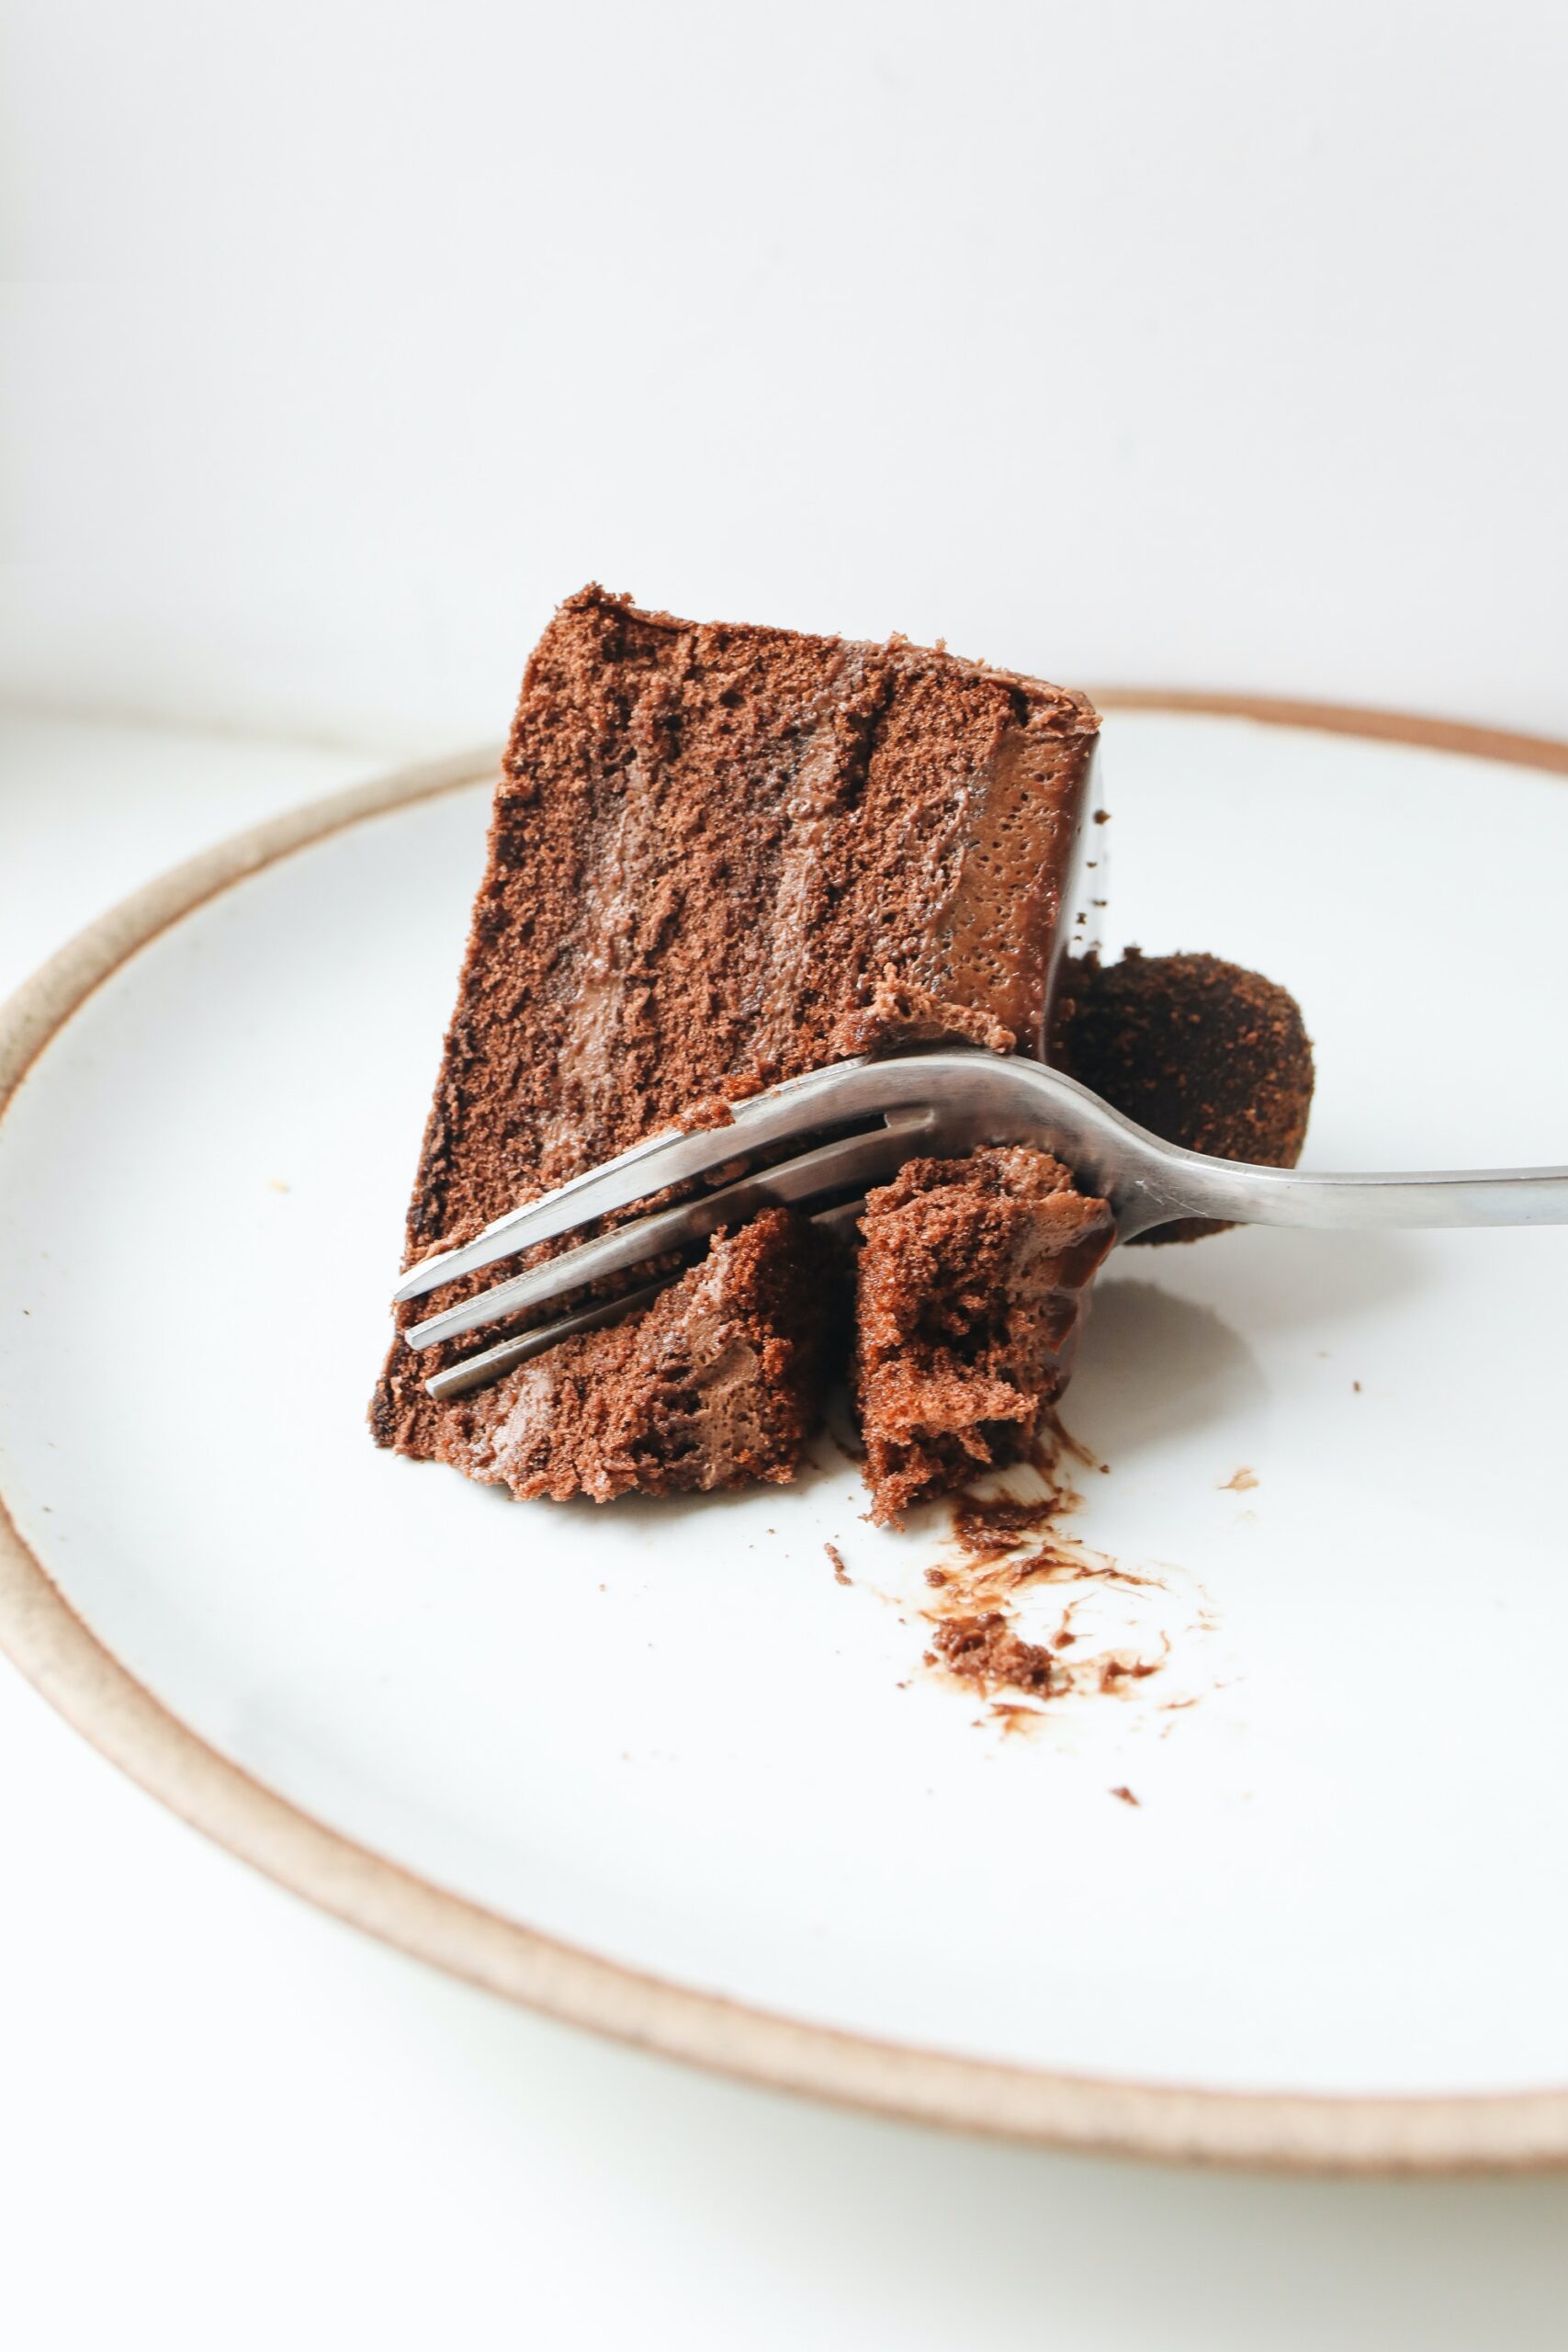
easy chocolate fudge cake

Chopped walnuts 

  • Walnuts are a great source of omega-3 fatty acids. These healthy fats can help lower cholesterol, prevent heart disease and reduce inflammation.
  • Walnuts are also high in vitamin E, which helps maintain a healthy immune system and improve blood flow.
  • They contain B vitamins, including folate and niacin (vitamin B3). These vitamins help keep your cells healthy and fight against diseases like cancer or Alzheimer’s disease.
  • Walnuts are also good for your brain health because they contain iron that supports cognitive function—that includes memory and concentration—and improves blood flow to the brain.
  • And finally, walnuts have fiber! Fiber makes you feel fuller faster so you eat less overall throughout the day (and therefore lose weight).

This cake is super easy to make. The walnuts are optional—the cake tastes just as delicious without them. You’ll also need a greased 9-inch round cake pan and aluminum foil to line it.

The recipe calls for all-purpose flour, but if you want to use whole wheat pastry flour instead, just reduce the amount of sugar by 1/2 cup (1/2 cup = 4 tablespoons). If you’re not a fan of chocolate, feel free to add some vanilla extract or almond extract instead!

Conclusion

If you’re looking for an easy dessert to make, this is it! It has a rich chocolate flavor and is so simple to put together. The addition of walnuts is optional, but they really add a nice texture. I hope you enjoy this recipe as much as I do.
Creamy Mushroom Pasta

0
creamy mushroom pasta

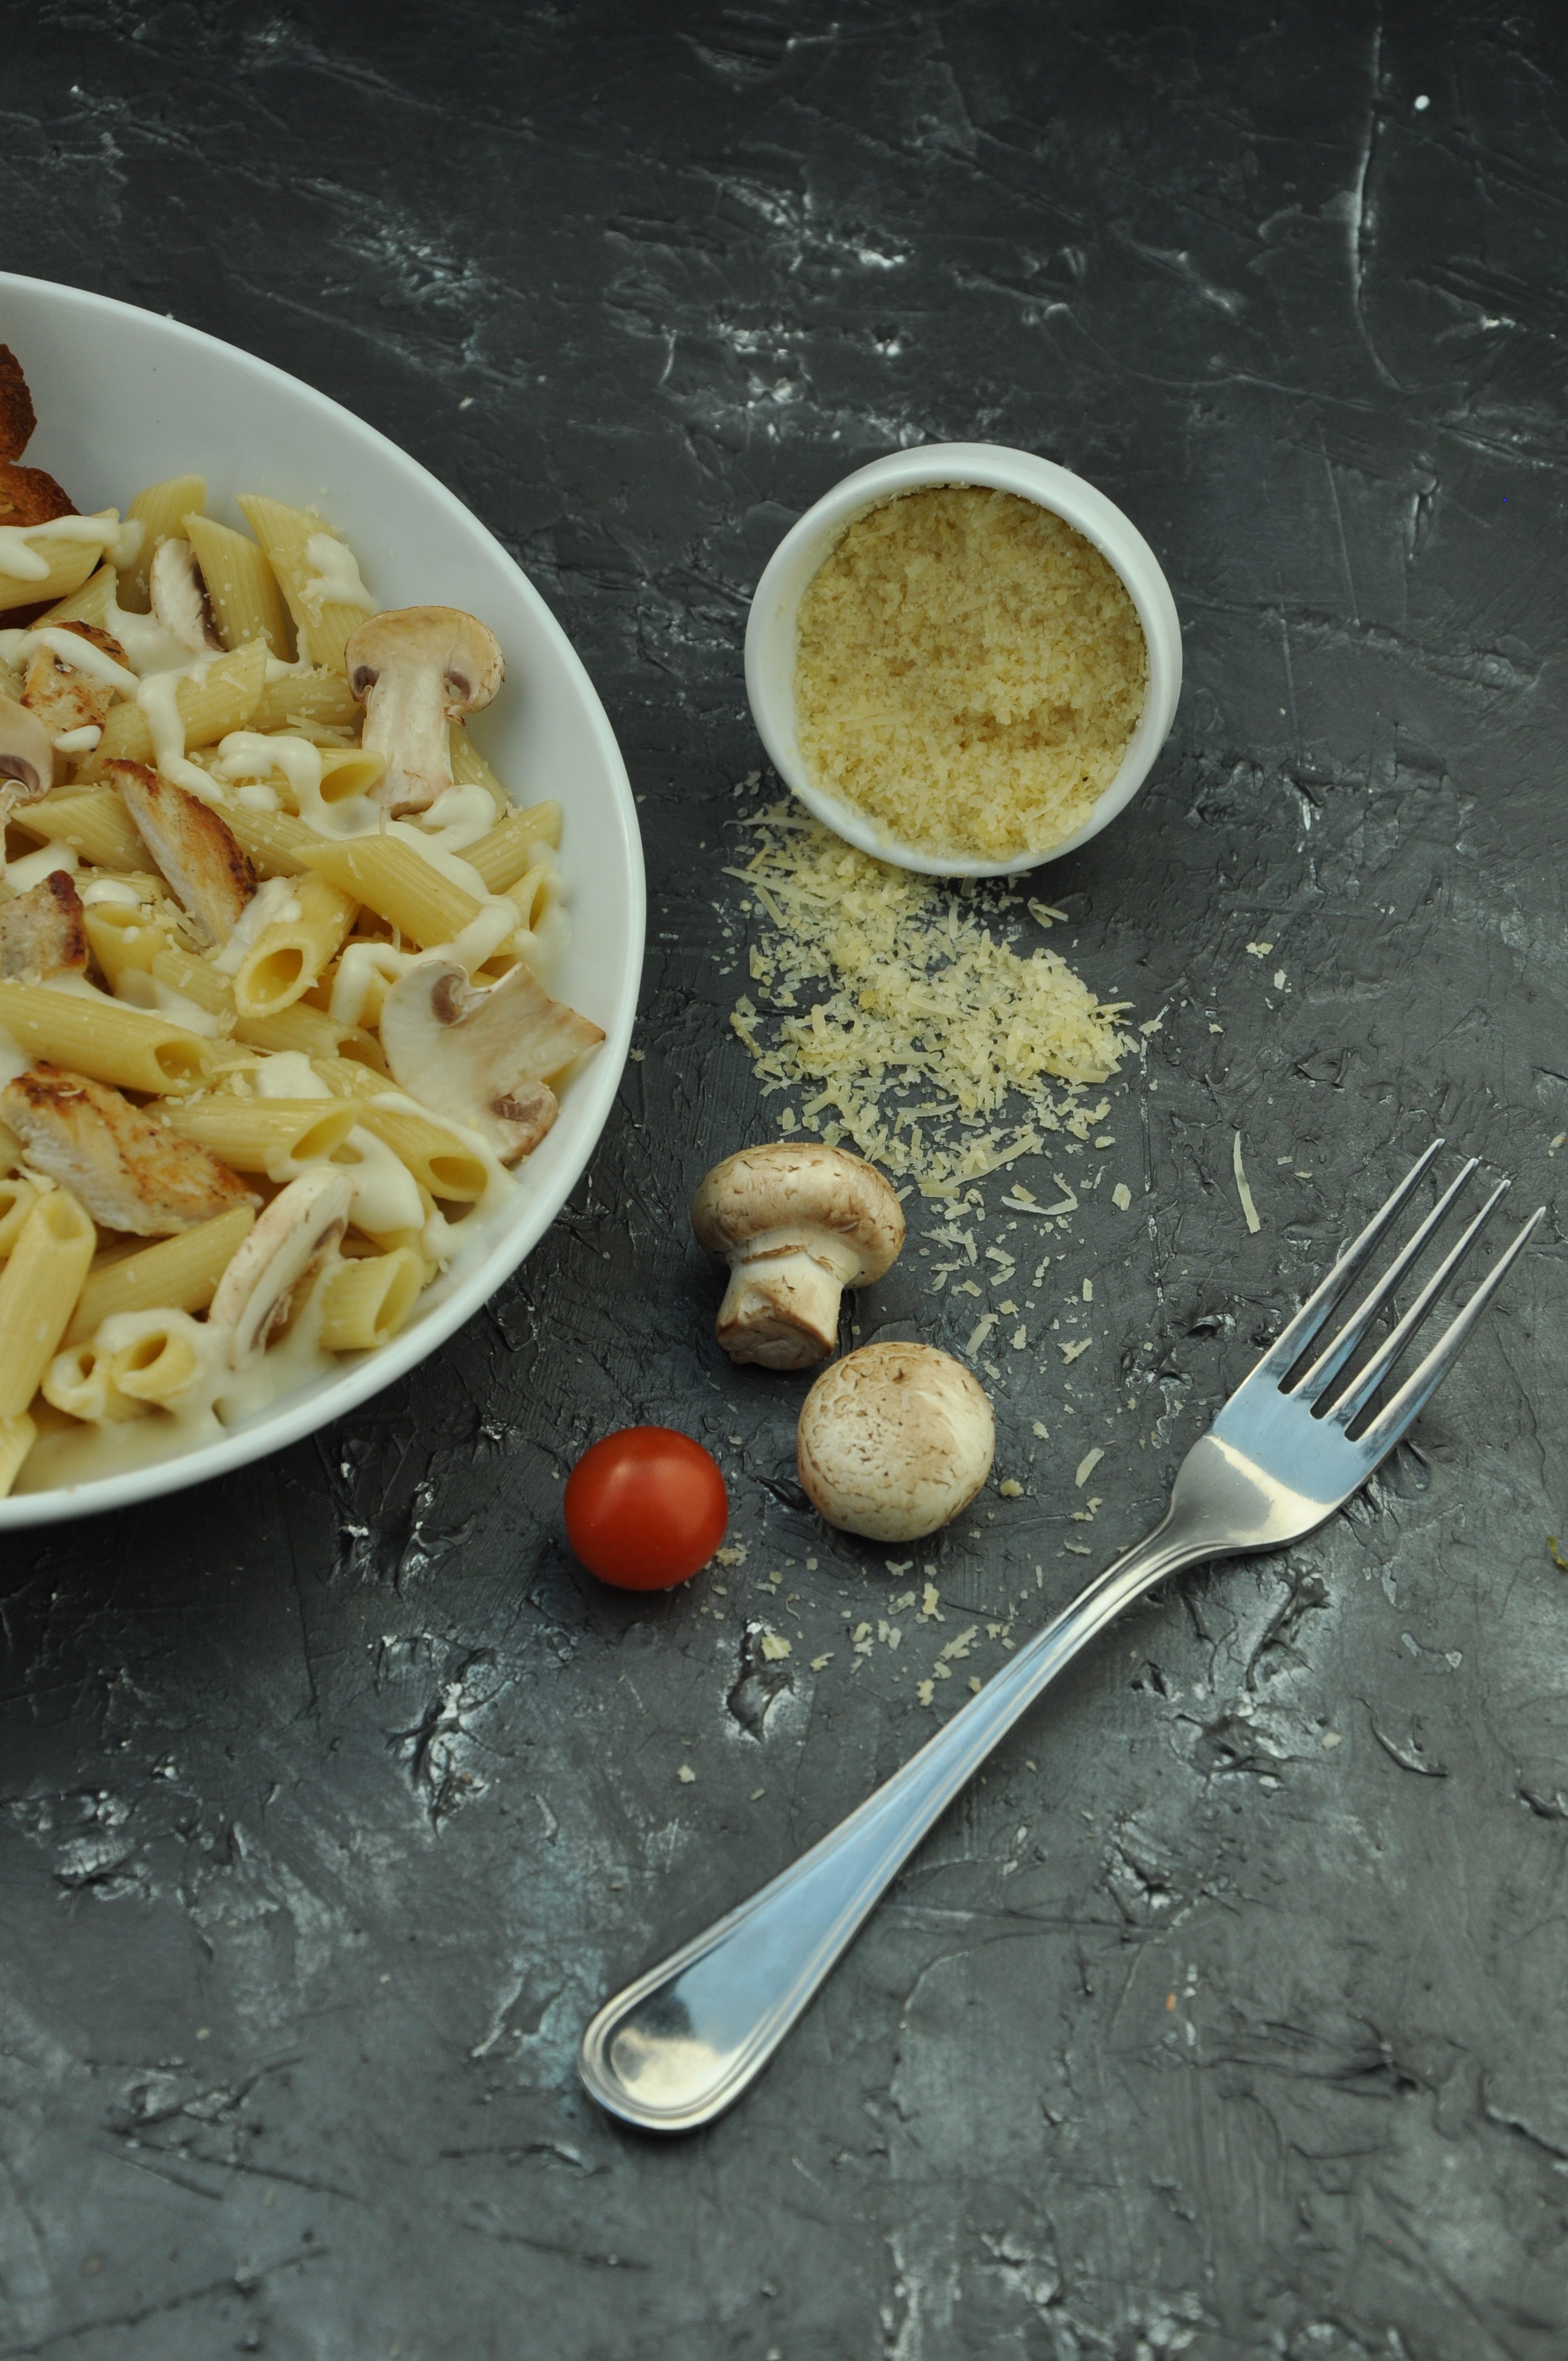
Comfort food is the best kind of food. Comfort food is what you make for yourself when everything feels unfair and upsetting. It’s dry bread dipped in olive oil and sprinkled with cheese, followed by scented candles and soft music — it’s a bowl of pasta with mushrooms, cream, cheese, and wine. Looking for an easy way to make creamy mushroom pasta? you are at the right place.

Ingredients

  • 2 tbsp olive oil
  • 1 tbsp butter
  • 1 onion, finely chopped
  • 250 g button chestnut mushroom, sliced
  • 1 garlic clove, finely grated
  • 100 ml dry white wine
  • 200 ml double cream
  • 1 lemon, zest only
  • 200 g parmesan grated, or vegetarian alternative
  • 300 g linguini
  • ½ small bunch parsley, finely chopped
creamy mushroom pasta

METHOD :

  1. In a pot, bring well-salted water to a boil. Add the pasta and cook as specified in the package directions. Keep aside 1/2 cup of the pasta water and drain the pasta.
  2. Heat the butter in a huge skillet over medium-high heat.
  3. Add the mushroom pieces, season with salt and pepper, and cook for about 5 minutes until tender.
  4. Add the white wine and cook until the liquid has reduced slightly about 1 minute. As white wine brings out the flavor of the mushroom.
  5. Stir in the cream and parmesan cheese and simmer until the sauce has thickened slightly, 30 seconds to 1 minute.
  6. Remove from heat and stir in reserved pasta water, lemon zest, parsley, and cooked pasta; toss to combine.
  7. And here is your tasty creamy mushroom pasta.

Cooking mushrooms is a delicate process

Cooking mushrooms is a delicate process. So, when cooking fresh mushrooms, there are a few things to keep in mind.

  • don’t overcook them
  • don’t add salt too early
  • don’t add pepper too early
  • don’t add too much or too little salt or pepper

Don’t overcook them, or they will get rubbery and not taste good. Add too much salt or pepper, and you’ll kill the flavor of the mushrooms. Mushrooms can be added to a dish at the very last minute, but it’s best not to cook them for too long — especially if you’re using dried ones.

creamy mushroom pasta

Don’t add salt too early or the mushrooms will be too salty.Adding salt too early will make the mushroom lose its flavor and texture and become mushy once cooked. The best time for adding salt is after you’ve removed the mushrooms from their packaging and washed them with water.

Don’t add pepper too early. or you’ll get that “shoestring” effect (where the mushroom becomes stringy).Pepper is added after the mushrooms have been cooked, so it shouldn’t affect their texture or flavor too much when prepared as part of your meal or dish. If you’d like some extra flavor in your dish, try adding fresh herbs before serving!

Here’s what you can do:

Start with a small amount of salt (2-3 grains) and pepper (1/2 teaspoon each), as well as garlic powder (about 1/4 teaspoon). Stir this into the boiling water until it dissolves. Add more if necessary — it’s difficult to say precisely when you’ve added enough until you taste it.

Now take your mushrooms and trim off the stem ends with a sharp knife. If they aren’t very large, you can even cut them in half lengthwise before trimming — this makes them easier to handle when sauteing. And it will make delicious mushroom pasta.

Final Thoughts!

All of your favorite ingredients, are cooked in butter so you can eat it without having to change outfits. It’s a bowl of creamy mushroom pasta, with cheese, and wine. And it doesn’t matter where you are or what time it is. When you are in that comfort zone, when your world starts to go dark around you and all you can do is lie back on the sofa and watch something mindless on TV, that’s comfort food! 

Egg & tomato baps

0
egg & tomato baps

Egg & tomato baps are a fun, healthy, simple and tasty breakfast. They’re really easy to make and they’re filling. Eating this in the morning means that you don’t have to worry about what you’ll eat for dinner later in the evening – because there’s always more of these!

The humble egg breakfast deserves a lot of respect and we’ll give it to you on this one. Plain eggs cooked sunny side up, served on top of your favorite tortilla and topped with a giant tomato slice are the exact definition of easy and quick meals!

egg & tomato baps

Ingredients :

  • 2 tomatoes , halved
  • 2 tsp olive oil
  • 4 eggs
  • Chopped couple sprigs parsley  
  • finely chopped 1 garlic clove  
  • 2 wholewheat baps

METHOD :

  • Heat grill to high
  • Place tomatoes cut-side up on a baking tray with the oil and plenty of seasoning. Grill for 5 mins until they’re soft. Meanwhile, lightly beat eggs with parsley and garlic.
  • Cut baps in half horizontally, then toast them under the grill until golden brown on both sides. Fill each bottom half with tomato slices, then top with egg mixture before placing one on top of each other to make a sandwich!

Heat grill to high

Heat the grill to high. Place the tomatoes, cut-side up, on a baking tray with the oil and plenty of seasoning. Grill for 5 mins until they’re soft, then set aside.

Place each roll in an ovenproof dish and toast lightly on both sides under the grill. Halve them lengthways and fill each one with tomato, egg and basil leaves (or whatever else you fancy). Serve immediately or wrap in foil to keep warm as you finish cooking your bacon or sausages if you like.

egg & tomato baps

Place the eggs in a bowl 

Place the eggs in a bowl with the parsley, garlic and seasoning. Lightly beat together. Heat a little oil in a nonstick frying pan over a medium heat. When it’s hot, pour in the egg mixture and swirl to spread evenly around the pan. Leave to cook for 3-4 mins until golden underneath and almost set on top. Slide onto a plate.

Cut each bap in half and fill with omelette and grilled tomatoes. Serve immediately, with a side of ketchup if you like. Enjoy!

To sum up !

The egg & tomato baps are a great way to get a quick, easy, and cheap meal. This recipe for egg and tomato baps is amazing, and I encourage you to try it. The combination of flavors is perfect, and the baps are easy to make.

That’s it. You’re done! Simple and delicious, perfect for a quick snack or breakfast.

Banana Walnut Smoothie Recipe

0
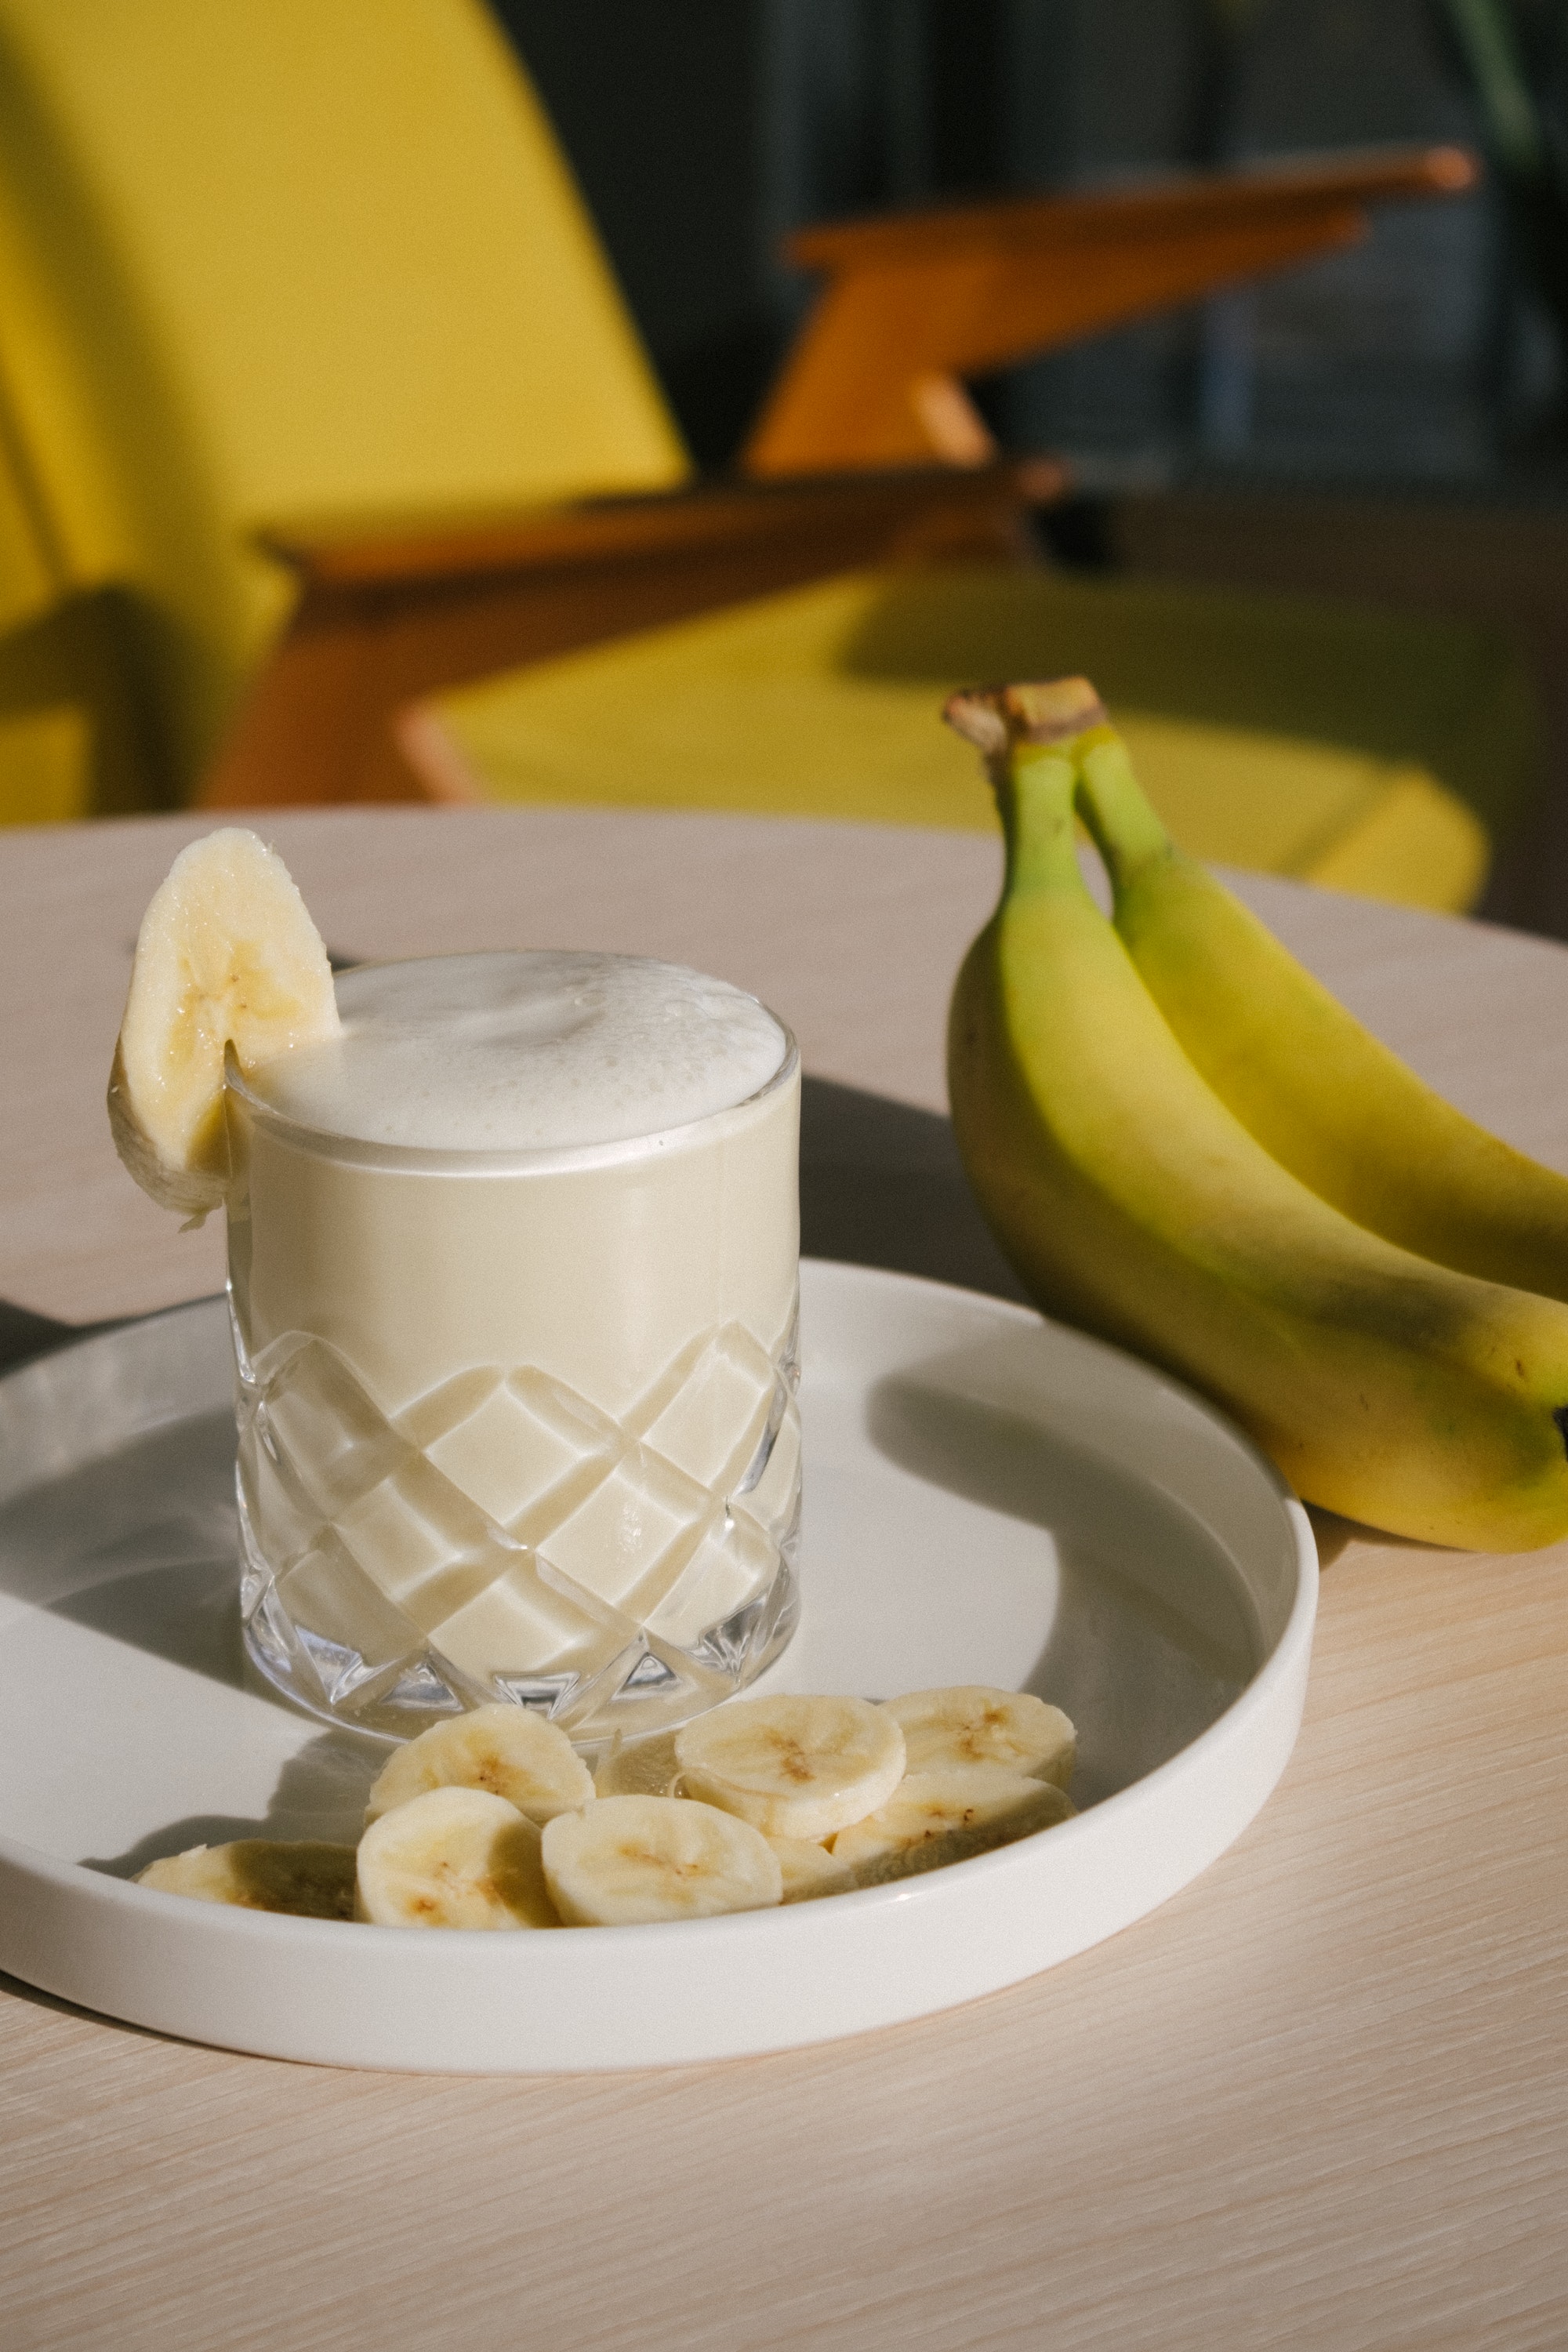
Banana walnut smoothie

Looking for a delicious, healthy smoothie that will give you an instant boost of energy? Try our Banana Walnut Smoothie! Made with banana and walnuts, this wholesome drink is perfect for breakfast or any time of day. Plus if you love tea you can add it, the aromatic flavors of tea and cardamom make it even more irresistible!

Cook & prep time: 15 min

Ingredients:

  • 1 ripe banana
  • ¼ cup chopped walnuts
  • 1 cup milk
  • 1 teaspoon ground cardamom
  • 1 teaspoon ground cloves
  • 1 cinnamon stick
  • 2 tablespoons honey
  • Ice cubes
banana walnut smoothie

Instructions:

1. Add all the ingredients into a blender mixer and blend until smooth.

2. Pour into glasses and serve immediately.

3. Enjoy!

Refreshing drink

Peanut butter and almond butter are often thought of as the classic combo for smoothies. But what if we told you there was a new, frosty twist on this combo that you’re going to love?

Introducing the Banana Walnut Smoothie! This refreshing drink is made with bananas, walnuts, and a touch of honey for sweetness. It’s the perfect way to start your day or enjoy a midday snack.

Banana Walnut Smoothie Recipe

But what about these two ingredients that have made them such an enduring food pairing? Here are some thoughts:

  • We love the texture. Smooth, creamy bananas and crunchy walnuts are an explosion of difference that makes our mind refreshing and mouths happy.
  • We like some bitter with our sweet. Bananas can be very sweet, too sweet, even, but the nutty notes that walnuts bring to the table, provide a perfect balance.
  • This is a classic flavor combination for a reason. Bananas and walnuts just go together. They were made for each other. And we are so thankful that someone had the genius idea to put them together all those years ago. 
  • The best part about this smoothie is that it’s packed with nutrients and healthy fats. Bananas are a great source of potassium and fiber, while walnuts are a good source of omega-3 fatty acids. This combination makes for a filling and satisfying drink that will keep you energized all day long.

So next time you’re thinking about making a smoothie, don’t forget to add the Banana Walnut Smoothie to your list!

Shish kebab: how to marinate meat?

0
shish kebab recipes

Yes, yes, the gist of it is here. The meat is cut into large pieces and marinated for a long time. However, this does not always lead to success. Do you want to cook the perfect Shish kebab? Then read this post in detail!

First, you need to cut the meat into cubes 

First, you need to cut the meat into cubes – no more than 15 centimeters. The size of the pieces depends on your skewers, but it’s important that they are small enough so that they can be easily picked up and eaten with a toothpick. Make sure your meat is fresh and tender, juicy, and of high quality.

After that, you should prepare the marinade. All seasonings need to be mixed in advance – salt, pepper, red pepper (if desired), onion powder (optional). Add a little bit of soy sauce or balsamic vinegar. And now the main thing: in the meat for shish kebab, do not put any tomato paste or ketchup!

If you want your kebabs to be juicy and tender, then it’s better to buy lamb – they will soak up all the juices better than whole pieces of meat. To prepare kebab skewers on an ordinary grill pan at home, use a sharp knife to cut off excess fat from each piece of meat before marinating it with spices. 

shish kebab recipes

If you have time and desire to experiment with cooking shish kebab yourself, try replacing some tomato sauce with yogurt or sour cream – this will give extra tenderness and juiciness to your dish!

  • Dip the pieces of meat in a bowl and leave to marinate for at least an hour.
  • You can marinate your shish kebab in the fridge, but if you don’t have room, try using a plastic bag instead—it will work just as well!
  • If you want to be really fancy about it and really impress your friends/family/coworkers, use a glass container with an airtight lid (like Tupperware) instead.

Meat must be of high quality and fresh

Many of us have a love affair with shish kebab. But, how do you make sure that your meat is fresh and of high quality? If you are planning to make shish kebab at home, there are a few things to keep in mind while buying meat. Meat must be cut into cubes or strips and marinated before cooking. It can be cooked on a skewer or grill over a fire or gas flame.

In short :

For 2 kg of meat, you are going to need –

  • Onions 1 kilogram. 
  • One big lemon. 
  • Chop the meat. 
  • Peel the onion and turn it through a meat grinder. 
  • Squeeze the juice out of the lemon. 
  • Mix the onion mass with juice. 
  • Now mix this mass with the meat. 
  • Be sure to put oppression on top. Let it cool. And the whole marinade is ready.
Shish kebab

Final thoughts!

It is appropriate to use any meat for Shish kebab. Lamb and pork are also suitable. However, the main condition for delicious shish kebab is that the meat should be of excellent quality and fresh. The selected piece must be frozen or fresh: neither smoked nor salted or dried. It is best to choose tenderloin or rib with a soft pattern of fibers on the cut.

Mango Banana Smoothie Recipe

0
Mango Banana smoothie

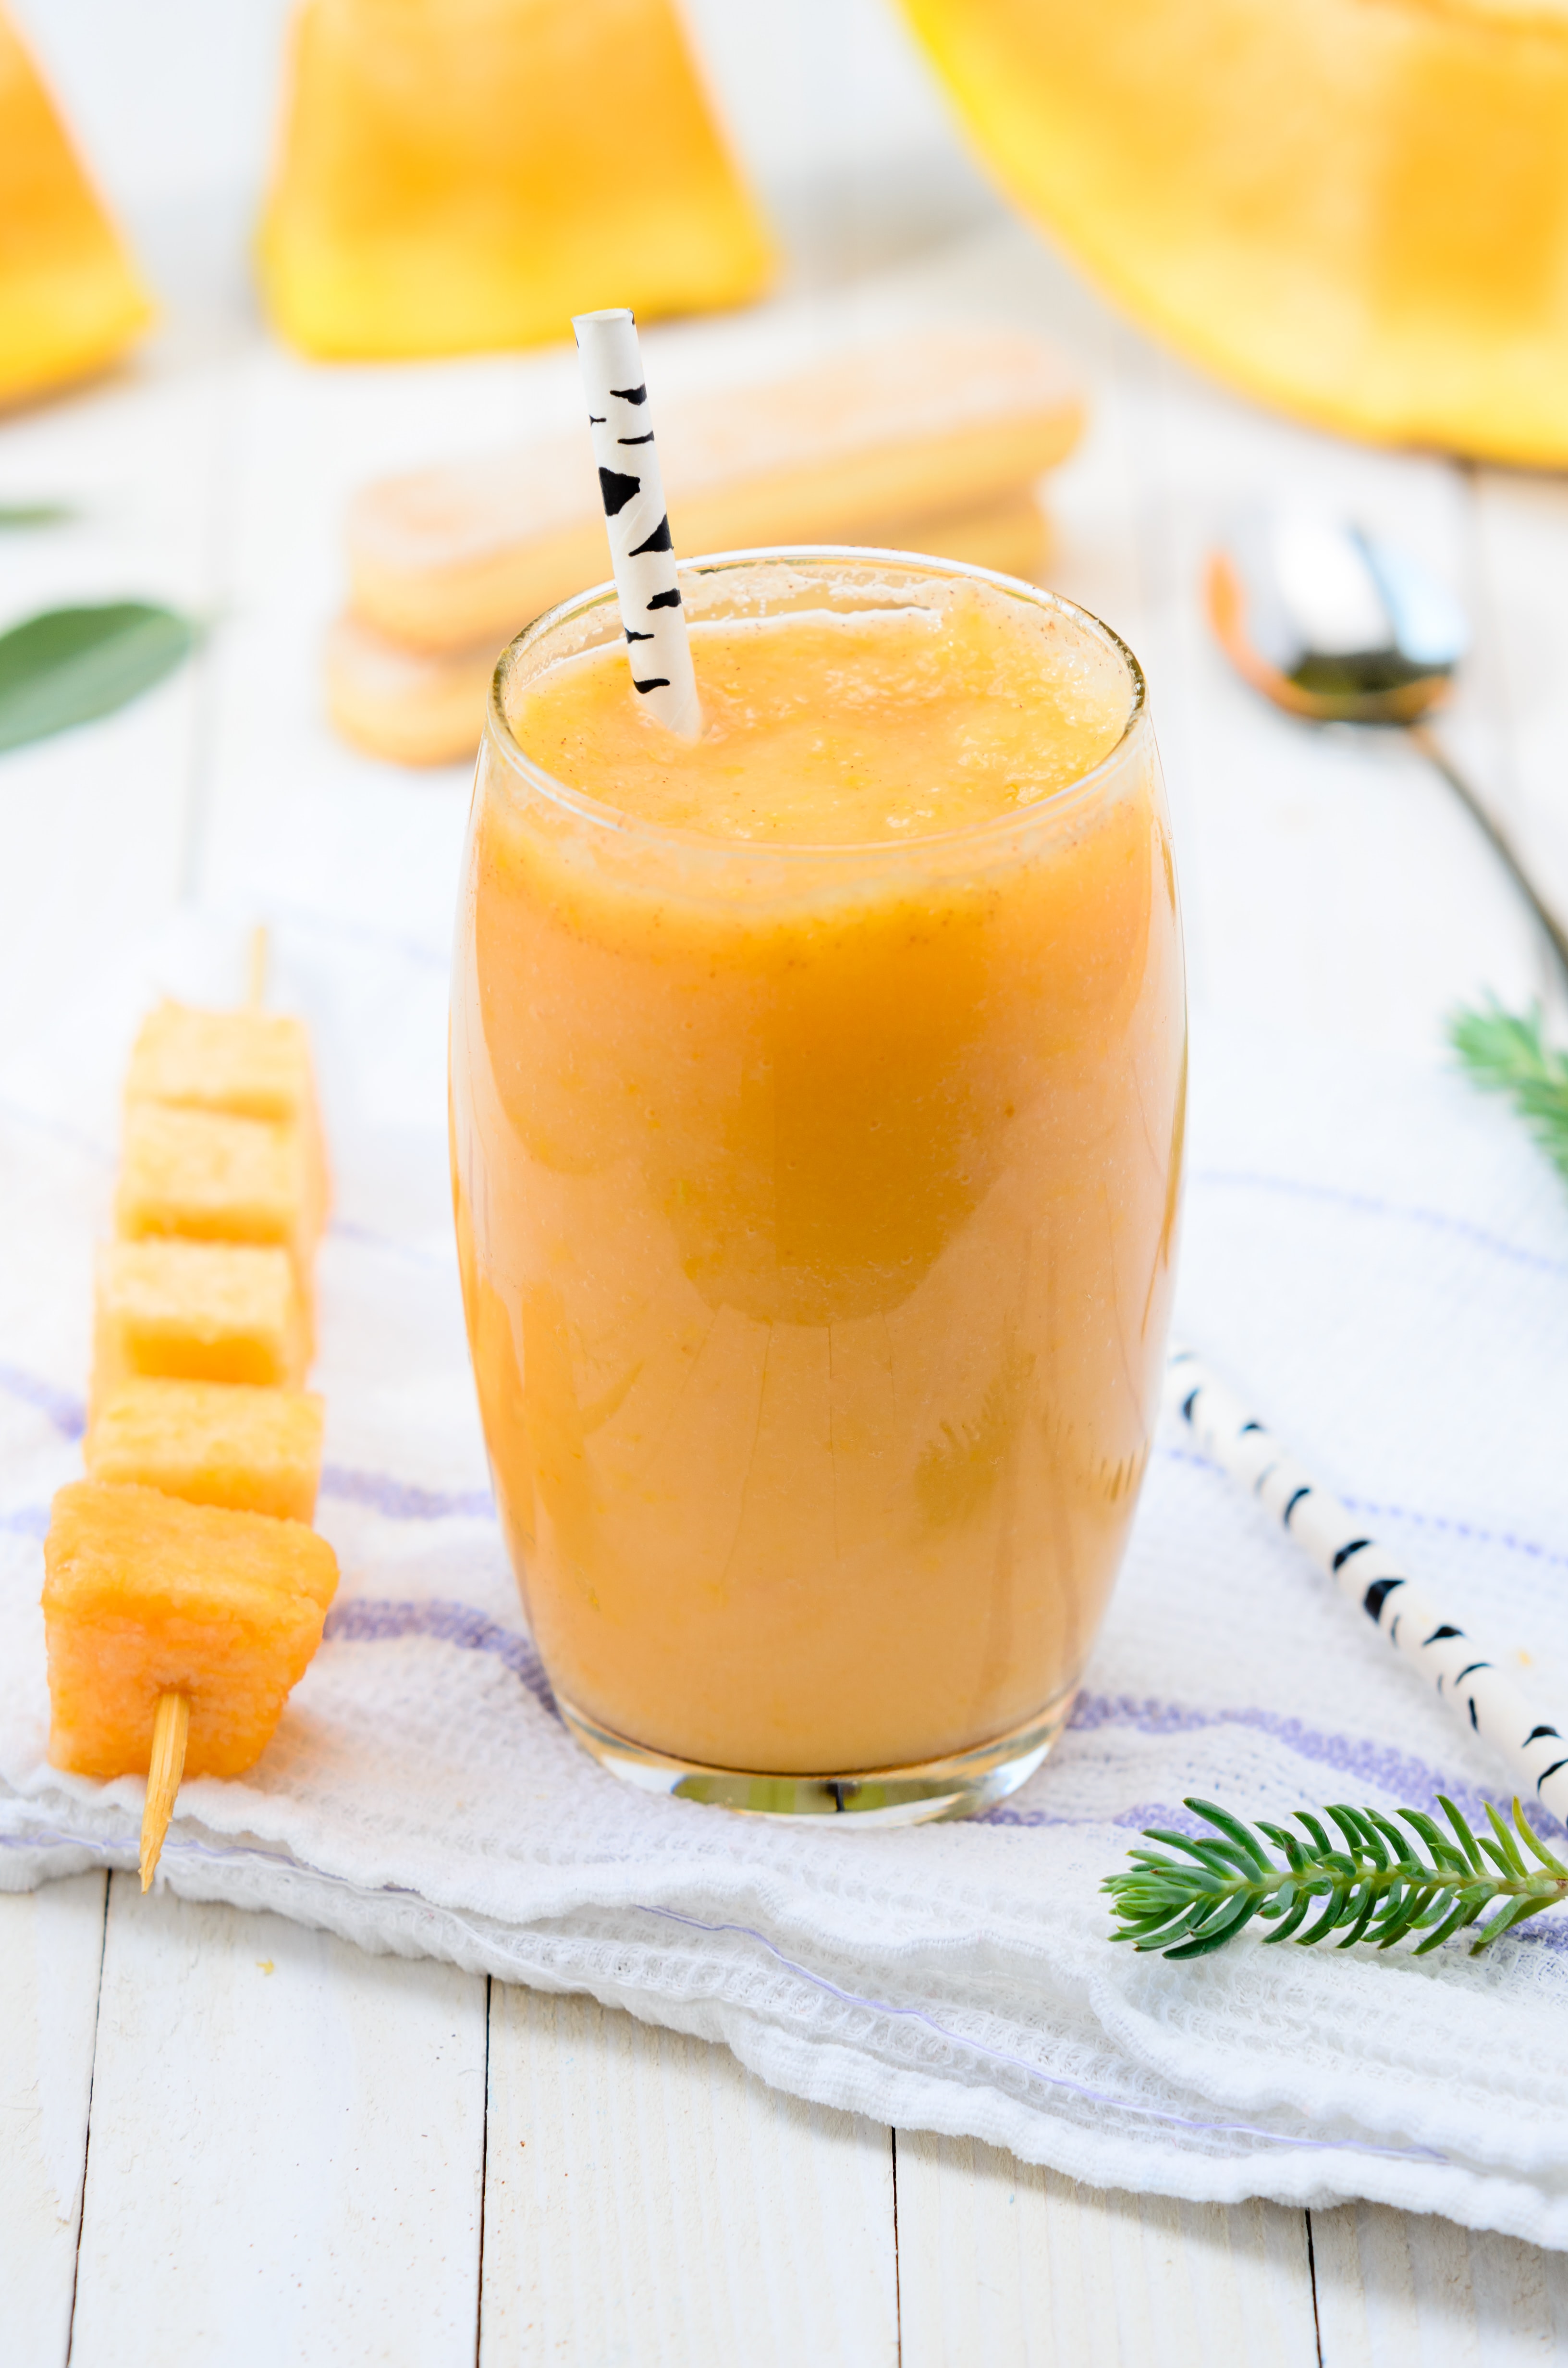
Start your day with a flavorful fruit smoothie that is Mango Banana Smoothie. This drink is as delicious as breakfast but also serves well as a midday sip or even a frosty dessert.

This smoothie is a great way to get your daily dose of fruit, and it’s a delicious way to start your day!

Mango Banana Smoothie Recipe

INGREDIENTS :

• 1 cup of Banana (peeled and cut into pieces) 

•  1 cup of Mango (peeled and cut into pieces) 

• 1 glass of Milk  

• 1 cup of Mango yogurt

• 1 tsp of Sugar

• 1/4 tsp Cardamom powder

• Ice cubes as per your need

Instructions :

  • Simply freeze some mango and banana pieces for about 2-3 hours so that they become icy, 
  • blend with milk and yogurt, 
  • and add a touch of cardamom and sugar. 
  • In just a few minutes, you’ll have a cooled and creamy drink to enjoy on a hot day. 
  • So why not give it a try?
Mango Banana Smoothie Recipe

Remember to let the frozen mango thaw for 15 minutes to soften slightly before adding it to the smoothie. One tablespoon of dry milk will give you about 100 milligrams of calcium, but it is optional.

To make this smoothie, simply combine frozen mango cubes, banana, milk, and yogurt in a blender and blend until smooth. If you like, you can add a little honey or agave nectar to sweeten the smoothie.

This mango banana smoothie makes a great breakfast or snack. It’s also a great way to use up ripe bananas. If you have ripe bananas that you need to use up, simply peel and freeze them in an airtight container. Then, when you’re ready to make the smoothie, they’ll be all ready to go!

This summer, enjoy a delicious and refreshing treat with this easy recipe for mango banana smoothies! 

Easy Spanish Omelette

0
Spanish omelette

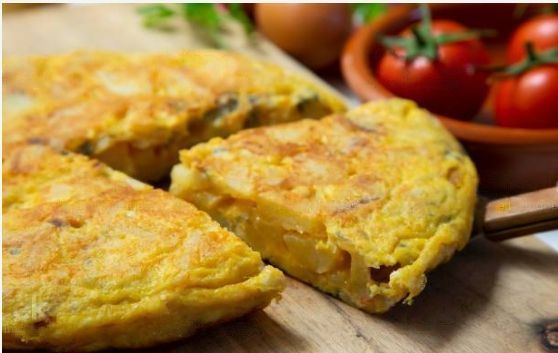
Spanish omelette, or Spanish tortilla, is a delicious and easy dish to make! Potatoes and eggs are fried and then formed into a hearty omelette, perfect for any occasion. Upgrade your omelette game by adding some Spanish spices, vegetables, or meats – the possibilities are endless!

A Spanish omelette, or tortilla de patatas, is a classic dish that can be served hot or cold. It’s perfect for a quick snack or a light meal and can be easily made ahead of time.

Cook & prep time: 35- 40 min

Easy Spanish Omelette

To make a omelette, you’ll need:

– 1 onion, finely sliced

– 1 red pepper, chopped

– 500g potato, sliced into thin rounds

– 1 knob of butter

– 1 x 25g pack chives

–  8-9 eggs

Instructions: 

  • Simply fry the onions and pepper in the butter over low heat for 10-15 minutes, until they’re softened and starting to brown. 
  • After that add the potato slices and cook for a further 5 minutes.
  • Once everything is cooked through, beat 8 eggs and pour them over the vegetables. 
  • Gently shake the pan so that the eggs cover all of the ingredients, then leave to cook for 8 minutes until set.
  • Slide the omelette out onto a plate and enjoy!

The Spanish omelette, also known as a tortilla, is a classic dish that is simple to make and full of flavour. Made with eggs, potatoes, and onions, this omelette is a filling meal that can be enjoyed any time of day. Whether you are looking for a quick breakfast or a satisfying dinner, the omelette is a great option.

Quick and Easy Chicken Fajitas

0
Quick and Easy Chicken Fajitas

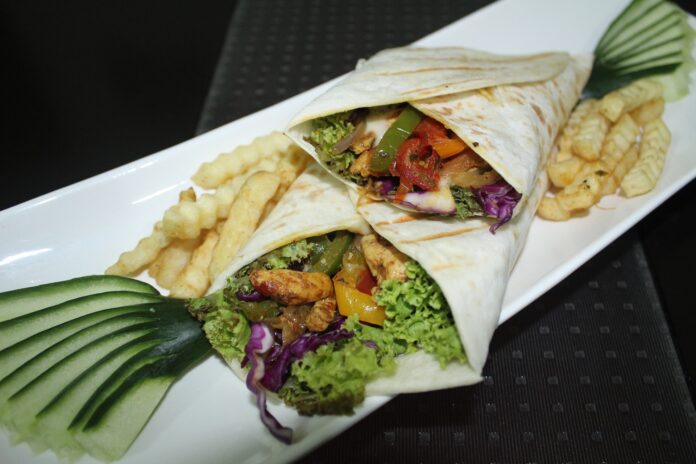
Looking for an easy and delicious weeknight meal? Look no further than chicken fajitas! This classic Mexican recipe is packed with flavor and perfect for the whole family.

Seasoned chicken is seared and cooked to perfection, then tossed with sauteed bell peppers and onions. A squeeze of fresh lime brings out a punch of flavor and the chicken fajitas are served with warm tortillas, mixed salad in a bag, and toppings. You can’t beat this healthy everyone’s favorite recipe!

Cook & prep time – 25-30 min

Quick and Easy Chicken Fajitas
Easy Chicken Fajitas

Ingredient :

2 large chicken breasts, sliced finely

Finely slice one red onion.

One red pepper, sliced.

1 red chili, finely sliced (optional)

Whisk together the following ingredients for the marinade:

1 tablespoon of smoked paprika

1 tablespoon ground coriander

A pinch of ground cumin.

two medium garlic cloves, crushed

Four tablespoons of olive oil.

1 lime, juiced sauce

Add 4-5 drops of Tabasco sauce

Serve with:

Six medium tortillas.

Mixed salad in a bag.

A 230g tub of fresh salsa.

Steps to follow:

1. Preheat oven to 200C/180C fan/gas 6.

2. In a bowl, mix together the smoked paprika, ground coriander, cumin, garlic, olive oil, lime juice, Tabasco sauce, salt, and pepper.

3. Add the 2 large chicken breasts, onion, red pepper, and chili (if using) to the marinade and stir to coat.

4. Wrap the 6 medium tortillas in foil and place them in the oven for 10 minutes to warm through.

5. Remove from the oven and fill each tortilla with the chicken mixture.

6. Serve immediately.

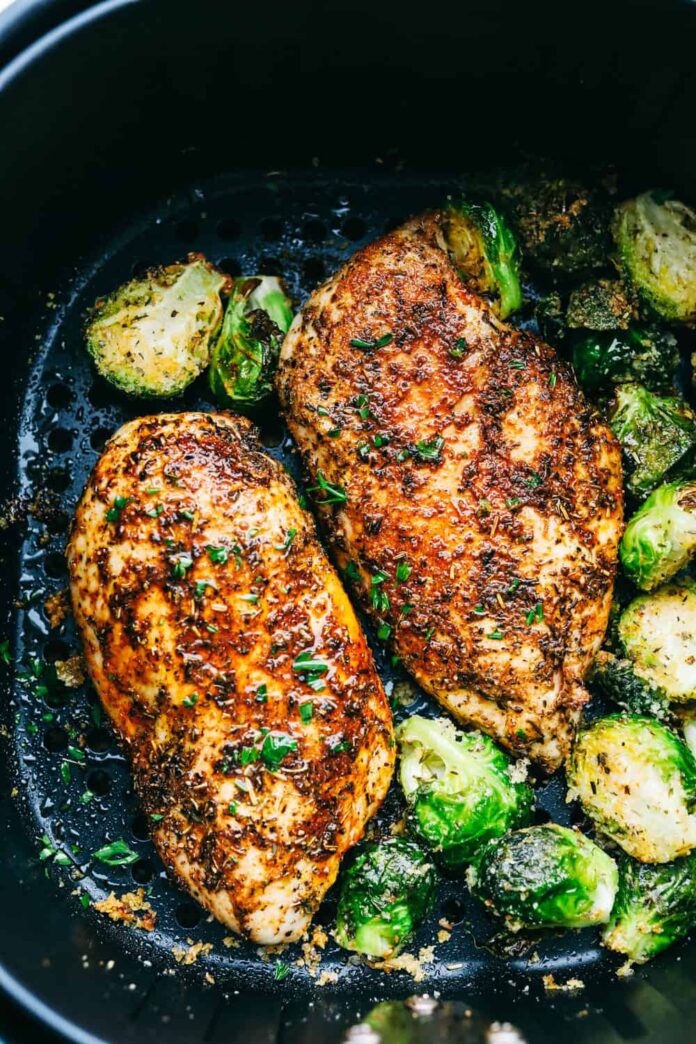
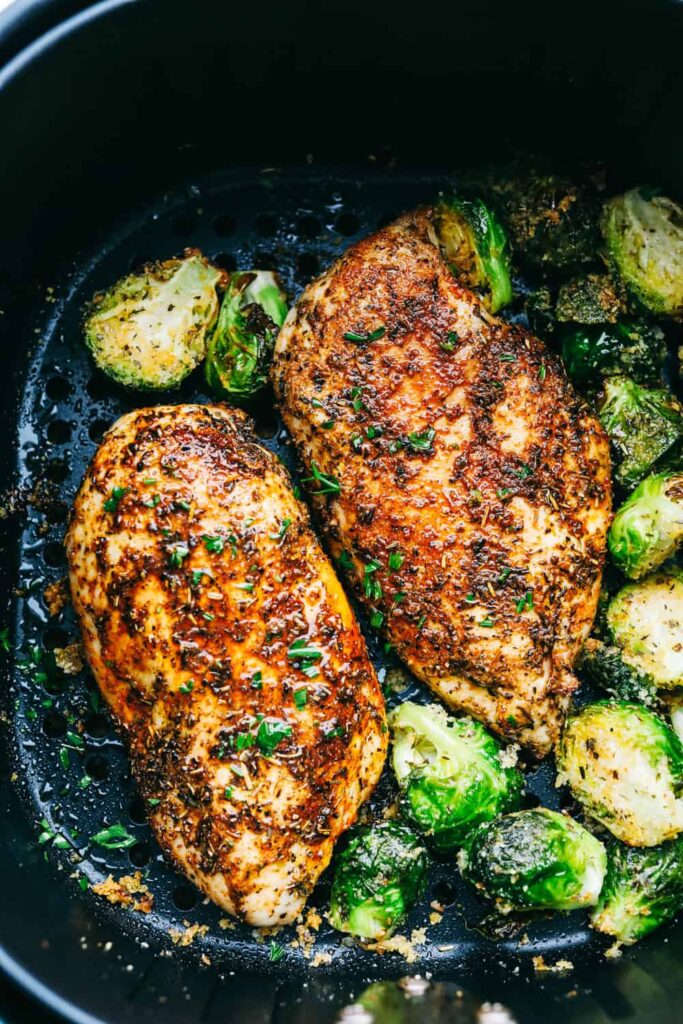
Step By Step Cooking Guide For Air Fryer Chicken Recipe At Home

0

If you have an air fryer, this is the recipe for you! This simple and delicious chicken breast will leave you feeling full, satisfied, and ready for a nap. Chicken breast makes for a great anytime snack to fulfill your appetite. There are so many health benefits associated with this protein-rich food. The best part is now you can air fry these chicken breasts to get the perfect texture and avoid using oil. From cooking tender and juicy chicken breasts to heating any frozen food, air frying is the modern way of cooking.

You can easily find tones of air fry chicken breast recipes on the internet. However, this recipe covers almost every aspect of cooking tender and juicy chicken breast at home. We have also covered some additional tips and storage instructions to help you out. This simple air fry chicken breast will soon become your favorite anytime meal or perfect side dish for dinner. Look at our complete recipe for making perfectly tender and extra juicy air fry chicken breast at home.

air fryer chicken recipes

Complete Recipe To Make Tender And Juicy Air Fryer Chicken Breast At Home

Ingredients For Air Fryer Breast Chicken

The ingredients used in this recipe are quite simple, and you can easily find them at the nearby grocery store. You need some seasoning of choice, some oil or butter to cook the bird in, and a quick dip in some flour. Here’s a list of what you need to make these perfect air fryer chicken breast at home:

  • Chicken Breasts – boneless & skinless chicken for easy cooking
  • Seasoning – oregano, garlic powder, or spices you like mixed in a perfect blend
  • Garlic – powdered and chopped into small pieces
  • Olive oil – 1 to 2 tablespoons for light brushing/coating over chicken breasts
  • Salt – one-fourth tablespoon
  • Paprika – to add flavor and color to chicken breasts

For all those lovers of spicy taste, they can try adding chili powder, basil, thyme, chives, and onion powder. Of course, you can always add an extra dash of salt, pepper, or anything you want as per your taste preference. When you add a dash of paprika before cooking, it gives these chicken breasts a perfect flavor and color. And that’s all there is to it! All that’s left is to set your air fryer and cook them.

How to Cook Air Fry Chicken Breast?

Cooking chicken breasts in an air fryer is easy and less messy. You can choose to use your favorite cooking or baking mode with temperature settings per the manufacturer’s instructions. Here’s the complete recipe for cooking chicken breast in an air fryer:

  • Coat Chicken Breasts With Seasoning

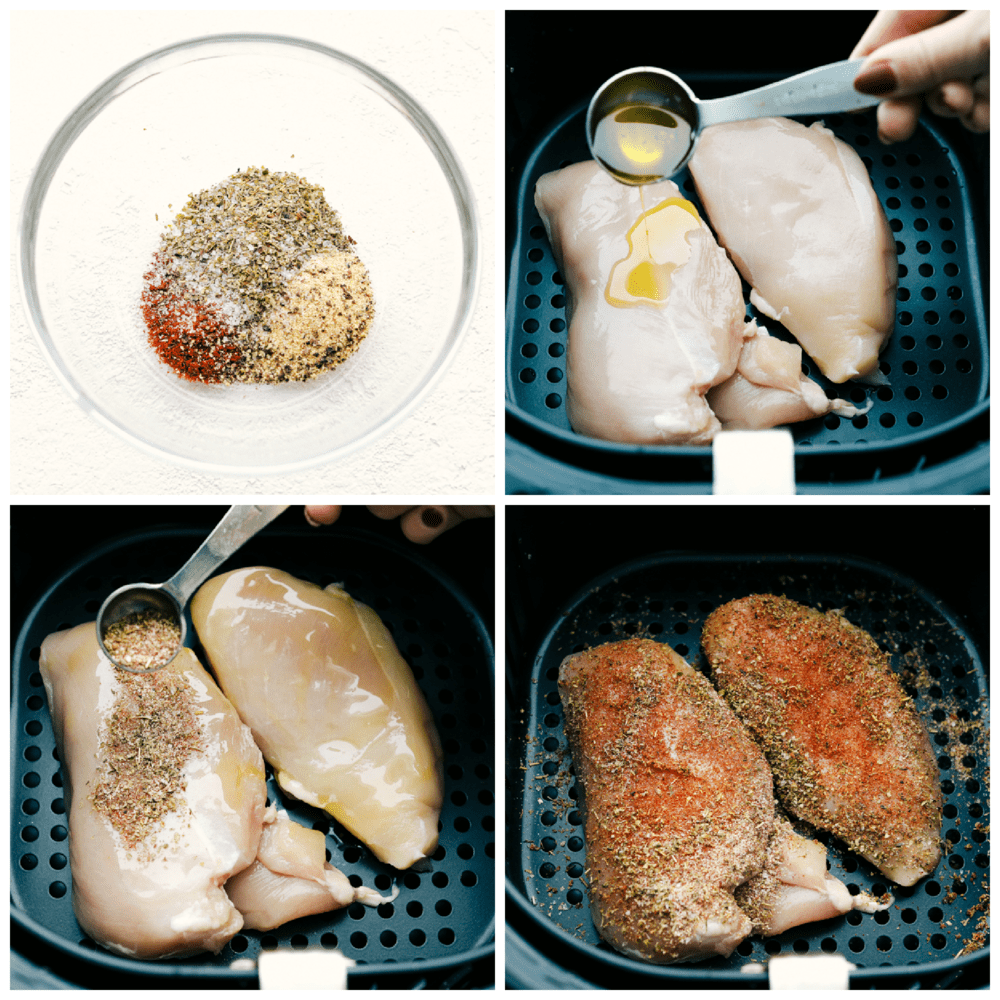
Set your air fryer on low to medium heat setting. Use olive oil or butter to pour over the chicken breasts and sprinkle seasoning generously over it. Then place them in the basket of your air fryer and cook for about 20 minutes for medium-done chicken breast.

  • Preparation for Air Frying

Sprinkle or gently brush the chicken breasts with olive oil and place them inside the basket. Make sure to place them in a single layer for even heating and cooking. Depending on your air fryer model, you could either use the wire rack provided or line up any baking tray with foil, greasing it beforehand.

  • Cooking the Air Fryer Chicken Breast

You can cook chicken breasts from frozen in just 15 minutes by turning on the air fryer. After 15 minutes, check to see if the food is done by pressing with a fork, which should yield no resistance. Then, let it sit for a few minutes before you take them out of the air fryer to not get soggy or overcooked.

  • Flip And Heat

After 20 minutes, take out the chicken breasts from the basket, flip them over, and cook them for another 7 to 8 minutes until they are cooked through. You can always add an extra minute of cooking time if you find that they are not fully cooked through. When a nice brown color appears on the outside, you’re done cooking. Once it’s done, take out the chicken breasts from the oven and sprinkle extra paprika or cheese for added color.

After taking your chicken breasts out of the air fryer, let them cool down to room temperature and enjoy them with your favorite sauce and cream dip. Then, you can freeze the rest of the breasts and use them as your choice. This is one of the air fryer chicken breasts recipes that are easy to follow, and the cooking time is quite less.

steps to follow for air fryer chicken
Image Credit:- https://therecipecritic.com/

Storage Tips For Chicken Breasts

After cooking, you can easily freeze them in air-tight containers if you have extra chicken breasts. You need to take an air-tight container and store these chicken breasts in a freezer. You can enjoy refrigerator chicken breasts for around 10 to 12 days easily.

Just keep them stored well inside your refrigerator at a low temperature. Then, whenever you crave hot chicken breasts, just heat them in air fryers and enjoy them anytime. Before packing the leftover for deep freezing, let it cool down and reach room temperature first.

How to make your air fryer chicken breast extra juicy?  

We can all agree that cooking chicken breast is not as easy as it looks. Some people prefer to buy it frozen for easy cooking and hassle-free meal preparation! However, with air frying, one can get perfect results every time without all that added oil. The secret to making it extra juicy lies in the ingredients and timing. If you want to make your chicken breasts extra juicy, you can sprinkle some extra olive oil. It will make them crispier on the outside and juicier on the inside.

Additional Tips For Making Air fryer Chicken Breasts

There is always a way to add more taste and make them tastier. Since you have learned the complete recipe for making chicken breast, it’s time to learn more tips. Here are some of the basic tips that will help you make extra tasty air fryer chicken breast at home:

  • Using quality ingredients: As per our suggestion, one can use boneless, skinless chicken breasts for this recipe. Check the ingredients label while buying these items from a local market or supermarket. Also, try avoiding frozen chicken breasts as they get soggy when cooked in an air fryer.
  • Seasoning: You can always add extra seasoning to your chicken breast. This can be done by mixing spices and herbs like oregano, thyme, and basil. Then, add a dash of paprika on top to save time during preparation. You can also add white pepper and chili flakes for more taste and punch.
  • Make them crispy: Fry the chicken breasts in an air fryer with low-temperature settings for at least 7 minutes. It will give crispier edges which will make them delicious!
  • Cooking times: While cooking in an air fryer, you should let the food reach a final temperature of 165 degrees F for a baked chicken breast or 160 degrees F for a roast chicken breast.

Air fry chicken is a healthier and quick way to cook chicken breast. With this recipe, anyone can now cook the best and most tasty meal in only 15 minutes! It is so easy that even a beginner can try this at home. Prepare your ingredients as per the given recipe, and you will not be disappointed with the result.

Why Brine Chicken Breast For Air Frying?

While air frying is a deliciously healthy way to prepare your food, certain meats benefit from being brined before being baked in an air fryer. While the air frying process isn’t a marinating process, some flavor can be transferred to the chicken when it’s in a brine (especially since you’re submerging it in saltwater). Brining is an excellent way to ensure that your chicken comes out with a flavorful exterior and an equally tasty interior.

How To Marinate Chicken Breasts?

Start by preparing your brining solution. If you’re using a cold brine, you can simply combine salt and water in a bowl to form your brine. For warm brine, use boiling water and keep it at room temperature until it is no longer scalding. Now that you’ve created your solution add the chicken breasts to the bowl and let them sit for 30 minutes (while occasionally tossing them around). Once the chicken breast has been submerged in the brine, let them sit for around 10 to 15 minutes. Now out, take it, and your chicken breasts are ready for air frying.

Final Words

Air frying is one of the fastest ways to cook chicken breasts. The best part about this recipe is that it has less oil, yet the dish remains juicy and crispy. You can also try different flavors by adding different herbs from pepper, rosemary, and garlic powder.

Stay Healthy With These Amazing Gluten-Free Recipes For Lunch

0

For people concerned about taking healthy diets, it is important to avoid taking complex proteins like Gluten. Most commonly, these complex proteins like Gluten are found in whole grains like rye, barley, and wheat. Such complex protein is often hard to digest and irritates guts causing allergic reactions. However, there are other gluten-free food options that you can try to include in your diet.

We all know how hard it can be to find gluten-free options on campus, so making lunch at home should be a breeze. However, we’ve got you covered if you’re new to the gluten-free lifestyle and don’t quite know what you’re doing as far as recipes go. Check out these easy and delicious recipes that will allow you to prepare fresh lunches no matter where your day takes you. These recipes are specifically tailored to avoid taking Gluten in your diets without sacrificing taste.

Also Try: List Of 13 Best Protein-Rich Indian Veg Food Prescribed By Dietitian

Finding Best Gluten-Free Recipes For Lunch? Try These Options

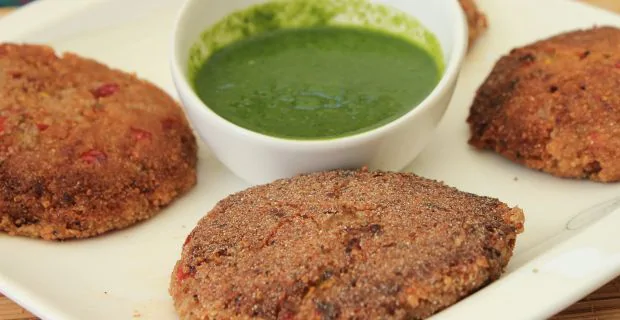
1. Amaranth Tikkis

For preparing gluten-free diets, Amaranth is a great option. It contains higher mineral content and more iron, calcium, phosphorus, and manganese. It makes for a better alternative than vegetables with a higher quantity of easily digestible proteins. Here’s how you can make this delicious tikkis at home.

Amaranth tikkis Gluten-Free Recipes

Ingredients

  • Amaranth (chaulai) seeds – 1 cup
  • 1 Tbsp oil for mixing & 2 Tbsp oil to pan-fry
  • Garlic – 3 cloves (finely minced)
  • Red bell pepper – half cup (finely chopped)
  • One onion & Zucchini – finely chopped
  • Amaranth flour or breadcrumbs for dusting
  • Garam masala – 1 Tbsp
  • 1/2 tsp coriander powder & half tsp lemon zest

How To Make Amaranth Tikkis?

  • Boil Amaranth seeds in 2 cups of water. After a few minutes of a quick boil, close the bowl’s lid and cook at low flame for 20 minutes.
  • Once all Amaranth is cooked, use sea salt and ground pepper for seasoning. Then, let it rest aside while you prepare a small pan for preparing the masala.
  • Heat a pan and add oil, onion, and ginger cloves. Next, add all the spices and stir fry everything for around two to three minutes.
  • Now pour lemon zest, coriander powder, amchoor powder, red chili, and all the spices for frying. Once cooked, remove this pan from heat and leave it aside to cool off.
  • Add this mixture with Amaranth boiled in the previous step. Mix it well to ensure that every piece is well coated with the masala. Now make small-size patties of this batter and coat them with breadcrumbs or Amaranth flour.

Now fry them in a pan and serve hot with any sauce or dip. Of course, if you want to avoid using oil for cooking, you can always air fry these Amaranth Tikkies.

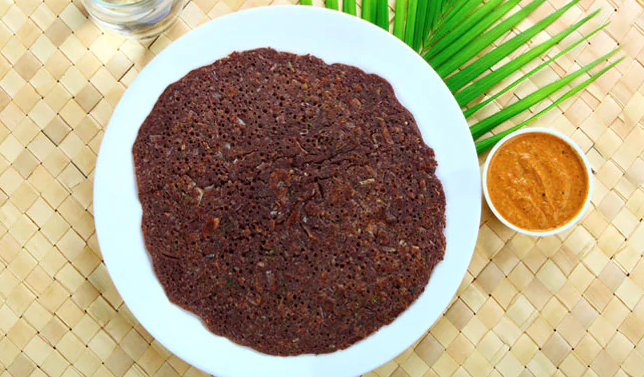
2. Ragi Roti

Ragi is one type of gram flour, a low-carb and high fiber food, which may help with blood sugar control in people with diabetes. It also contains iron, zinc, calcium, and phosphorus. It has a great taste and is a good dietary fiber and protein source. Here’s how you can prepare this delicious roti at home:

Ragi Roti Gluten-Free Recipes

Ingredients

  • Ragi flour – 3 cup
  • One big onion – finely chopped
  • One finely grated carrot
  • Coriander/cilantro leaves – finely chopped
  • Red chili powder – 1/4 tablespoon
  • Cumin Seeds – 1 tablespoon
  • Salt to taste

How To Make Ragi Roti

  • Mix all the ingredients well in the large bowl except for water. Now start preparing the dough by adding water slowly. Do not rush and add lots of water as it will spoil the consistency of the dough.
  • Take a clean cotton cloth and dip it in clean water. Use this cloth to make give this dough shape of a roti.
  • Once you have made enough rotis, heat the grill and place it on it. Cook this roti from both sides until it’s done.

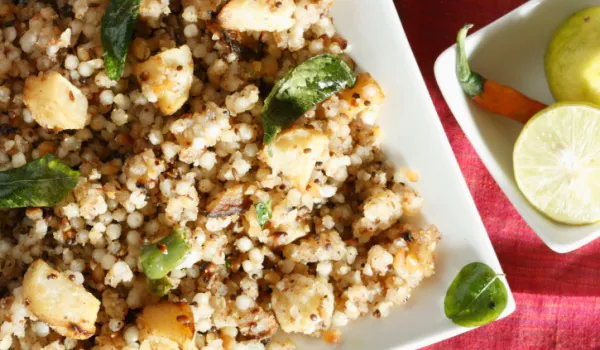
3. Sabudane Ki Khichdi

Sabudane Ki Khichdi

Sabudana is a great option for avoiding complex proteins in their diet. It has higher amounts of dietary fiber, manganese, and calcium. It is one of the ideal gluten-free food options. Here’s how you can make this savory kichdi at home:

Ingredients

  • Sabudana – 1 cup
  • Desiccated coconut – half cup
  • Boiled rice – half cup
  • Cinnamon stick – 1 stick (short)
  • Cardamom – 1 piece (crushed)
  • Cloves/garlic cloves – 4 (crushed)  
  • 1/2 tsp ginger paste(i.e. dainikai)

How To Make Sabudana Ki Kichdi?

  • Take a bowl of hot water and add ginger paste. Leave it aside for soaking sabudana. Next, in a large pan, add desiccated coconut to it. Heat them until the coconut changes its color and gets roasted completely.
  • Once this is done, add half a cup of water to it and bring everything to a boil to make a coconut milk+water mixture.
  • Add drained sabudana, broken rice, cinnamon stick, cardamom, cloves/garlic, and ginger paste. Mix everything well so that there are no lumps in the mixture.
  • Close the lid for around 12-15 minutes and heat the pan on low flame. After a few minutes, take the lid off, add the sabudana mixture and cook it from both sides until it is cooked completely.

4. Mushroom Brown Rice

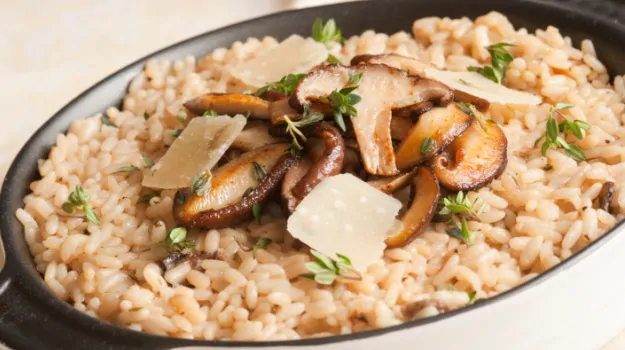
Mushroom Brown Rice

Your search for tasty gluten-free foods is about to end. Rice is a staple food easily available on almost every college campus. However, it can be quite an expensive option if your campus does not have a rice shop or you are buying it from outside the campus. Here’s how you can prepare this mushroom rice in your house:

Ingredients

  • Brown rice – 1 cup
  • Fresh mushrooms – 1 cup
  • A handful of spinach leaves (preferably organic)
  • A pinch of salt –  to taste  (adjust according to the saltiness level in the mushroom)

How To Make Mushroom Brown Rice?

  • Heat a pan and add mushrooms and spinach leaves to it. You can also use veg broth or vegetable stock if you do not have fresh spinach leaves.
  • Lower the flame and cover the pan for two to three minutes to complete the steaming process.
  • Once it is done, open the pan, add cooked brown rice, and salt to taste. Mix everything well, and then close the lid for a few more minutes.
  • Next, take out your rice from the pan into a bowl and serve hot with any sauce or gravy of your choice [serve it with ketchup]. You can also sprinkle some nuts on top of your rice for added taste if you want to avoid butter on top of this rice dish.

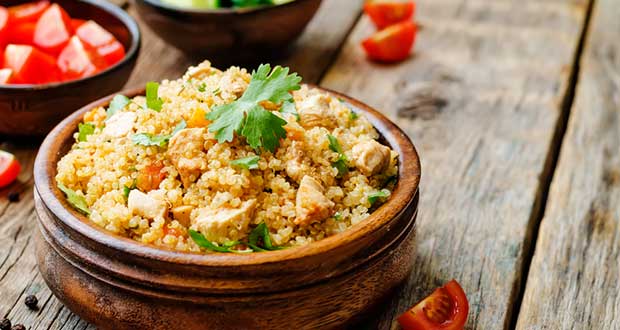
5. Chicken Quinoa Biryani

 Chicken Quinoa Biryani

This is a very common dish that most college students prepare at home. However, this recipe can easily be made instantly without much effort if you have quinoa in your pantry. This is one of the best Gluten-free foods that are super easy to make and are very healthy for your body.

Ingredients

  • Quinoa – 1 full cup
  • Fresh chicken – 180 gm
  • Ghee or oil – 2 tbsp (optional)
  • Mustard seeds – 1 tsp  (optional)  & 1/2 tsp cumin seeds (to add extra flavor to your dish)
  • Turmeric powder – a pinch  & a pinch of red chili powder (add this if you wish to add that spice taste to your rice)
  • Yogurt – one cup

How To Make Chicken Quinoa Biryani?

  • Heat oil in a pan and add a pinch of turmeric and red chili powder. Fry it for one minute. Now add chicken pieces along to it and mix well. Keep the flame low so that the chicken does not get burned.
  • Add 1 tbsp of mustard seeds to this mixture and 1/2 tsp of cumin seeds. Now fry everything together for around 5 minutes on medium flame till the quinoa starts changing its color and becomes crispy from both sides.
  • Add cooked quinoa to this mixture and mix well. Now add yogurt to this mixture and stir well. Cover the pan for five minutes.
  • After five minutes, add marinated chicken pieces to this mixture and close the lid. Once it starts boiling, turn off the flame and let it cool for some minutes.
  • Now, garnish this Chicken Quinoa Biryani and serve happiness and health with this delicious Biryani. You can pair up this amazing Biryani with raita for better taste.

So these are the five best Gluten-free foods that you can make at your home for lunch. You can now enjoy healthy eating with these delicious and simple without worrying about your gut health. These recipes have almost zero levels of Gluten and the most basic ingredients available in every kitchen.