Home Blog Page 23

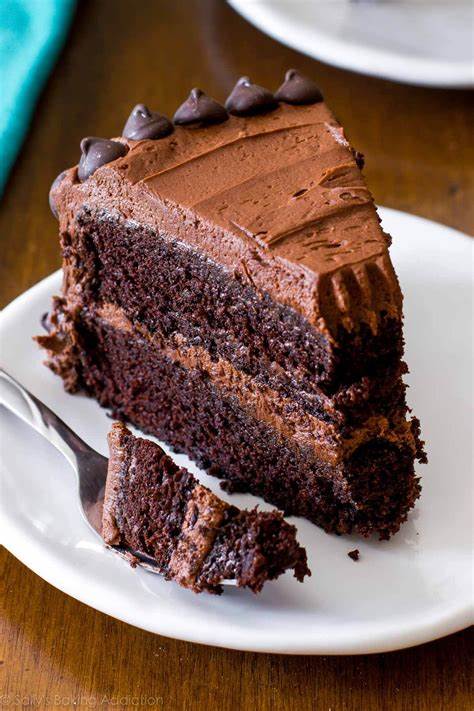
Chocolate Cake with Caramel Whipped Cream!

0

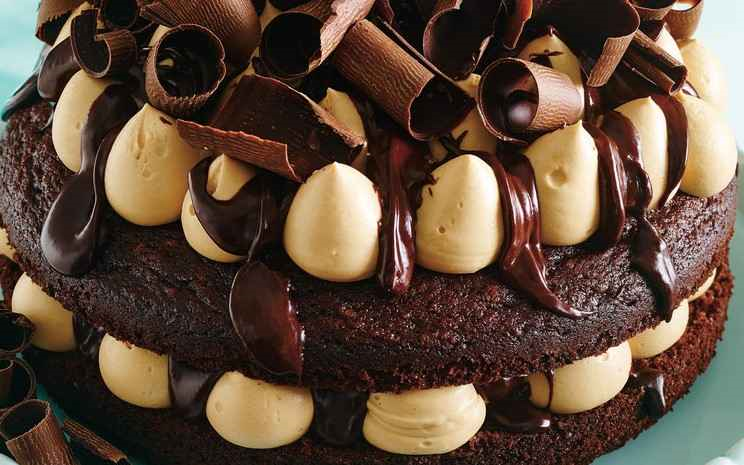
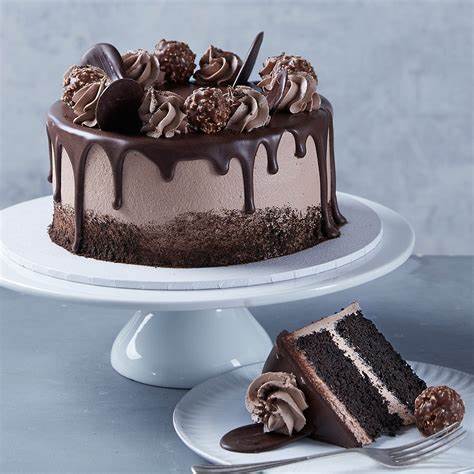
Caramel Chocolate Cake which is loaded with caramel, is the perfect cake for any gathering. A delicious from-scratch cake soaks up caramel for a moist and rich dessert that everyone goes crazy for.

This recipe calls for chocolate chips, but you can use coarsely chopped dark chocolate if desired. You can also use vanilla extract instead of extract from an almond butter jar. Add some sea salt on top to add even more flavor.

  • Prep Time: 30 minutes
  • Cook Time: 40 minutes
  • Total Time: 1 hour 10 minutes
  • Servings: 16 servings

Caramel Whipped Chocolate Cake

Moist layers of eggless chocolate cake are topped with handmade caramel topping and salted caramel frosting and served with caramel popcorn on the side. This caramel cake is dessert nirvana made of chocolate and caramel!

Also, just so you know, You don’t need a candy thermometer!

I can’t believe how far I’ve come. And before I even continue, I want to thank everyone who has read my blog, seen my videos and helped me along the way by being supportive. Thank you so much; without you, everyone, this wouldn’t be possible.

Returning to the recipe for Easy Chocolate Caramel Cake, also known as Chocolate Caramel Cake or Chocolate with Caramel Sauce. Damn!! I’m terrible at naming things. What would you call it, then?

How do you make Chocolate Caramel Cake?

  • Set the oven to 350°F. A 9×13-inch pan should be greased and dusted with flour.
  • Juice from one lemon combined with milk; keep aside. (The mixture will somewhat thicken.)
  • In a large basin, combine the flour, sugar, cocoa, baking soda, and baking powder.
  • Eggs, coffee, sour milk, oil, and vanilla should be added. Beat for two minutes at medium speed. Pour into the prepared pans. (At this stage, the batter might look runny, but it will bake up wonderfully.)
  • A toothpick inserted in the center of the cake should come out clean after 30 to 40 minutes of baking. To prevent overcooking, check the cake after 30 minutes.
  • After 15 minutes, take the cake out of the oven to cool.
ASSEMBLE:

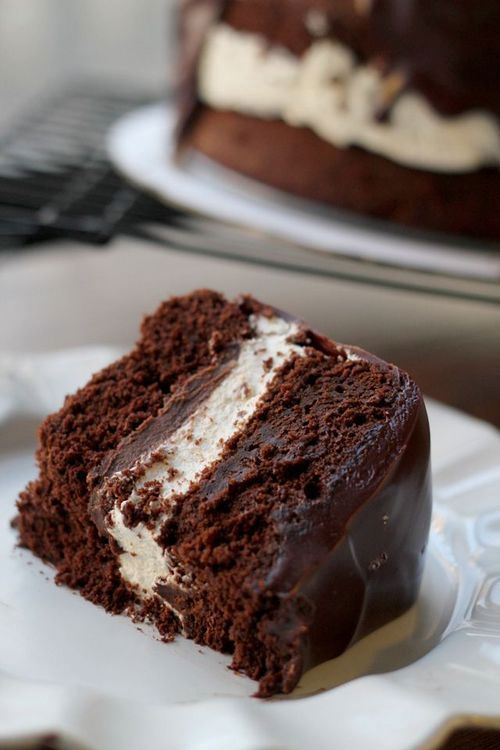
  • Make holes in the cake with the end of a wooden spoon all over it. Pour over the cake, letting the sweetened condensed milk and 3/4 of the caramel sauce soak into the holes.
  • Cover and chill for at least four hours (more time is preferable).
  • Add the remaining chocolate sauce, caramel sauce, and chopped chocolate over top.
Recipe Notes:

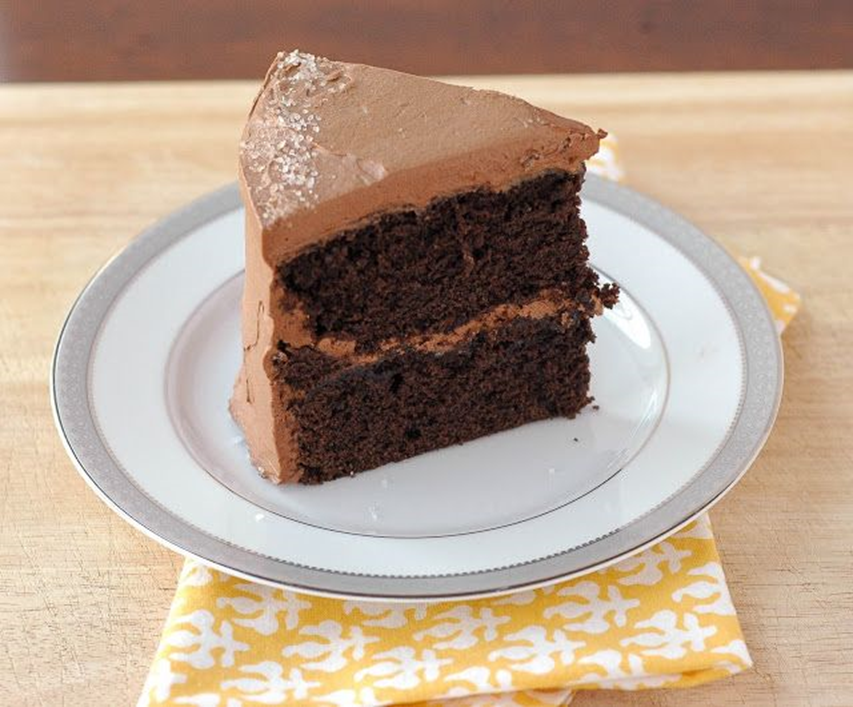
  • With the handle of a wooden spoon or a chopstick, make holes in the slightly cooled cake that are spaced about an inch apart.
  • Up to 24 hours before serving, finish the cake by adding the custard layer. Wait until right before serving to whip the cream and add the garnishes.
  • Use a whole can of condensed milk and one cup of caramel sauce to make a very saturated cake. This version is my preference, although my spouse loves the less saturated one. And because this is my blog, I guess I win:).

Storage: You can store the leftover cake in an airtight container for 2 to 3 days.

Freeze: Place the cake, unwrapped, in the freezer until the topping is well frozen. The cake should be wrapped in two layers of plastic wrap, one layer of aluminum foil, and one layer of a freezer-safe container. For up to three months, freeze.

Remove the plastic while it is still frozen and store it in a closed container in the fridge to defrost.
Nutrition Information:

  • Calories: 272 kcal
  • Carbohydrates: 46g
  • Protein: 4g
  • Fat: 10g
  • Saturated Fat: 7g
  • Cholesterol: 27mg
  • Sodium: 203mg
  • Potassium: 161mg
  • Fibre: 2g
  • Sugar: 23g
  • Calcium: 55mg
  • Iron: 1mg

To Conclude:

The recipe makes enough to serve 12 people, but you can easily halve it if needed. You can also get creative with all kinds of other flavors, such as vanilla or coffee.

If you try this recipe, please let us know. Please comment if you have questions about the recipe or want to share your version of the chocolate whipped cake. Don’t forget to share it with your friends and family; I am sure they’ll love it too.
MUST TRY: Sheet Pan Nachos: An easy and quick recipe

Chocolate Cupcakes Delicious Taste Recipe!

0

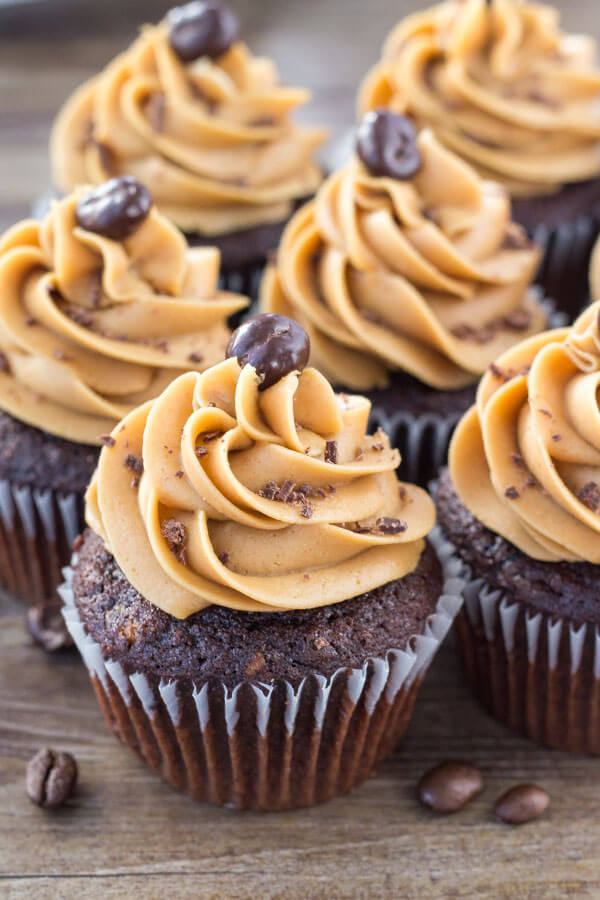
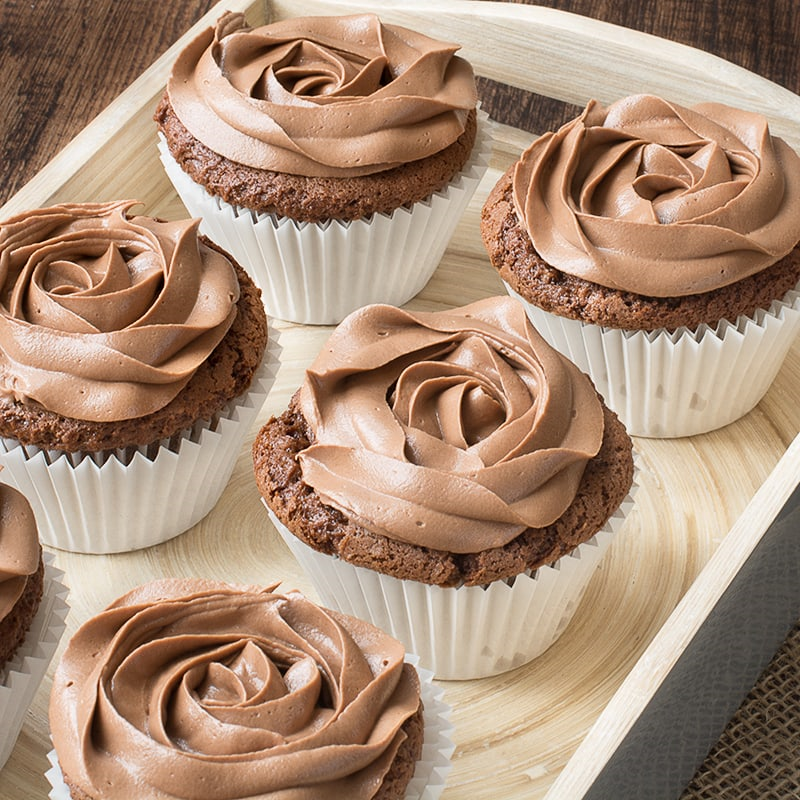
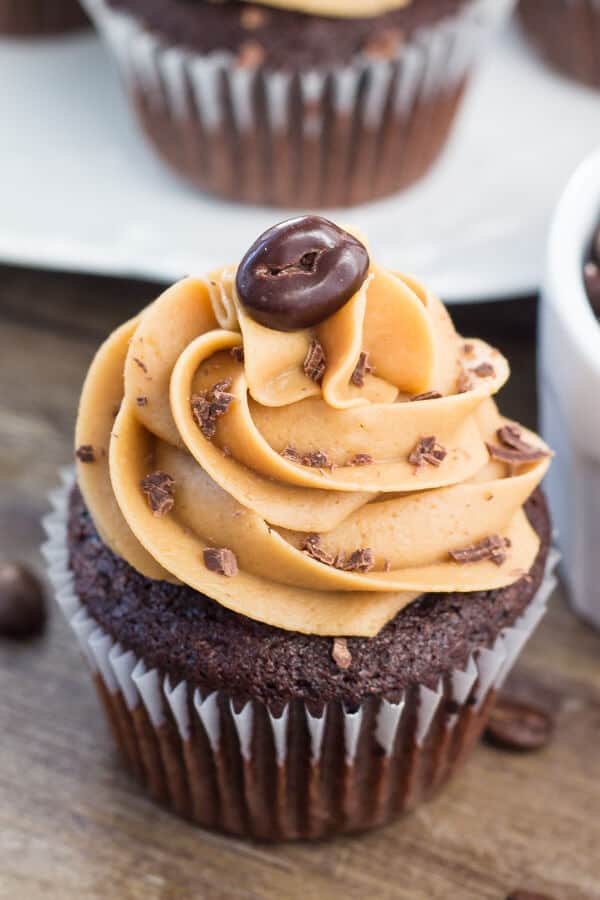
For the best chocolate cupcakes, use unsweetened cocoa powder and real butter. Add some vanilla extract for extra flavour and moisture. The chocolate cupcakes will be super moist and bursting with rich chocolaty flavour — and they’re so easy to make!

Frost these delicious chocolate cupcakes with buttercream or cream cheese frosting, or try royal icing or even whipped cream. You can also top them off with sprinkles or other small decorations if you want to add some fun colours to the mix.

  • Prep Time 20 minutes
  • Cook Time 15 minutes
  • Total Time 35 minutes 
  • Servings 18

INGREDIENTS:

  • 1 1/2 cups all-purpose flour
  • 1 cup granulated sugar
  • 1/3 cup natural unsweetened cocoa
  • 1 tsp baking soda
  • 1/2 tsp salt
  • 1 cup warm coffee
  • 1 Tbsp white distilled vinegar
  • 1/3 cup olive oil
  • 1 large egg
  • 2 tsp vanilla extract

HOW TO MAKE CHOCOLATE COFFEE CUPCAKES?

  • With the rack in the middle, preheat the oven to 350 degrees. Cupcake liners for a 12-count muffin tray should be used.
  • Mix the dry ingredients thoroughly, breaking up most of the cocoa clumps in a large mixing basin.
  • Combine wet ingredients in another mixing bowl.
  • Just until the ingredients mix together and there are no dry streaks left, pour the wet components over the dry ones and whisk to combine. There will be some loose and lumpy batter.
  • To portion out the batter, fill each cup 2/3 full (do not overfill). Use an ice cream scoop to accomplish this. Bake for 18 to 22 minutes (the ideal time was 20), or until a toothpick inserted in the centre of the cake comes out clean.
  • Transfer to a rack to entirely cool to room temperature before frosting after cooling in the pan for 5 minutes.

Nutrients Value:

  • Calories: 187 kcal
  • Fat: 7g
  • Cholesterol: 14mg
  • Sodium: 195mg
  • Potassium: 69mg
  • Carbohydrates: 30g
  • Fiber: 1g
  • Sugar: 17g
  • Protein: 3g
  • Calcium: 8mg
  • Iron: 1mg

Conclusion:

These super moist chocolate cupcakes pack TONS of chocolate flavour in each cupcake wrapper. Made from simple everyday ingredients, this easy cupcake recipe will be your new favourite. For best results, use natural cocoa powder and buttermilk.

If you try this recipe, please let us know. If you have questions about the recipe or want to share your version of chocolate cupcakes, please feel free to comment. Don’t forget to share it with your friends and family; I am sure they’ll love it too.
ALSO READ:- Best-ever Chocolate Brownie Recipe

POPSICLE & CHOCOLATE CEREAL TREATS

0

CHOCOLATE POPSICLE CEREAL TREATS IS A POOL SIDE PARTY IDEA

My favorite Chocolate Popsicles Cereal Treat. Yayyy, I wanted to try chocolate popsicles last year itself. But due to my lack of experience in making popsicles and demoulding them.

I was hesitant in experimenting with new recipes. So was sticking with the basic easy popsicle recipes.

Have been crazy after popsicles not that I like it to eat it. The making and demoulding part and to see the popsicles come out clean.

It would make me jump in joy. And coming to the clicking part, it is surely the most challenging to click popsicles at least for me.

CHOCOLATE POPSICLE CEREAL TREATS RESEARCH

I searched online for chocolate popsicles and decided to go on with my own creation. It came out so creamy and yummy.

I had just a few last spoons of Nutella so added it for extra yumminess 😉

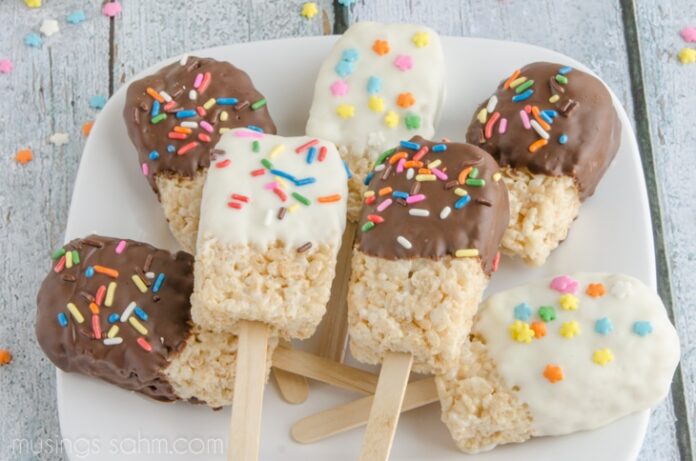
Whether you are throwing a pool party or just want to bring something tasty to your next cookout. These chocolate popsicle cereal treats are the sweetest summer dessert!

These rice cereal treats on a stick are the perfect pool party finger food. These are easy to transport and eat. It is hard to resist these fun pool party snacks. 

WHAT TO BRING TO A POOL PARTY

Deciding what to bring to a pool party potluck or what foods to make for your guests can be tricky.

But it is easier to decide if you consider the following tips:

  • Easy to eat. 
  • Serve foods in individual serving sizes so guests and easily grab and go.
  • Consider skipping utensils entirely by choosing foods. So that can be eaten on a stick or in one bite like this caramel puff corn.
  • Proper temperature.  
  • If your food is in the hot sun it won’t last very long.
  • If you are outside,  try to set up your food table in the shade or serve food indoors. 
  • Be sure to keep hot foods hot and cold foods cold.
  • Try to serve as many foods that keep well at room temperature.
  • It will largely help to avoid any potential issues like these chocolate chip cookie bars.
  • Bring on the color. 
  • A pool party is synonymous with  summer fun.
  • Try to choose colorful foods that are in season to make a food buffet .
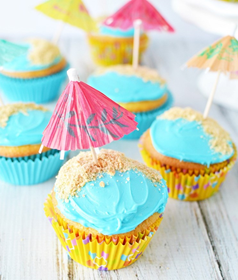
  • The buffet that catches the eye like this black bean corn salsa or these beach cupcakes. 
  • Add in playful touches with party supplies like food picks, napkins and cups that follow the theme.
  • Easy to transport.
  • If you are bringing your own food, choose something that does not fall apart easily and travels well without heat.
  • You can also try refrigeration, especially if you are traveling a long distance. 
  • A fresh fruit salad or these cereal treats on a stick are perfect for traveling.

INGREDIENTS FOR OUR CHOCOLATE POPSICLE CEREAL TREATS DESSERT

Only a few ingredients are needed to make this easy pool party snack that kids will love.

You can make the Rice Krispie cereal treats yourself but you can keep this chocolate popsicle cereal treat recipe. Even more simply by purchasing them instead.

The rectangle shape is the perfect size to make cereal treats that look like popsicles!

You’ll need:

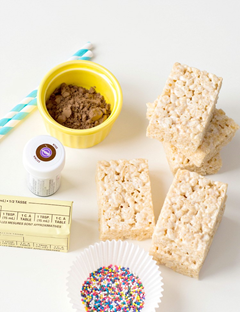
  • rice krispie treats (rectangle)
  • butter
  • powdered sugar
  • milk
  • brown food coloring
  • sprinkles
  • paper straws
  • decorating bag
  • Wilton Tip #8 (not required but recommend)

HOW TO MAKE CHOCOLATE POPSICLE CEREAL TREATS

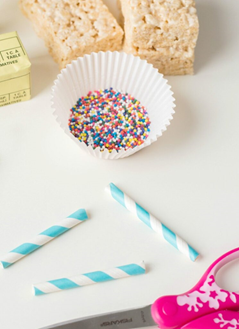
To start this pool party dessert you’ll need to cut your straws into thirds. You can choose to do a variety of paper straw colors or stick with one. You’ll only need three straws to make 12 treats.

Insert one straw at the bottom of each rice cereal treat.

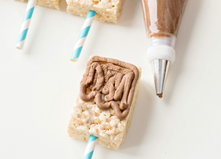
Using an electric mixer, beat together butter, confectioners’ sugar, cocoa powder, and milk. Once your buttercream starts to form and is smooth with semi-stiff peaks.

Add some brown gel food coloring to make the color richer. Mix until completely combined.

Scoop your buttercream into a piping bag with Wilton frosting tip #8 attached. If you don’t have that tip you can use a similar-sized round tip. Or you can simply cut a small at the end of your decorating bag.

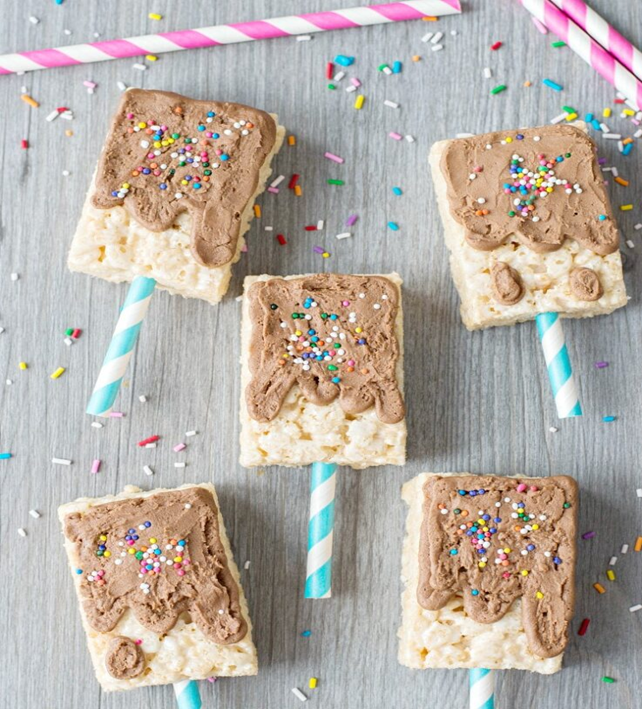
Frost the top of each rice cereal treat. Then covering it almost in its entirety:

pipe out the bottom so that it looks like it’s “dripping.”

You can even add some “drops” if you’d like! 

Use a metal spatula to smooth out the buttercream frosting.

Sprinkle each cereal treat and press down slightly so the sprinkles don’t fall off.  That is all there is to making these fun kids pool party treats.

Pool Party Cereal Treats

Keyword 

  • cereal treats on a stick,
  • finger foods,
  • no bake dessert,
  • party food, pool party birthday party,
  • pool party dessert,
  • summer party food 

Prep Time 20 minutes 

Servings 12 

Ingredients for Chocolate Popsickle Cereal Treats

  • 12 rice cereal treats purchased or homemade and cut into rectangle
  • 4 paper straws
  • 1/2 cup butter softened
  • 2 cups confectioners’ sugar and 2 tablespoons cocoa powder
  • 2 to 3 tablespoons milk
  • brown gel food coloring
  • sprinkles

Instructions

  1. Cut your straws into thirds. Insert one straw at the bottom of each rice cereal treat.
  2. Using an electric mixer, beat together butter, confectioners’ sugar, cocoa powder and milk.
  3. Once your buttercream is smooth and forms semi-stiff peaks, add a small amount of brown gel food coloring. Mix until completely combined.
  4. Scoop your buttercream into a piping bag with Wilton frosting tip #8 attached.
  5. Frost the top of each rice cereal treat, covering it almost in its entirety. Pipe out the bottom so that it looks like it’s a dripping popsicle. You can even add some “drops” if you’d like!
  6. Use a metal spatula to smooth out chocolate buttercream.
  7. Sprinkle each cereal treat, pressing down gently to ensure the sprinkles don’t fall off.
  8. Store in airtight container until ready to serve.

Chicken Tortilla Soup, how to make it?

0

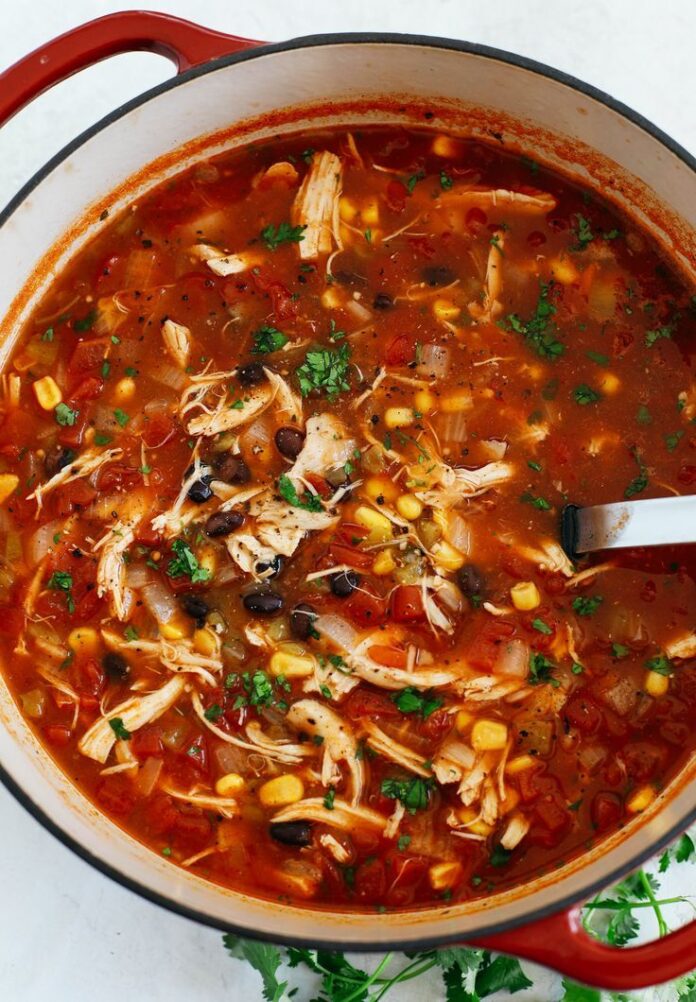
If you’re looking for a delicious, healthy recipe that is quick to make and very filling, then this chicken tortilla soup with shredded chicken, black beans and corn is just what you need. It’s garnished with chopped fresh avocado, Monterey Jack cheese, crushed tortilla.

Tortilla soup can be served warm or cold. If serving it warm (which we recommend!), simply add everything into a pot and simmer until the veggies are soft. Once they’re soft add the shredded chicken breasts and cook them until they reach an internal temperature of 165° F (73° C). The whole process should take about 30 minutes total — which means that if you start now you’ll have dinner ready by 8pm tonight!

YIELDS:12 servings

PREP TIME:0 hours 10 mins cook

TIME:5 hours 0 mins total

Chicken Tortilla Soup

Ingredients:

  • 1 Tbsp olive oil
  • 1 medium onion
  • 3 garlic cloves
  • 1 jalapeno pepper
  • 1 tsp ground cumin
  • 1 tsp chili powder
  • 1 lb chicken breasts
  • 20 oz can crush tomatoes
  • 32 oz chicken broth 
  • 14 oz can black beans
  • 14 oz can corn
  • 1/2 cup cilantro
  • 1 lime
  • 1 tsp salt

Garnishes:

  • Diced avocado
  • Diced red onion
  • Sour cream
  • Chopped cilantro

How to make Chicken Tortilla Soup:

  • Heat up an oil-filled saucepan over medium-high heat. As the vegetables soften, add the chopped onion, garlic, and jalapeno.
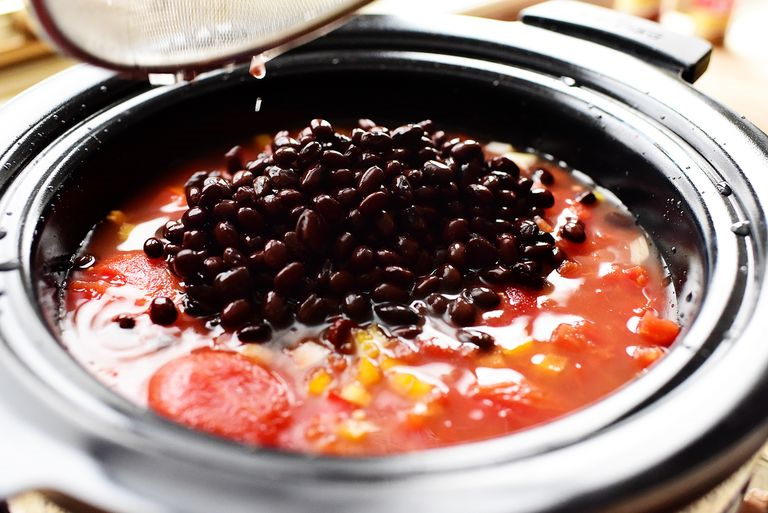
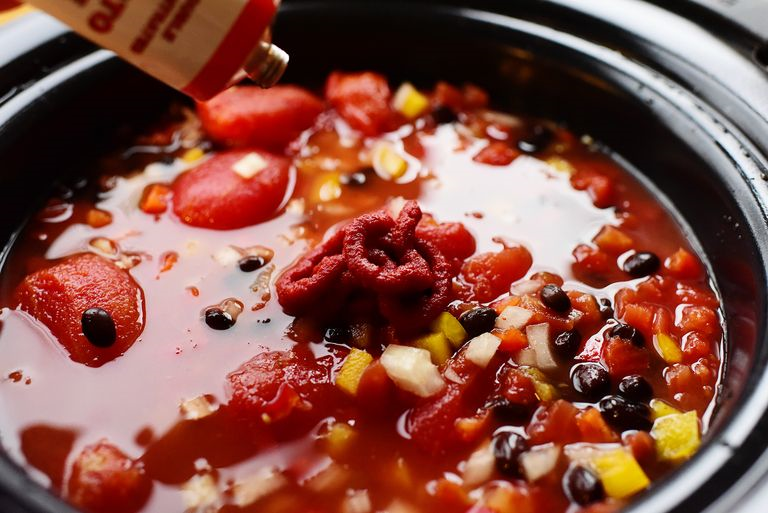
  • Combine entire chicken breasts with corn, beans, cumin, smashed tomatoes, salt, 1/4 cup cilantro, chili powder and chicken broth. Boil for a minimum of 25 minutes before simmering.
  • Use two forks to shred the chicken after removing it from the saucepan. Re-add the chicken to the soup, simmer for an additional five minutes, and then stir in the lime juice.
  • Along with some tortilla chips, chunks of avocado, fresh cilantro, and lime wedges, serve the soup.

Nutrition Facts

  • Per Serving: 377 calories
  • Protein: 23.1g
  • Carbohydrates: 30.9g
  • Fat:19.1g
  • Cholesterol:46.1mg
  • Sodium: 943.2mg

To Conclude!

This recipe makes about 6 cups of soup, which you can store in the refrigerator for up to five days or freeze for later use. It’s a great way to use leftover chicken from holidays or other occasions when people bring food over.

In addition to being delicious and easy-to-make, this soup is full of nutrients that are important for health. The black beans provide fiber as well as protein and iron that support heart health; the avocado provides healthy fats; and the corn provides vitamins A and C as well as potassium (which helps regulate blood pressure).

If you try this recipe, please let us know. Please comment if you have questions about the recipe or want to share your version of chicken tortilla soup. Don’t forget to share it with your friends and family; I am sure they’ll love it too.
MUST TRY: Best mac and cheese recipe for thanksgiving evening

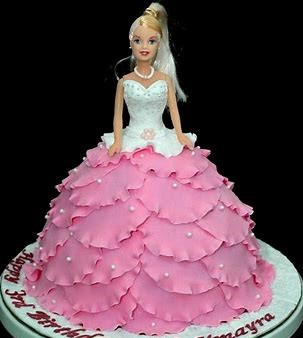
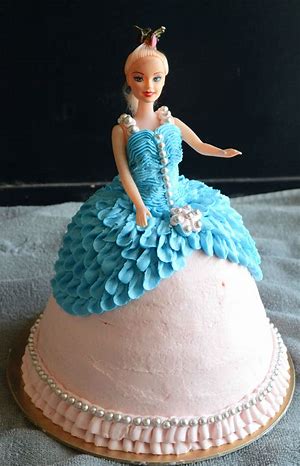
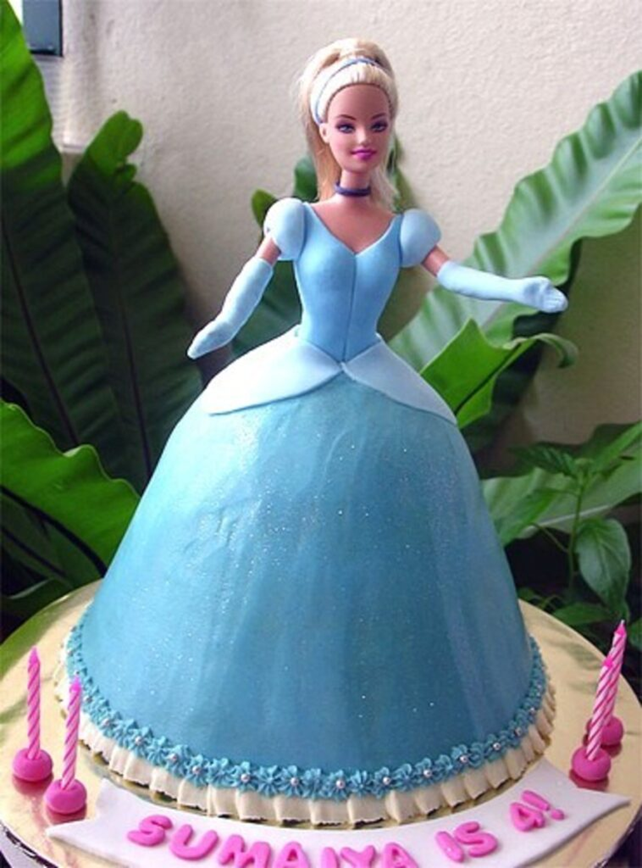
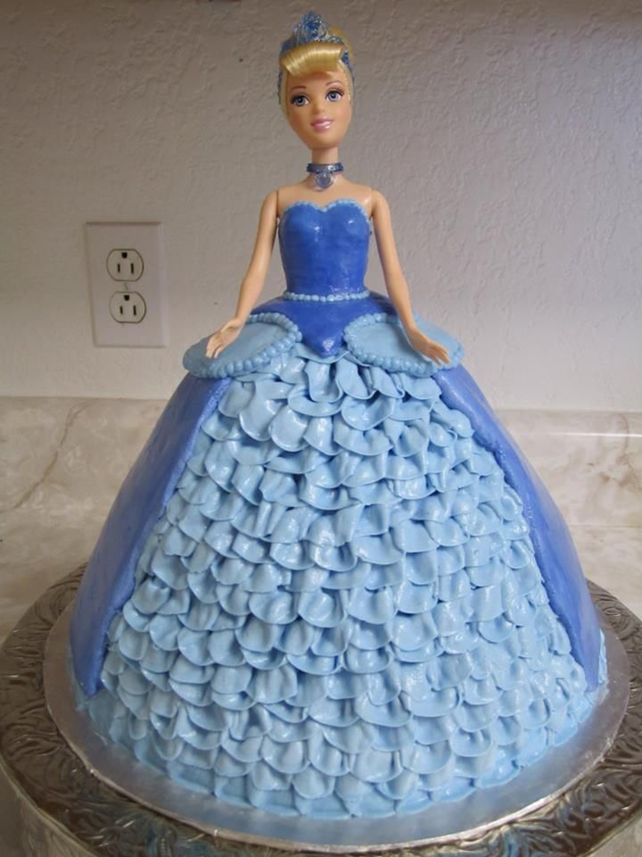
Barbie Doll Cake, wondering how to bake it?

0

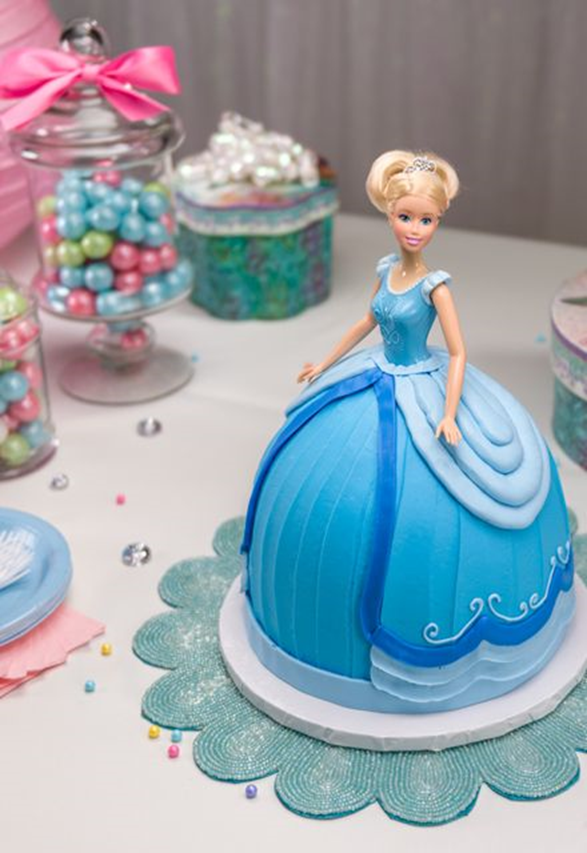
3D BARBIE DOLL CAKE IS FIT FOR A PRINCESS !

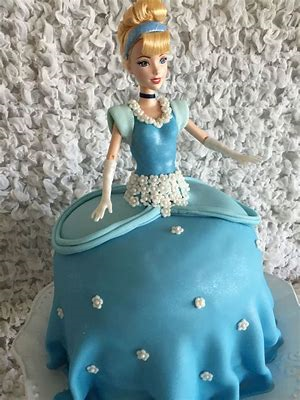
The 3d Barbie Doll Cake is beautiful and delicious. If you have a very special birthday coming up for a little girl, a beautifully decorated cake can help make your girl feel like a princess.

A princess cake is easy to make, but it will look like you commissioned a professional baker to prepare it!

When we do birthdays in our house we like to do them BIG! And while it may look difficult, even time-consuming, I can promise you, it’s something you can do yourself with just a little dedication and practice.

For me, it’s all about the practice part which is why I started by making a 3D Doll practice cake. In that post, you’ll find the steps I took to make this fun little cake.

Ingredients for Barbie Doll cake

  • 2 boxes of cake mix
  • Water (amount called for on the cake batter box)
  • Vegetable oil (amount called for on the cake batter box)
  • Eggs (amount called for on the cake batter box)
  • Your choice of frosting
  • Food coloring (optional)
  • Edible cake decorations (optional)
  • A fashion doll (approximately 11 ½ inches tall)

Making The Cake Bases for 3D Barbie Doll Cake

Mix the cake batter

  • Depending on your chosen cake base, follow the recipe and directions on the cake box to make the cake batter.
  • Be sure you have all the necessary ingredients that the recipe calls for.
  • Both boxes of cake batter can be made at the same time, but don’t increase the beating time.
  • Don’t make more than two boxes of cake batter together.
  • If you plan to make more cake batter, prepare them in separate batches

Prepare your cake pans and bowl

  • Preheat the oven to 325°F.
  • Grease your three, round, 8-inch wide cake pans and one, 8-inch wide, 1½ quart ovenproof glass bowl,
  • Rubbing the inside of the pans and bowl with approximately ½ tablespoon of vegetable shortening.
  • Sprinkle flour over the coated pans and bowl, and tap out any extra flour.
  • The bowl will function as a cake pan for the top portion of the cake, which will be rounded, and serve as the top of the princess’ dress.
  • The width of the bowl should relatively match the width of your cake pans.
  • A same sized bowl will make the cake alignments a lot more uniform.
  • Don’t use cooking spray to grease the pans.
  • When the cake batter is mixed and the pans and bowl are ready.
  • Pour 3¼ cups of batter into the ovenproof bowl, and split the remaining cake batter amongst the three remaining cake pans.
  • There will be a little less than 2 cups for each remaining cake pan.

Bake the cakes 

Bake the pans together in the oven for about 23 – 30 minutes and bake the bowl separately for about 47 – 53 minutes. 

  • The bowl cake will be completely baked when you can insert a toothpick into the cake, and it comes out clean.
  • Allow the cakes to cool for about 10 minutes before you turn them over and remove them from their baking containers.
  • Let the cakes cool completely for about 45 minutes – 1 hour before you start working with them.
  • Allowing the cakes sufficient enough time to cool will help them crumble less as you cut and frost them.

Level off the tops of the cakes

  • Use a large, serrated knife to slice off the very top portion of the various cake layers.
  • You should only be slicing off about ¼ inch of cake from the different cake layers.
  • This leveling off of the cake layers will help the cakes stick together when you frost and stack them.
  • Cut the bowl cake layer in half, horizontally to make two even portions.
  • Consider using a spinning pedestal to rotate the bowl cake as you cut through the middle of the cake.

Prepare your frosting 

  • You can decorate your cake with colored, commercial frosting, white, commercial frosting dyed.
  • With food coloring to the color of your choice, or you can make your own frosting.
  • Buttercream frosting is a very popular and common frosting choice for homemade cakes.  
  • Whichever you prefer, have approximately 4 – 5 cups of frosting mixed and ready to be used in a separate bowl.
  • The frosting amount really depends on how much frosting you plan to use on your cake.
  • But it also allows for enough extra frosting to decorate and pipe the rest of the cake.
  • For a typical frosting formula, consider doubling the recipe.
  • If you plan to purchase white, commercial frosting and dye it with food coloring, you will only need a couple drops of food coloring to change the color of the frosting.
  • For example, if you want to dye white frosting green, consider adding one drop of blue dye, and two drops of yellow dye.
  • Start will less dye, and build upon it.
  • You can always add more dye to darken the shade of the frosting.

Frosting The 3D Barbie Doll Cake    

Cut holes in the middle of the cake layers 

  • Use a pastry cutter to cut a 1¾ diameter hole into the center of all the different cake layers.
  • Simply place around 1¾ diameter pastry cutter on the center of a cake layer, and push the cutter down through the cake.
  • Gently pull the pastry cutter up from the cake, and remove the cake portion in the center of the cutter.
  • Continue to cut a hole in the center of all the cake layers.
  • These center holes are where the princess doll’s legs will fit into the cake.

Frost and stack the cake layers.

  • Place a cardboard round (the same size as your cake) underneath your cake before you start frosting and decorating it.
  • That way, the cardboard can easily be moved when you’re ready to present your cake.  
  • Also, consider placing the cardboard round and the cake on a spinning pedestal, so it’s easier to manipulate as you decorate and frost the cake.
  • When you’re ready to frost, scoop a dollop of cake frosting (about 1/3 cup), and use a knife or an offset spatula to evenly spread out the frosting on top of the cake.  
  • Place another cake layer on top of the frosting, with the cut off, leveled surface of the cake layer facing down.
  • Again, use your spatula to spread out a thin layer of frosting on top of the cake.
  • Keep stacking the layers of your cake until you place the final, rounded bowl cake layer on top.
  • Once all the cake layers are “glued” together with the frosting, cover the entire cake with a preliminary crumb coat layer of frosting.

Spread out a frosting crumb coat

  • Scoop up dollops of frosting, and spread them out all over the entire cake.
  • Use your offset spatula to smooth out the frosting around the cake.
  • You could also try using a piece of paper to smooth out the crumb coat.
  • Curve a piece of paper cut into an approximately 2-inch wide strip, and curve the paper to follow the shape of the cake.
  • Place the piece of paper at the bottom of the cake.
  • Tilt and draw the paper up the side of the cake to the top, so the paper drags along the cake frosting.
  • Wipe off any excess frosting on the side of the frosting bowl.
  • Continue to smooth out the frosting around the rest of the cake.

Place the cake in the freezer

  • Place the frosted cake in the freezer for about 45 minutes to harden the crumb coat.
  • Make it easier to add the final frosting layer on top of the crumb coat.

Spread the final coat of frosting on the cake

  • After the cake has had time to set in the freezer, continue to add frosting (one large dollop at a time) to the cake.
  • Use your offset spatula to evenly spread out the frosting all over the cake.
  • Use gentle, steady, even strokes to distribute the frosting all around the cake with your offset spatula.
  • Try to make sure there are no thin areas of the frosting that expose any cake base.
  • You can use the same paper dragging method suggested to even out the crumb coat, to even out the final layer of cake.
  • Simply curve a piece of paper at the base of the cake to match the cake curvature.
  • Hold the paper from the two bottom corners.
  • Softly drag the edge of the paper over the frosting as you pull the paper up toward the top of the cake.
  • Having the cake on a spinning pedestal as you.
  • Add your final layer of frosting can really help make the application process easier.
  • You can spin the pedestal as you keep your offset spatula still to create an even spread of frosting.

Texturize the frosting

  • Along with the paper technique to smooth out the frosting.
  • You can also use your spatula to create patterns in the frosting.
  • Consider using the tip of your spatula to gently press into the frosting.
  • Create vertical lines along with the cake or little swirl marks, mimicking dress fabric detailing.

Finishing The 3D Barbie Doll Cake

Place the barbie doll in the center of the cake

  • Undress the princess doll, or use plastic wrap to cover and protect the princess’ clothing.
  • Lift up the doll’s arms so they don’t poke into the cake.
  • Place the doll into the center of the cake.
  • Be careful not to let the princess’ hair touch the rest of the cake frosting.
  • If her hair is too long, consider also wrapping her hair in plastic wrap.
  • Use a little bit more frosting to fill in and cover the center hole of the cake.

Decorate the cake with frosting 

  • If you have a couple of pastry bags and different shaped frosting tips.
  • You can add and pipe frosting designs around the cake (which is now the dress of the princess) with different colored frosting.
  • Consider adding frosting detail around the princess’ waist to cover up any imperfections.
  • Always squeeze out a bit of frosting from your pastry bag to clear out any air pockets.

Decorate the cake with candy

  • If you don’t have different colored frosting or pastry piping materials. You can simply use edible cake decorations and candy pieces to design and embellish the princess cake.
  • Consider using colored sugar sprinkles, jellybeans, or other small, decorative candies to accent the princess’ dress.

Present the Barbie Doll Cake

  • Use your cleaned offset spatula to slide underneath the cardboard round.
  • And transfer the princess cake onto to a clean serving platter a little larger than the size of the cake. Be very careful not to knock off or smear any frosting or decorations when transferring the cake.


Rum Balls with Chocolaty Touch: How to Make?

0

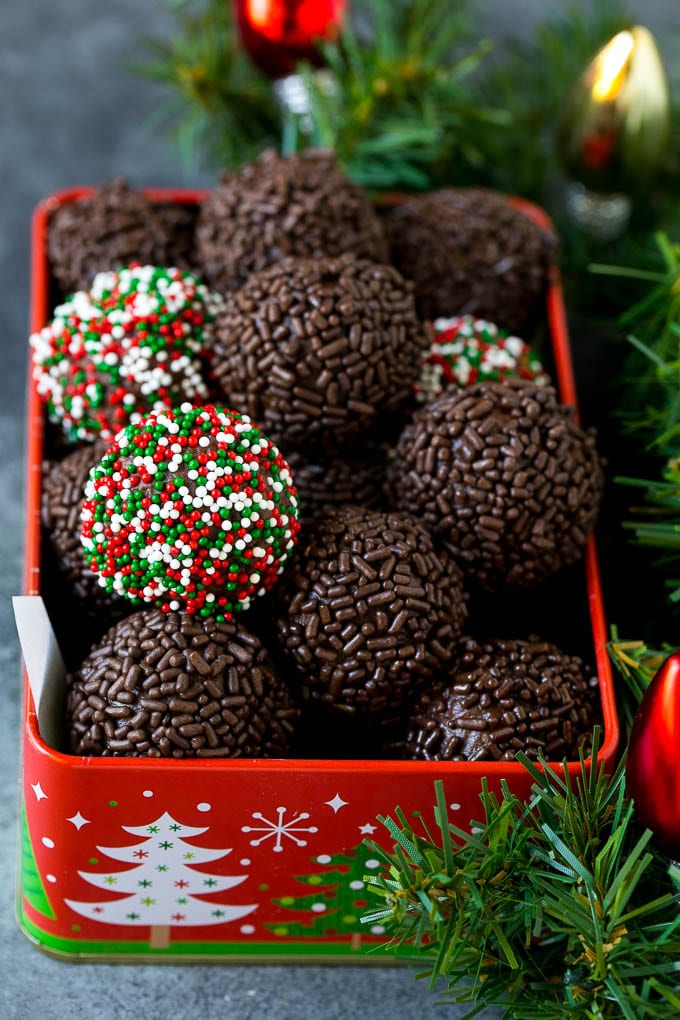
CHOCOLATE RUM BALLS WITH NO-BAKE ?

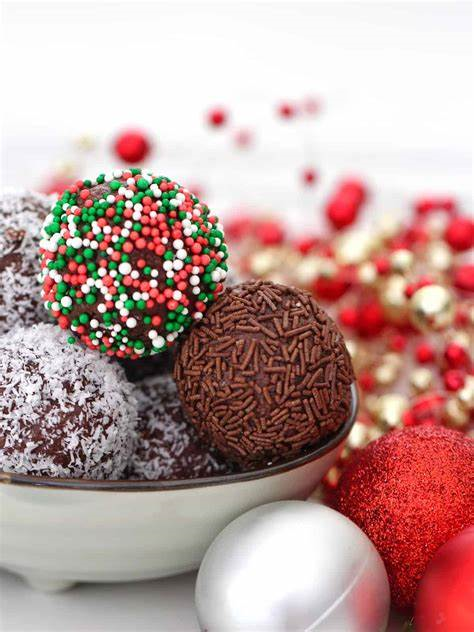
Rum Balls are a perfect truffle-like confection. Rich and decadent, you won’t be able to resist these no-bake chocolate rum balls! Whether you make them yearly as part of your holiday baking tradition or just have a chocolate craving, you can’t go wrong with this traditional sweet.

No-bake chocolate rum balls are the perfect way to add some chocolate goodness to your holidays. Yet without investing much time. 

I wish I could take credit for these beautiful rum balls but this recipe is actually from Sian Cox. She said they taste just like the ones her British grandmother used to make. These chocolate rum balls have a definite rum flavor but it’s not overpowering.

INGREDIENTS TO MAKE CHOCOLATE RUM BALLS

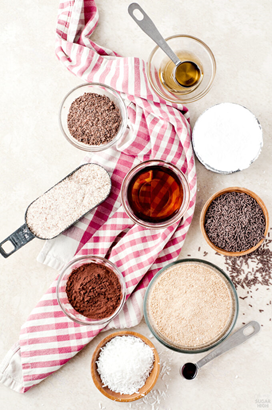
To make these no-bake rum balls you’ll need the following ingredients:

  • graham cracker crumbs
  • ground almonds
  • powdered sugar
  • cocoa powder
  • bittersweet chocolate
  • dark rum
  • agave syrup
  • vanilla
  • chocolate sprinkles
  • shredded coconut

HOW TO MAKE RUM BALLS ?

Some balls are made with cookie crumbs but this one has a graham cracker base.  You’ll want to have very finely ground crumbs. So you’ll want to use a food processor to break down your graham crackers and almonds or you can save time and buy them already ground.

Using a whisk to gently combine your dry ingredients is a good way to make sure your mixture is evenly incorporated.

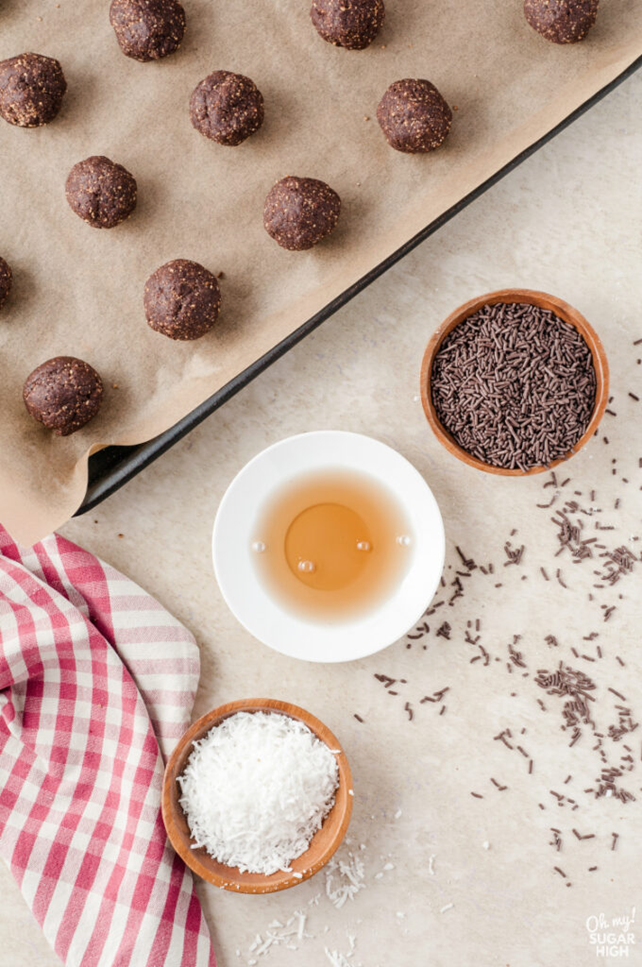
Next, you’ll want to stir in your wet ingredients, including vanilla, agave syrup, and 1/3 cup of rum. So, now shape your mixture into round balls by rolling it over your palms. Therefore, a cookie scoop works great for size and creating evenly sized balls.

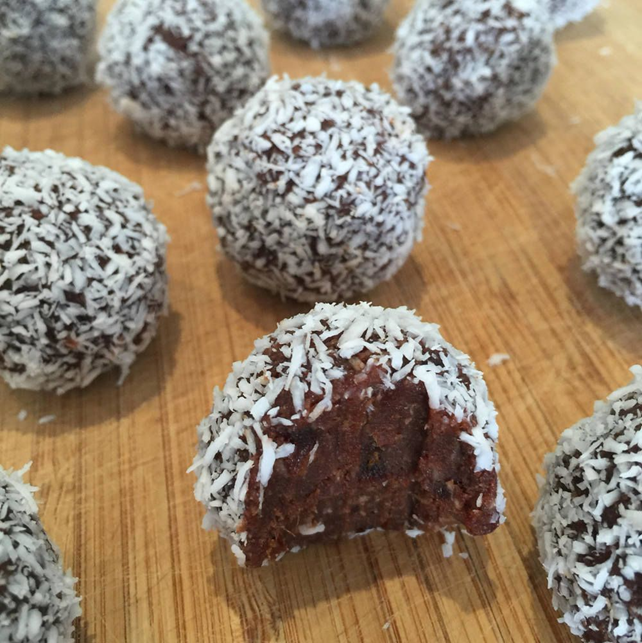
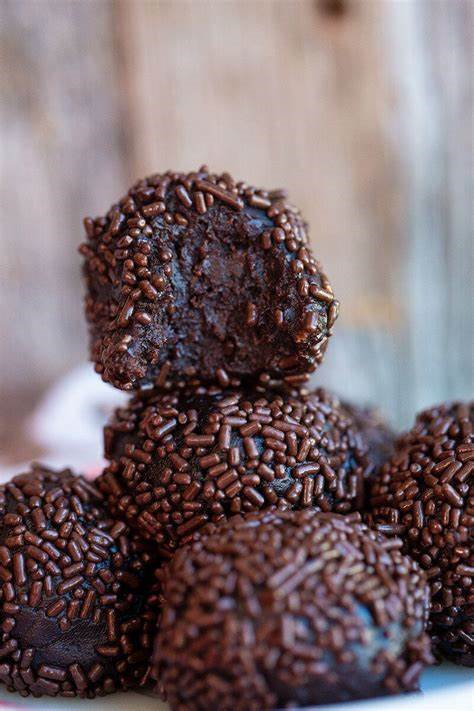
Chocolate sprinkles (jimmies) and shredded coconut are common but you can also use powdered sugar, cocoa powder, finely chopped nuts, or more colorful sprinkles if preferred.

Roll each ball in the rum and then in the sprinkles or coconut.

Place back on the lined tray allow to dry, then chill for an hour.

Serve chilled or at room temperature, although I prefer chilled. To make them more festive you can place your rum balls in holiday mini baking cups before serving. These aren’t gooey like some balls but they aren’t dry either.  These balls can be kept refrigerated in an airtight container for a couple of weeks and then are super easy to transport.

Rum Balls

Chocolate rum balls are the perfect holiday indulgence Hence, made from graham cracker crumbs, this no-bake dessert is a great addition to your holiday gathering and easy to transport.

Give this decadent confection a try!   

Course Dessert 

Keyword candy, chocolate balls, Christmas, Christmas baking, Christmas dessert, coconut candies, holidays, homemade candies, no-bake dessert, no-bake balls

Prep Time 20 minutes 

Chill 1-hour

Servings 20 balls.

Ingredients to USE

  • 1 cup graham cracker crumbs
  • 1 cup ground almonds and powdered sugar
  • ¼ cup cocoa powder
  • ¼ cup bittersweet chocolate grated
  • 1/3 cup dark rum2 tablespoons dark rum
  • 2 tablespoons agave syrup
  • 1 teaspoon vanilla
  • ½ cup chocolate sprinkles
  • ½ cup shredded coconut

Instructions to BAKE

  • Line a baking tray with parchment paper. Set aside.
  • In large bowl, whisk together graham cracker crumbs, cocoa powder,  powdered sugar, ground almonds, and chocolate shavings.
  • Stir in the vanilla, agave syrup and 1/3 cup of rum.
  • Chill for 15 minutes.
  • Scoop out about a level tablespoon amount of dough for each ball. Roll the dough into even size balls using the palms of your hands. Place on the lined tray.
  • Pour the additional rum into a shallow bowl and then pour sprinkles and coconut onto separate small bowls or plates.
  • Roll each ball in the rum and then in the sprinkles or coconut.
  • Put back on tray and allow to dry.
  • Chill for an hour. Serve chilled or at room temperature. Store in an airtight container in refrigerator for up to two weeks.

Keep updated with more savory Chocolate recipes. Enjoy eating & cooking!

Air Fryer Apple Chips Recipe!

0

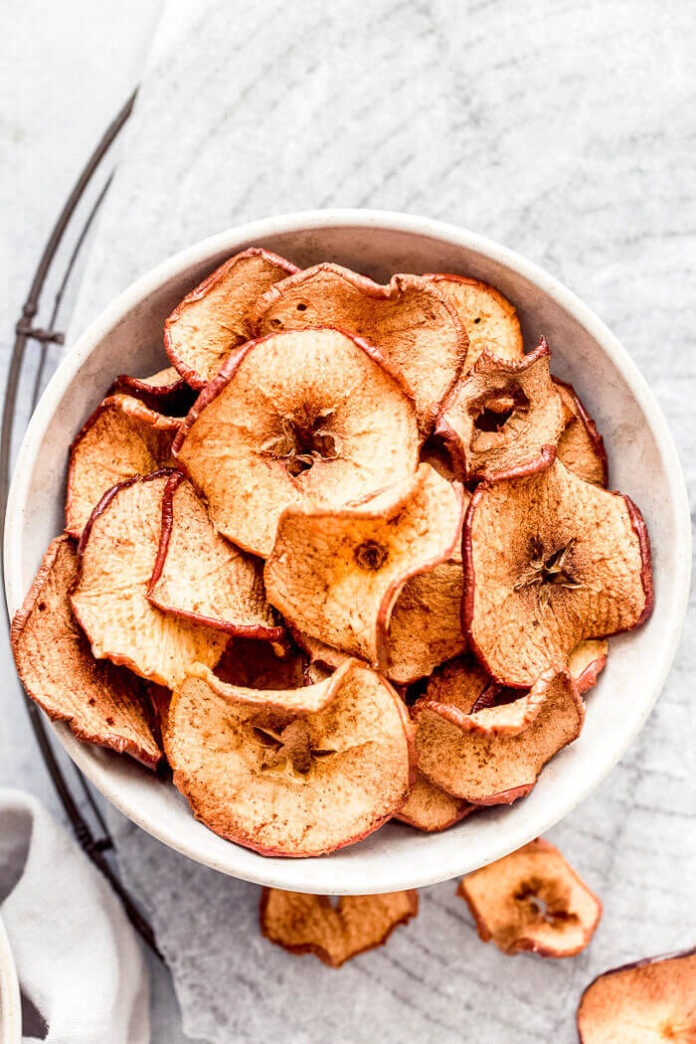
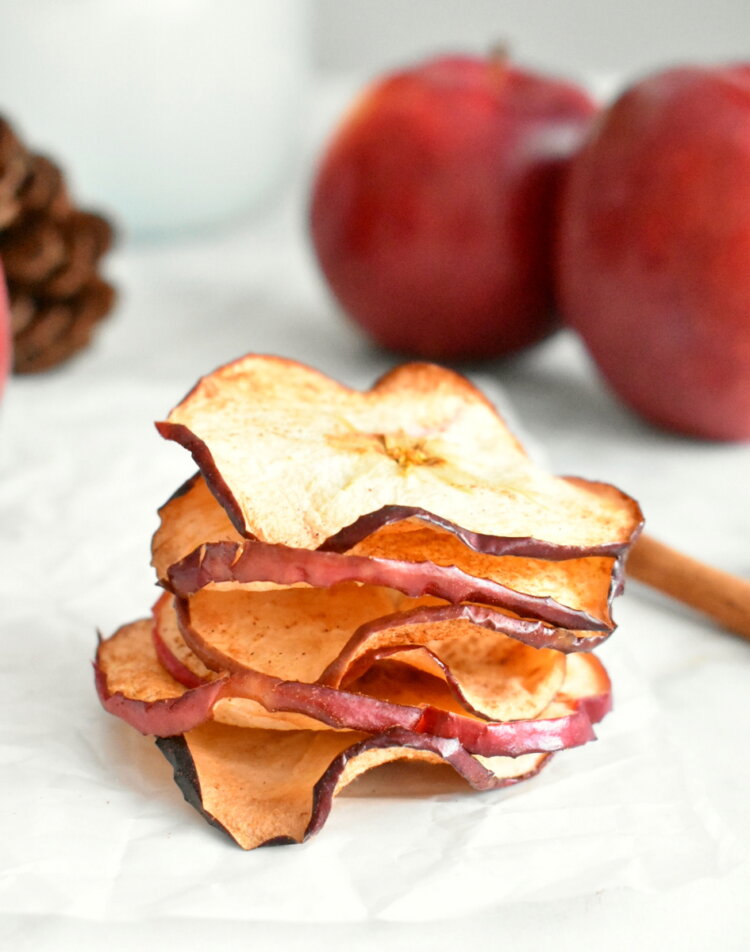
These air fryer apple chips are a healthy and delicious snack option, which can be made easily in the air fryer. They’re a great way to use Fall apples, and this recipe is a family favorite.

The secret ingredient here is fresh lemon juice—it gives these apple chips an incredible burst of flavor. If you don’t have any lemons on hand, try another mild citrus like orange or lime. Likewise, if you don’t have an air fryer but still want to make these sweet-and-salty snacks, simply bake them at 350 degrees for about 20 minutes (or until they’re done).

Ingredients:

  • 3 large sweet crisp apples, such as Honeycrisp
  • 3/4 teaspoon ground cinnamon
  • a pinch of salt

How to Make Apple Chips in the Air Fryer

  • The first step is to wash and dry the apples. Once they have dried, slice them into thin, 1/8-inch-thick slices using a mandolin or a sharp knife.
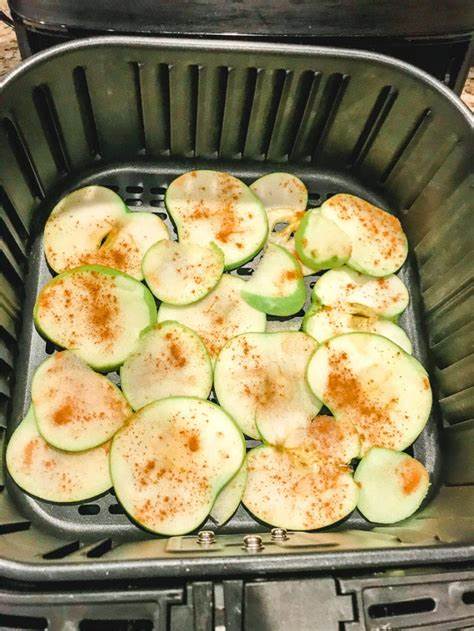
  • Apple slices should be arranged in a single layer in the air fryer basket after being sprinkled with a teaspoon of cinnamon.
  • Set the oven to 380 degrees Fahrenheit and give them 8 to 10 minutes to roast after they are in the basket.
  • At the five-minute point, flip the slices. Allow the slices to crisp for at least five minutes. The ideal rest period is 15 to 30 minutes.

Tips for the Best Chips 

  • You have to use the freshest apple you can find in your nearest market. You can easily find good apples at a farmer’s stand or a local supermarket store.  
  • Use a mandolin to obtain the thinnest, most uniform slices possible. The next best thing if you don’t have one is a sharp knife.
  • To ensure that the apples cook at the same rate, you should slice them equally. Put similar-sized slices in the same batch if you wind up with uneven slices. The slices will be air-fried in two batches.
  • Before eating, let the apples cool on the wire rack for 10 to 20 minutes. While chilling, they’ll keep getting crisper.
  • Make pear chips using this recipe; same steps, different taste.
  • Depending on the apple you used, the chips’ color will vary. The color of the apples lightens as they get crisper. Crisp apples produce dark chips.
  • You may eat them on your own or mix them with yogurt, cereal, oatmeal salads, or other foods. Attempt dipping them in sauces and dips as well!
  • After cooling, immediately place the apple chips in an airtight container. They will begin to soften if you leave them out in the open for too long.
  • For up to five days, store them at room temperature. Although they won’t be as crispy, they are still tasty.
  • It could take some practice to get the ideal temperature for air fryers because they range in temperature. Use a lower temperature the following time if, at 350 degrees Fahrenheit, the apple chips burned.
  • Apple slices should be thicker.
  • Approximately 3 to 4 times more regularly, check the apples. Remove the ones that have already been prepared.

Nutrition Content:

  • Calories: 100 kcal
  • Carbohydrates: 27g
  • Protein: 1g
  • Fat: 1g
  • Saturated Fat: 1g
  • Polyunsaturated Fat: 1g
  • Sodium: 2mg
  • Potassium: 203mg
  • Fiber: 5g
  • Sugar: 19g
  • Vitamin A: 104IU
  • Calcium: 31mg
  • Iron: 1mg

Conclusion:

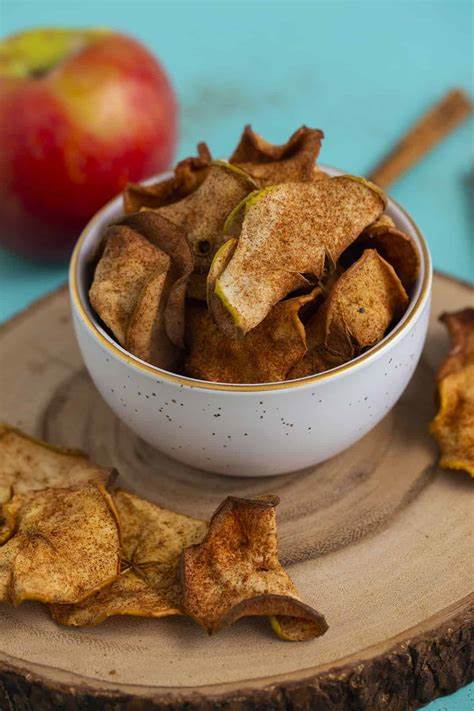
Cinnamon Apple Chips are a healthy and delicious snack, made easily in the air fryer. They’re a great way to use Fall apples, and this recipe is a family favorite.

The kids will love these cinnamon apple chips because they’re so easy to make — and so delicious! All you need is an apple (or two), some olive oil (or canola oil), and some cinnamon.

If you try this recipe, please let us know. If you have questions about the recipe or want to share your version of the apple chips, please feel free to comment. Don’t forget to share it with your friends and family; I am sure they’ll love it too.
MUST TRY: Make these classic Italian Pizzelle Cookies in just no time

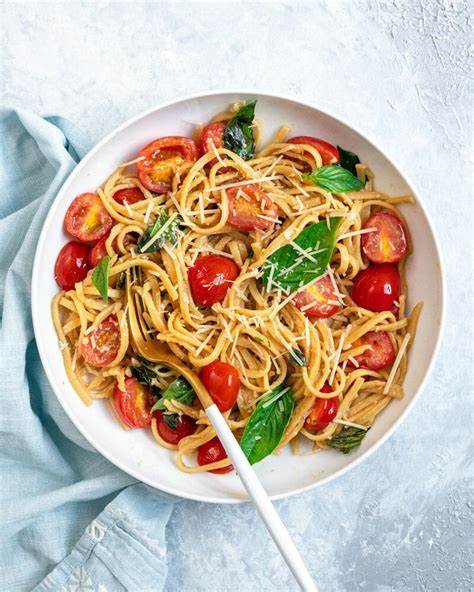
Pasta Recipe: Made from Cherry Tomato

0

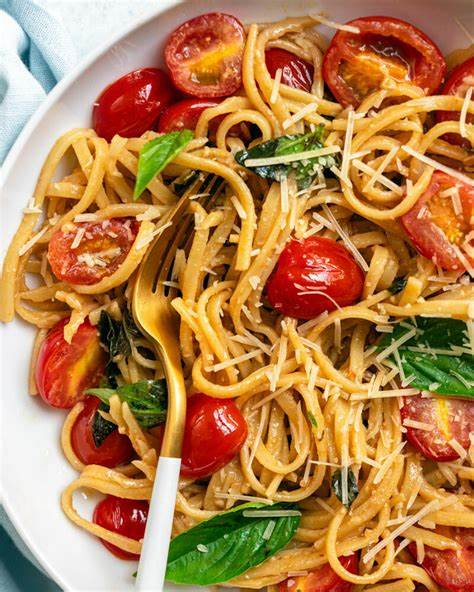
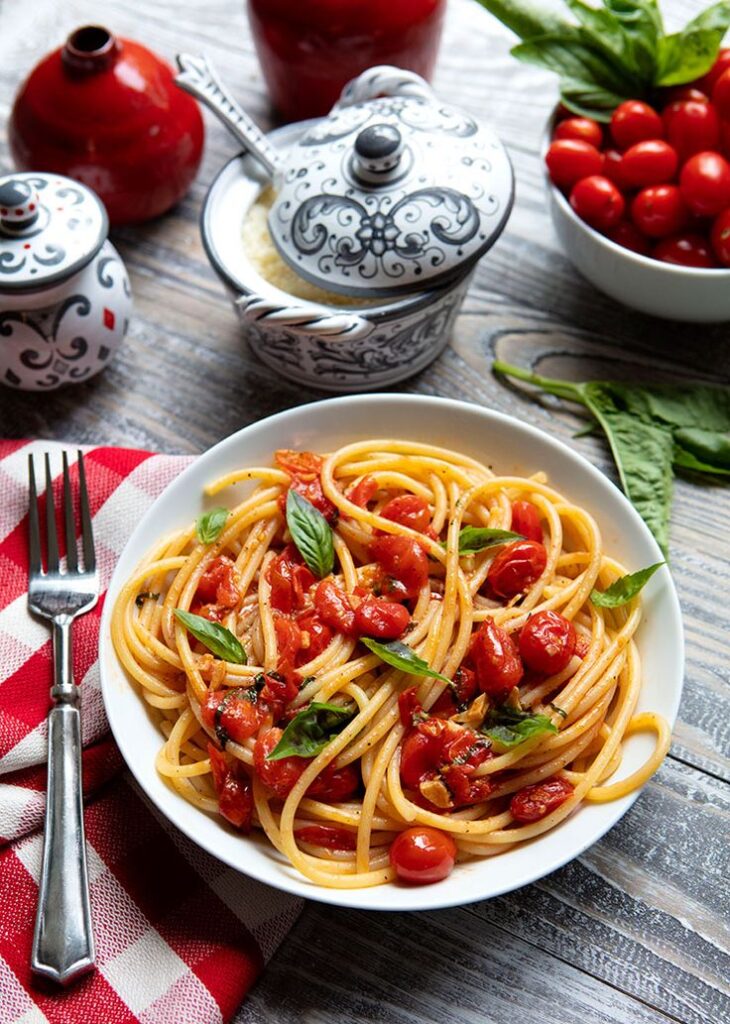
This cherry tomato pasta is the most perfect summer supper. Making this spaghetti dish with cherry tomatoes is like giving yourself a present. You don’t need a lot of time or energy to complete it because it is so easy, and the flavour is just amazing. This cherry tomato spaghetti is the epitome of what summer cooking is all about sweet and tart.

Furthermore, this simple yet delicious recipe is a true crowd-pleaser, with its bursty cherry tomatoes, fragrant garlic, and fresh basil. This dish is perfect to whip up on a warm summer evening when you want to have something very light and flavorful. One of the things that makes cherry tomato pasta so great is how easy it is to make. You don’t need a lot of time or energy to prepare this dish, which means you can spend more time enjoying the warm weather and less time in the kitchen.

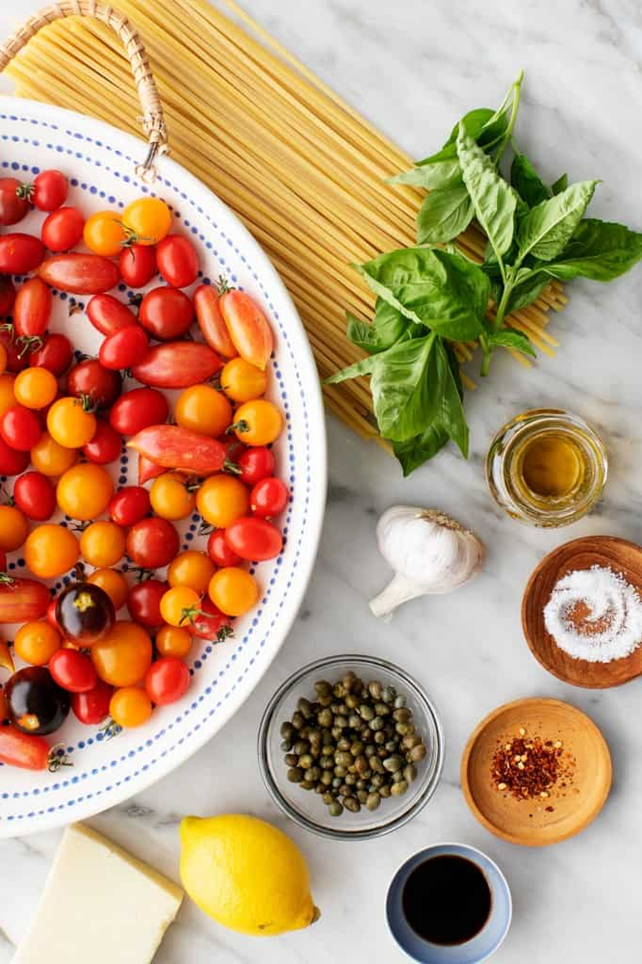
Ingredients:

  • 8 ounces spaghetti
  • ¼ cup olive oil
  • 2 pints cherry tomatoes
  • 3 garlic cloves
  • ½ teaspoon salt
  • ½ teaspoon crushed red pepper
  • ½ cup fresh basil chopped, plus more for serving
  • ¼ cup grated Parmesan cheese plus more for serving

Instructions to cook:

  • Bring water in a big saucepan and make it to a boil. Per the instructions on the package, cook the pasta until it’s al dente. Drain the spaghetti, saving 12 cups of water.
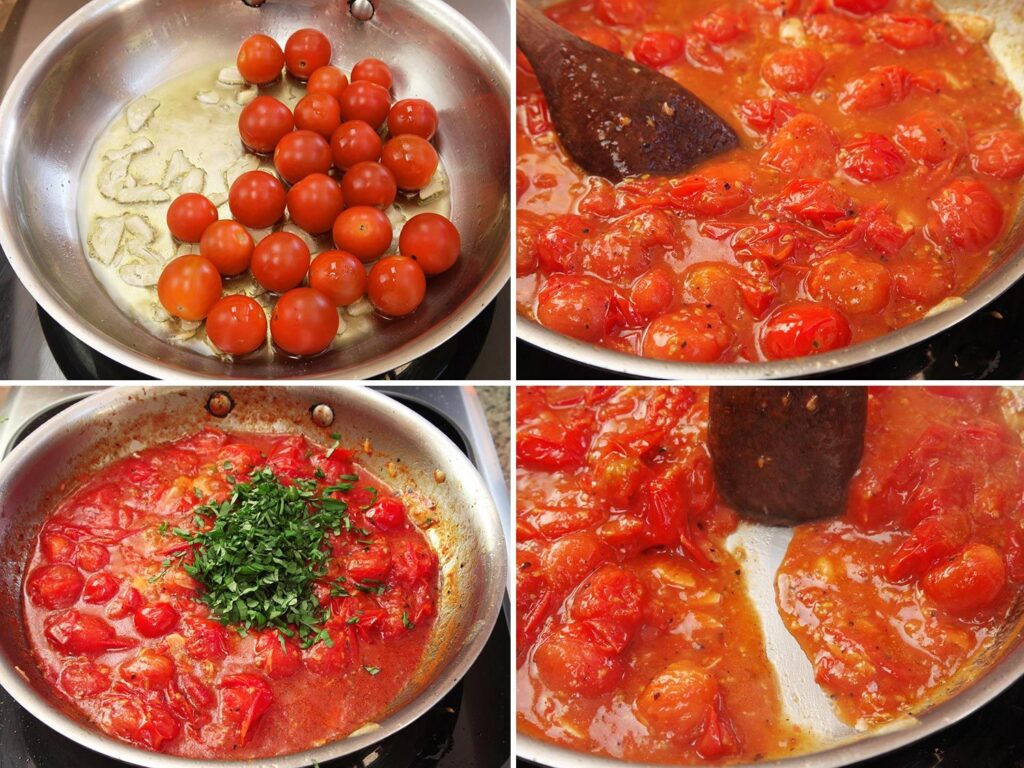
  • Over medium heat, warm the olive oil in a large skillet. Cook the cherry tomatoes for approximately 5 minutes, stirring periodically, until they are tender. Cook the garlic, salt, and crushed red pepper for one further minute, or until fragrant. To release the juices from the tomatoes, gently mash them with a spoon or a potato masher. Cook the tomatoes for another 5 minutes, or until they continue to burst and produce a sauce.
  • Put the drained pasta, basil, and parmesan cheese on top of the tomato sauce and toss to incorporate. To get the proper consistency, add as much of the pasta water that was set aside as is required.
  • If preferred, top the dish with parmesan cheese and additional fresh basil before serving.

Notes and Tips:

  • The remaining food should be kept in an airtight container for storage. However, they may be kept in the fridge for about 4-5 days. The cherry tomato sauce can keep for up to three months in the freezer.
  • Plan ahead: The sauce may be prepared up to two or three days ahead of time and used when the pasta is ready to cook.
  • The recipe should be followed exactly for the best results. However, you are free to use whatever sort of pasta and tomato (such as grape, Roma, or beefsteak) that you choose. It’s recommended to quarter huge tomatoes if you’re using them.

Cherry Tomato Pasta Serving Suggestions

This cherry tomato pasta recipe is the perfect easy, elegant summer dinner. Furthermore, serve it with crusty bread for mopping up the pasta sauce and a simple salad. Any of these recipes would be a great pick:

  • Simple Green Salad
  • Green Bean Salad
  • Italian Chopped Salad
  • Zucchini Salad
  • Caesar Salad
  • Round out the meal with peach crisp or cobbler for dessert. Enjoy!

Conclusion:

Not only is cherry tomato pasta delicious, but it’s also a great way to get some healthy veggies into your diet. Cherry tomatoes have vitamins and antioxidants, making this dish a nutritious choice for any meal. So the next time you’re looking for an easy, flavorful summer dinner recipe, give cherry tomato pasta a try. Your taste buds will thank you.

This is super easy and takes just 15-20 minutes to prepare. Moreover, If you have questions about the recipe or want to share your version of cheery pasta, please feel free to comment. Don’t forget to share it with your friends and family; I am sure they’ll love it too.
MUST TRY: 10 dishes that you can’t resist eating on Holi!